Citizen Science Project Step 2: my top quark production simulation
@lemouth invited us in citizen science adventure on Hive:
Pour les lecteurs en français, la version française du post d'introduction est ici:
https://stemgeeks.net/hive-196396/@lemouth/un-projet-de-sciences-citoyennes-sur-hive
Mon présent post est en anglais mais facile à comprendre, au pire google traduction devrait s'en sortir...
The first phase consisted in installing the necessary tools in a Linux environment and testing them. You can see the procedure here:
My post on the report of this first step is here:
https://stemgeeks.net/hive-163521/@servelle/citizen-science-project-my-first-run
For the second step which I report here, I invite you to read the post explaining the different tasks to accomplish, I will show for my part their realization.
FIRST TASK:
I launched my Ubuntu linux environment under VirtualBox and navigated to the "MG5_aMC_v2_9_9" folder where I opened a terminal.
Then I typed in the terminal "./bin/mg5_aMC" to launch the MG5aMC tool.
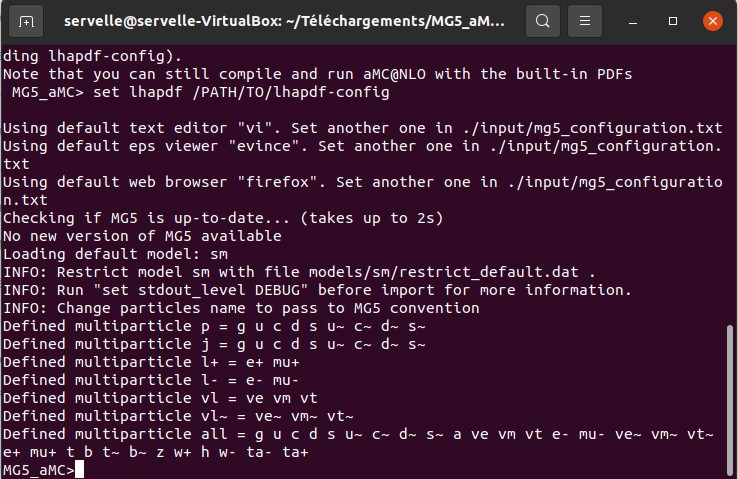
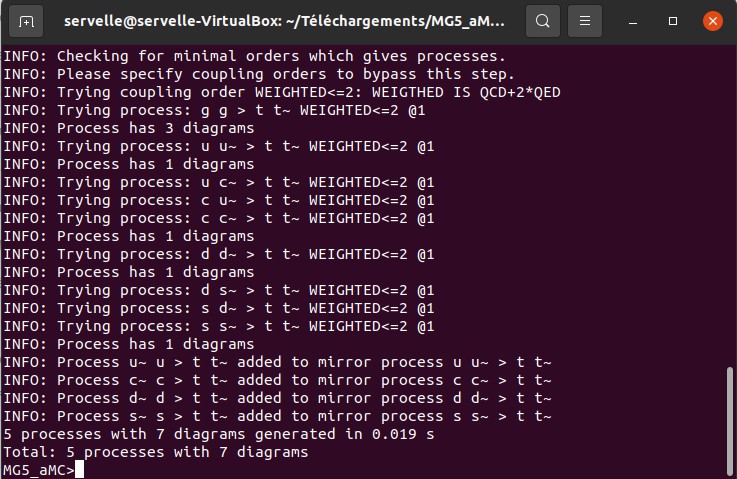
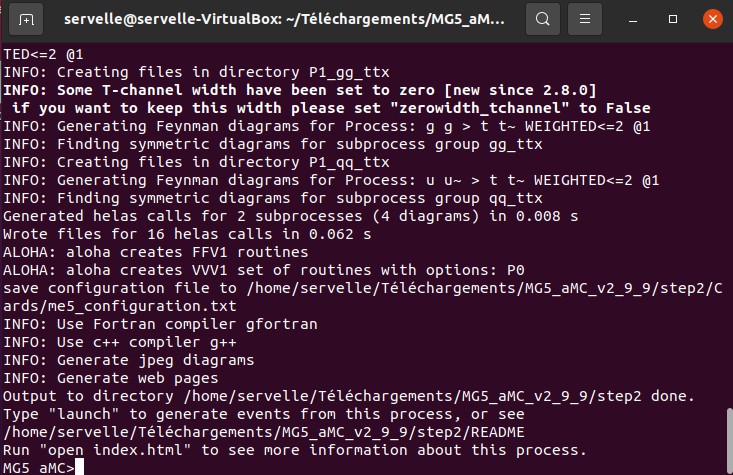
Then I ran the command "generate p p > t t~"
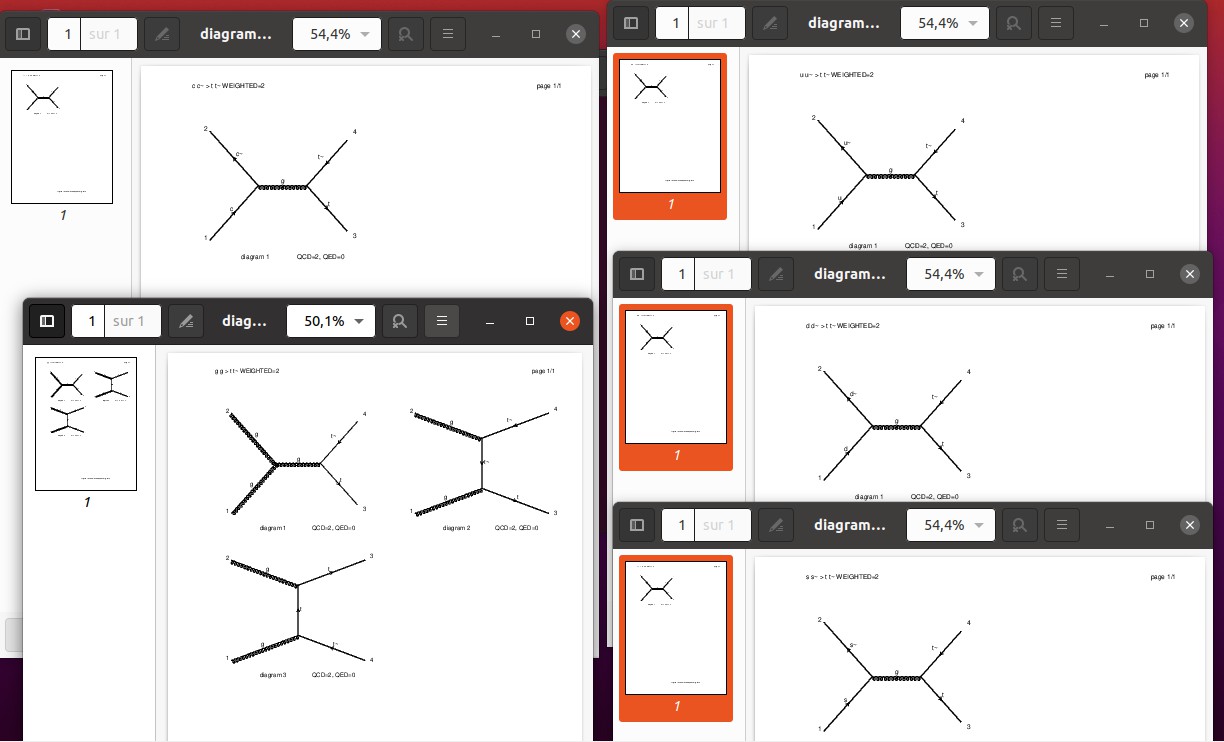
And to finish this first task I entered the command "display diagrams" which generated this:
SECOND TASK
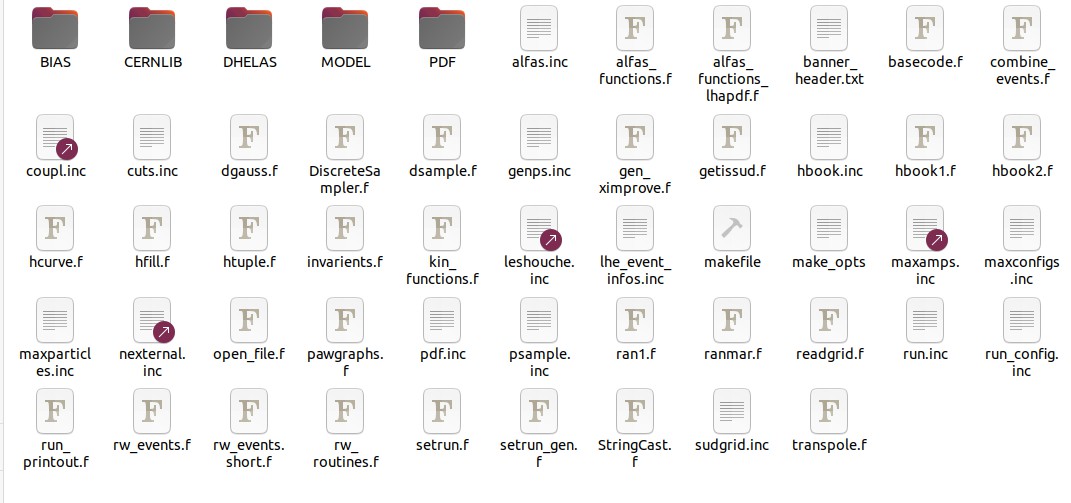
In the terminal I entered the command "output step2", step2 being the name I chose, you will choose yours.
The following files have been created:
THIRD TASK
In the MG5aMC software I enter the command "launch step2" (you have to replace step2 by the name you have chosen) and I arrive at a menu, you will have to type 1 then enter and 4 then enter to get this result:
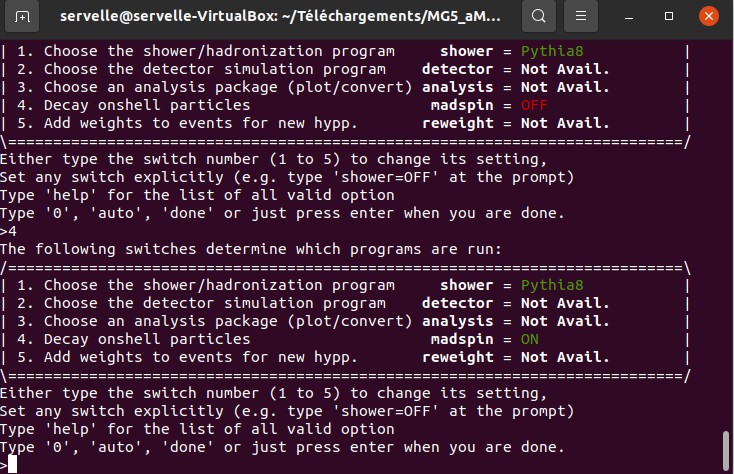
Then I hit enter to get to another menu:
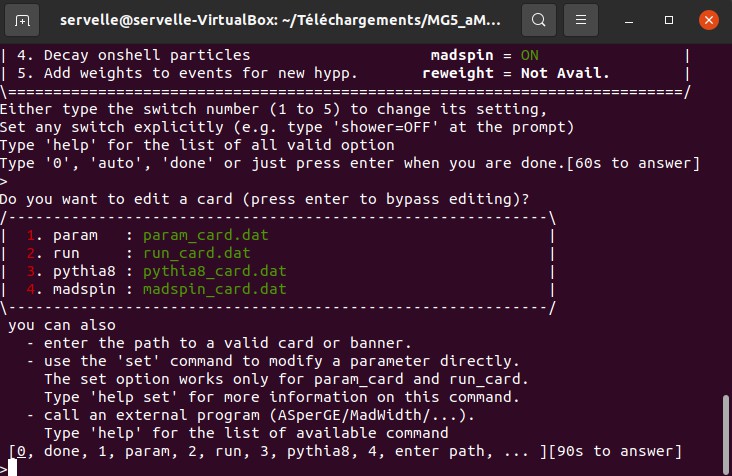
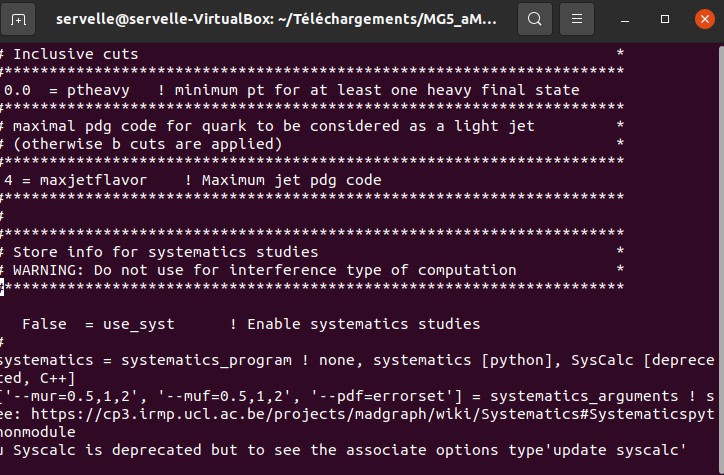
Here we enter the choice 2 then enter to edit the configuration file and change in the line 129 "True" in "False", I had some difficulties with the editor but I succeeded.
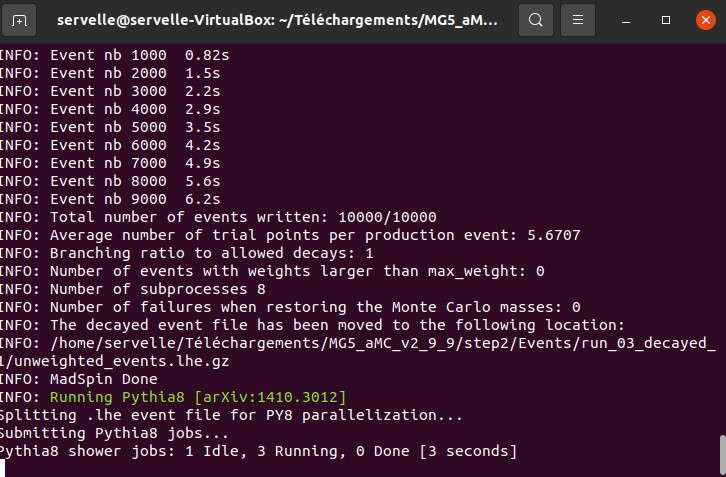
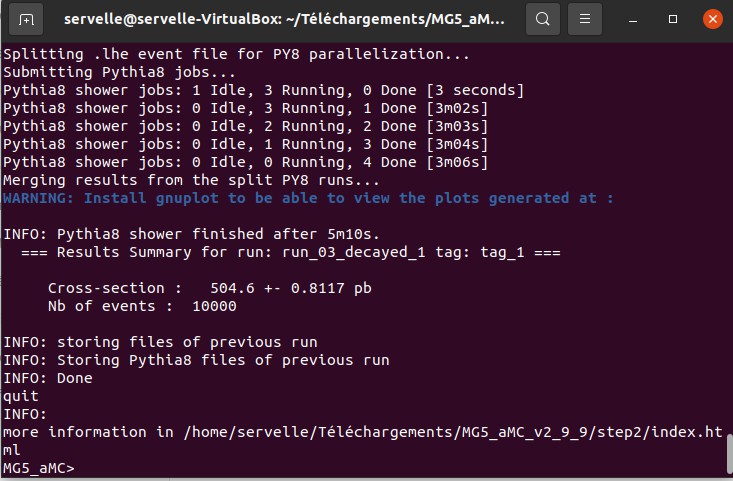
Then the simulation starts when you press the enter key:
FOURTH TASK
Here we check that everything has gone well:
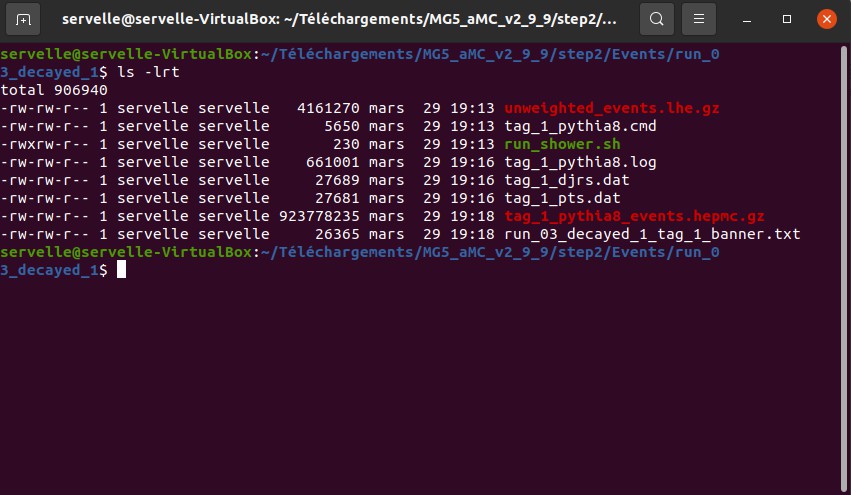
And by going into my folder
"cd step2/Events/run_01_decayed_1"
and entering the command
"ls -lrt"
I check that a big file named "tag_1_pythia8_events.hepmc.gz" has been created.
We are done for this step of the citizen science adventure on Hive.
Posted with STEMGeeks
Wow, 5 minutes..mine were so much slower:))
I have assigned 4 cores of my i7-9700 CPU through VirtualBox to Ubuntu but it runs on a SATA HDD not my SSD
Ahaha you are almost as fast as what I did on my laptop and its 16 cores ^^
Impressive, isn't it? ;)
!BEER
View or trade
BEER.Hey @servelle, here is a little bit of
BEERfrom @isnochys for you. Enjoy it!Do you want to win SOME BEER together with your friends and draw the
BEERKING.Thanks for this report. It seems t hat everything went quite smoothly, without any major problem. Please do not hesitate to ask me anything if you have questions (both on the technical part and the physics behind it).
Thanks for your contribution to the STEMsocial community. Feel free to join us on discord to get to know the rest of us!
Please consider delegating to the @stemsocial account (85% of the curation rewards are returned).
You may also include @stemsocial as a beneficiary of the rewards of this post to get a stronger support.
Congratulations @servelle! You have completed the following achievement on the Hive blockchain and have been rewarded with new badge(s):
You can view your badges on your board and compare yourself to others in the Ranking
If you no longer want to receive notifications, reply to this comment with the word
STOPCheck out the last post from @hivebuzz:
!BEER
!PIZZA
View or trade
BEER.Hey @servelle, here is a little bit of
BEERfrom @eii for you. Enjoy it!Did you know that you can use BEER at dCity game to **buy dCity NFT cards** to rule the world.
PIZZA Holders sent $PIZZA tips in this post's comments:
@servelle(4/5) tipped @eii (x1)
Learn more at https://hive.pizza.