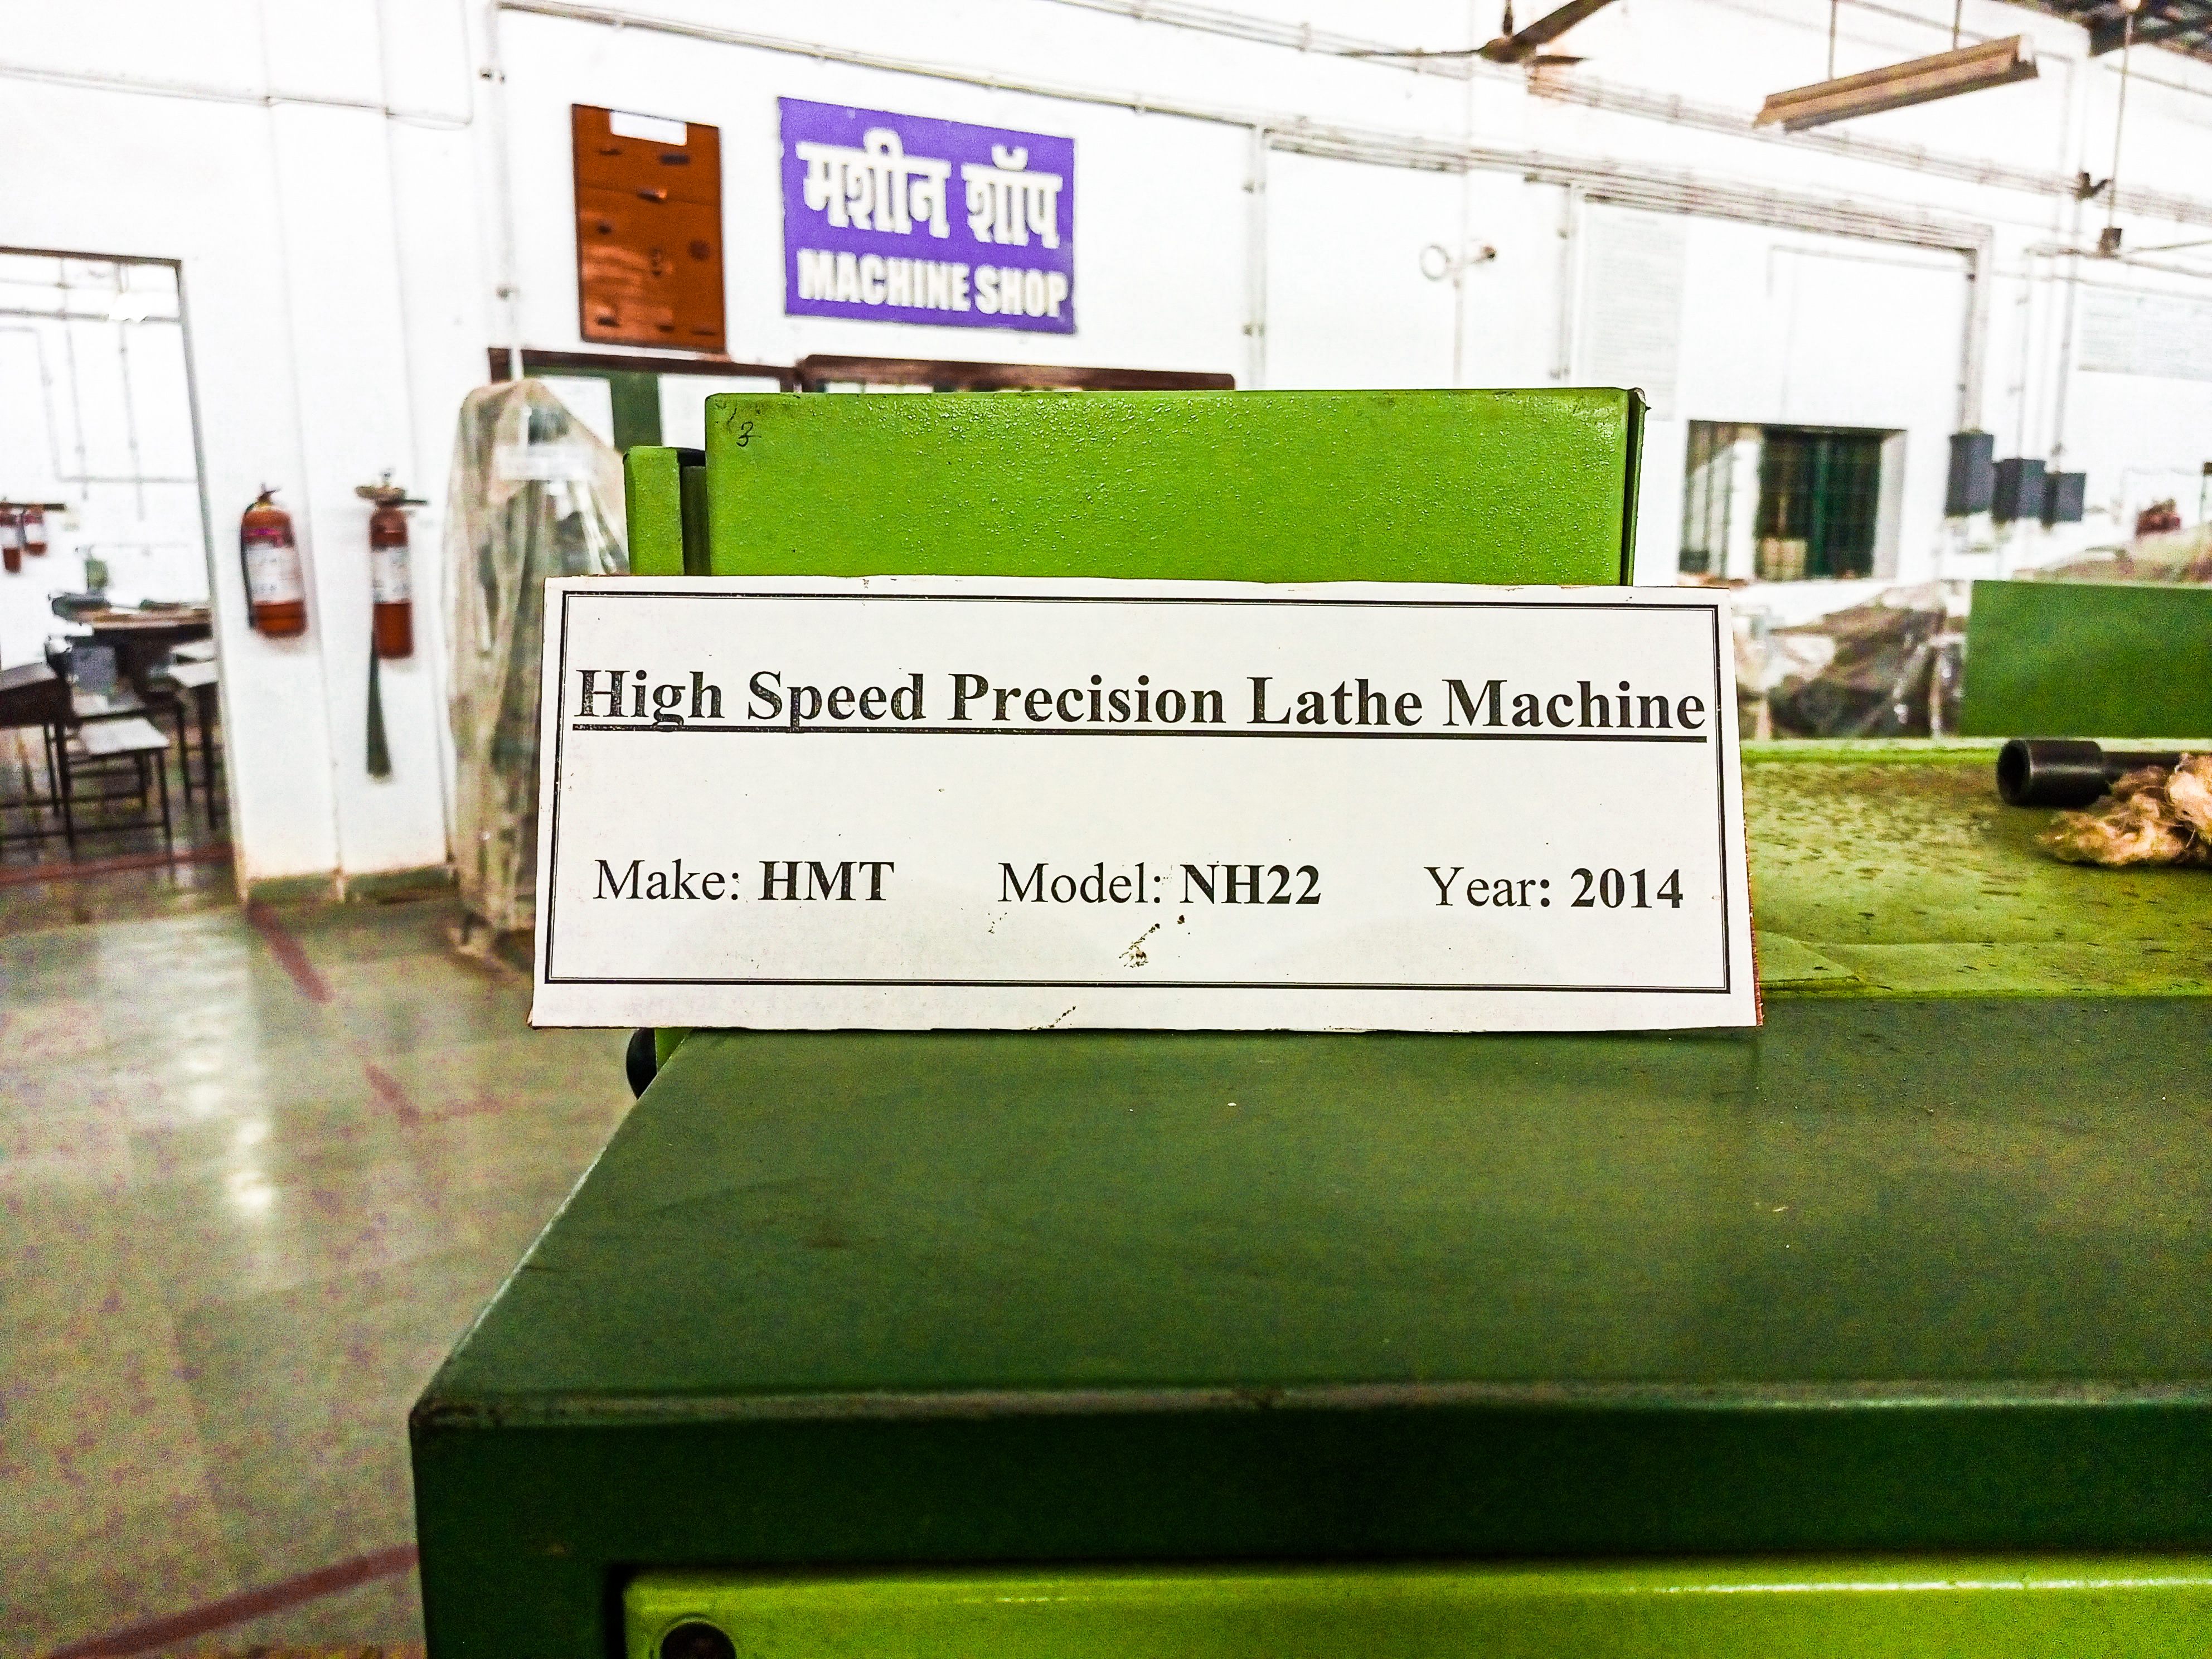
My First Workshop Experience with HIGH SPEED PRESICION LATHE MACHINE.
Hello, technology lover, I hope you all are doing great in your life!
I went to the first day of my college workshop, in which I saw a lot of big machines and many tools which I did not know about. But I wanted to know, so we were given a job to do this on a high speed Precision Lathe machine. But we had a normal road which had to be converted in the form of a board and we did it very well, I will tell you the procedure step wise and also tell about the specialty of this machine.
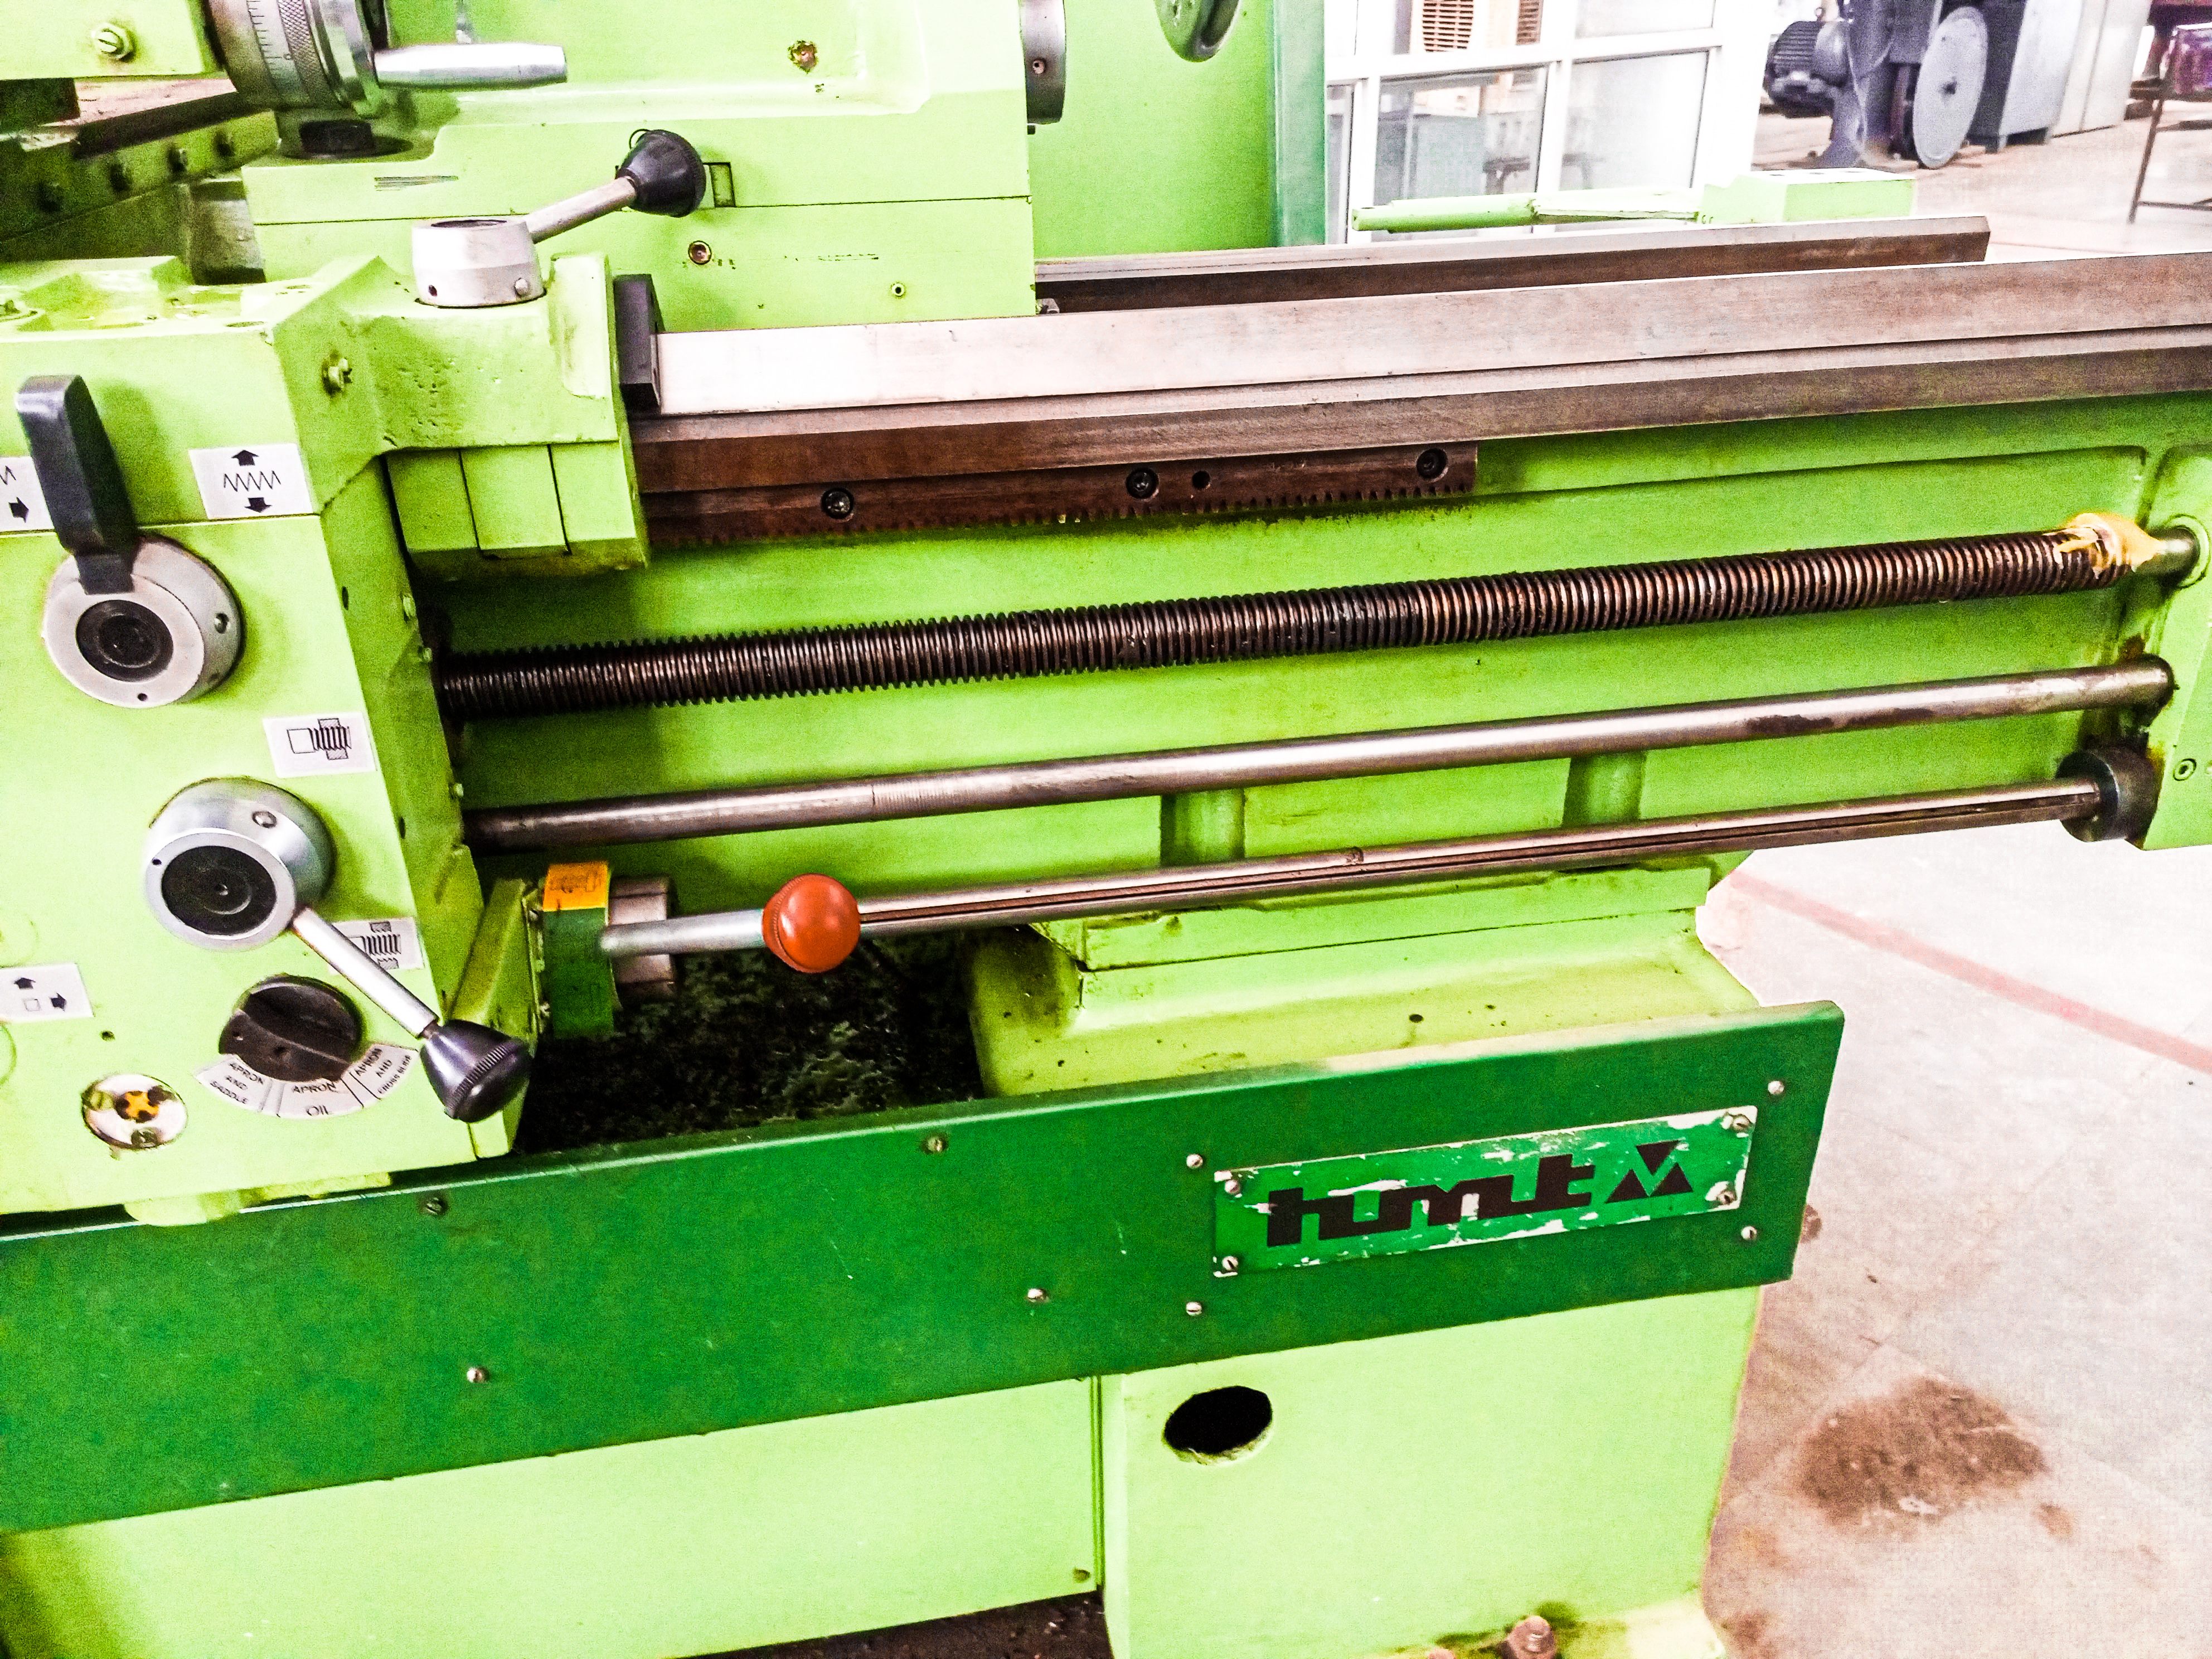
A basic introduction of this equipment
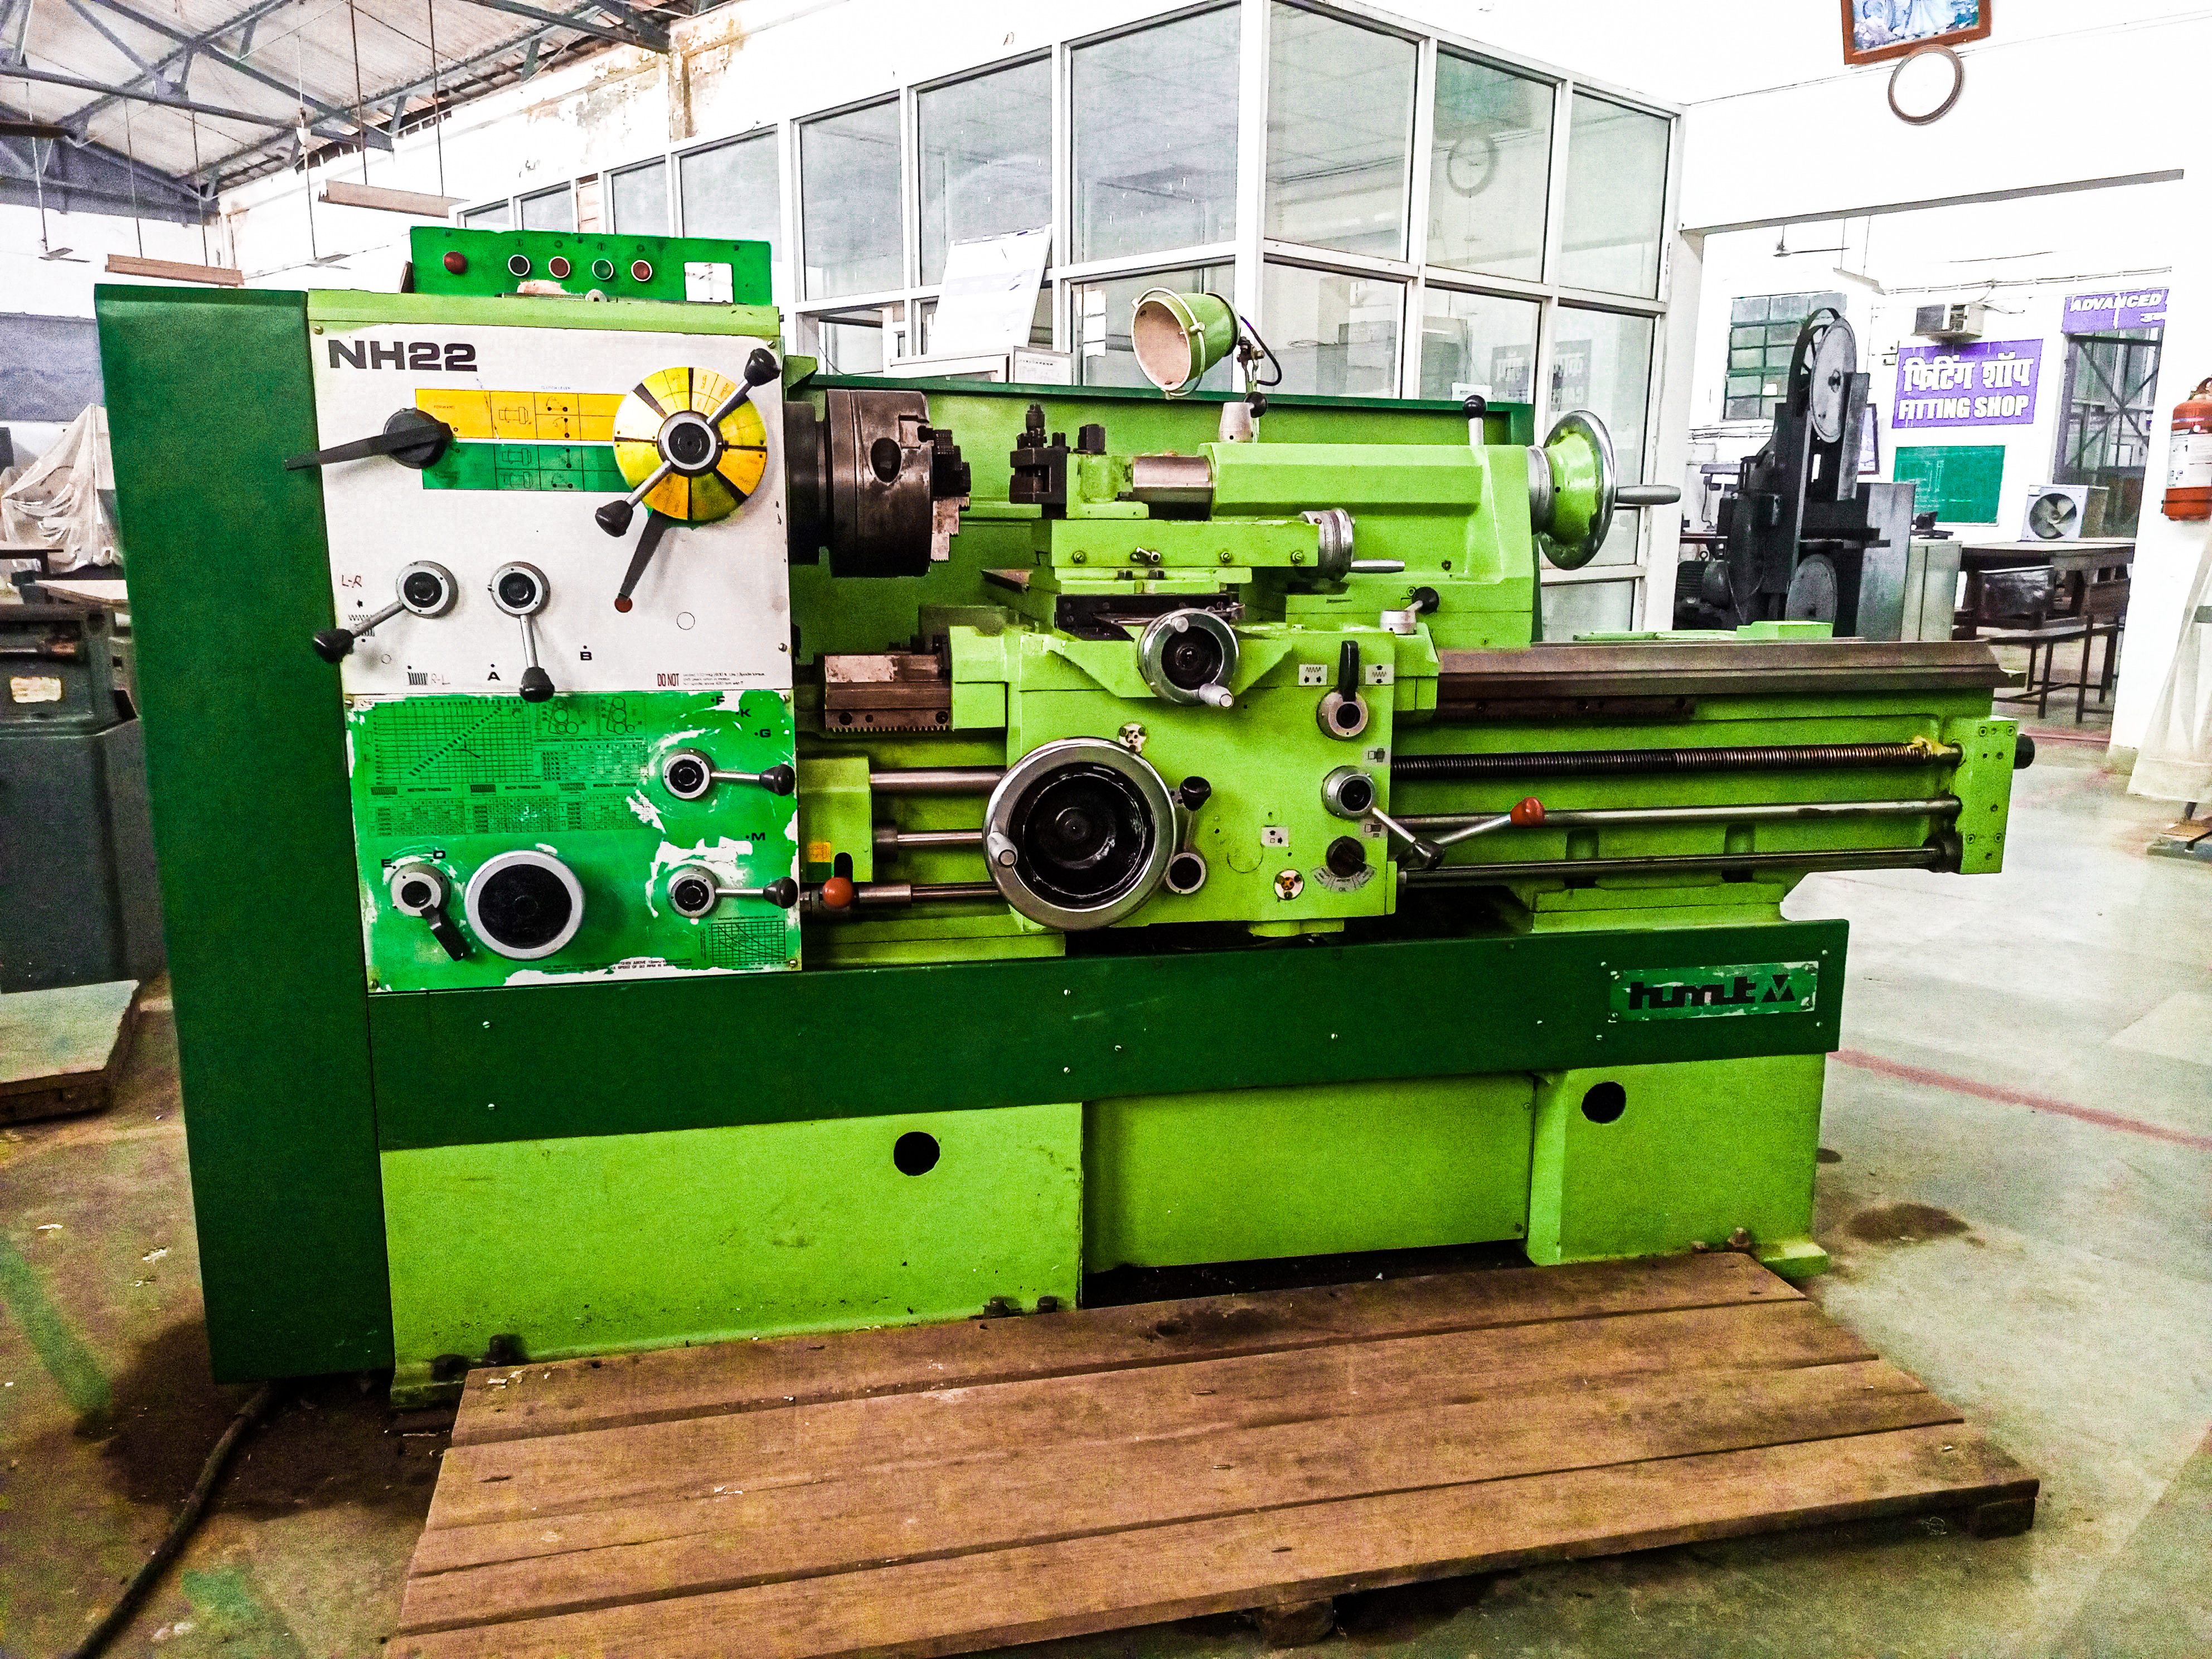
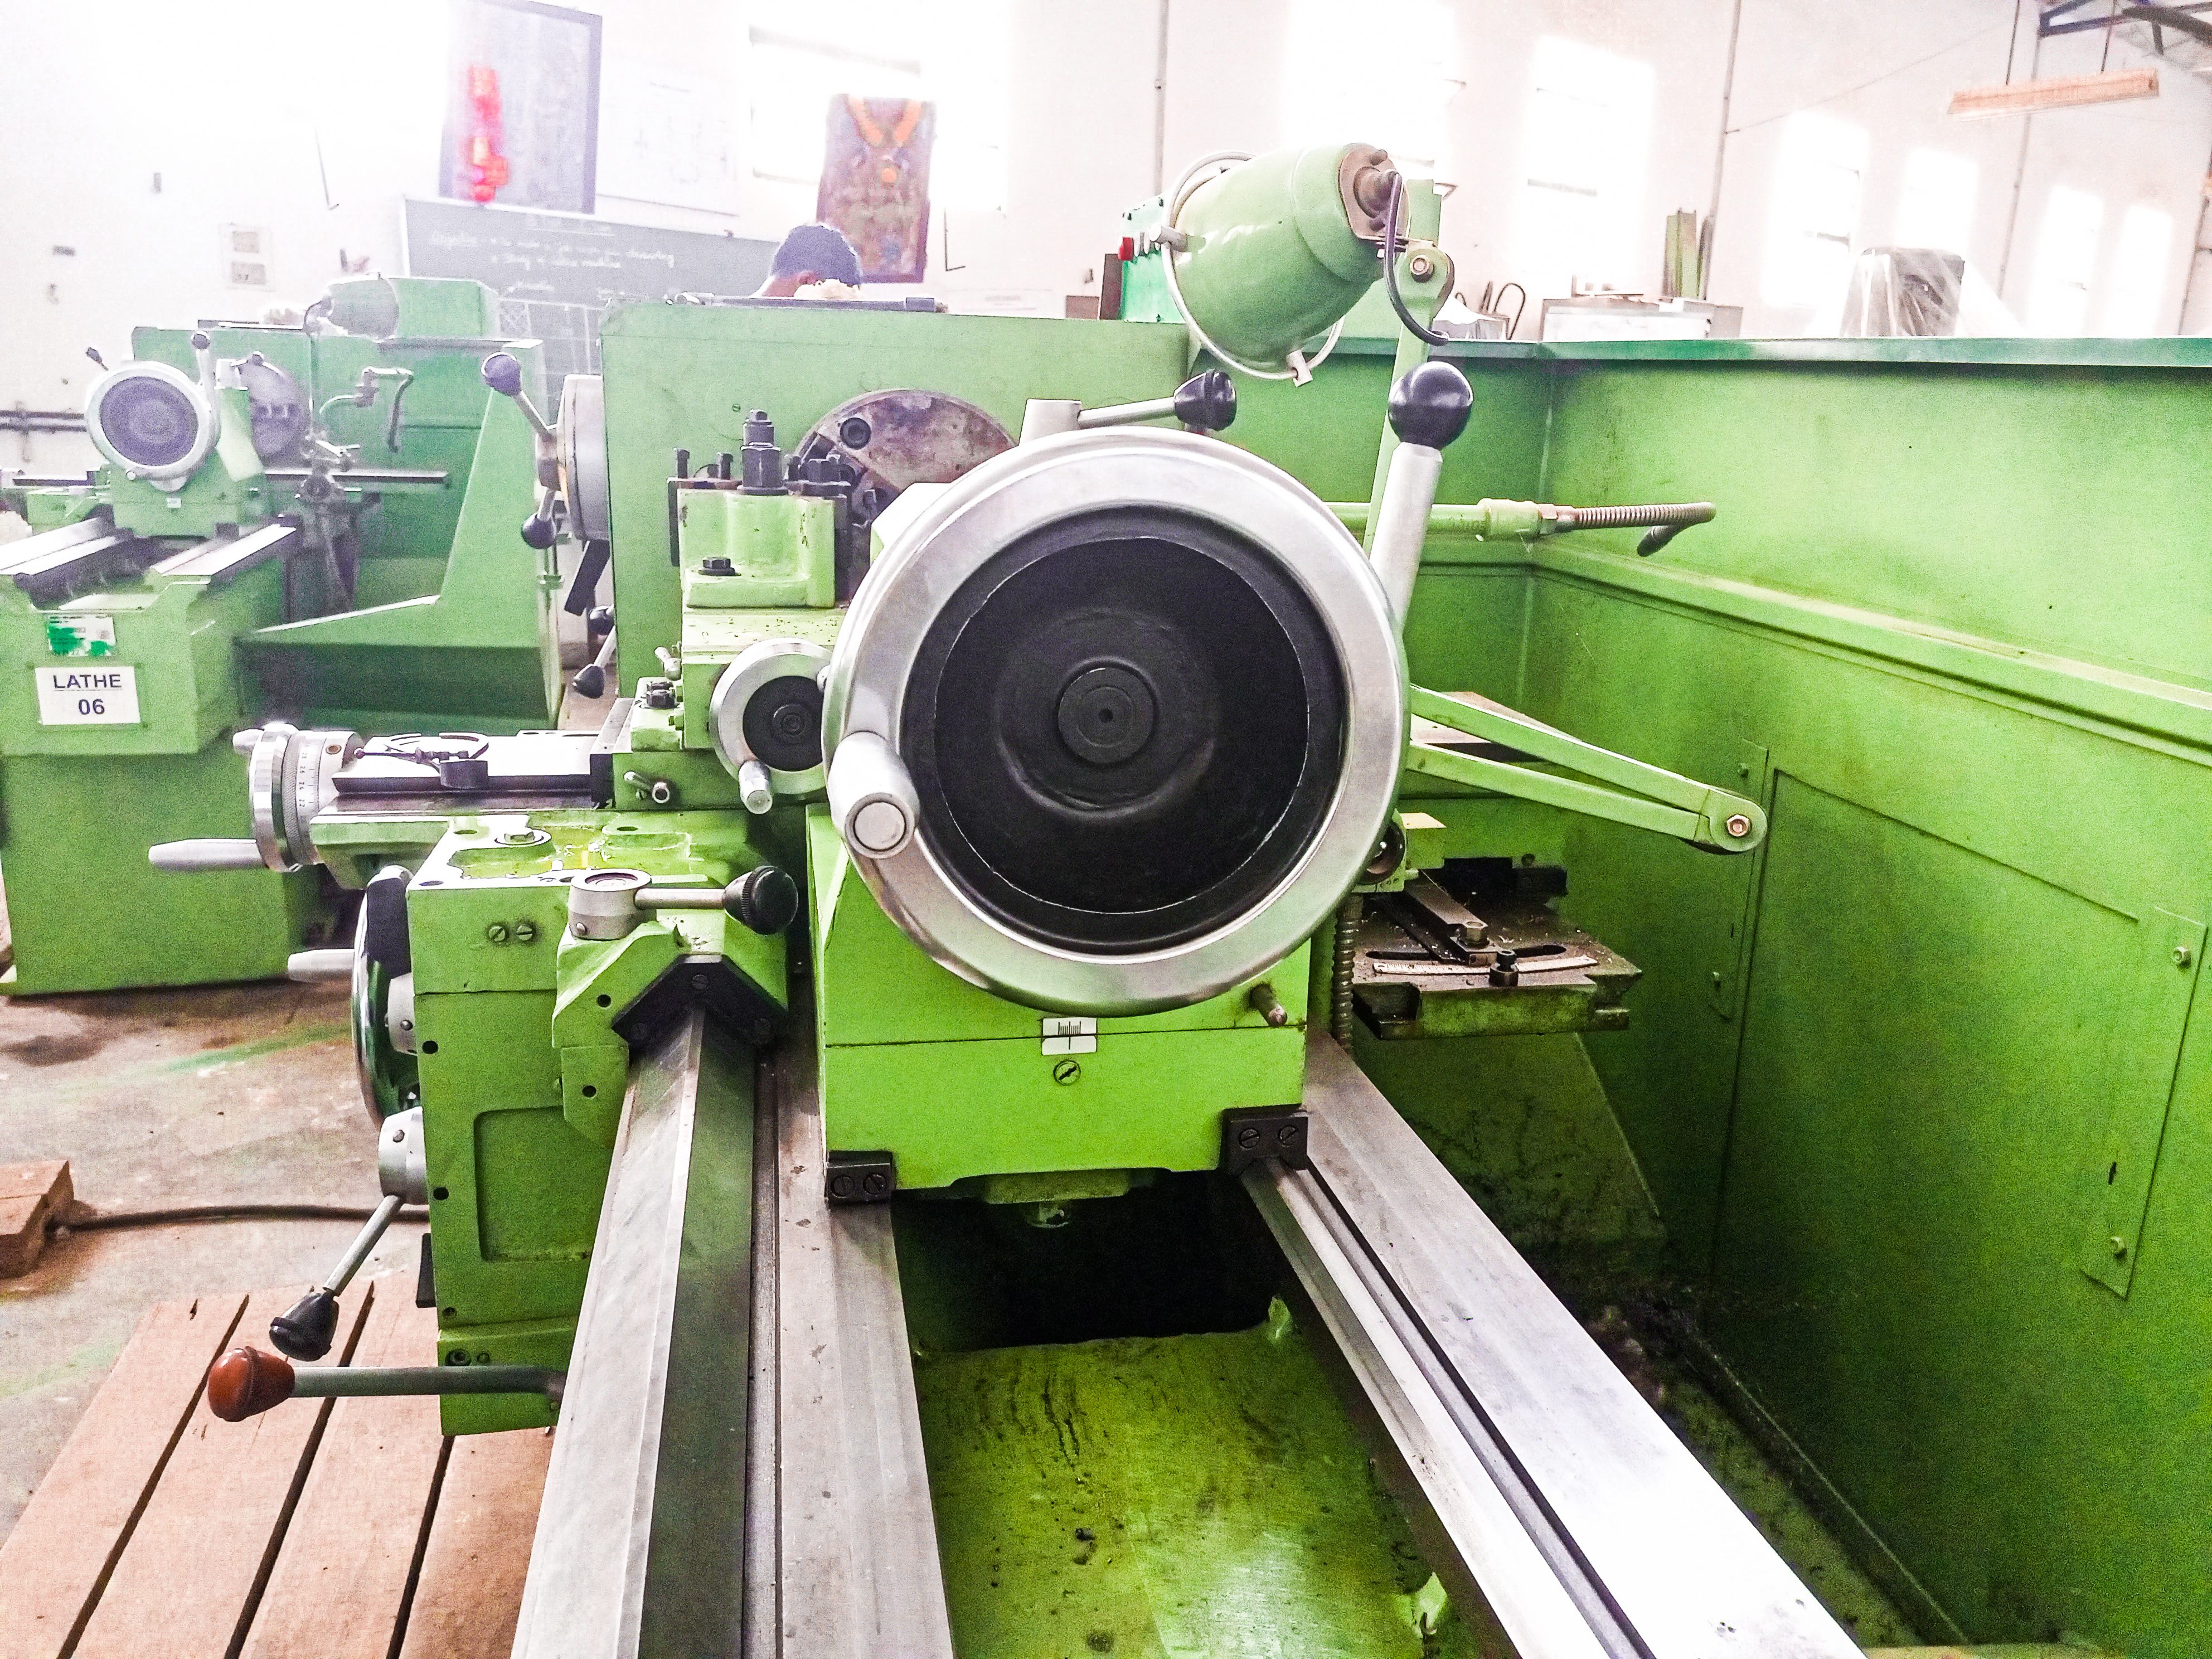
This machine looks like a heavy machine, its structure is big but it is not that difficult to use, any person can easily learn to use it in one or two training. This machine is called "High Speed Precision Lathe Machine" known as.

Purpose to exist this device
If we talk about the purpose of this machine, then it has only one purpose or it is used to convert a normal iron rod into a bolt or knight, apart from this you can plane the surface of any rod, it can be used in different types designs or can give threads, such that any nut and bolt can easily fit into each other, by this machine the surface of any net is plane, thread is given on it you can resize it to a variety of radiuses.
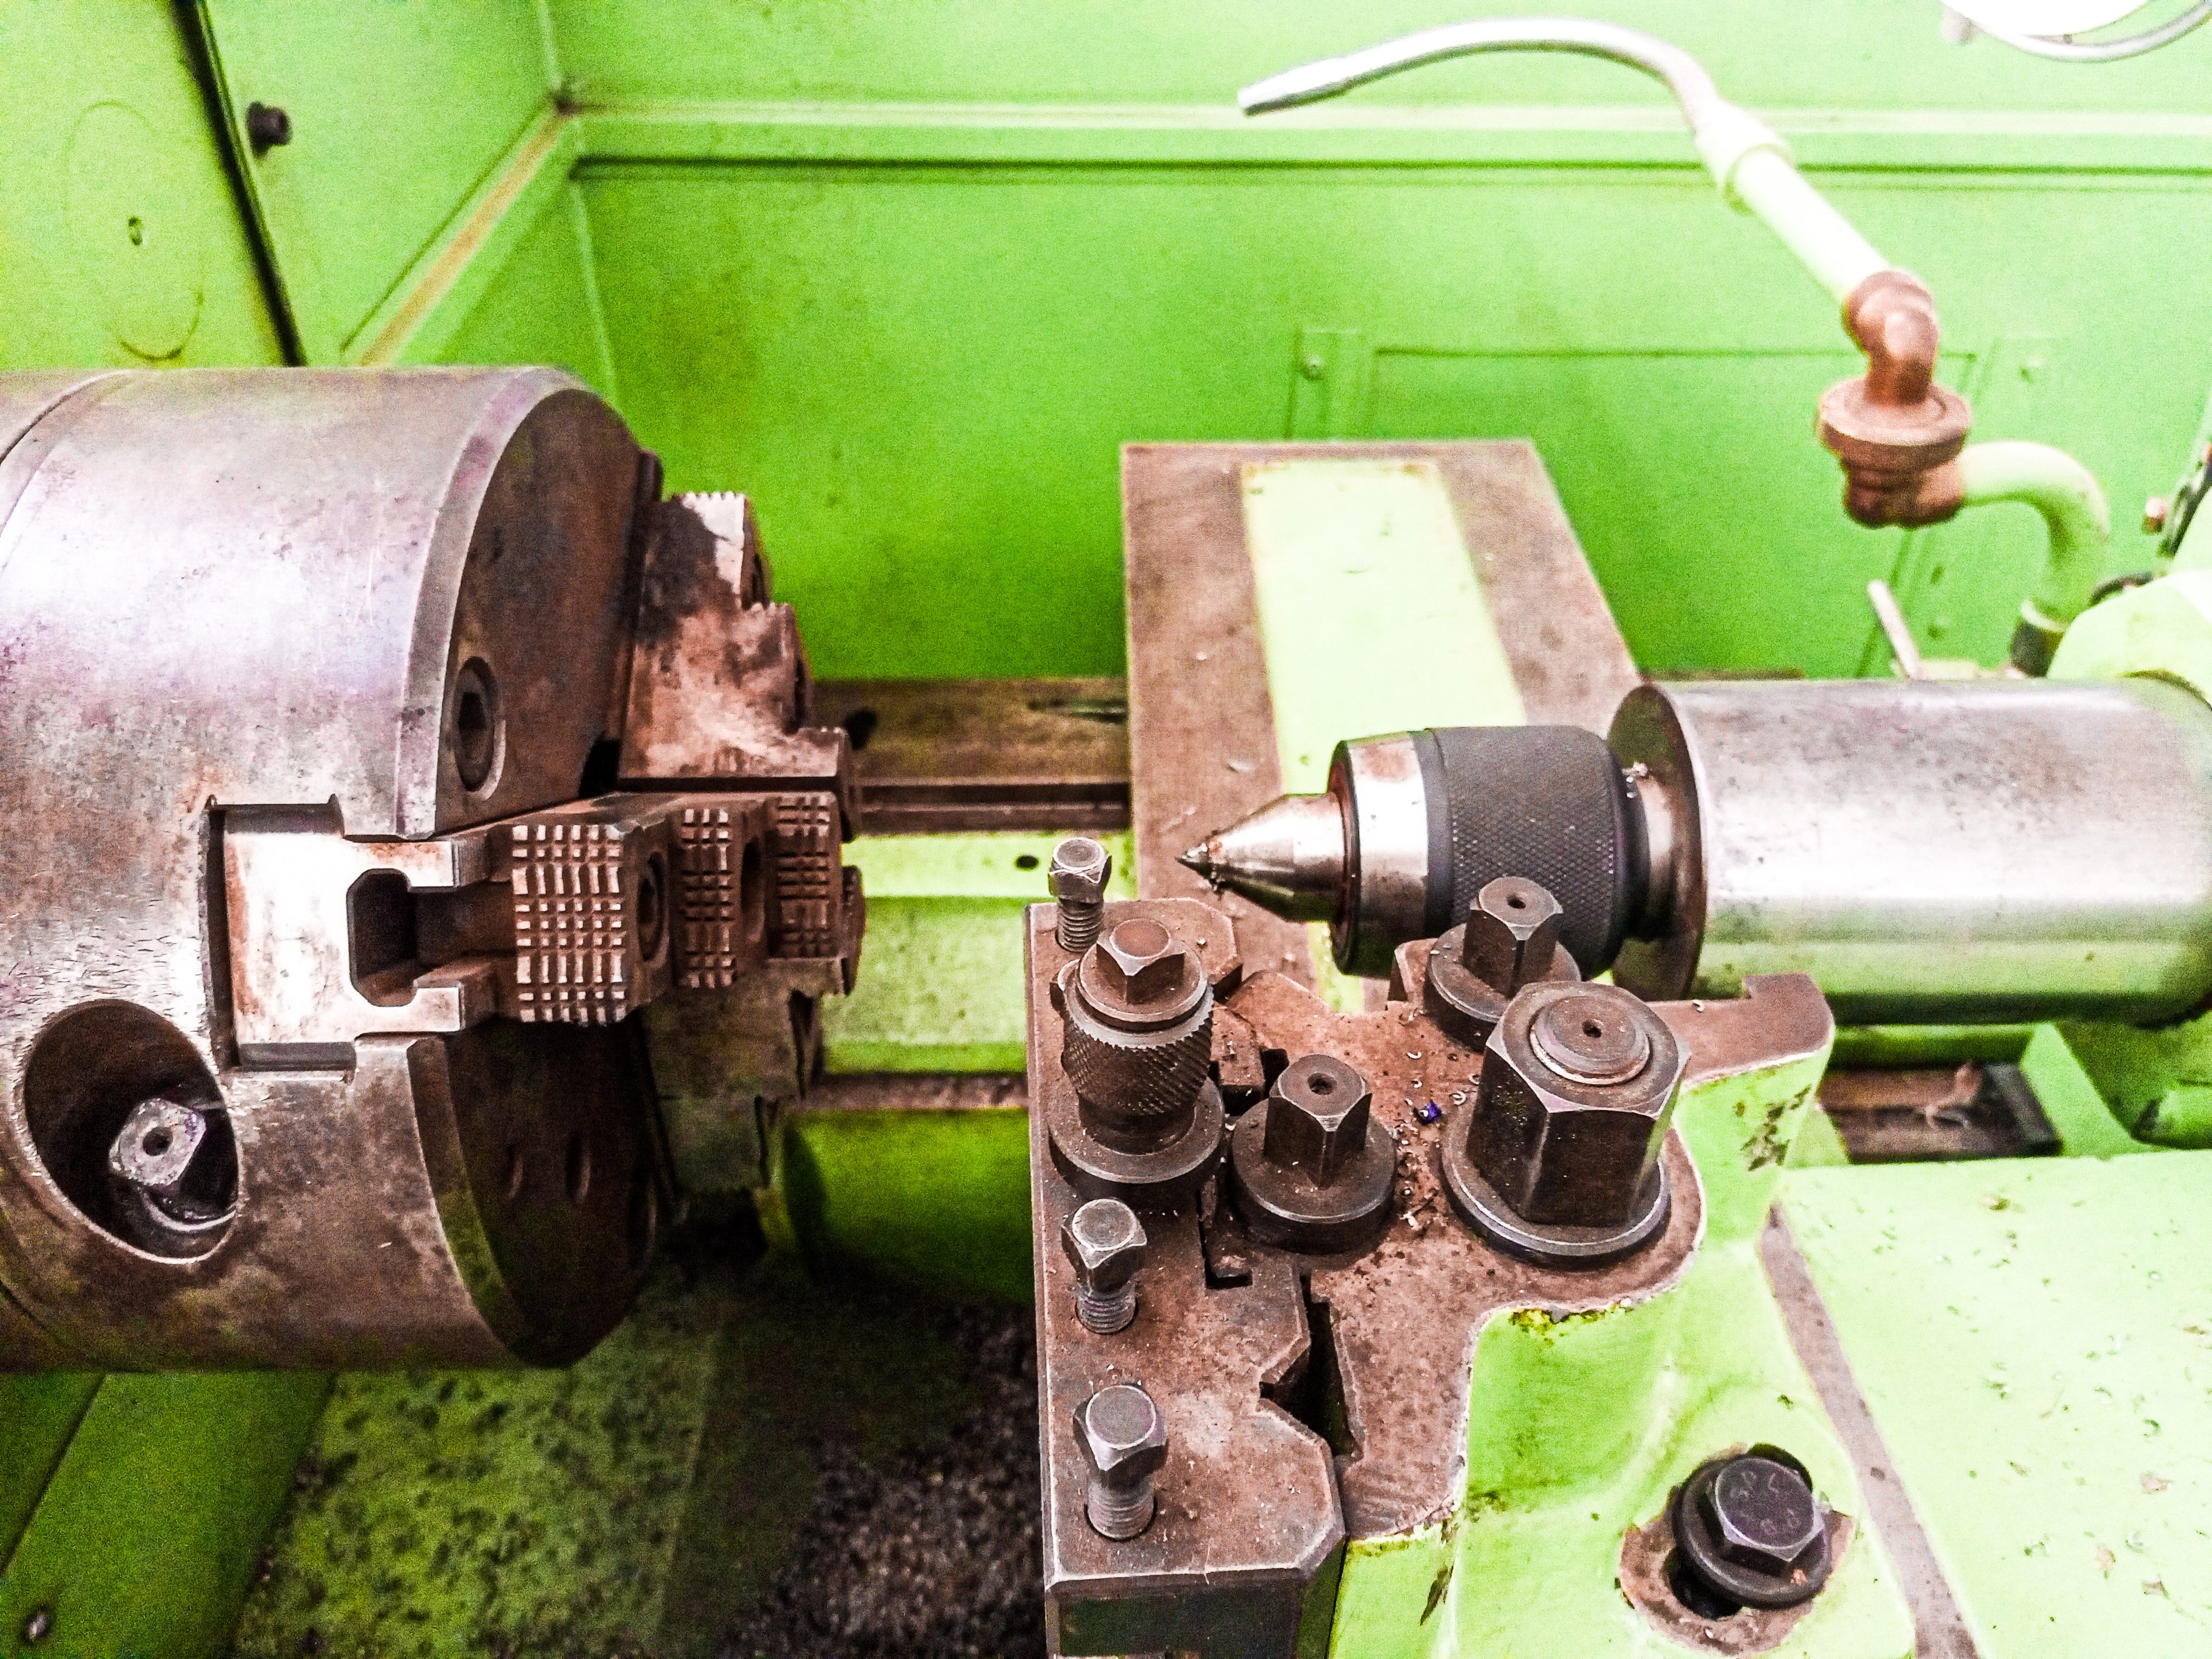
Working
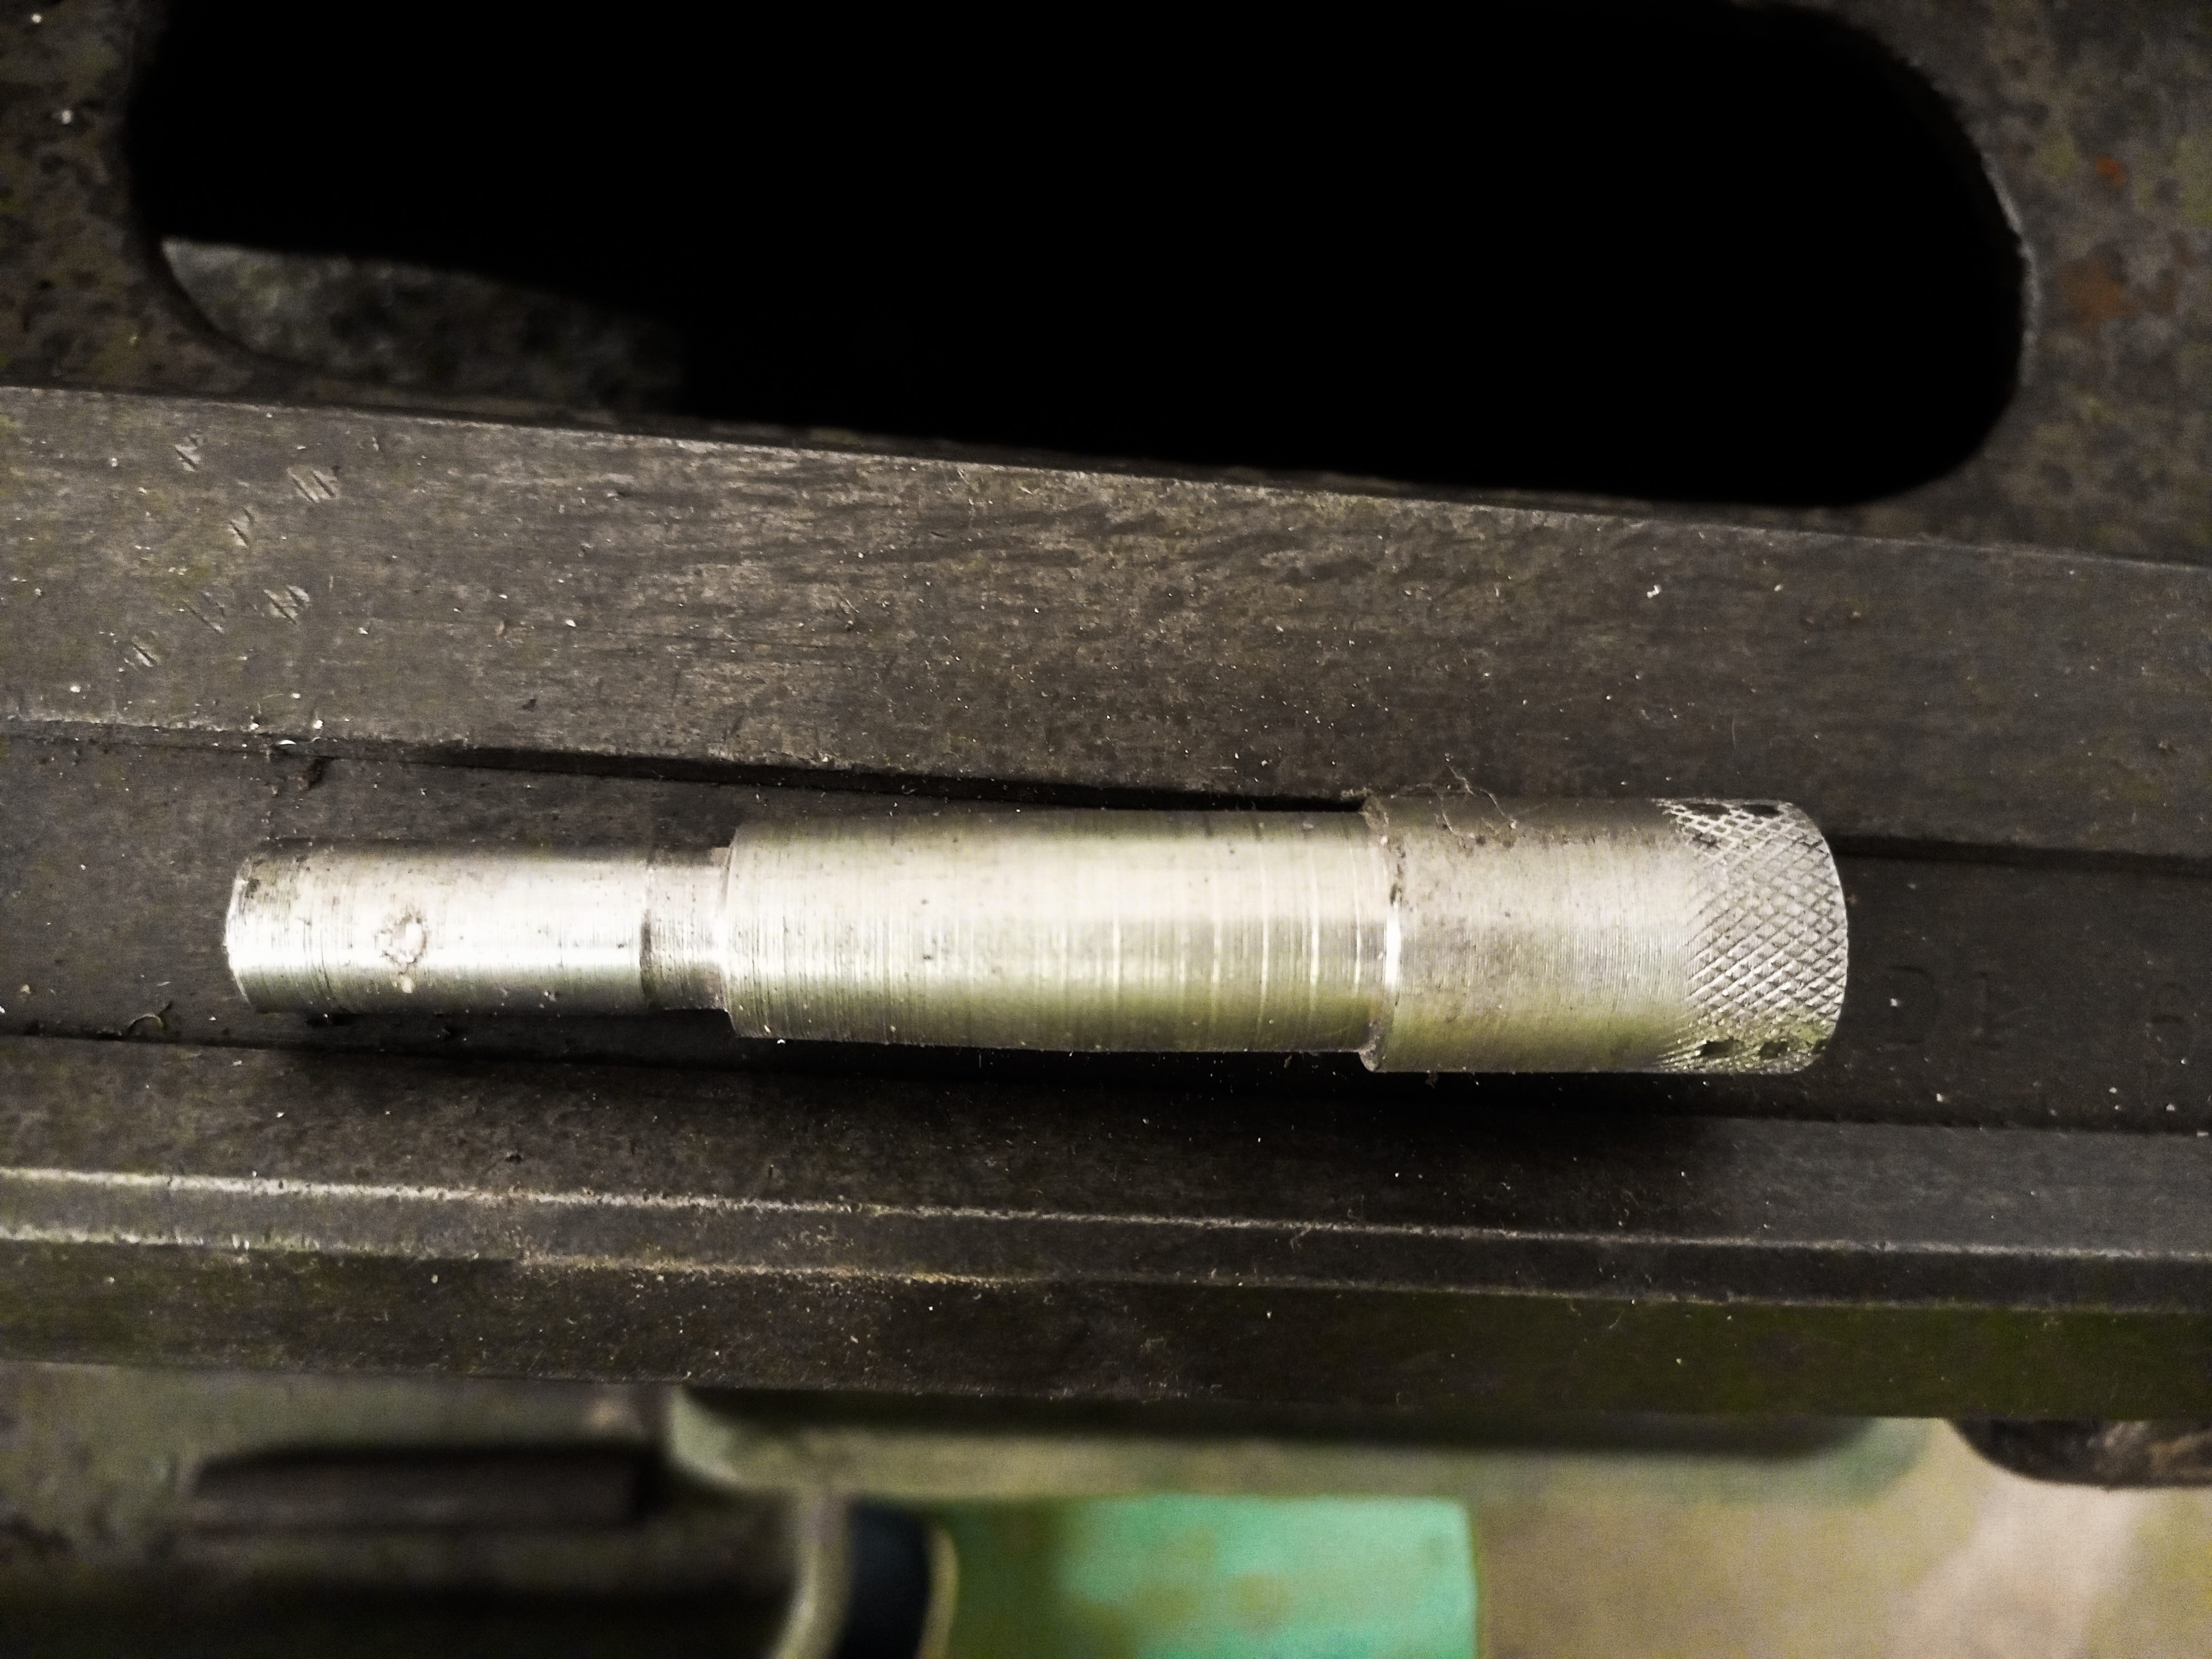
To work on this, first of all, we trap our rod between the jaw line of the head stock and start the machine, keep its speed medium with the accelerator and plane the head of the rod and give a punch to it. From the tailstock, so that we can work in the same place again, with the help of the tool point, we gradually reduce the radius by reducing the radius by only 0.5 mm and doing it slowly in the shape of a bolt Let us bring a diagram of the bolt with me so that we can compare and by changing the radius, we bring the road in the shape of the bolt, now the most important thing is to cut its thread by changing the tool point tool. Threading tools are used to do threading on it, threading tools do threading on it as needed and the road is ready for use as a bolt.
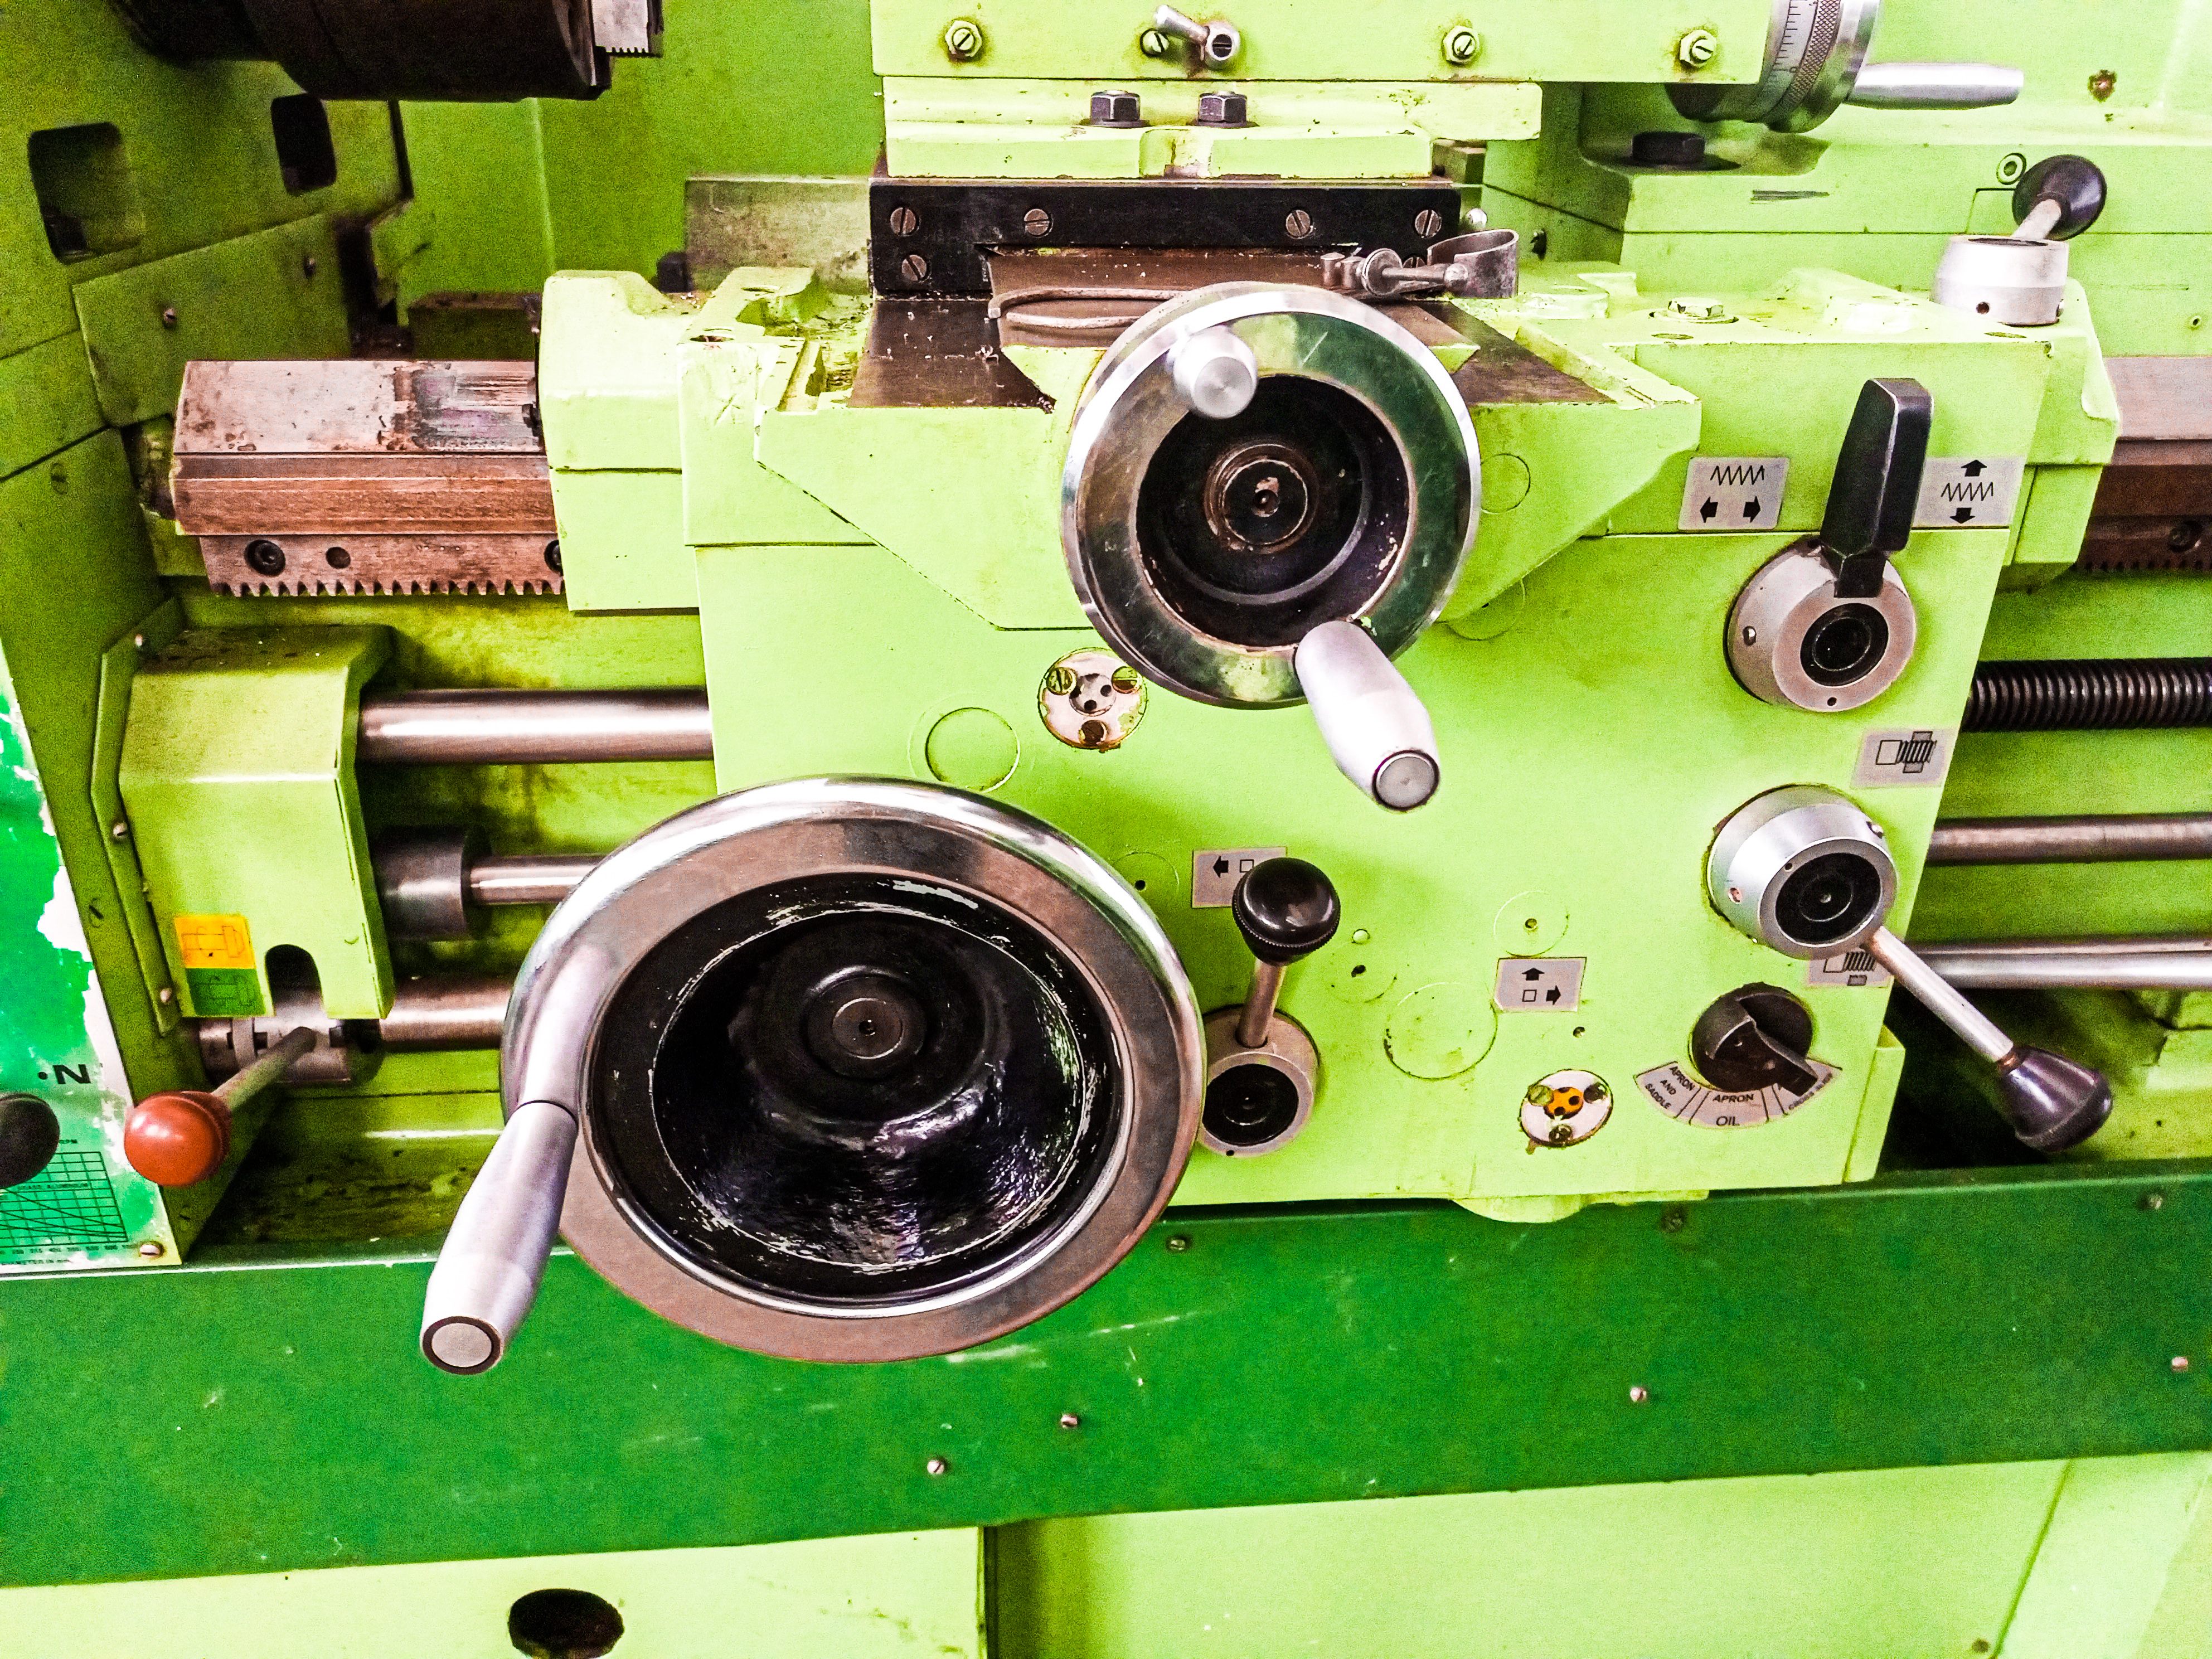
Parts & their uses
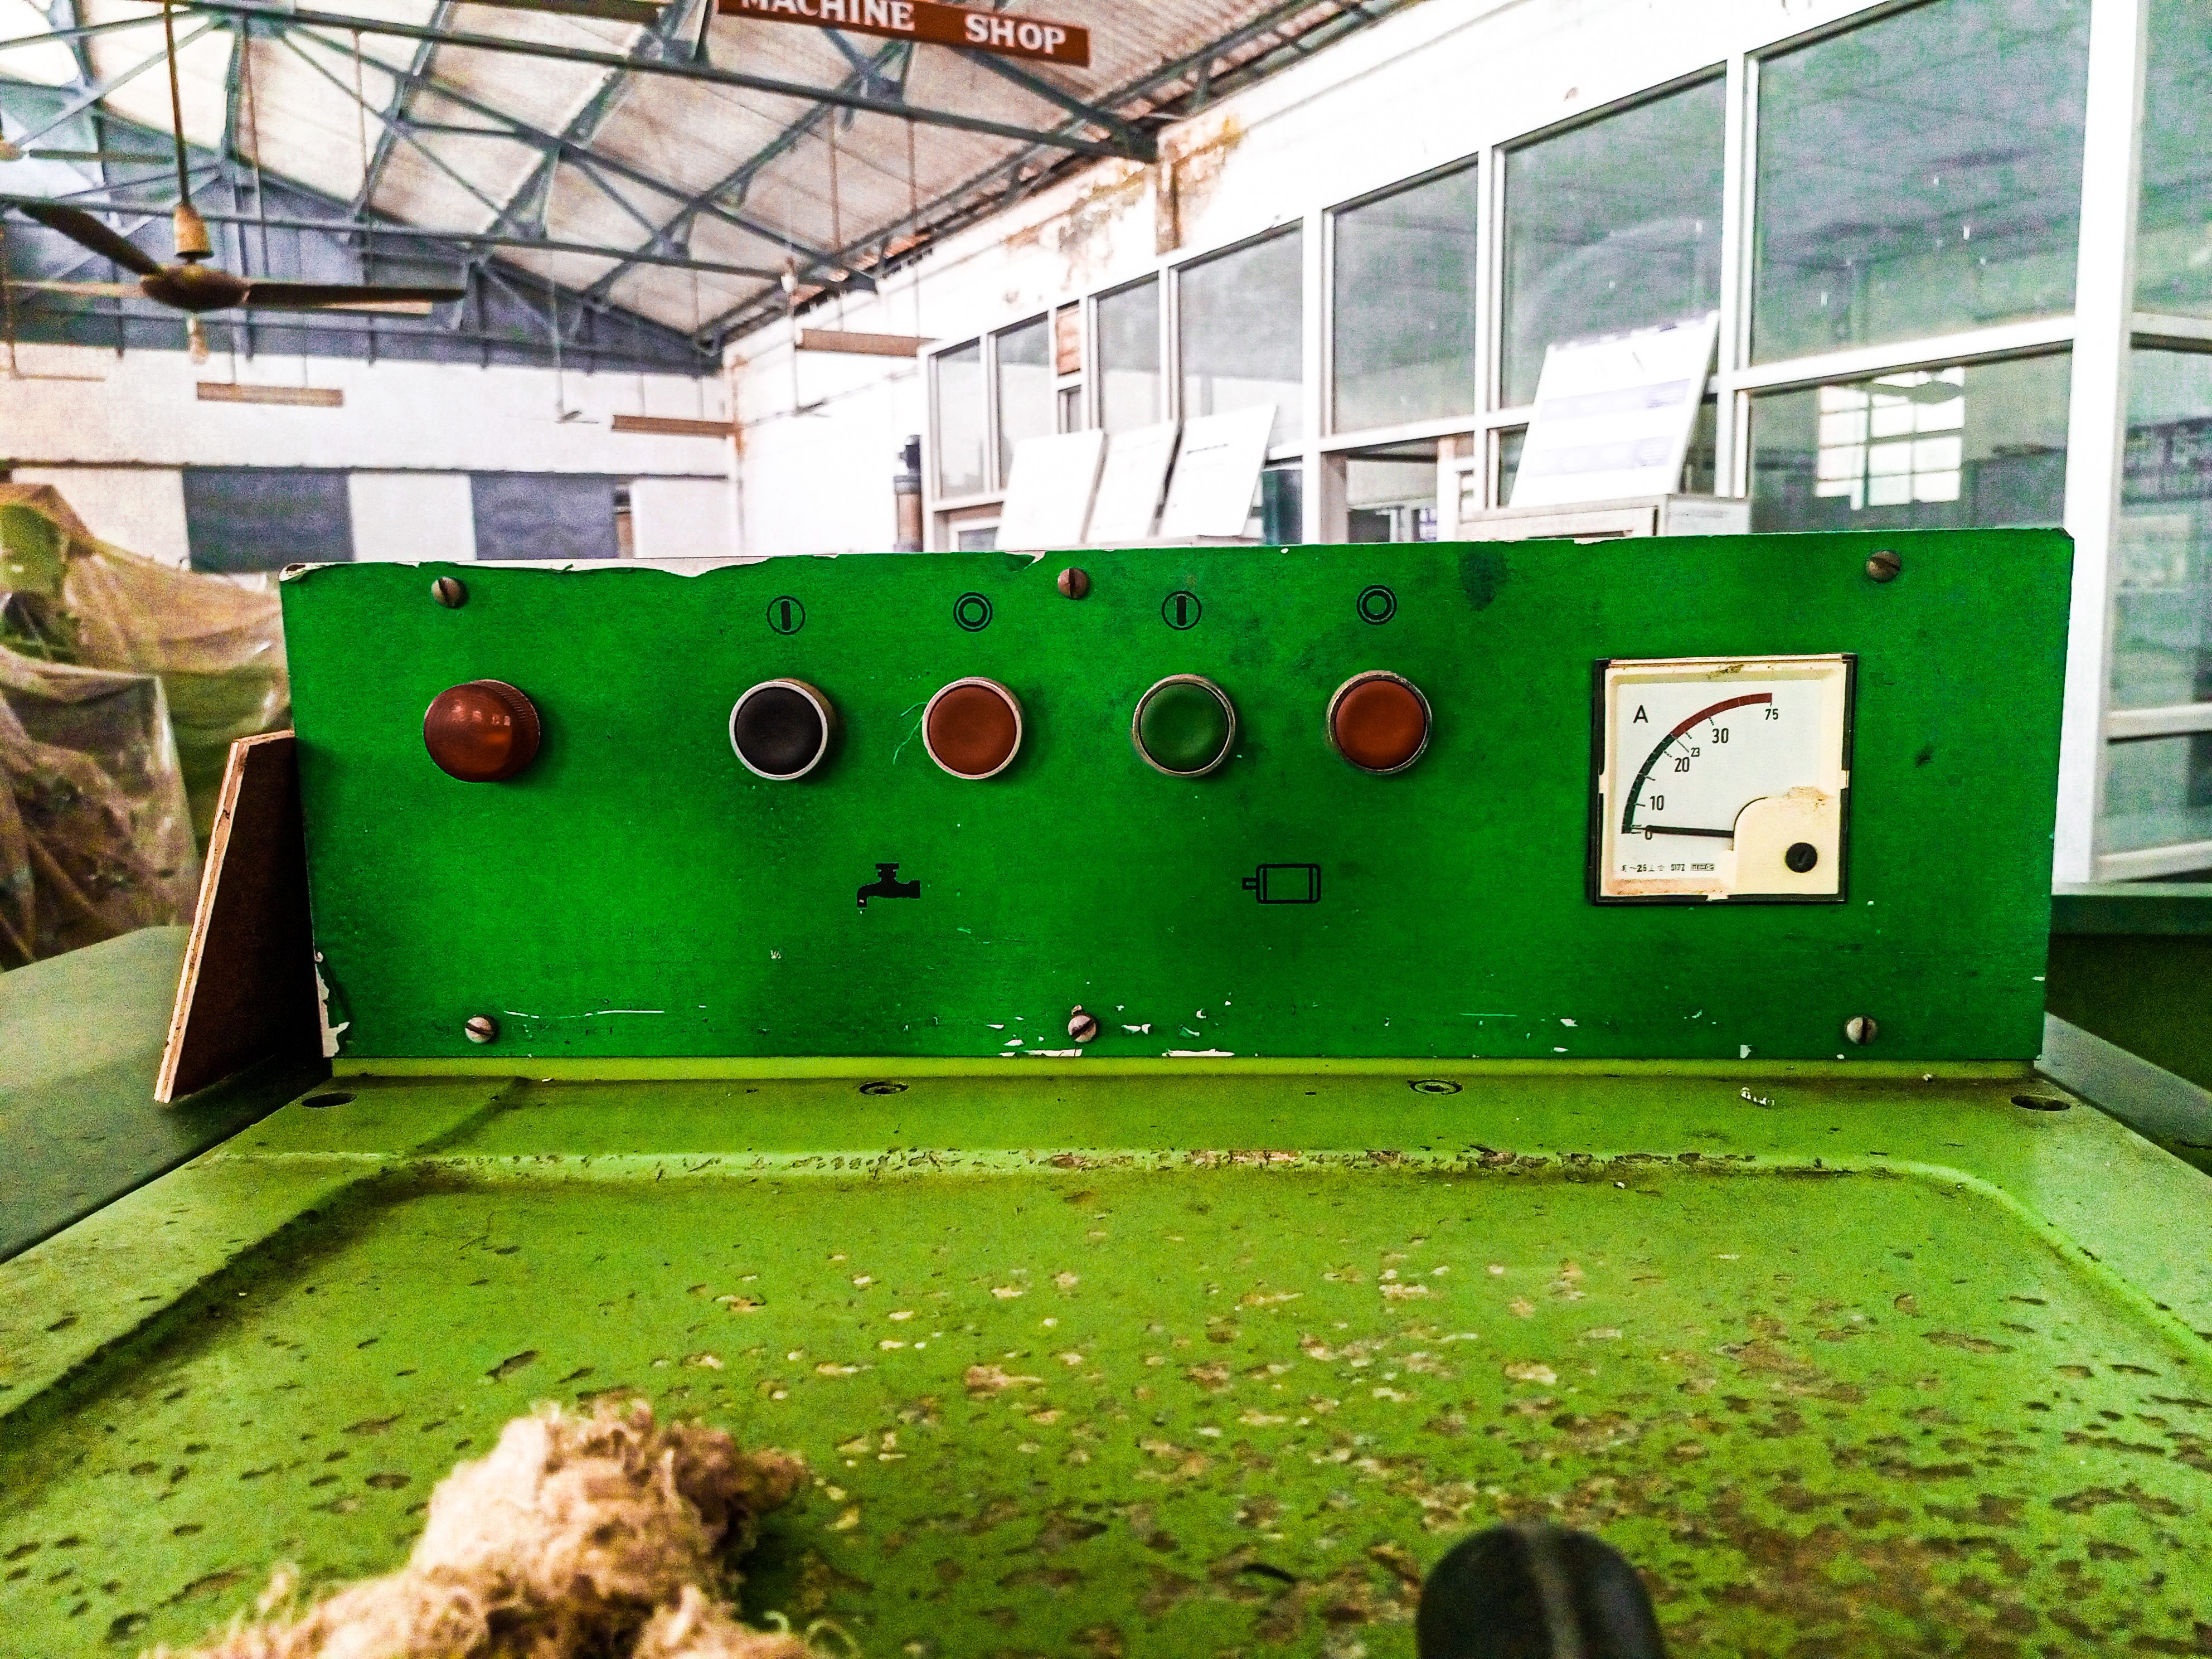
If we talk about the parts of this machine, then this machine is divided by 5 parts, out of which a head stock, a tail stock, a carriage and a main body, as well as it also has a power on and off button. And there is also an accelerator that you can run it slow and fast, you can do it with the accelerator and the accelerator does not work when you turn it off from the main power.
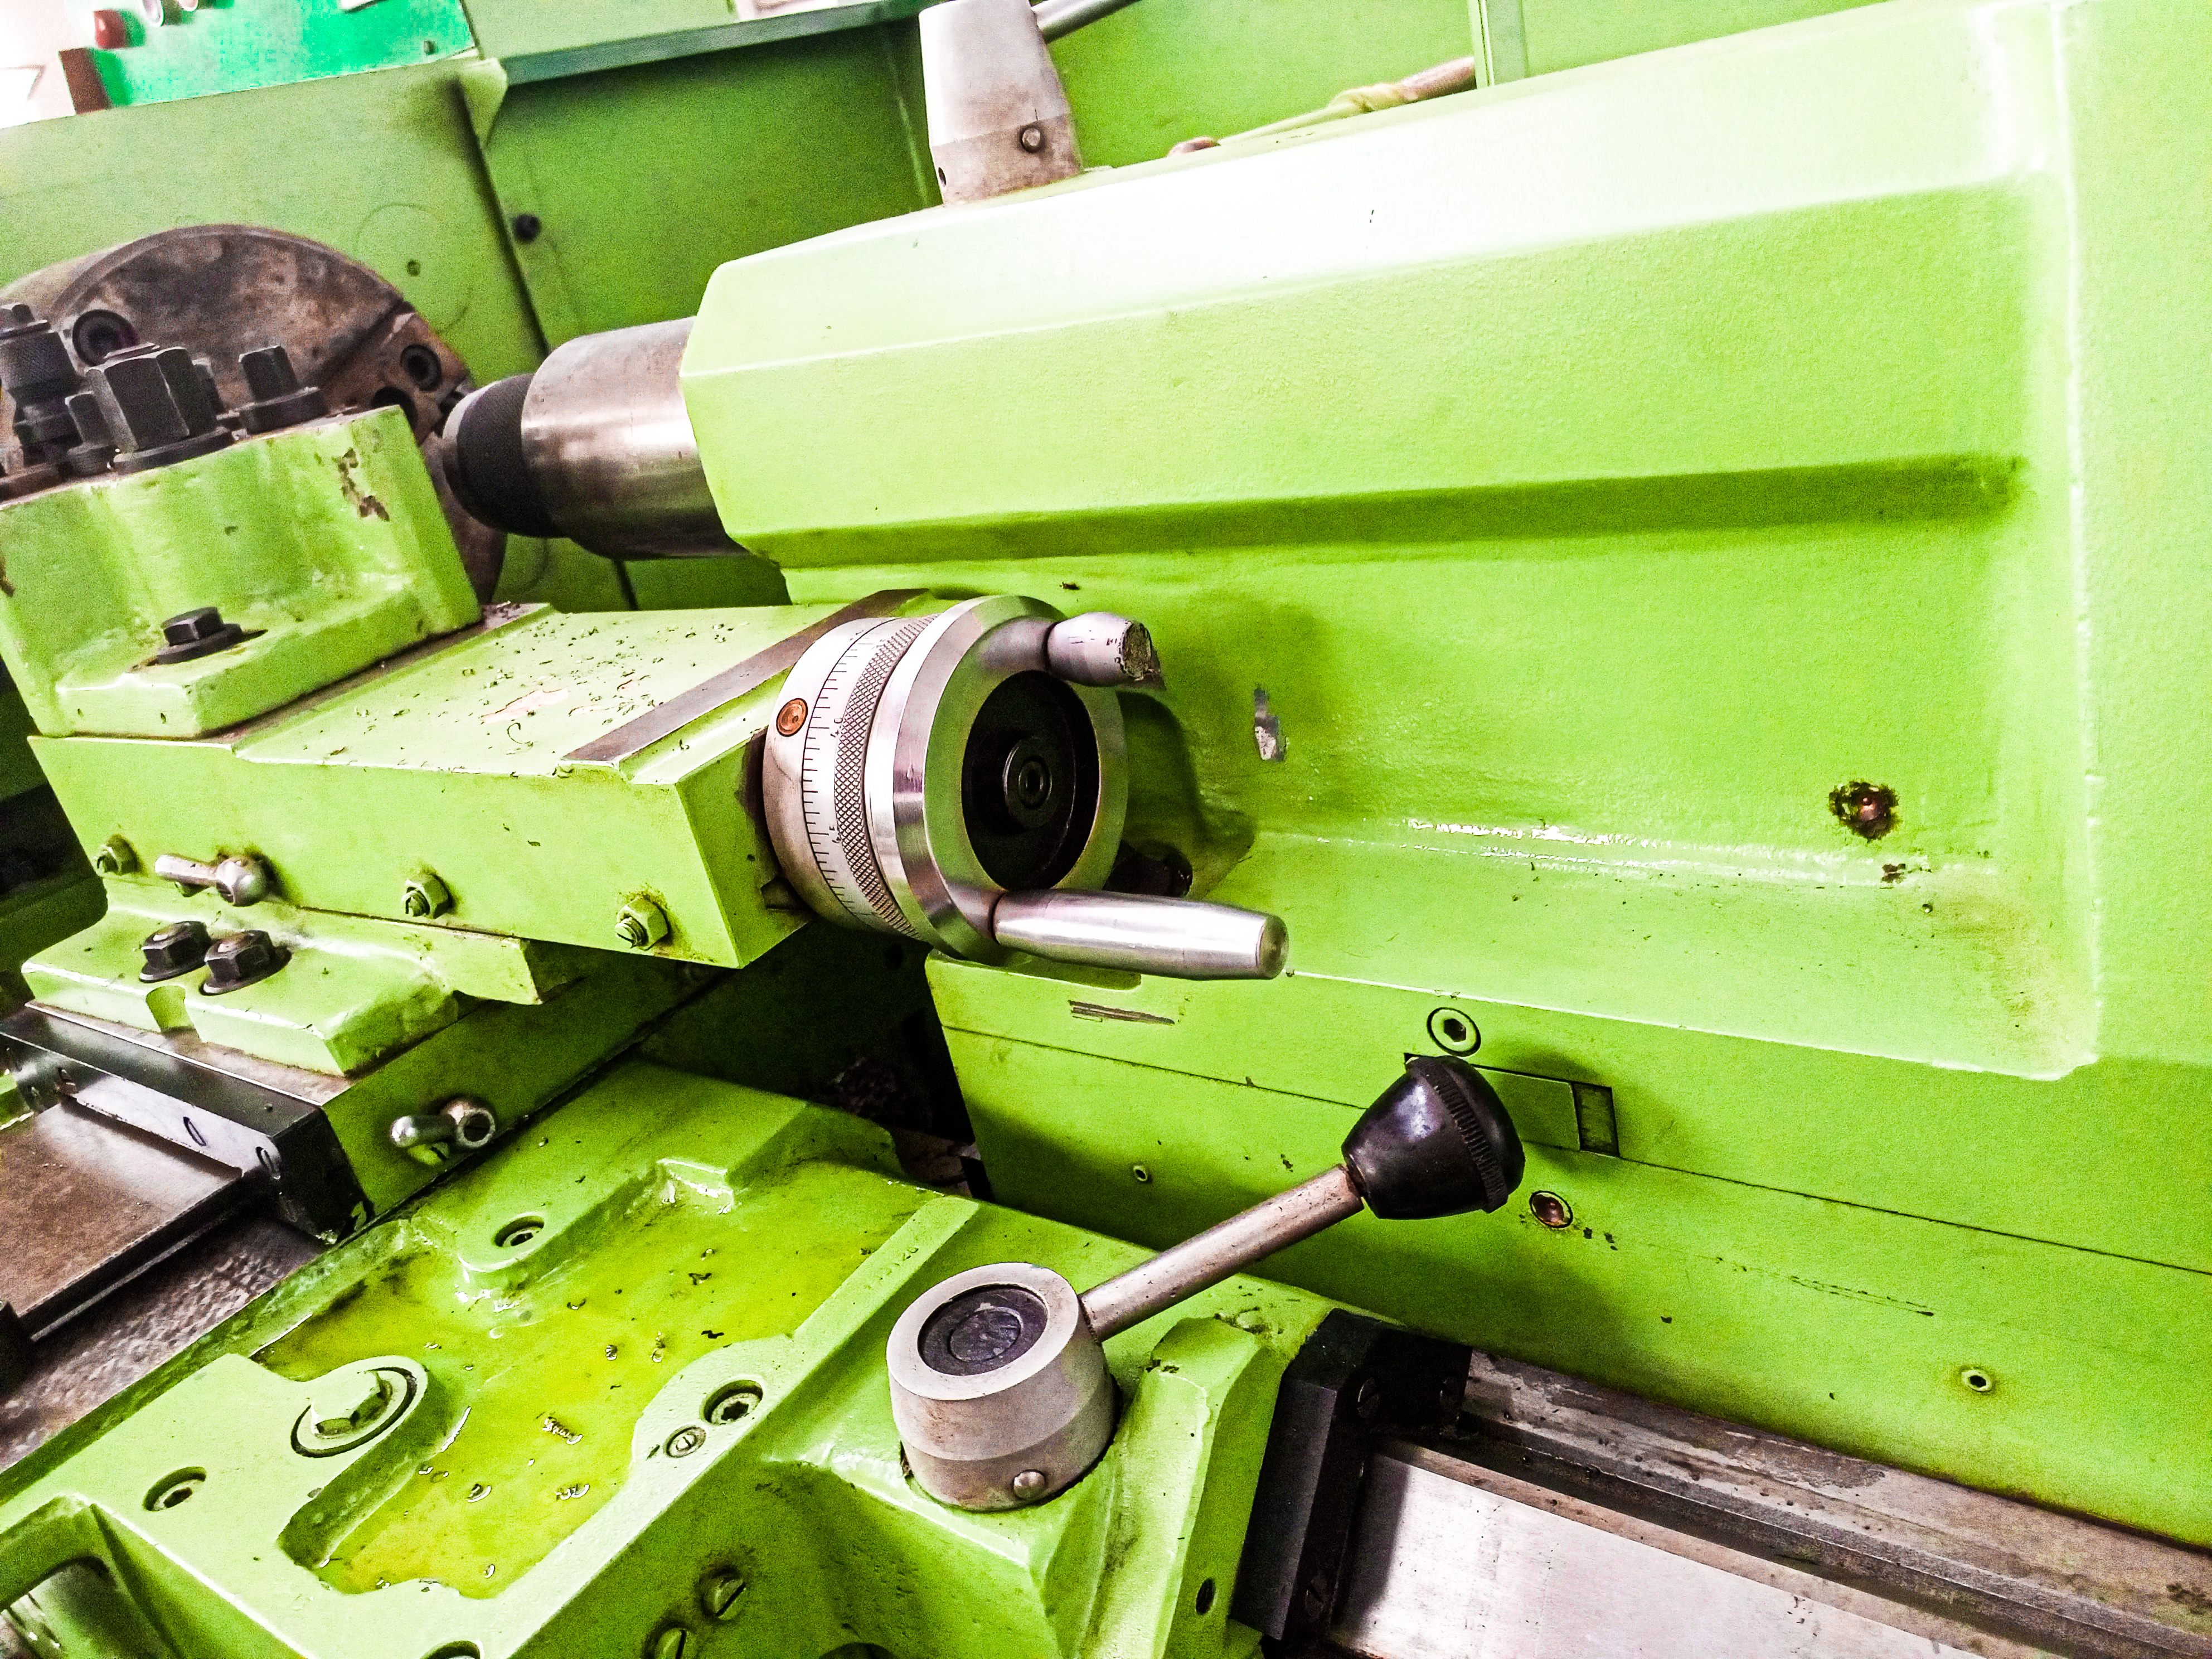
Uses
By using this machine, we do Holding & Centering followed by Facing, Drilling, Simple and Plain Turning, Knurling, Step Turning, Grooving, Taper Turning and Threading.
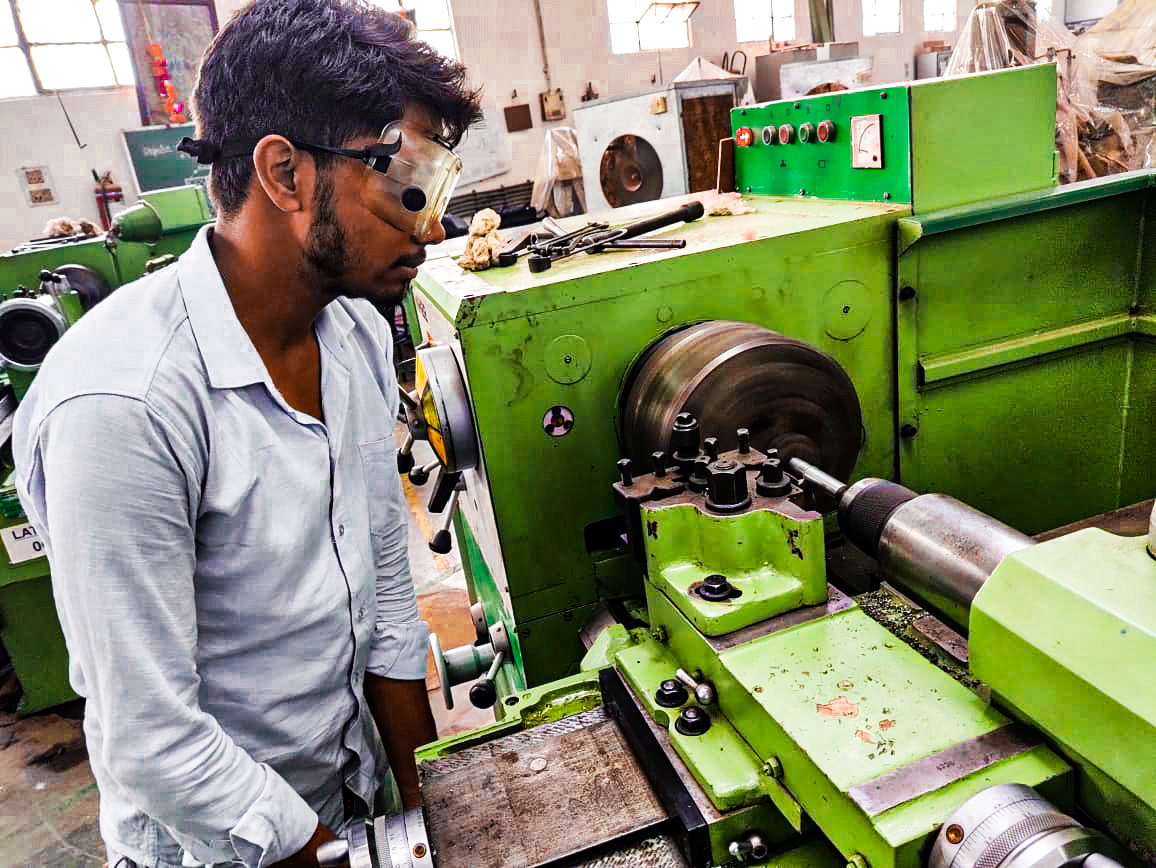
Precautions
In its precautions you should always be in shoes and have a full covered goggles on your eyes because while grooving threading by reducing the radius a piece of iron can fall in your eyes and its grand ring motor and threading part should be done very carefully. There is also a fear of getting hit in the hands, running at high speed can also be a problem and after the bolt is formed, it becomes very hot, immediately after forming, let it cool down for some time in such a dance, then touch it with hands.
Thanking you all.....
If you like this post please upvote and reblog it...

Posted with STEMGeeks
https://twitter.com/waverunner_12/status/1537496217214668800
The rewards earned on this comment will go directly to the people(@waverunner) sharing the post on Twitter as long as they are registered with @poshtoken. Sign up at https://hiveposh.com.