Adjusting Z-Offset - Bed Leveling
Hello Everyone,
Today I've been working on adjusting the Z-Offset through Fluidd Pi. (github)
This offset is a temporary setting that I will need to ensure is set with every print, until I work out a more permanent solution in the slicer or firmware.
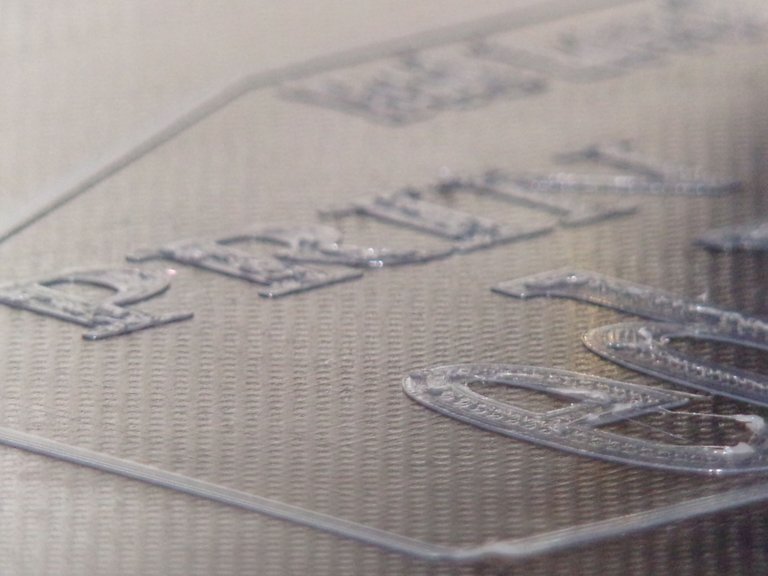
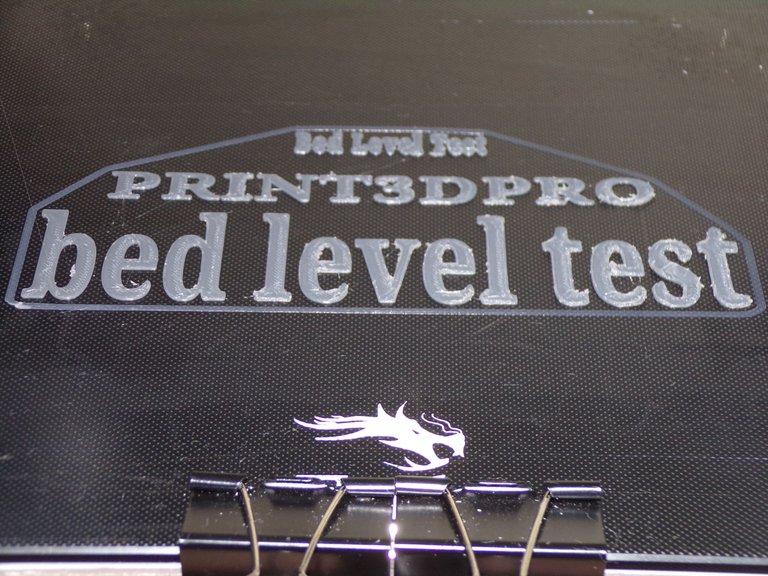
For the purpose of adjusting the Z-offset, I created my own bed level design through Tinkercad. (main site link)
After exporting the .stl file and slicing in SuperSlicer, (github) I uploaded the G-code file to my printer and began running the test.
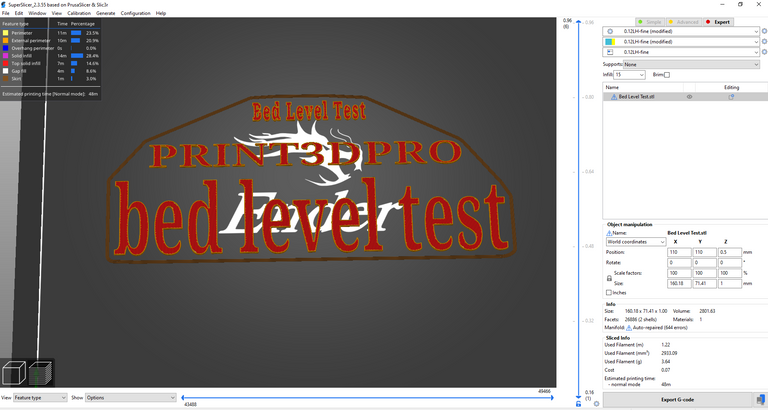
SuperSlicer Screenshot
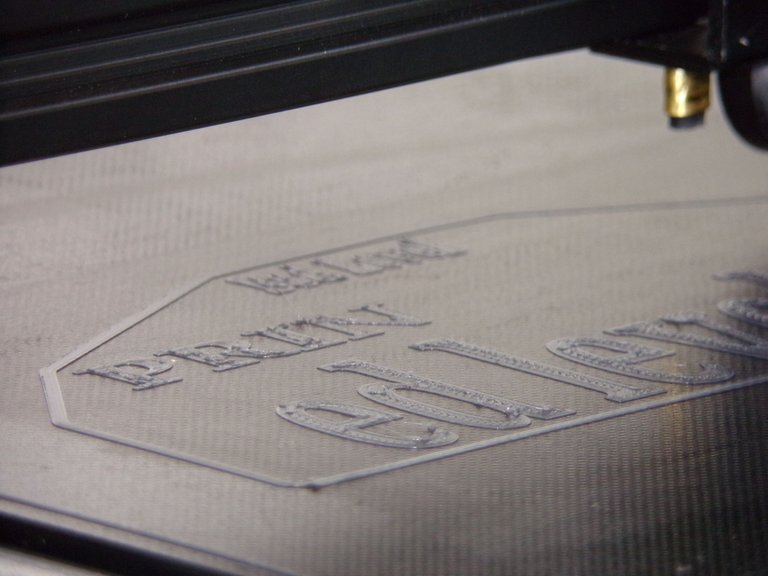
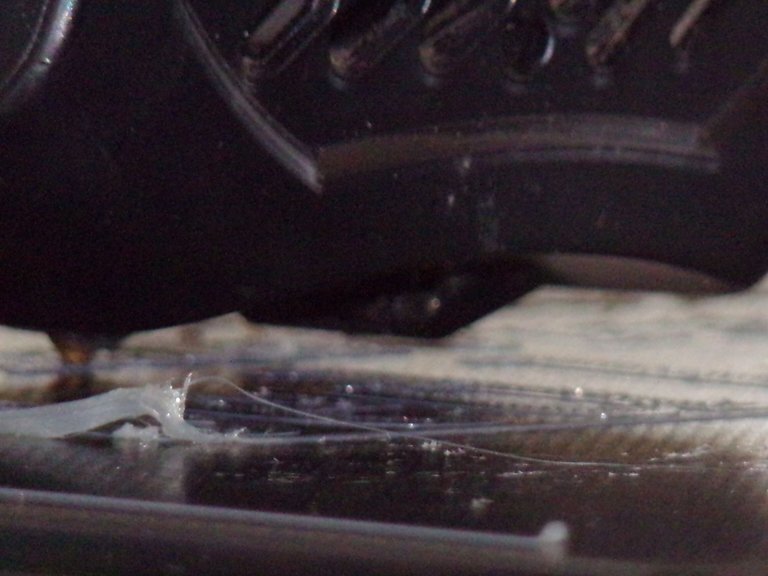
The first test I ran with no offset, and had to stop the print right away due to the nozzle being too close, after which I set the Z-offset to 0.100 mm (adding 0.100 mm to the space between the print bed and nozzle) and experienced poor adhesion. This indicated that I was close to proper range but now too far away.
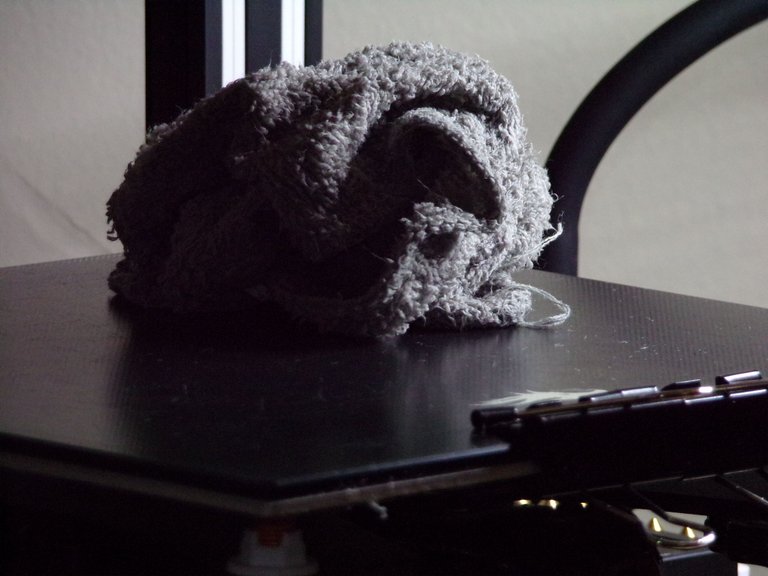
Before running the test again I'll clean old glue off the bed with a damp wash cloth and apply some fresh glue, this is not necessary and some people do not like using glue, but it does help with adhesion. I personally like using a glue stick, and find this purple colored stuff to work great.
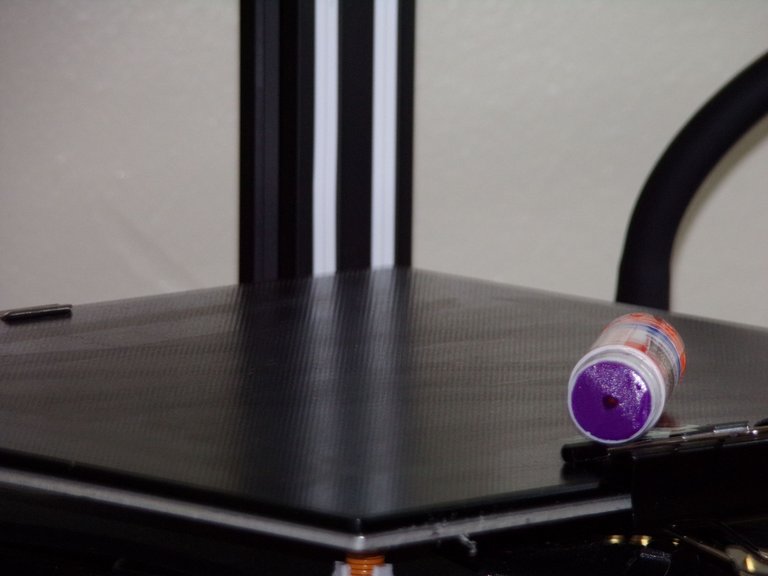
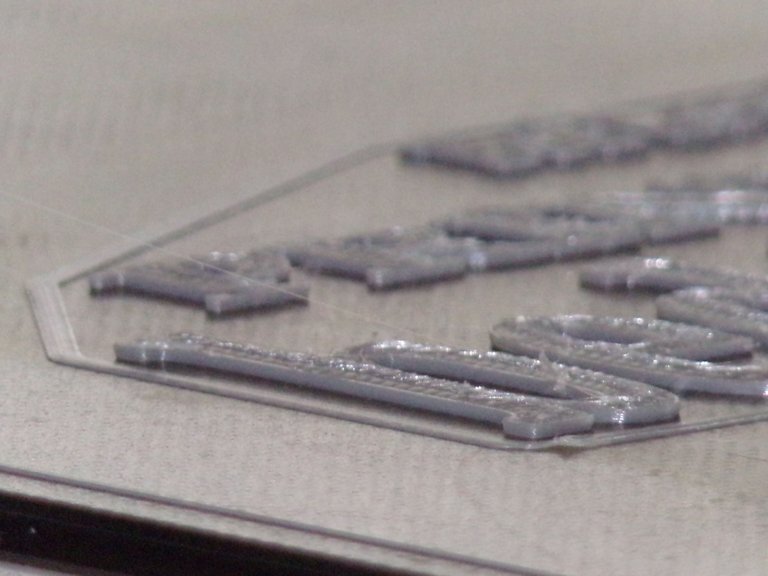
I opted to stop the print in the photo above at 30% completion, set a new offset parameter of 0.050mm, and now feel I am getting a good squish, one which offers good bed adhesion without being too far away.
There is a median range that must be found. Too much squish will create pancaking and scraping, which is highly undesirable and even dangerous to the nozzle during travel moves.
Things started looking better right away.
After all is said and done, I feel I've found a good setting but not perfect.
I will run some prints and make small adjustments to the Z-offset, and within a day or two I feel confident my Ender 3 V2 will be calibrated pretty good in this critical area.
It's my hope that this article gives some insight into what bed leveling and Z-offset entails, it's a very crucial process that must not be skipped when printing in 3D, as improper bed leveling will lead to a myriad of undesirable effects during the printing process.
For some more information regarding Z-offset and bed leveling, check out @holovision's recent post: 3D Printing: Bed Leveling and Z Offset.I found the information very helpful in gaining a better comprehension of bed leveling, and recommend this article for anyone else who's also learning the basics of 3D printing.
Thank you for stopping by, have a great day! -@print3dpro
Congratulations @print3dpro! You have completed the following achievement on the Hive blockchain and have been rewarded with new badge(s) :
Your next target is to reach 300 upvotes.
You can view your badges on your board and compare yourself to others in the Ranking
If you no longer want to receive notifications, reply to this comment with the word
STOPCheck out the last post from @hivebuzz:
Support the HiveBuzz project. Vote for our proposal!
Thanks a bunch @hivebuzz, I will continue working hard to earn these upvotes!!!! :)
Your content has been voted as a part of Encouragement program. Keep up the good work!
Use Ecency daily to boost your growth on platform!
Support Ecency
Vote for Proposal
Delegate HP and earn more
Thanks a bunch @ecency!
Ermmm... I need to understand what is Z-offset first. Not criticizing, but how a bad offset will affect the final product?
Like how? Will be nice to have a little bit more detail on the goods and bad examples.
Hello @davidke20, thank you for the support and constructive criticism.
The easiest way to explain the Z-offset,
is there is a spacing between the nozzle and print bed,
and there is a Z axis limiter switch which cuts the power to the Z axis motor,
When the limiter switch is hit, the Z-offset parameter will cause the motor to raise back up to whichever axis point the Z-offset is set at. So for this particular bed leveling application, I'm running 0.05 mm as the offset, which raises the nozzle this increment after it hits the Z limiter switch.
The purpose is to make sure the PLA is not too compressed or far away from the bed.
The bad results from improper bed level and Z-offset will be:
Pancaking (squished up layers)
Nozzle scraping (during travel moves, as a result of nozzle being too close and literally digging into previously printed areas, this is dangerous to the nozzle and can cause catastrophic damage to the hot end and nozzle.)
Uneven layers and degraded print quality, which can get worse throughout the print as it build on an unlevel surface.
And probably some more things that I'm not thinking of offhand.
It's important to note that bed leveling is not the same as the Z-offset, but is synonymous with correctly setting the Z-offset, and defined is:
Bed leveling is maintaining equal distance on every point of the print bed, between the nozzle and bed, and is adjusted by springs.
Some machines utilize auto bed leveling, some are manual. (mine is manual.)
An entire post could probably be written on the negative effects of poor bed leveling and Z-offset.
I will touch further on this topic again in detail and maybe purposely reconstruct some awful results and take photos and/or videos.
Your feedback is appreciated, thank you!
Ah... now it totally make sense. So, the print product is should lay on a surface that is align with the nozzle traveling area with a certain gap.
If the surface are not properly align with the nozzle, the gap are not consistence, there's a chance that the nozzle too far away, the print material become cold and doesn't stick well. Or the gap become too close and the nozzle scrape on the printed material.
Why Z-offset? That's just the gap between the bed and the nozzle. However, from what I understand, if the bed were not fixed position with the nozzle hoist(not sure if that's how you call that staging machine), the bed may just tip one side.
Great stuff. Never thought of all these since conventional inkjet printer has their nozzle z-offset with the paper via a fixed position roller drum.