Creating a NextJS Contact Form With SendGrid
Our custom Hive front-end using NextJS is getting pretty complete, but there is a glaring omission that would stop the project from being a success in the real world.
No, not design, though that is very much a problem!
It's the fact the website doesn't allow any visitor communication with us. What is the point of a website that only communicates one way? Especially if the idea of the website is to market something, even if that something is for people to join the community.
NextJS Contact Us Form Requirements
To build our form we need to consider a few things:
- The HTML form itself, and how NextJS handles web forms.
- Processing the submitted form.
- Notifying us of our new contact submission.
- Showing the visitor a form completion confirmation.
Forms in NextJS
In NextJS, we create forms that are very much like regular HTML forms, but are slightly different due to the way React needs us to work in componentized syntax.
   return (
      <div>
        <Meta title='Contact' />
        <div className={styles.landing}>
        <h1>Contact</h1>

          <form onSubmit={handleSubmit} className={styles.form}>
            <label htmlFor="name">Name:</label>
            <input
              id="name"
              type="text"
              onChange={e => setName(e.target.value)}
            />
            <label htmlFor="email">Email:</label>
            <input
              id="email"
              type="email"
              onChange={e => setEmail(e.target.value)}
            />
            <label htmlFor="message">Message:</label>
            <textarea
              id="message"
              type="text"
              rows="4"
              onChange={e => setMessage(e.target.value)}
            />
            <button type="submit" className={styles.button}>Send</button>
          </form>
          </div>
      </div>
    );
At first glance you might miss anything unusual, but there are a couple of elements for me to point out here.
First is our event handler called handleSubmit, as the name suggests this will handle our form submissions. This will be fired instead of the default HTML behaviour which is to GET/POST using the form action. We also prevent the browser from taking the visitor away from our page using an extra item described later.
We also have a CSS class to stop the form looking more ugly than it needs to be (though a designer would laugh at the stylings I did manage).
Each form element has an onChange event, which handles the value of that element changing and collates the form data. Ideally, we will come back later and add form validation. Those form values relate to the state values and change events so we need to declare them at the top of our page class.
  const router = useRouter()
  const [name, setName] = useState('');
  const [email, setEmail] = useState('');
  const [message, setMessage] = useState('');
UseRouter will allow us to change the page based on if the form has been used yet, which is handy for confirming the visitor that their action was taken.
The useState command will set up our form values in the state to be accessed later. Each of these statements declares our state variables along with a function that will set that state variable when changed. Using an empty string initializes the value to blank but can be set to any value we wish.
While you could name our setName function to anything we choose, it is standard practice to use "set" followed by the name of the state variable we’re setting.
Form Handling
Previously I referred to changing the default browser behavior. This (preventDefault()) is the first thing we do in our handler shown below. With this set, the visitor will not be taken to a new page after the submission happens.
E is the instance name of the event we pass to the handler.
  const handleSubmit = e => {
    e.preventDefault();
    const data = {
      name,
      email,
      message,
    };
    console.log(data);

    fetch('/api/contact', {
      method: 'post',
      body: JSON.stringify(data),
    });

    router.push('/contact/?success=1', undefined, { shallow: true })


  };
As you can see, after collecting our values we do a fetch to a custom API endpoint to do the actual form email, so let's look at that next.
Emailing from NextJS
To do the actual email sending, I am using the free SendGrid API from Twilio. While you can pay for extra features and emails, the free account offers us more than enough for now.
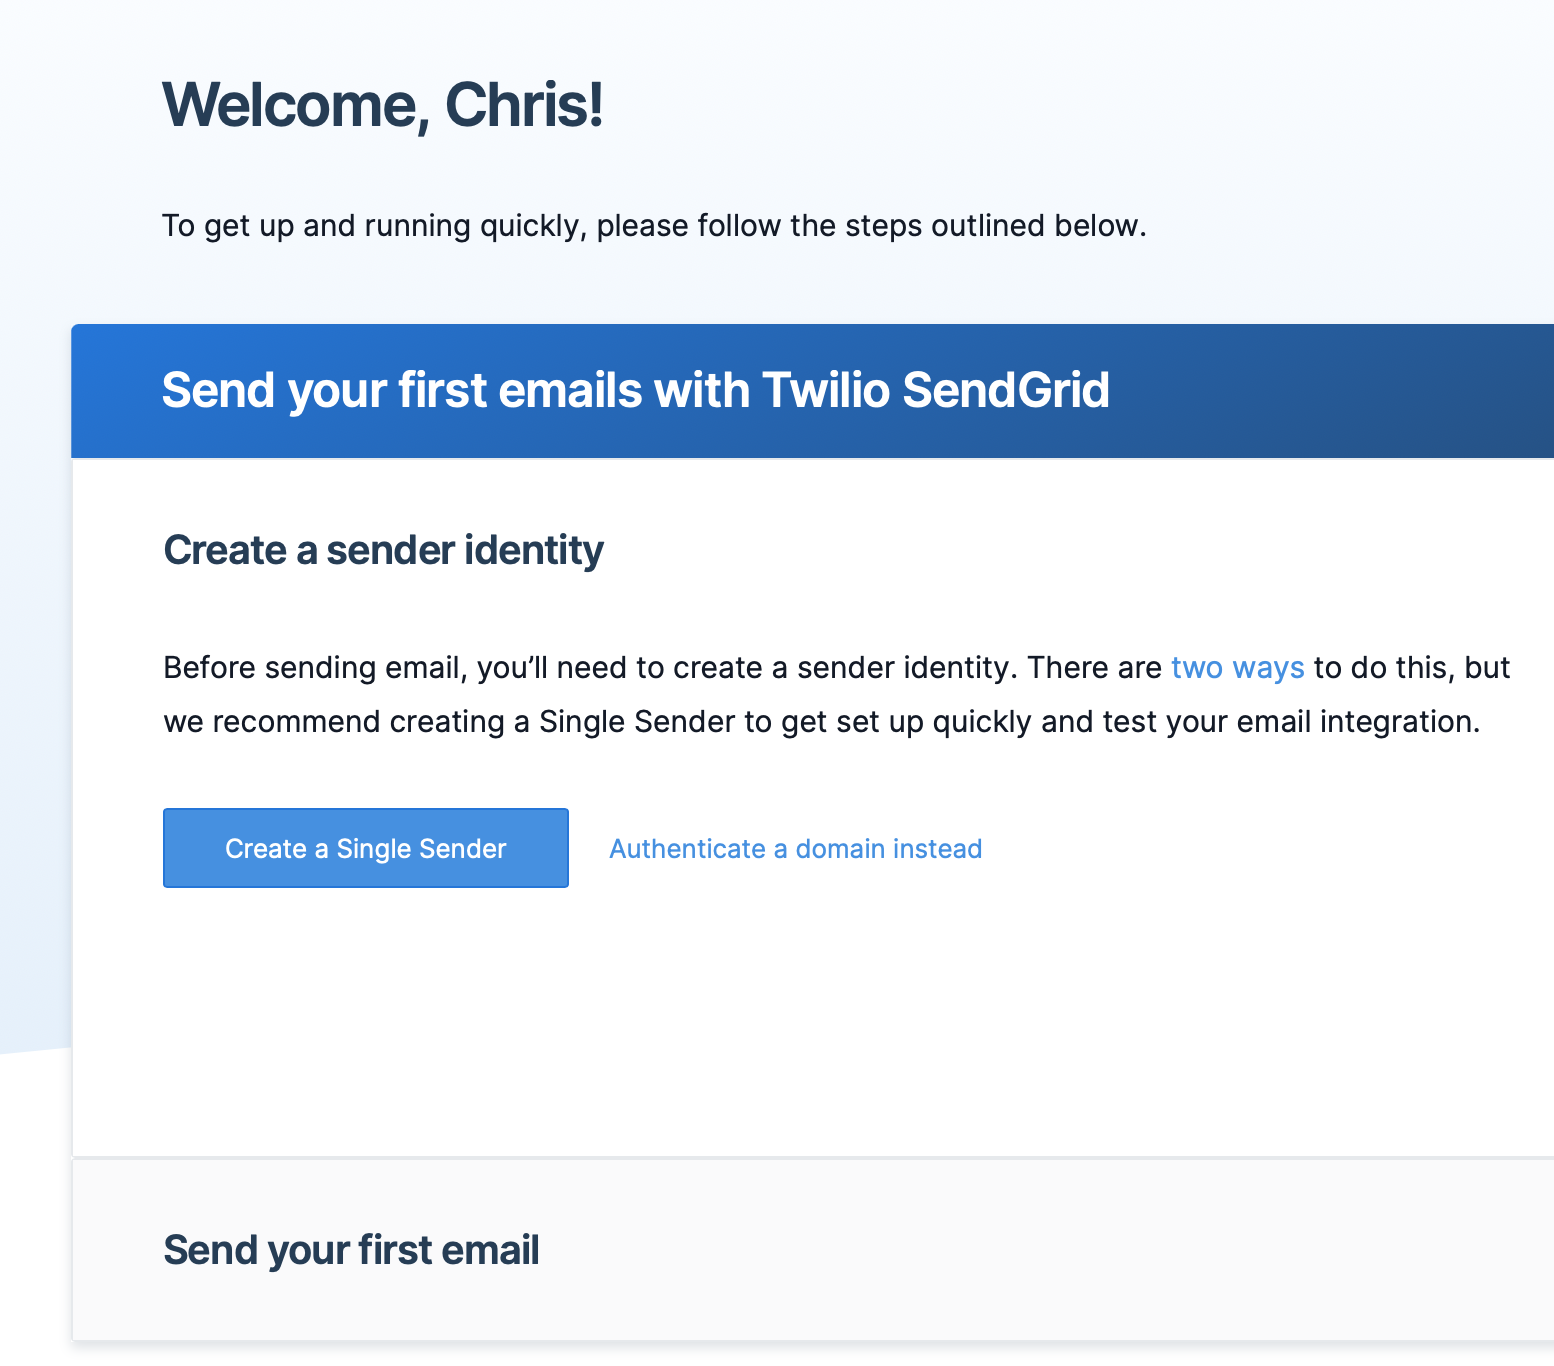
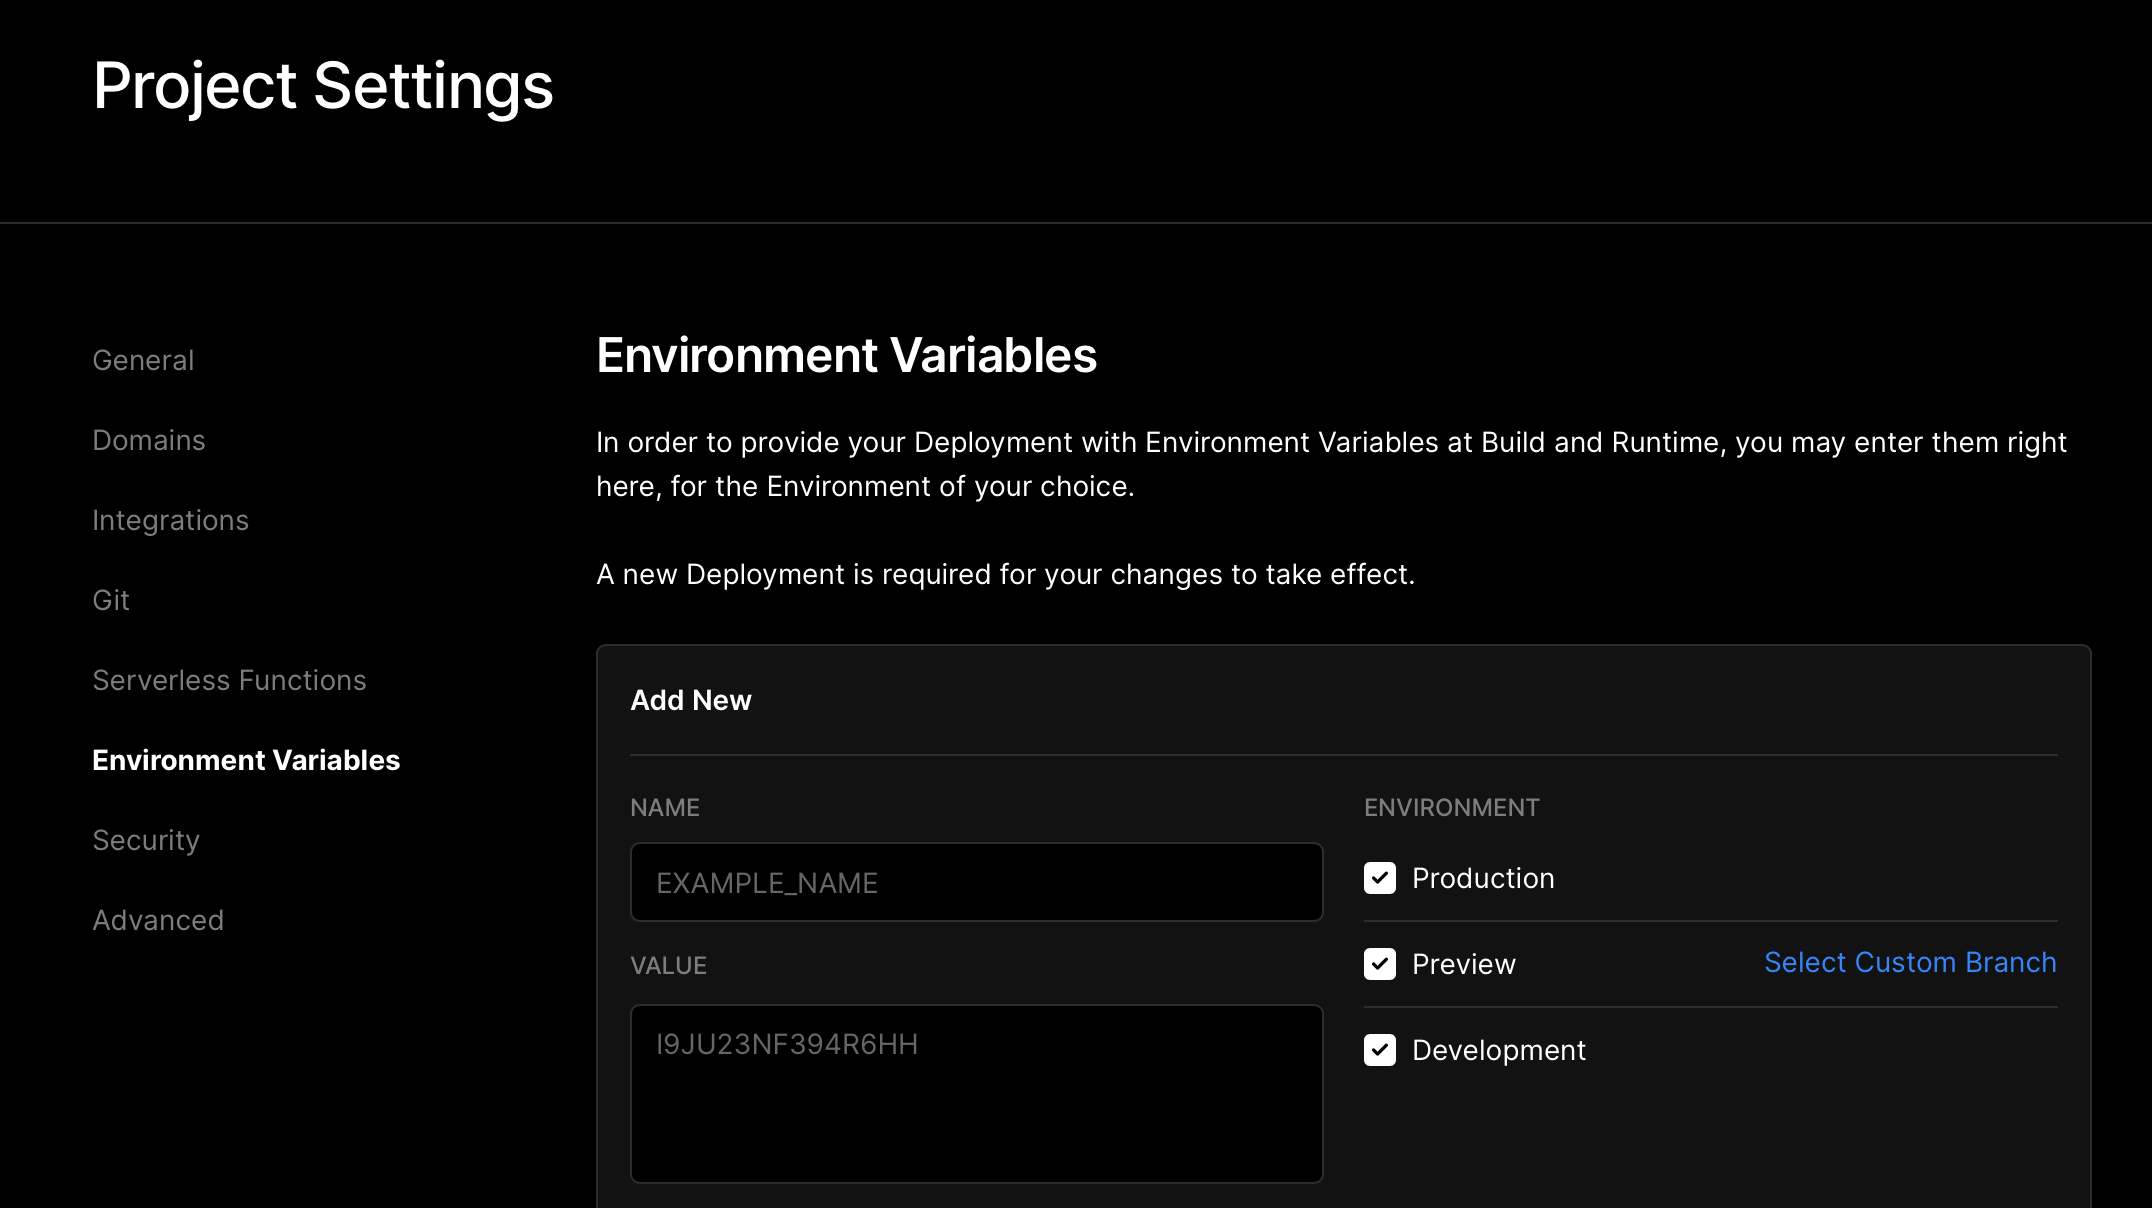
After signing up and setting up your sender account, you will be given an API key that we will use via an environment variable to protect this secret from being abused.
const mail = require('@sendgrid/mail');
mail.setApiKey(process.env.SENDGRID_API_KEY);

export default async (req, res) => {

  const body = JSON.parse(req.body);

  const message = `
    Name: ${body.name}\r\n
    Email: ${body.email}\r\n
    Message: ${body.message}
  `;

  const data = {
    to: '[email protected]',
    from: '[email protected]',
    subject: `[CONTACT FORM] Message from ${body.name}`,
    text: message,
    html: message.replace(/\r\n/g, '<br />'),
  };

  await mail.send(data);

  res.status(200).json({ status: 'OK' });
};
Naturally, SendGrid asks that we provide the email address to send to (us), the from (also us), the subject line and then what we want as the message body. In this case, the message body is the form submission.
Saying Thankyou
A very important aspect of any web interaction is confirming to the visitor or user that their action worked. Unless we tell NextJS, it won't know to change the screen.
At the end of the form handler we had this statement:
router.push('/contact/?success=1', undefined, { shallow: true })
What this does is set the URL to /contact/ but with a parameter of success=1, therefore in our front-end code we can take that into account to decide what to display:
if( router.query.success == 1)
{
  return (
    <div>
    <Meta title='Contact' />
      <div className={styles.landing}>
      <h1>Contact</h1>
      <h2>Form Submitted!</h2>
      <center><Link href='/'>Back Home</Link></center>
      </div>
    </div>
  )
}
  else
{
// form code
 ...
}
Boom!
We now have a working Hive front-end website up and running using NextJS!
Where to next (pardon the pun)?
Well, I now have a community (Authority Bloggers) to promote and build, so rather than just a single author blog, really I need to build out a full Hive Tribe kind of site, much like STEMGeeks or Leo.
Rather than use anything off the shelf, I am going to build mine from scratch. Make sure you follow me to not miss out - Look out for that coming soon!
Posted with STEMGeeks
Electronic-terrorism, voice to skull and neuro monitoring on Hive and Steem. You can ignore this, but your going to wish you didnt soon. This is happening whether you believe it or not. https://ecency.com/fyrstikken/@fairandbalanced/i-am-the-only-motherfucker-on-the-internet-pointing-to-a-direct-source-for-voice-to-skull-electronic-terrorism
Awesome I believe this would be very helpful
wow awesome achievement! Will be looking forward for your progress!
!1UP
You have received a 1UP from @ivarbjorn!
@stem-curatorAnd they will bring !PIZZA 🍕
Learn more about our delegation service to earn daily rewards. Join the family on Discord.