How to make a LEGO with Autodesk Inventor by @jtpaganost| Education & Training Pillar | One Strong Community Program Internship 2023
Welcome to the One Strong Community Program Internship's Education and Training Pillar! My name is @jtpaganost, and I am thrilled to share my experiences with you as I embark on this exciting journey.
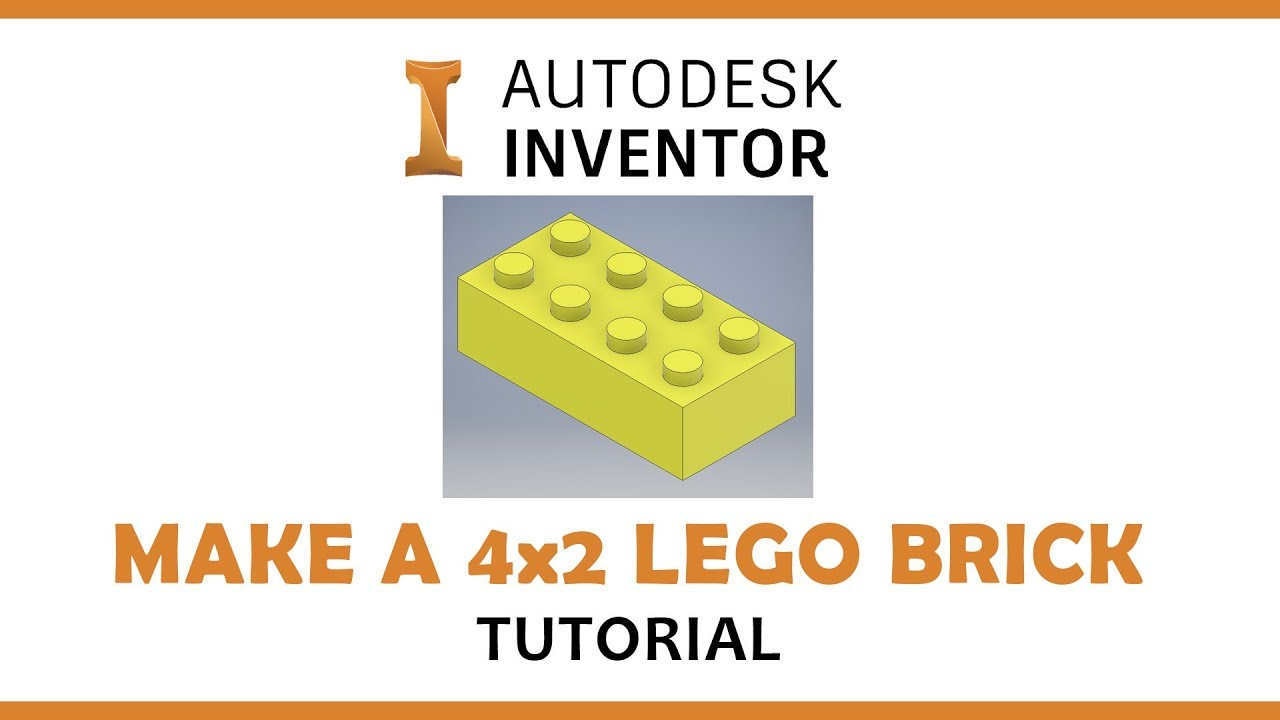
Specifically, I'll take you through the step-by-step process of creating a Lego brick. The knowledge I gained during my four years of attending this program has given me a solid technical drafting and design foundation. I'm excited to apply this knowledge in a real-world setting as part of the One Strong Community Program Internship.
So, let's dive in and see how a simple Lego brick is created!
How to make a LEGO brick
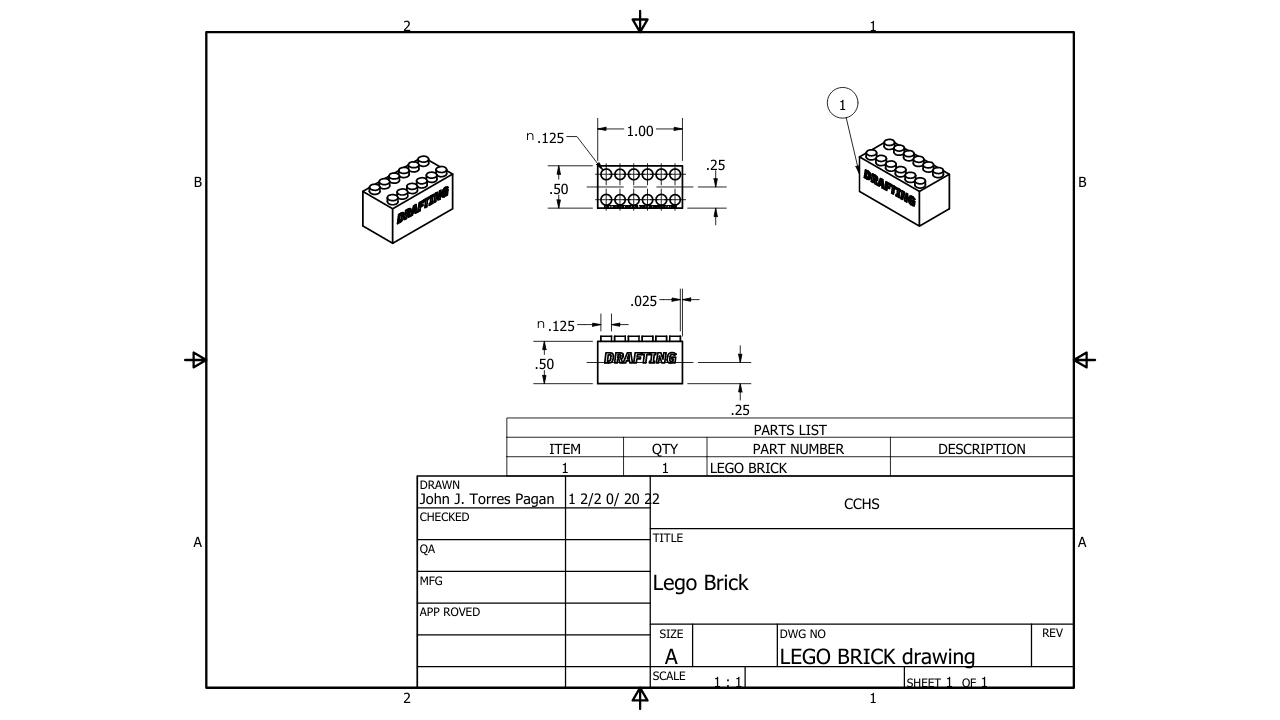
To create a Lego brick using Inventor software, the first step is to create a sketch.
This can be done by following a blueprint or creating something from your creativity. Once you open Inventor, start sketching the pieces you want to make.
In this case, a small representation of a Lego brick was created.
The shape was made using the line command, and the size was determined by dimensioning the piece to a smaller size. To add a unique touch, the name of the class, Drafting, was added to the sketch.
After the sketch was complete, a drawing was created, considered the final sketch. Once the drawing was inserted, final dimensions were added, and the piece was spaced out with all the required information for the sheet to be finished.
The piece was then sent to the 3D printing machine.
The printing process takes time, and in this case, because the piece was small, it took about 3 hours to be printed.
After the piece was printed out, it needed to be cleaned and solidified using a support cleaning apparatus with a sodium liquid. This process takes a few hours.
After inspecting the final piece, I noticed that the circular top area of the Lego piece was too short. This required changing some dimensions, which involved loading up the project, finding the dimension step, and changing the numbers. Once the dimensions were changed, the final sketch needed to be updated.
The final product was inspected and discussed with a higher-up before moving on to the next step, creating pictures of the piece.
Overall, 3D printing is a skill that can be incredibly useful in various industries, and the process of creating a Lego brick is just one example of the many possibilities. Following these steps, anyone can create a unique and personalized piece using Inventor software and a 3D printing machine. Please let me know what you think of my writing or that of my fellow interns over www.onestrong.page/blog in the comments below.
Posted with STEMGeeks
Congratulations @jtpaganost! You have completed the following achievement on the Hive blockchain And have been rewarded with New badge(s)
Your next target is to reach 50 upvotes.
You can view your badges on your board and compare yourself to others in the Ranking
If you no longer want to receive notifications, reply to this comment with the word
STOPCheck out our last posts:
Support the HiveBuzz project. Vote for our proposal!