Synology Part 2: The setup
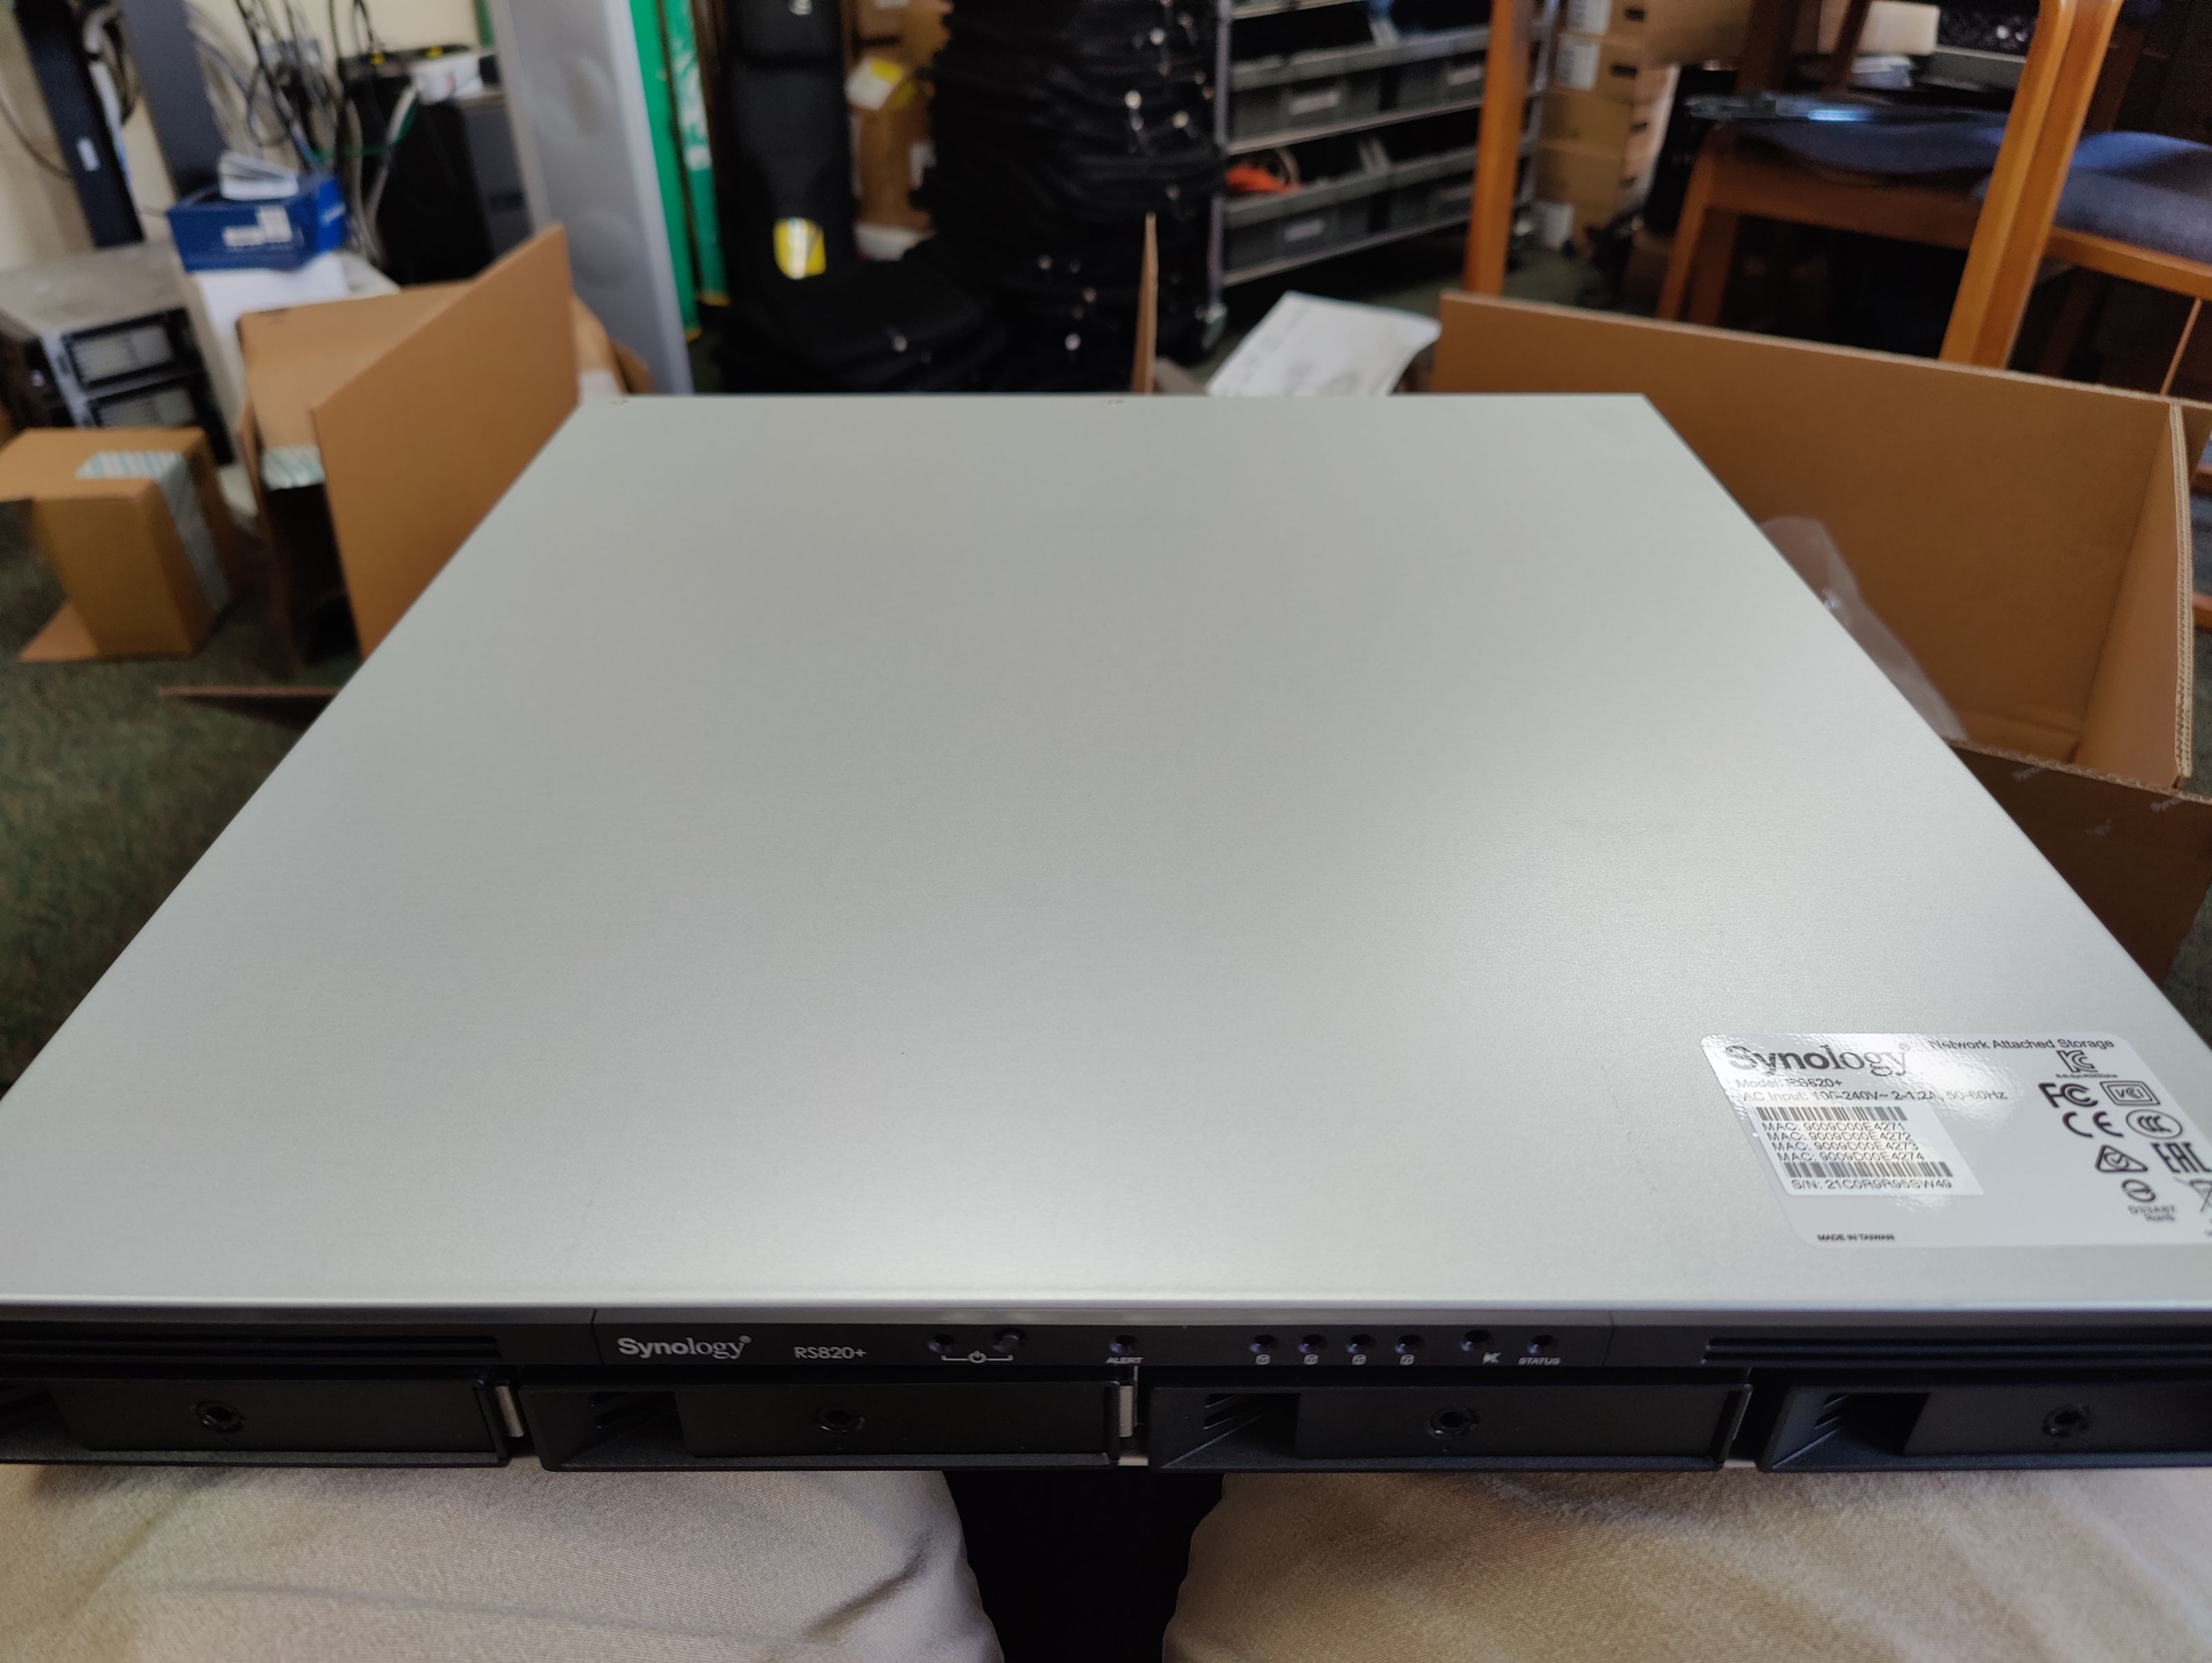
With my shiny new Synology appliance unboxed and upgraded (as far as I could), there was only one thing left to do with it. I powered it on and started walking through the setup process.
If you missed the "part 1" post about this, you can find it here, this post will probably make a lot more sense if you read that one first.
I'd like to give a shout-out to @themarkymark for some good advice in the comments on the last post. He made some good points about a different way to approach this if you were in some different circumstances than me. There are some really good open source options on the market that you can set up at a lower cost than the Synology solution.
I already explained some of the reasons I picked Synology in the last post, but let me give you a couple more. As of this post, I am effectively less than five years away from retirement. It could be more, it could be less, it just depends. I wanted to go with a backup solution that would be easy enough for anyone who replaces me to manage and maintain.
Ideally, the person will have enough technical skills to handle just about anything, but these days you never know. When I started here, there were some custom databases that had been set up long ago by some other employees. The person I replaced had zero clue how to manage them. Luckily, I had some Linux and SQL experience, so I was able to navigate them and keep them operational for a time.
I don't want someone who comes in after me to be in the same position the person before me was in. The Synology solution seems to mitigate that possibility.
If I were to ever set up something for myself at home, I would likely go the route that Marky suggested, or something similar.
I've got a lot of screenshots, so lets dig into it.

There's no video out on the Synology box. You simply connect it to your network and then use a tool on the Synology website to search your network and locate the device. Once it finds it, you are greeted with a screen like the one above.
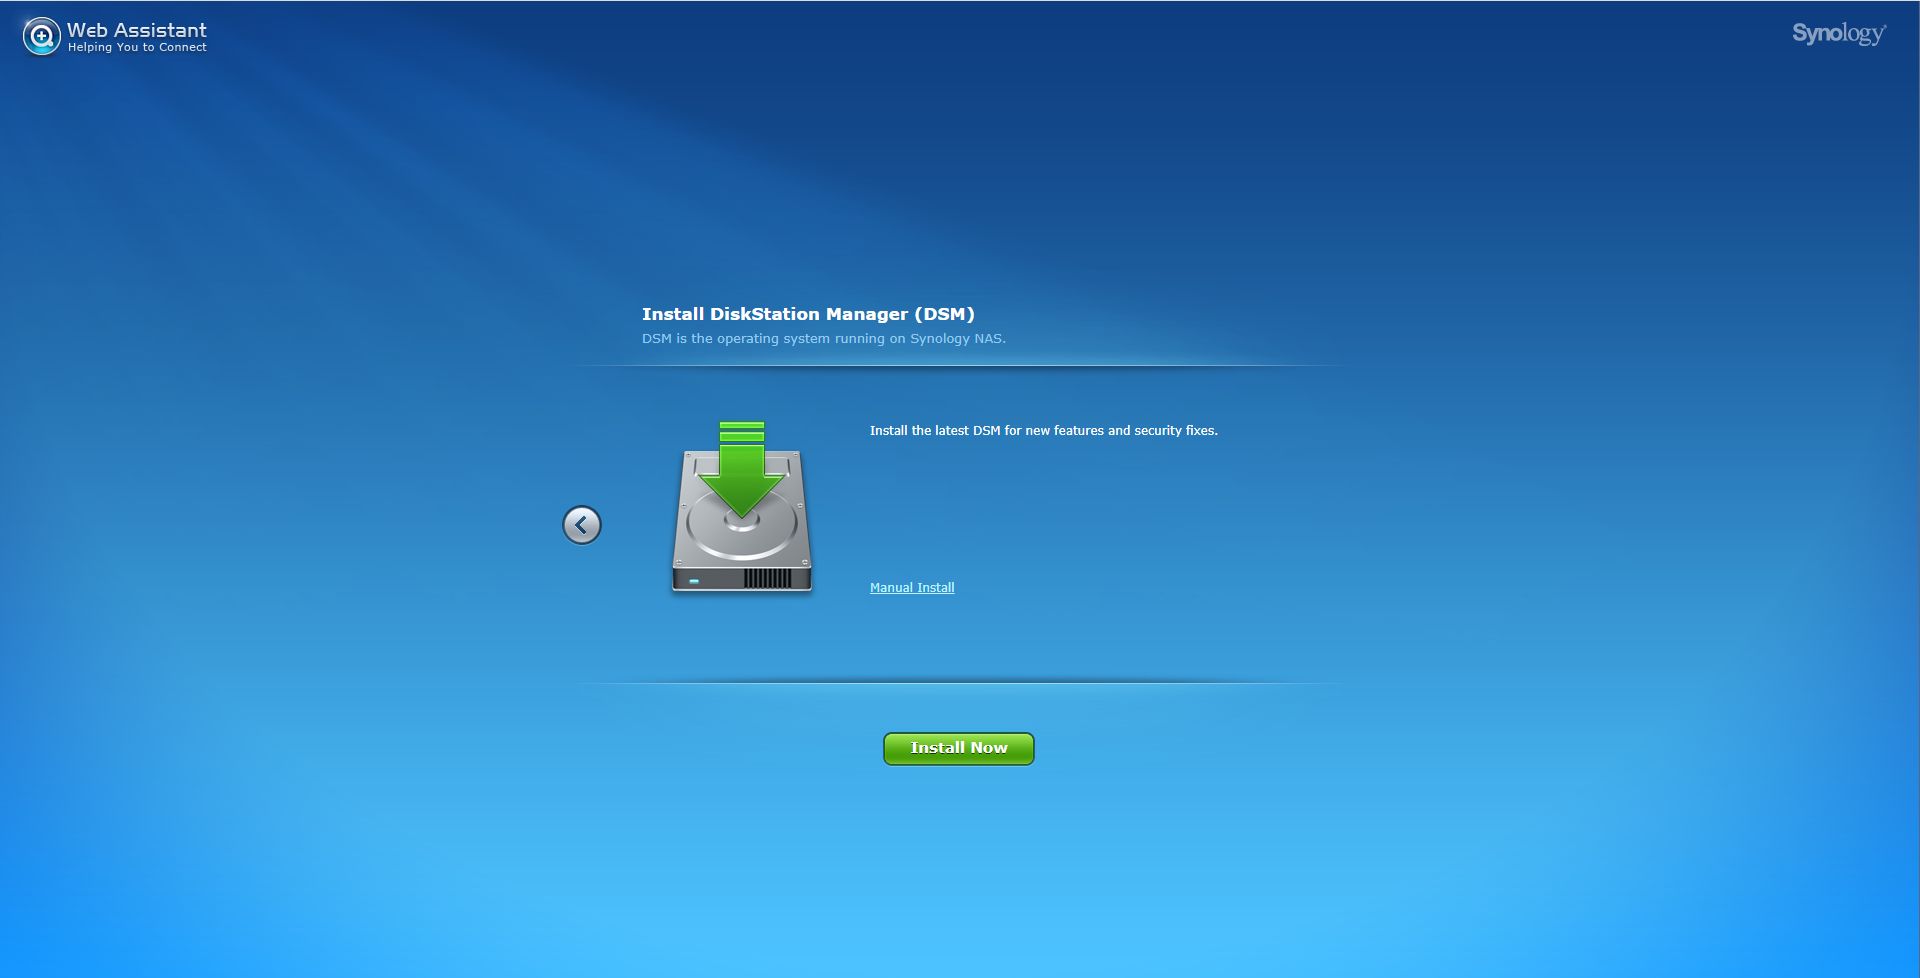
With your drives installed, the device powered on, and you connected to it, the first thing to do is install the operating system onto the machine.
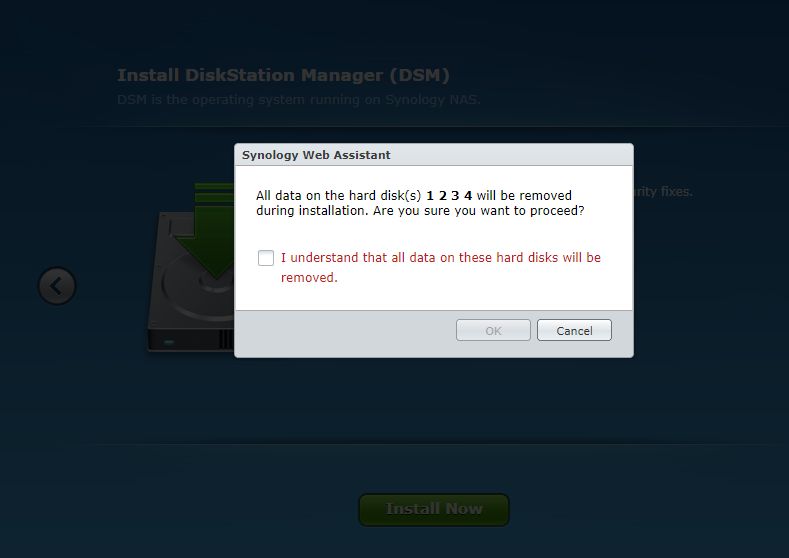
Of course it has to remind you that all data on the disks will be erased, not a huge deal since they were brand new drives that I installed.
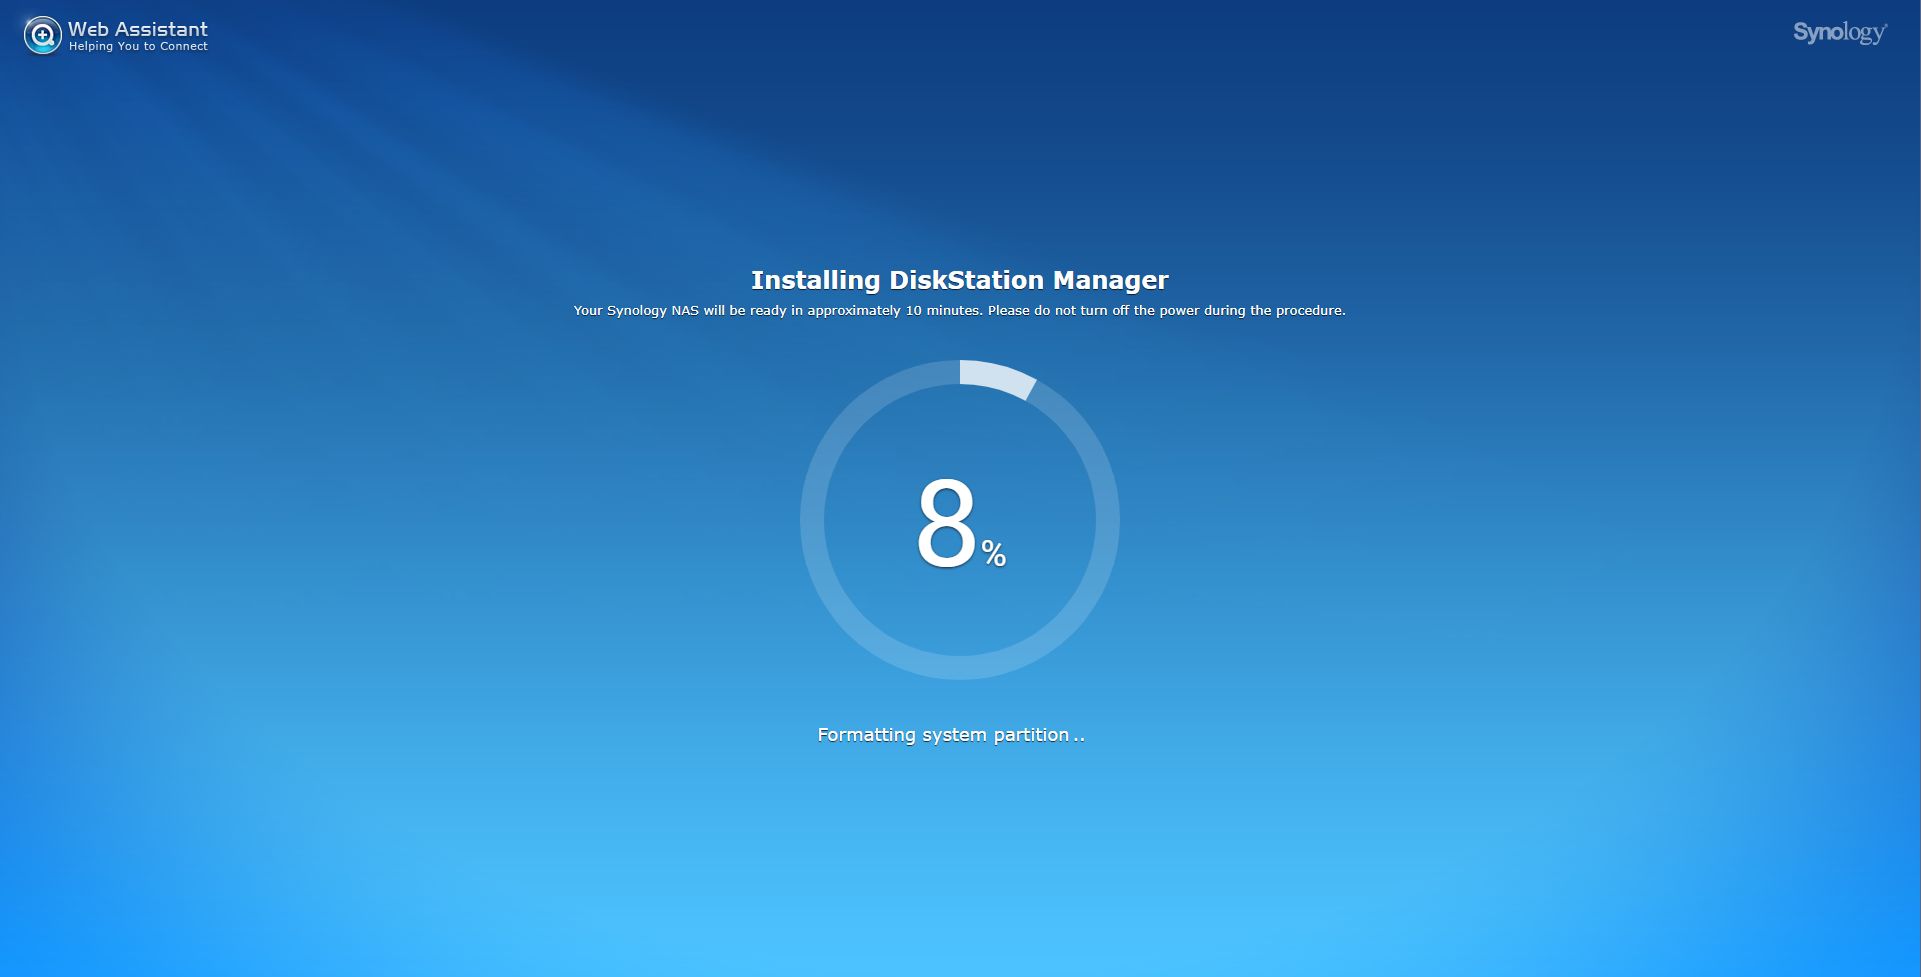
Installation of the DiskStation Manager software was pretty quick and easy. I am on a fast Internet connection, so that definitely helped.
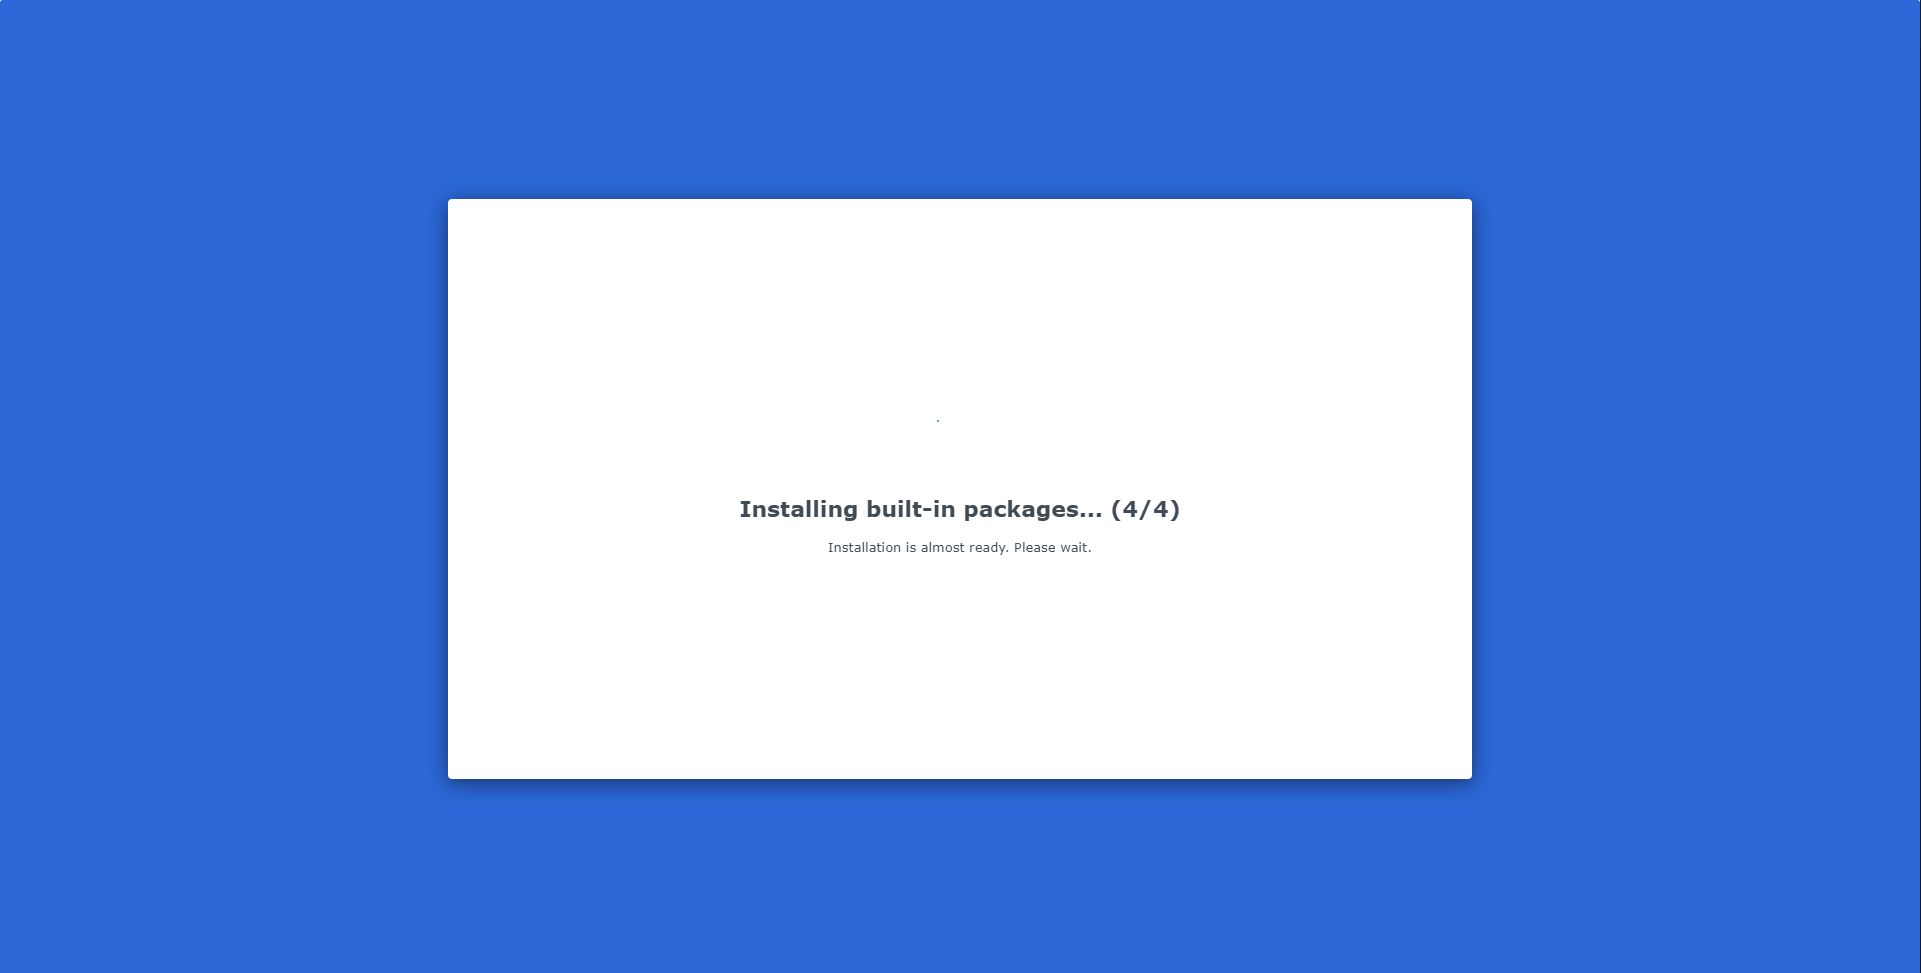
Then it has some more built-in packages that it needed to install.
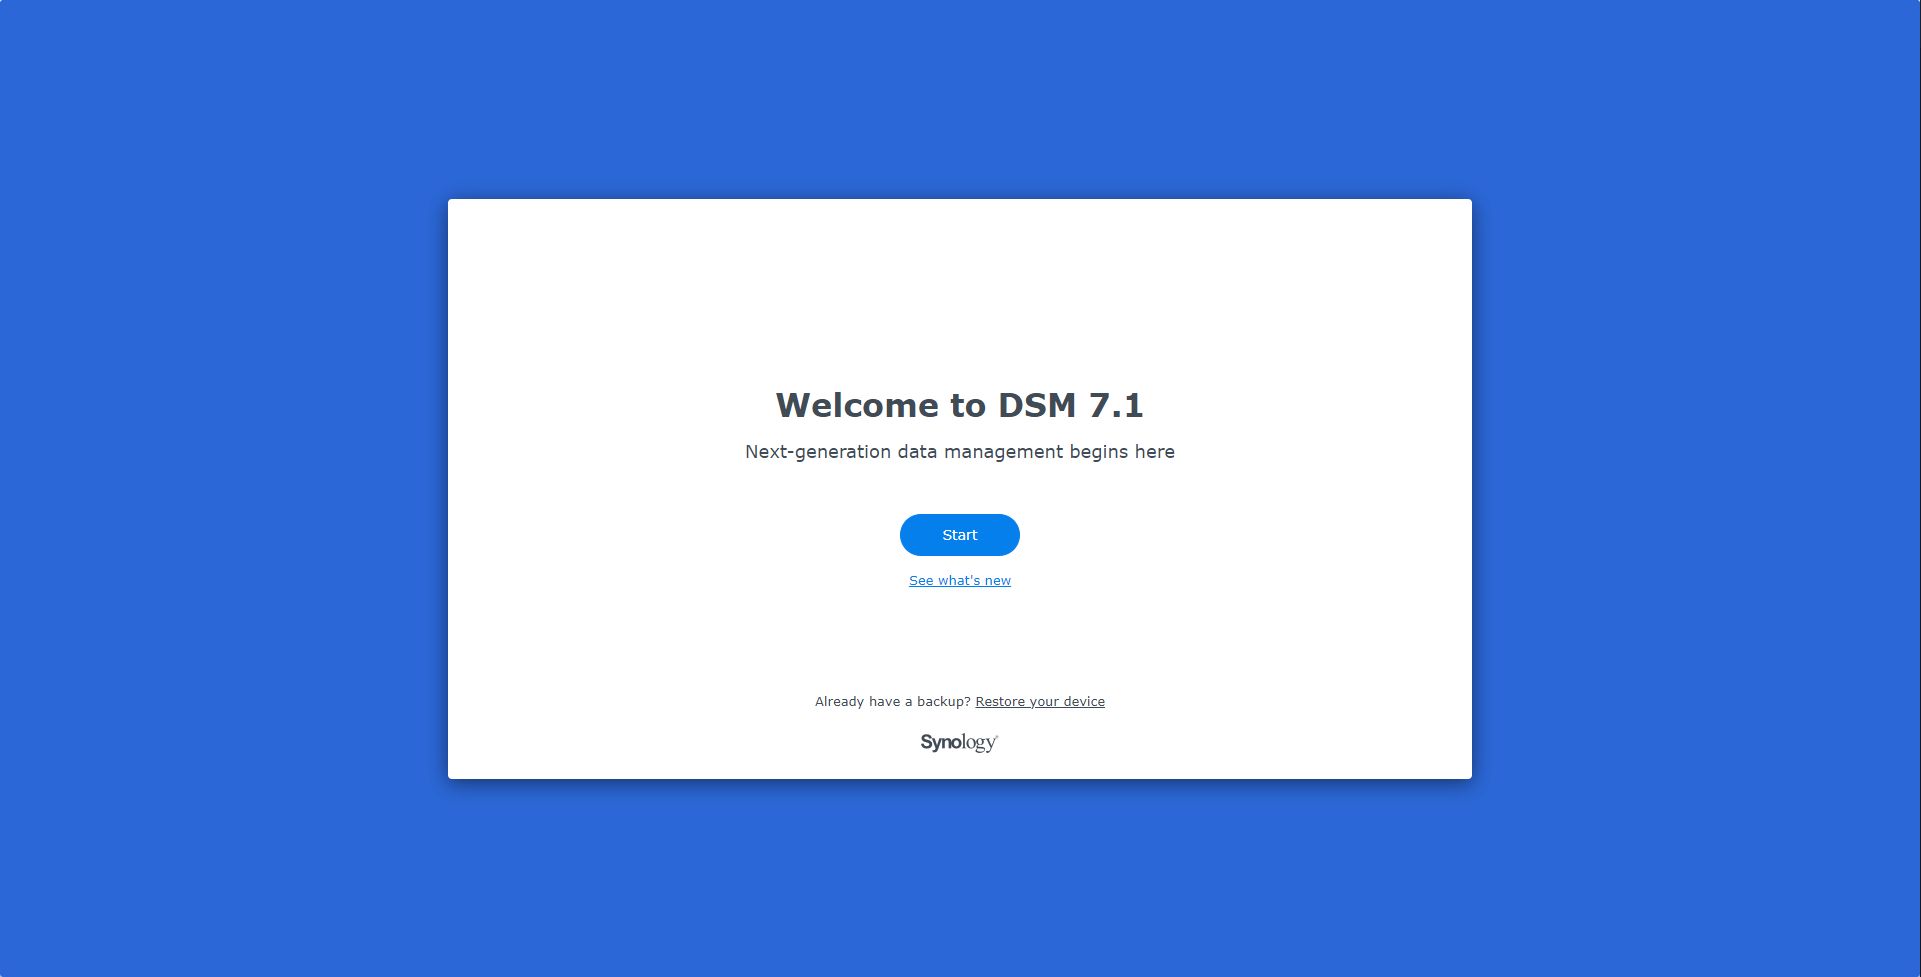
Finally, everything was ready to go!
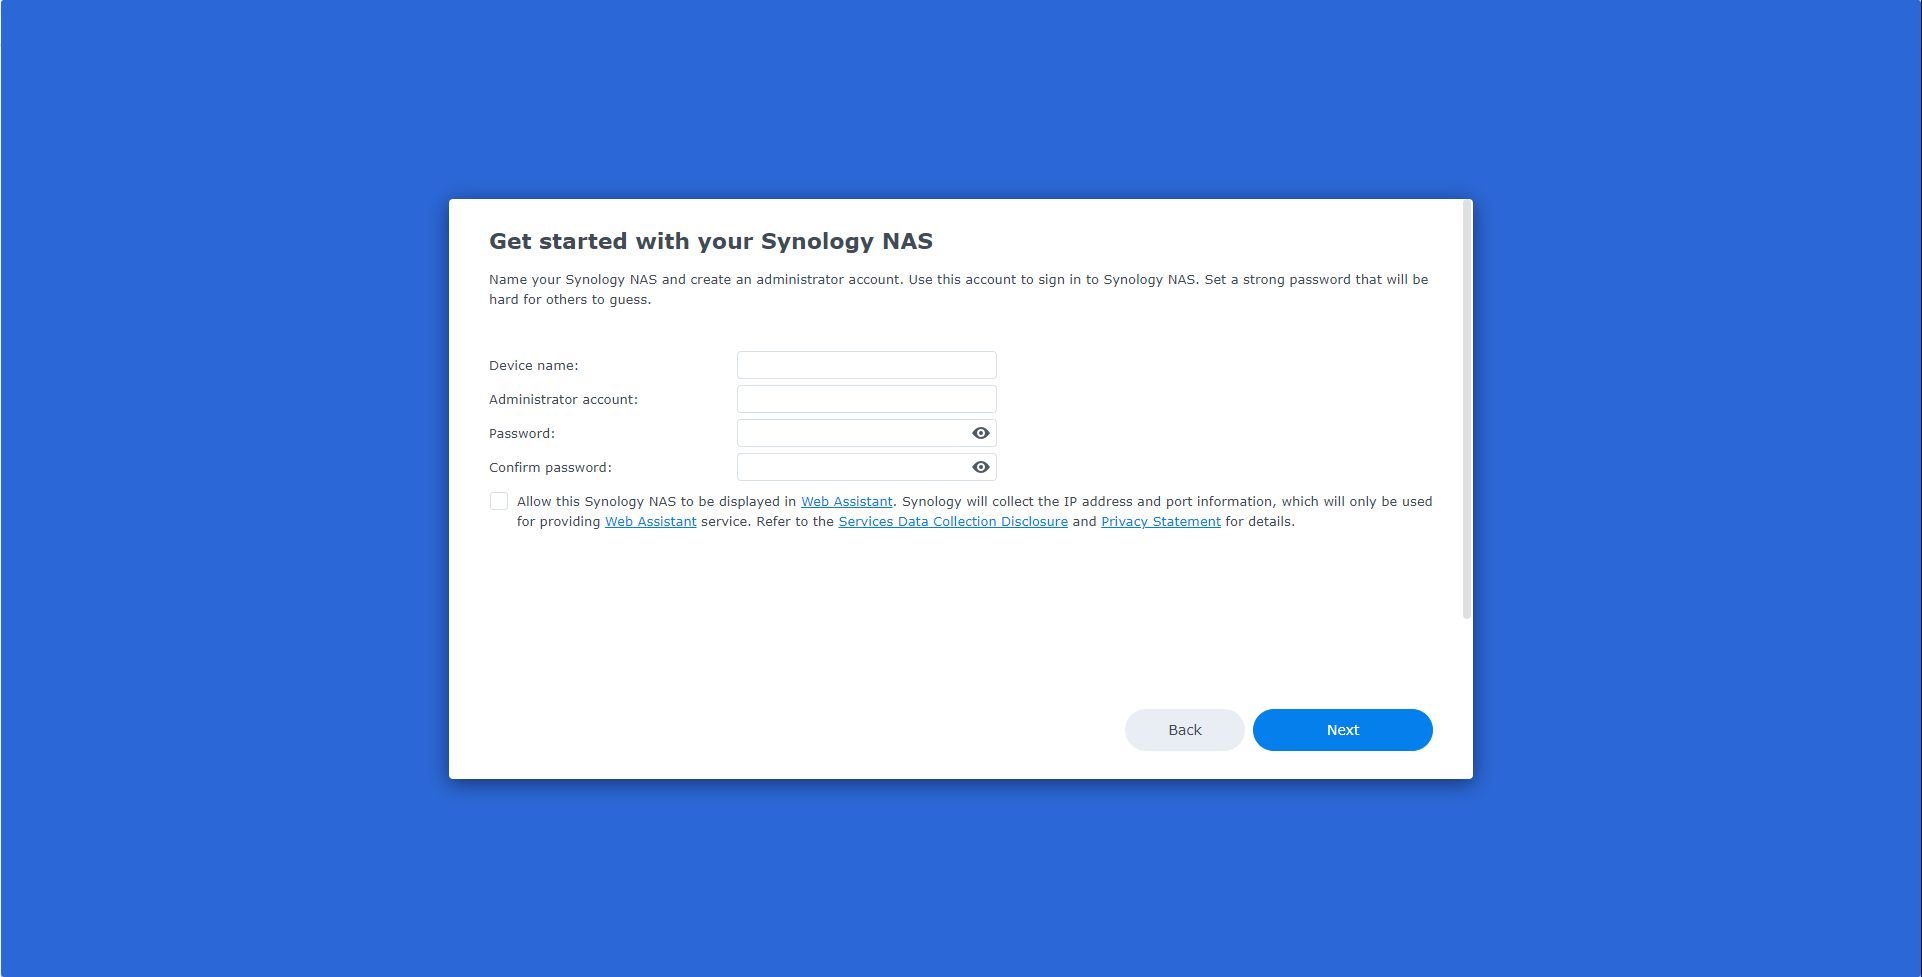
One of the first things it has you do after the software is installed is create your username and password to access the system.
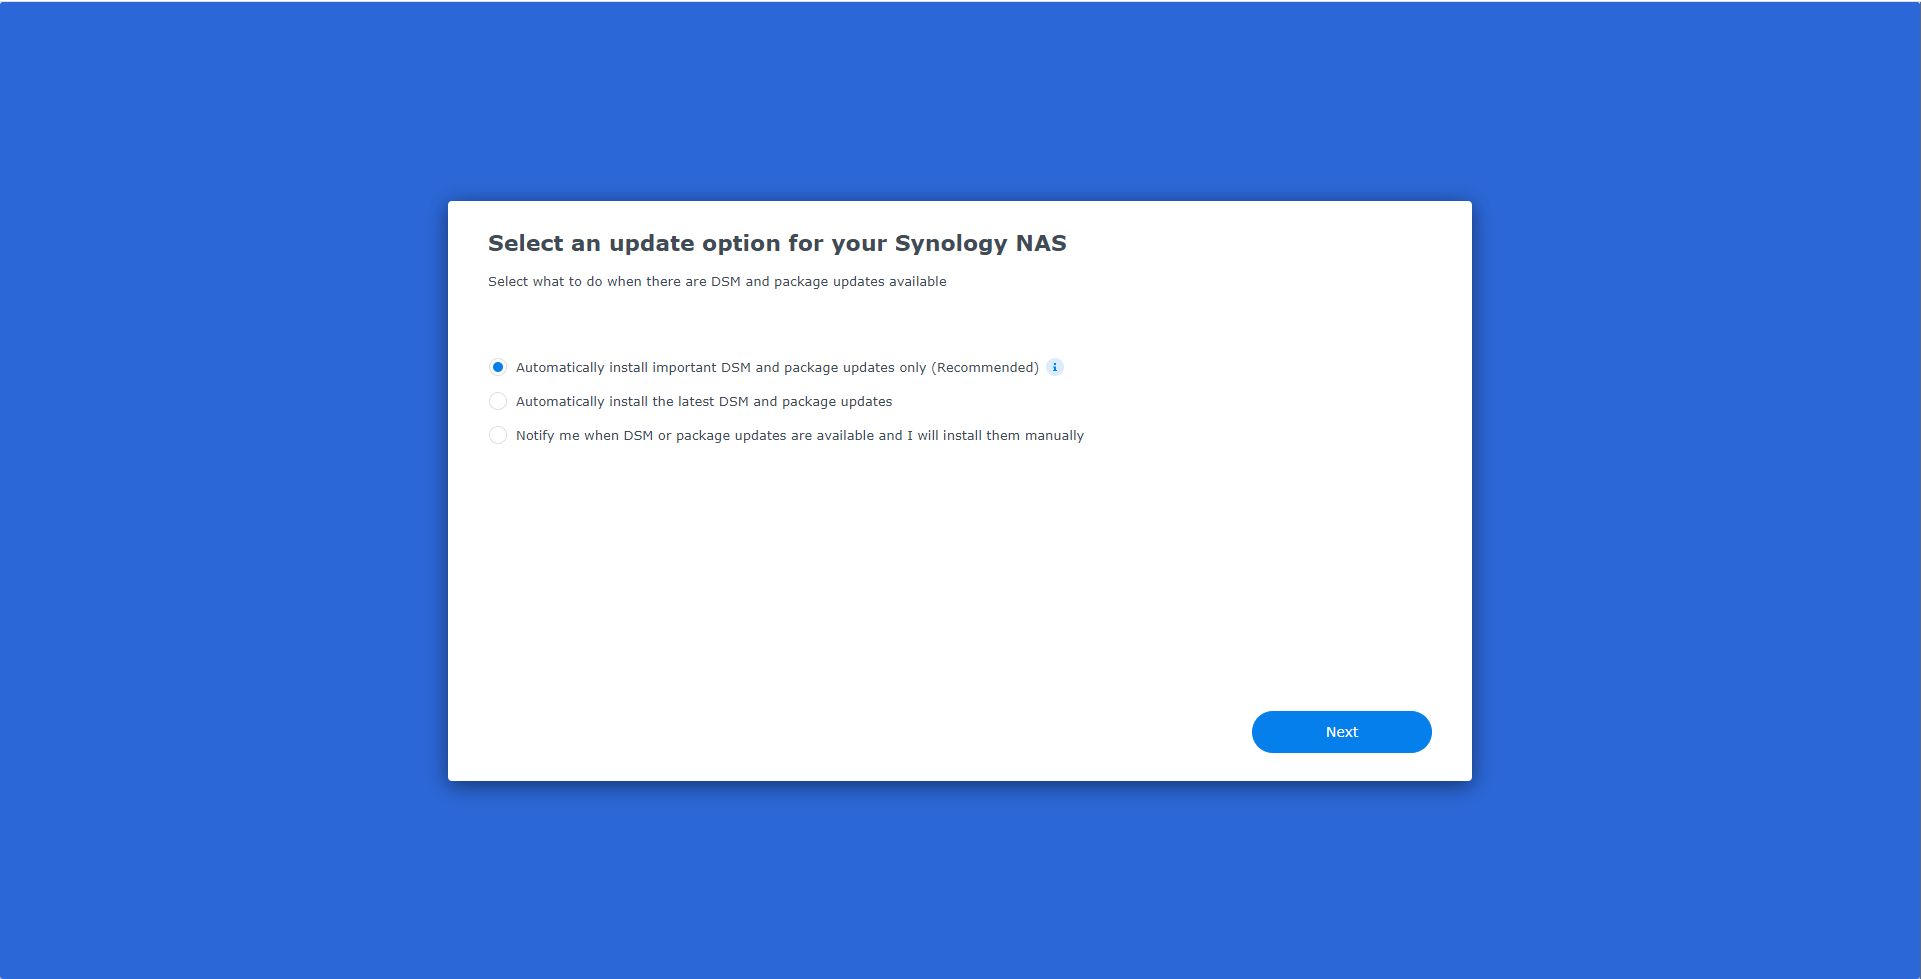
Then you can setup the frequency of update for the device. Since this is your backup device, you might want to take more of a LTS (long term stable) approach to it versus installing every update as soon as it comes out.
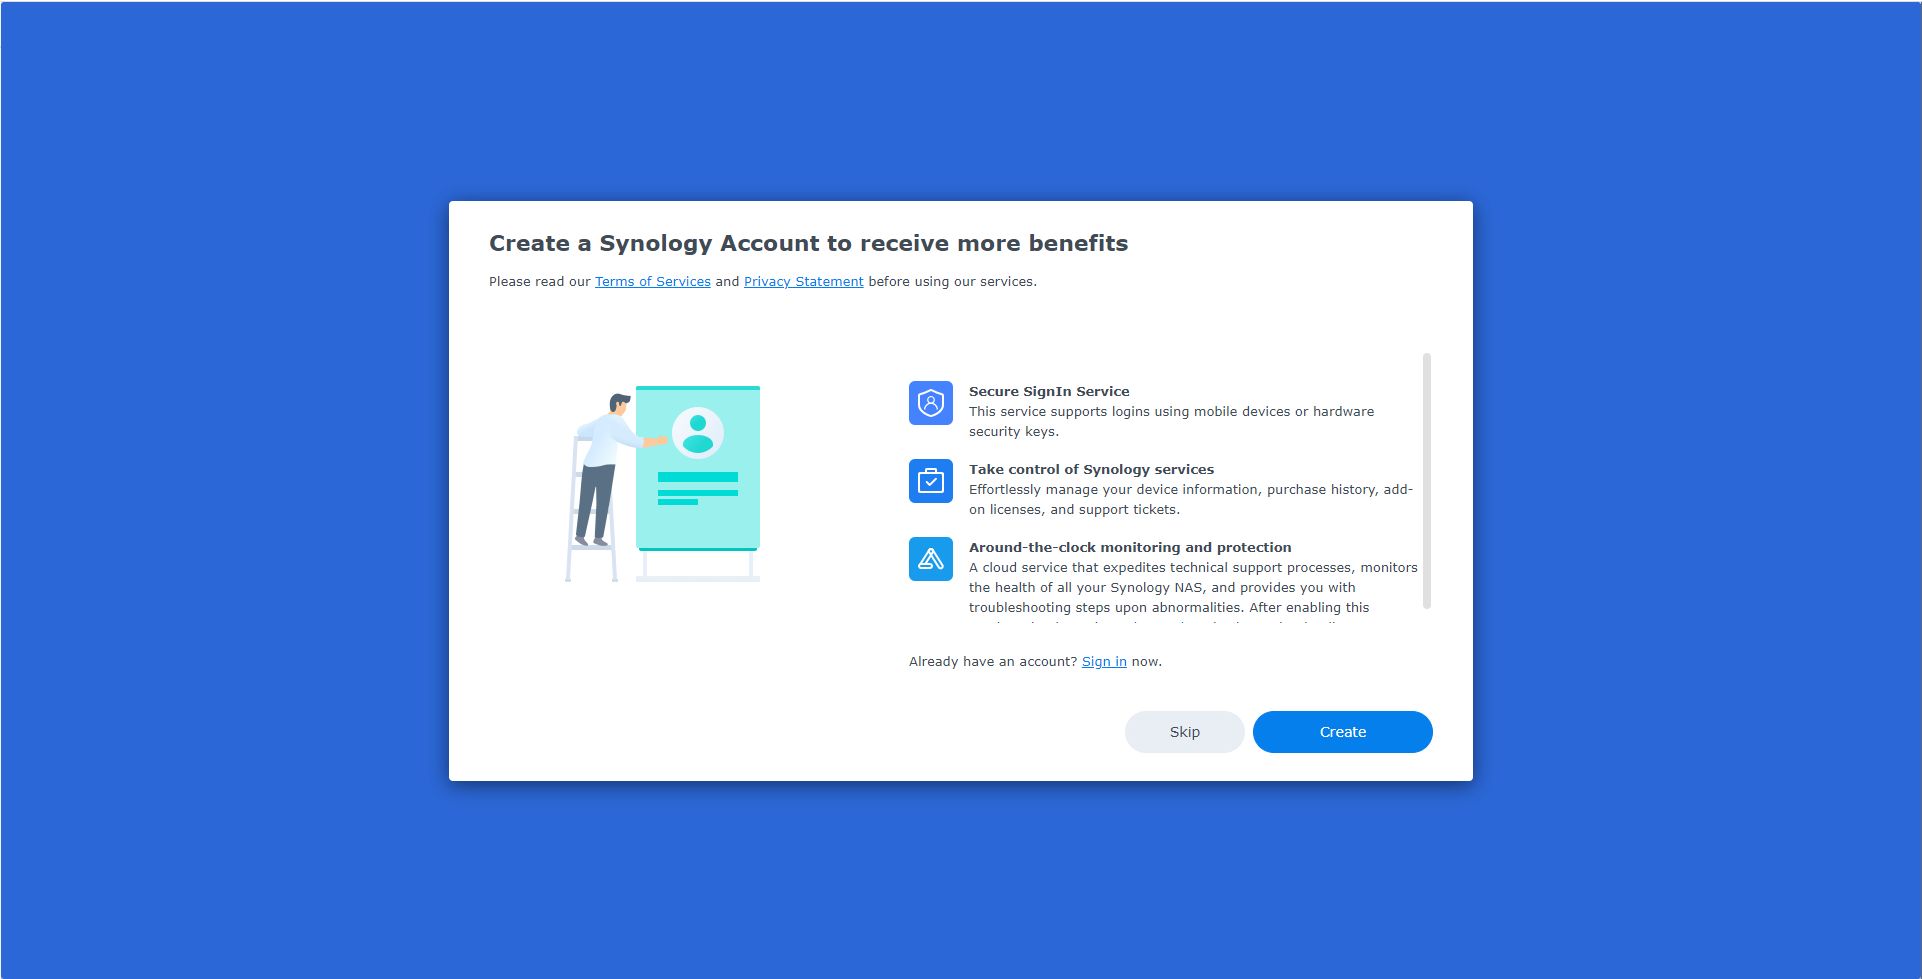
There is a point in the setup process where they want you to create an online Synology account or connect the device to that existing account. Many companies require you to do this now to get support should it be necessary in the future. It's not my favorite practice, but it is somewhat necessary if you ever need help or warranty service, so I went ahead and did it.
Probably the biggest benefit to the service is it allows you to login to the device securely from anywhere without a VPN required. I think that is pretty cool.
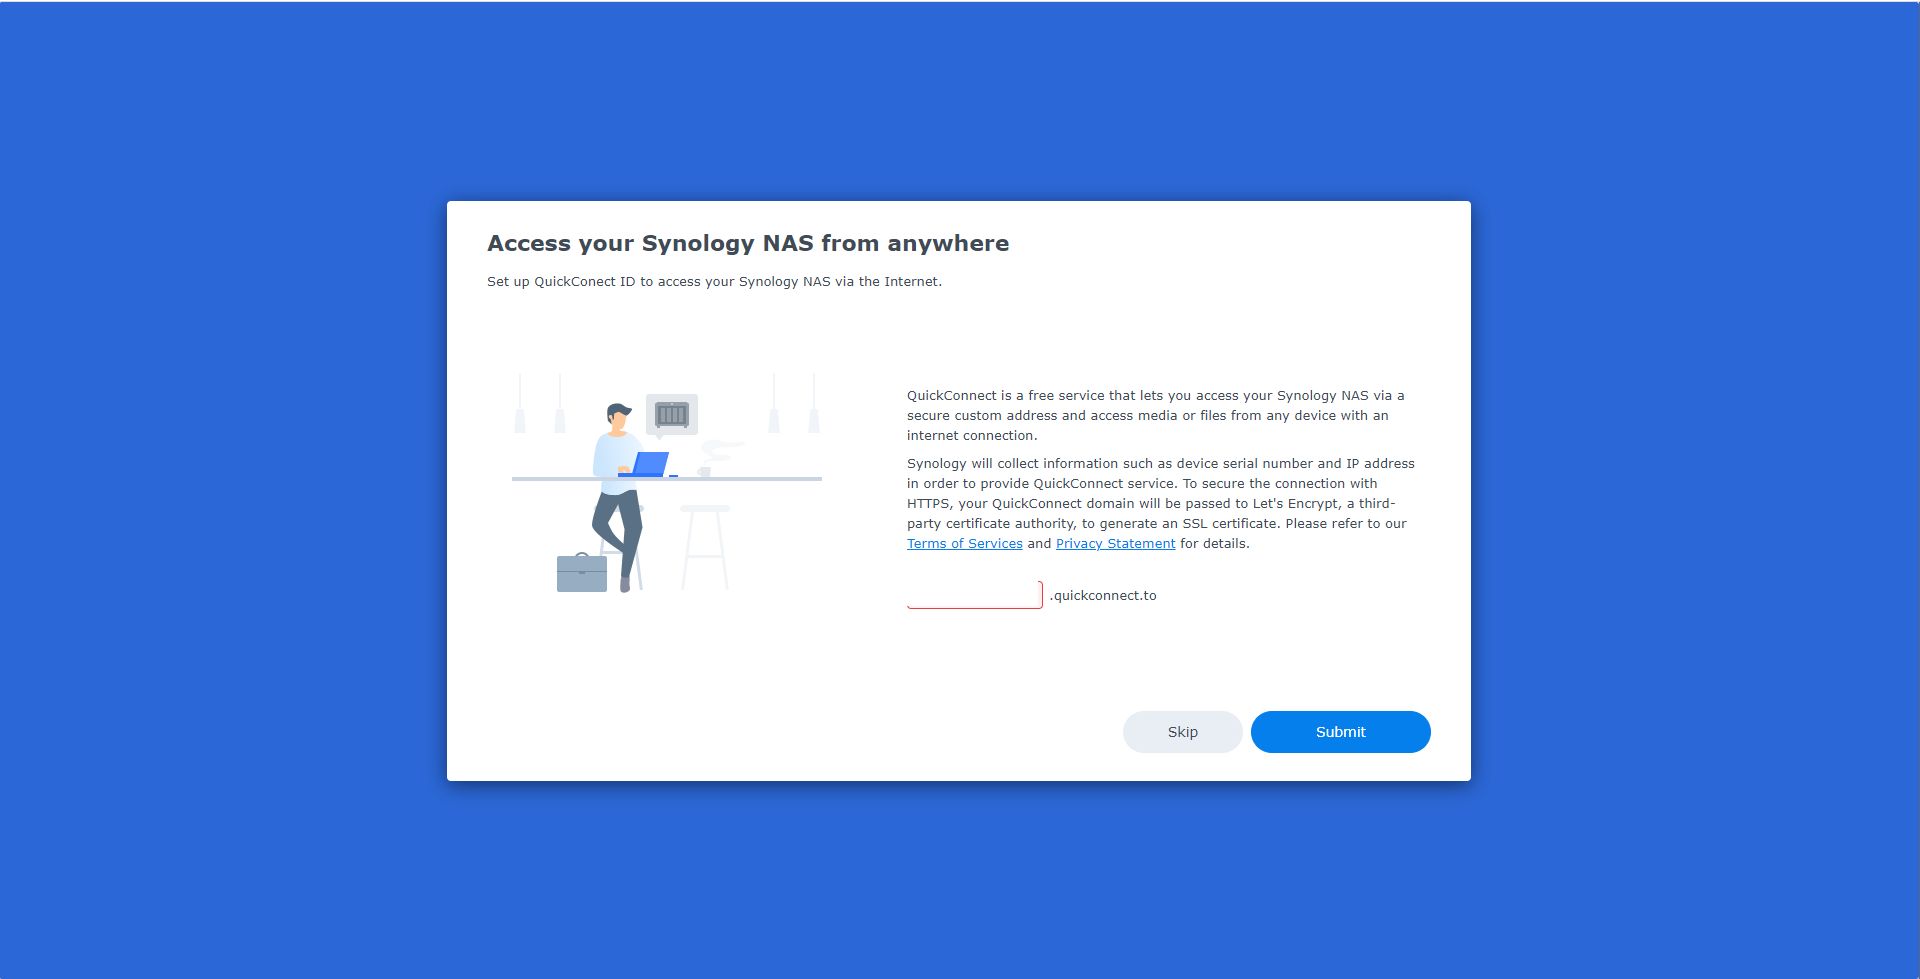
Above is the screen where you setup that "quick connect" feature.
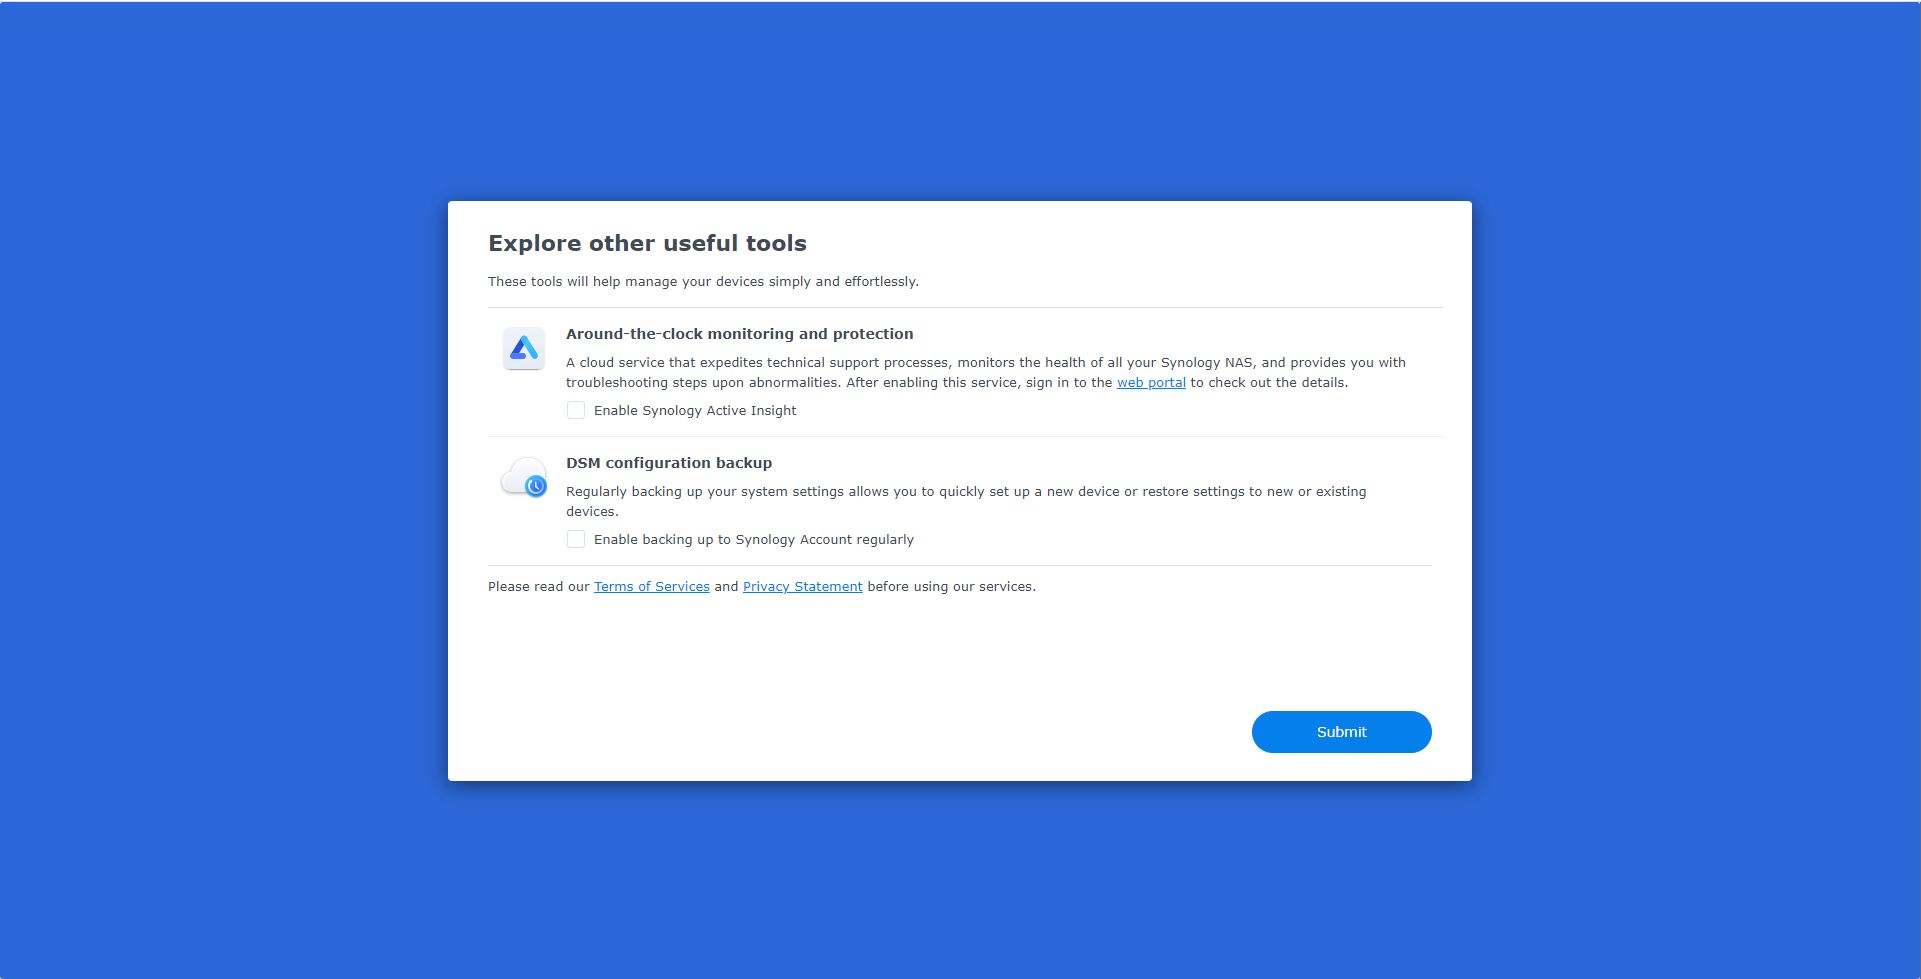
Finally, they give you a couple of other options that you can enable or choose not to and then you are finished with the initial setup.
One of the first things I wanted to do when I had the device ready to go was change the IP address. It had grabbed an address from DHCP when it was initially plugged in and I wanted it to have a static IP address on the same vLan as my other servers.
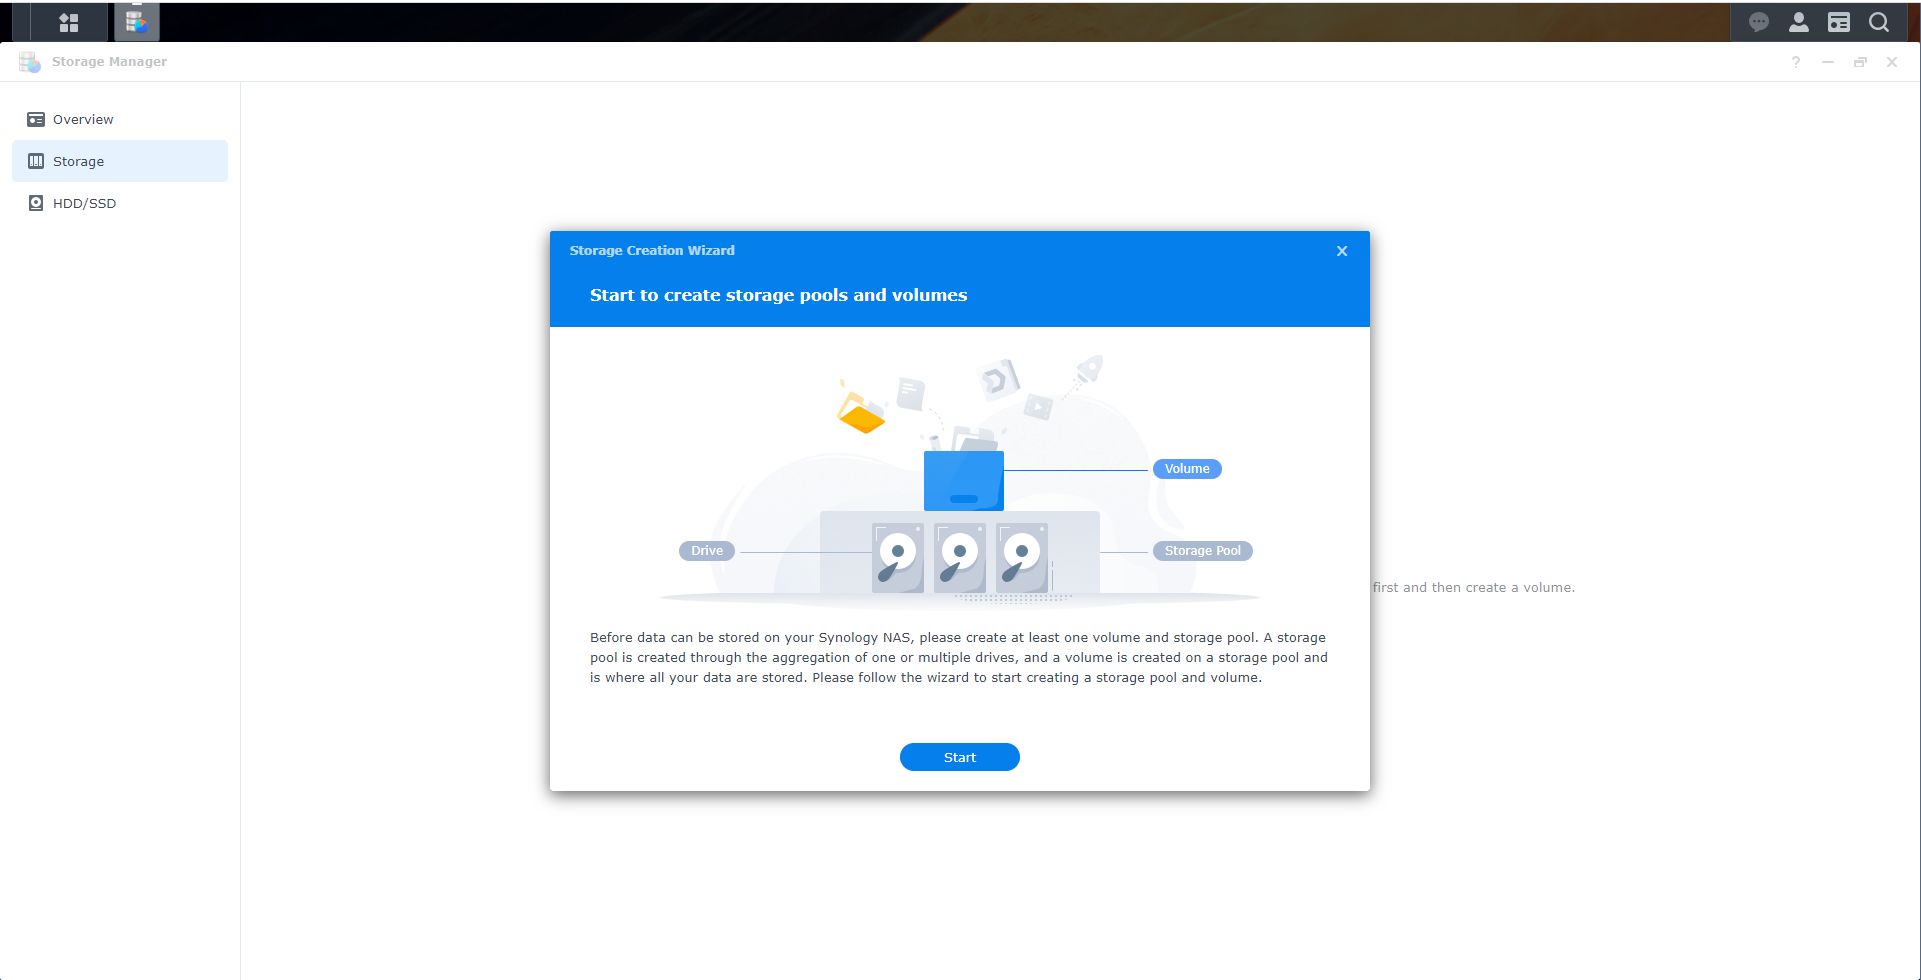
Then the next step was to setup the storage area for the backups to be saved to. Depending on the number of drives your device can hold, you have a quite a few options for how you setup your storage.
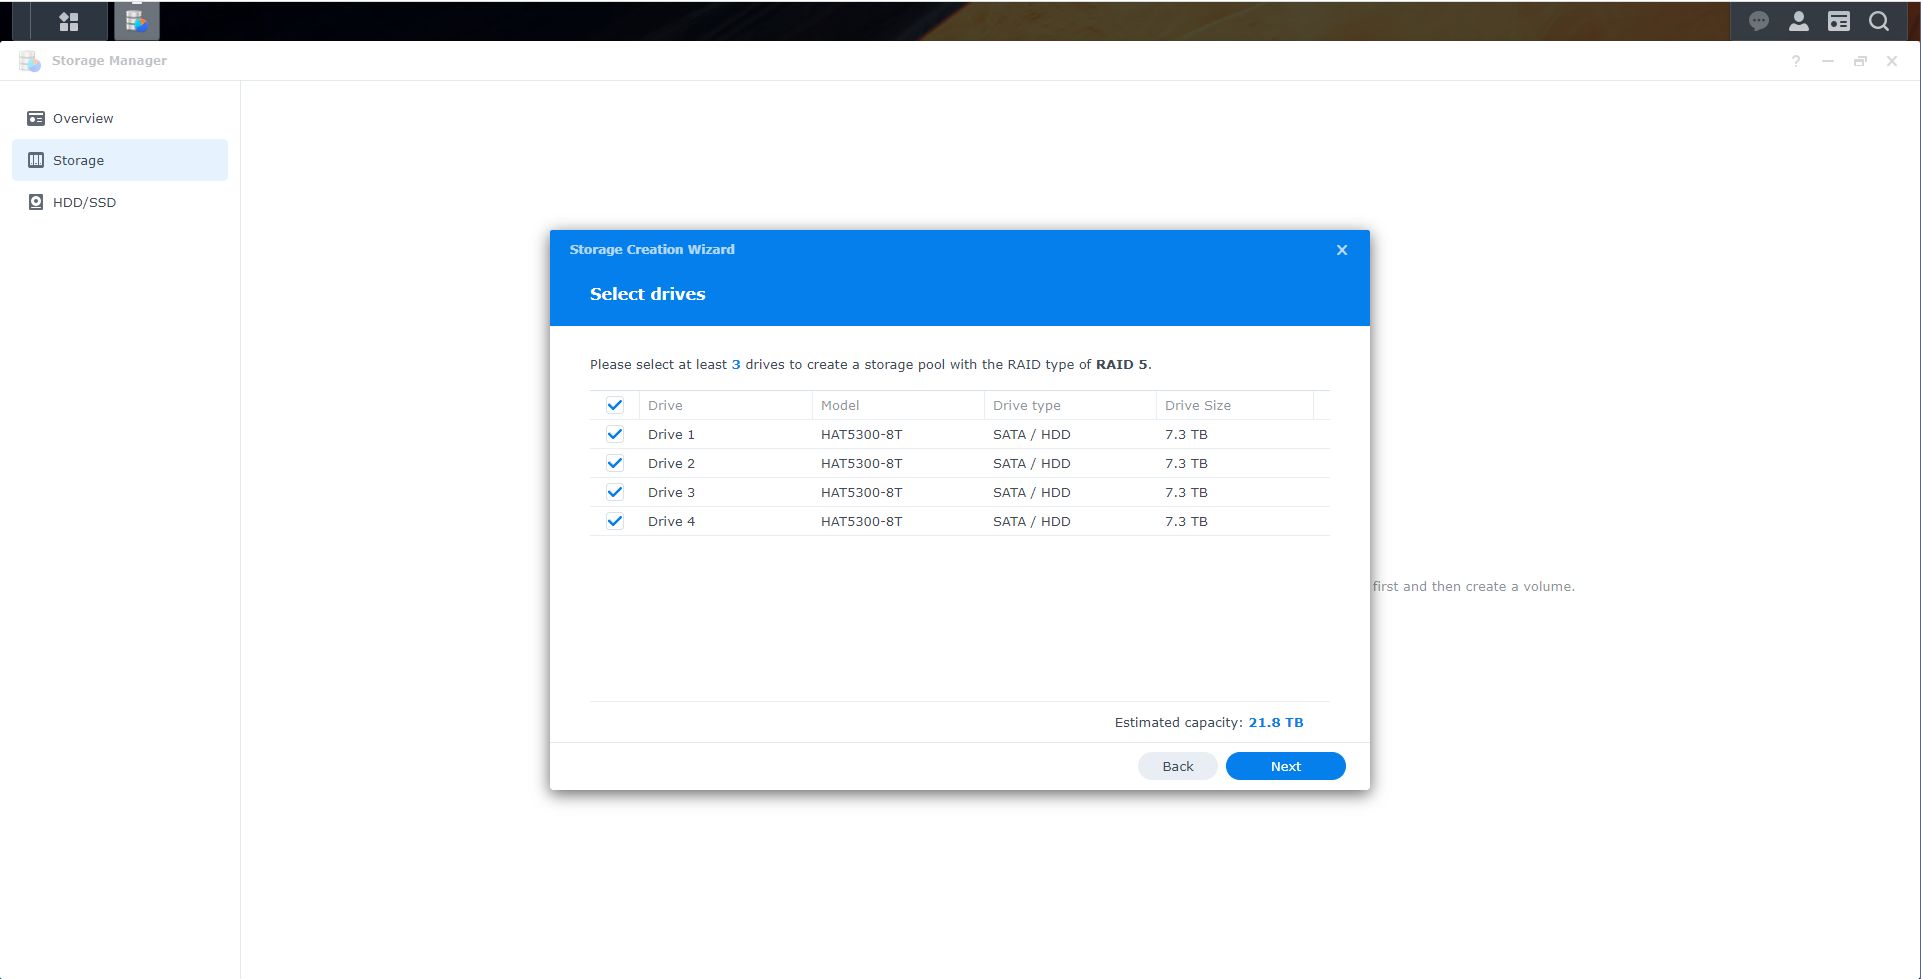
I decided to setup my four 8 TB drives in a RAID 5 setup. This ended up giving me about 21TB of total storage. Since the total of my staff and student cloud data is less than 3 TB, this should be me plenty of room to grow and add other backups if I choose to in the future.
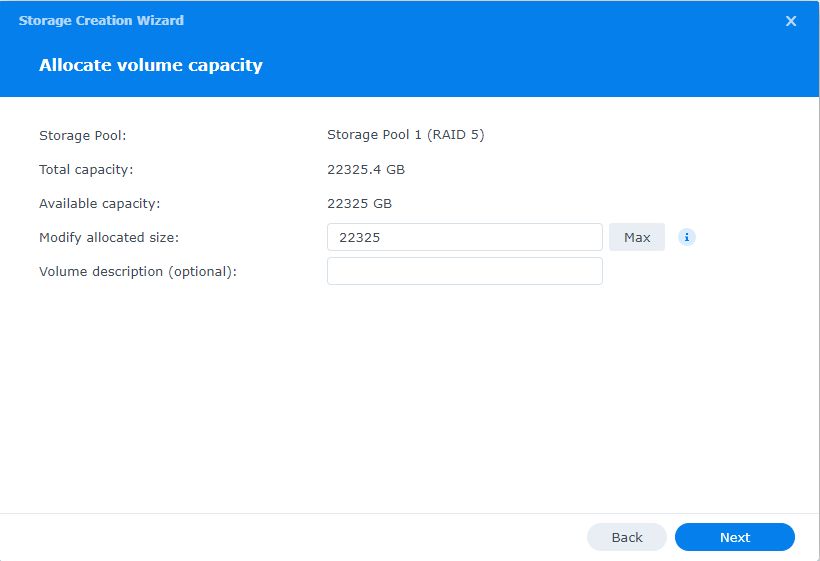
Maybe it was closer to 22 TB...
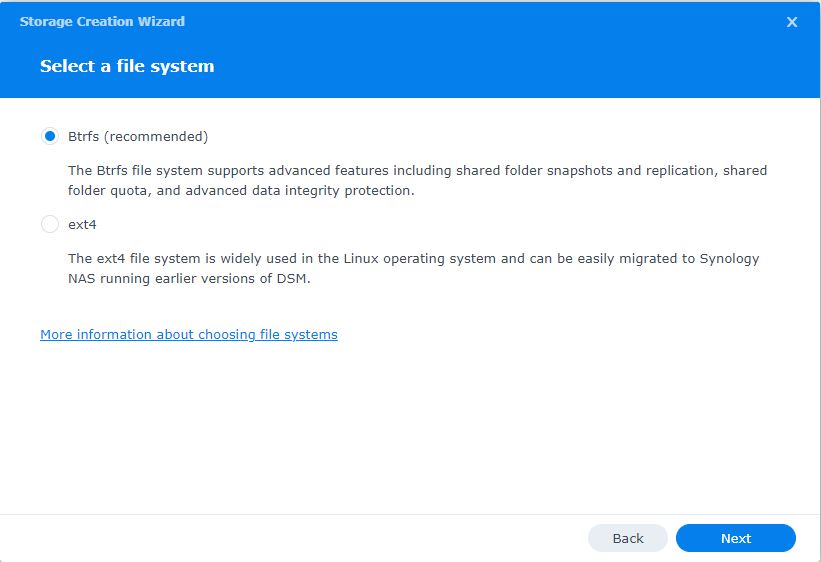
For the file system, I decided to go with the native file system of the device which is BTRFS. I've actually never heard of this file system before, but I like the idea of advanced features, so I figured why not.
Of course before I could button everything up, they tried to sell me an extended warranty.
At first I wasn't sure there was a cost involved, so I started the process of signing up.
Then I got to this page and realized that the cost was just about 10% of what I paid for the entire unit and I decided to skip it. This is where my charity for the person that has this job after me ends I guess. :)
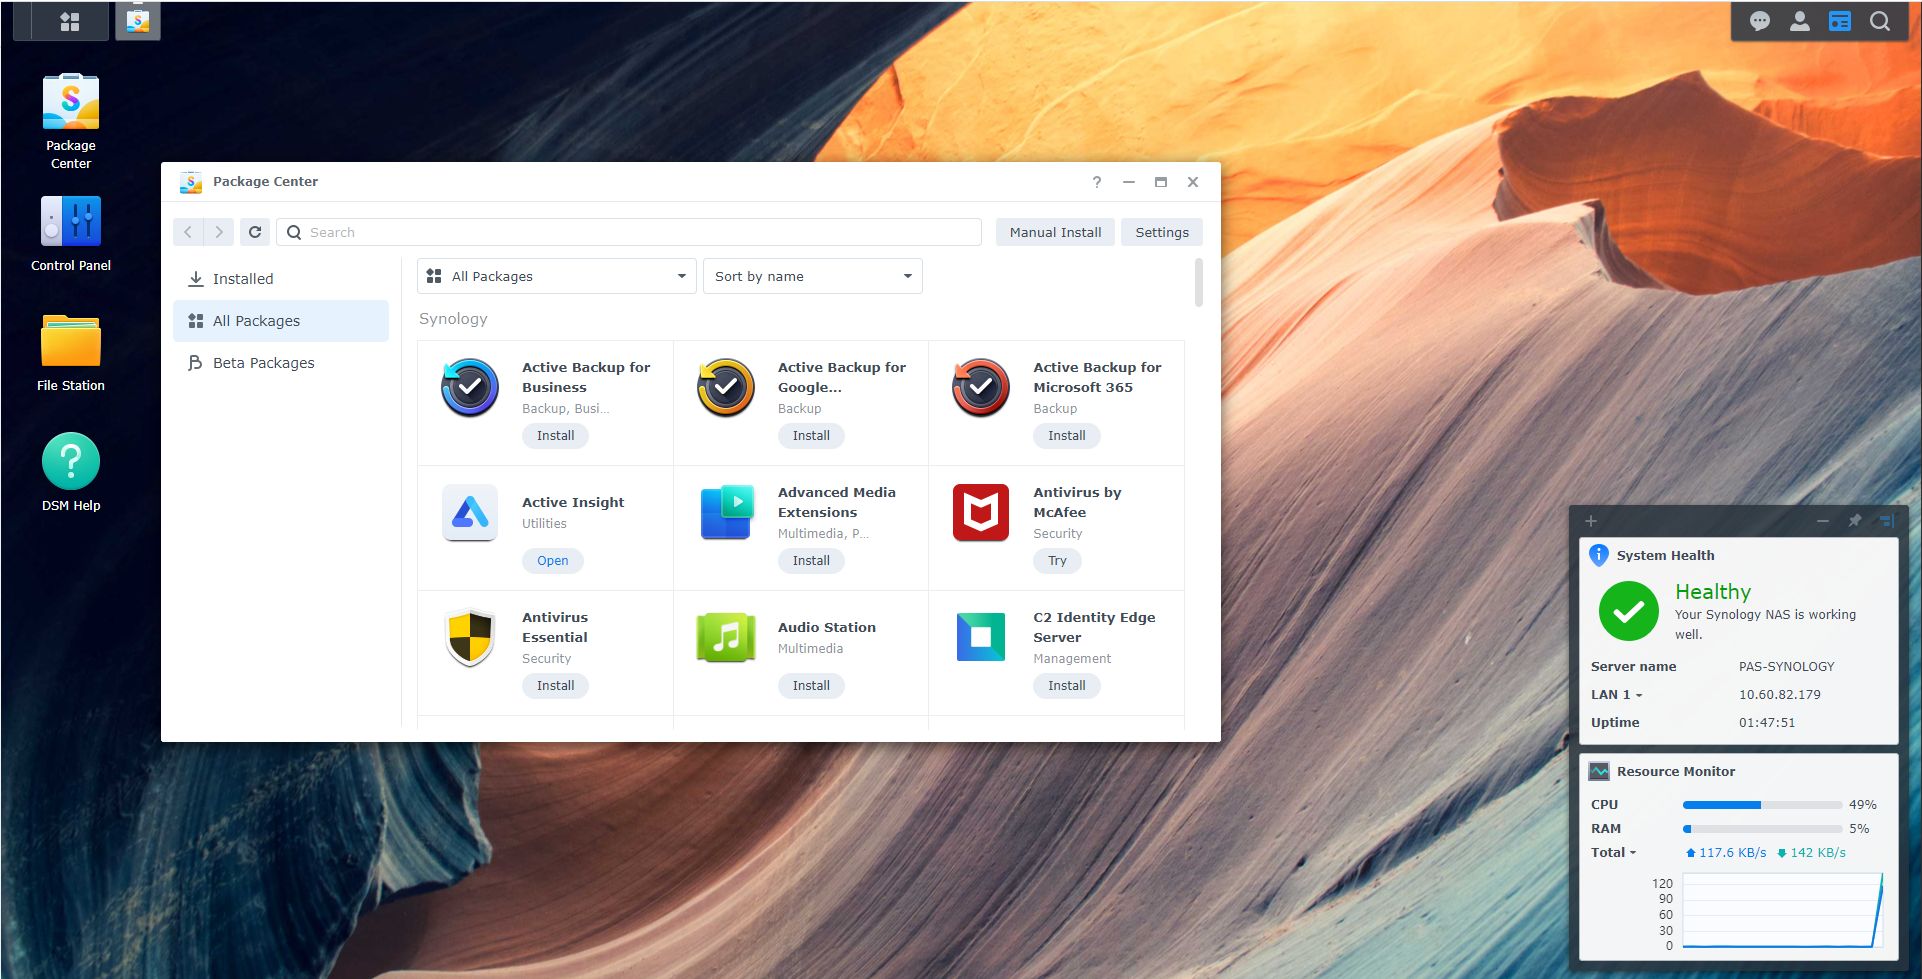
From there it was just a matter of deciding which apps I wanted to install from the Synology app library. The top three are standard backup for a server, Google Workspace backup, and Microsoft 365 backup. The Synology box can actually do a lot more than just backups too. There is an app that allows you to use the device as an NVR, you can make it a virtual host, VPN server, database server, web server, mail server, plus a bunch of other things. With only 8-10 GB of RAM in the server, you probably don't want to go too crazy, but if you are just looking for some simple services, this will do it.
I used the setup guide provided by Synology to get my Google Workspace domain connected to the backup application and after about 24 hours my 1.5 TB of data was done with the initial backup. At this point the device just does incremental backups of changed files and it doesn't take nearly as long. I am looking at adding my student domain in the future to the backup as well. That requires setting up a separate backup task since it is a different domain.
I haven't tried to recover a file yet, but I will likely do that later today. After all, what good is a backup if you aren't able to recover something from it properly?
So there you go. If you are looking for something kind of turn-key for backing up your cloud data, the Synology solutions are really easy to use and fairly inexpensive. If however, you are a bit more technical, Synology could just be the top of a very deep rabbit hole you can explore!
Sports Talk Social - @bozz.sports

Posted with STEMGeeks
I actually have a Synology here on the floor, I have always hated it. It was slow for everything but file transfers. That's largely due to atom cpus, but I hear newer ones are much better. That was my primary reason for seeking another solution, Synology OS is really nice and it is a great choice if you don't want to run VMs or anything super CPU intensive.
Good to know. It looks like the one I got has an Atom processor, so we will see how that goes over time. So far I am pretty happy with it, but like you said, I am not going to be using it much for anything other than backing up files. I have DELL and HP servers I do my virtualization and other stuff with.
https://twitter.com/JayBosworth5/status/1533780439441510401
The rewards earned on this comment will go directly to the people(@bozz) sharing the post on Twitter as long as they are registered with @poshtoken. Sign up at https://hiveposh.com.
Thanks for sharing! 🙂
Thanks for concluding your last post. Unboxing it was fun but setting it up was better. I appreciate your unique topic.
One more device I need in my life... the list is never ending
I hear you! :)
This tech stuff is too difficult for me. I have a long time never install any OS or those hard to install physical parts.
This is probably one of the simplest I have seen. You are on the blockchain, so you clearly have a bit of technical knowledge. Most people can't handle all this stuff with keys and all that.
Nowadays, it isn't very difficult to setup one machine like that right? thanks for the step by step!
!1UP
You have received a 1UP from @gwajnberg!
@stem-curator, @vyb-curator, @pob-curatorAnd they will bring !PIZZA 🍕
Learn more about our delegation service to earn daily rewards. Join the family on Discord.
First off.. Hi! It's been a while. Sorry.. My work life has been absolutely crazy. We bought another office building and I moved the whole operation there. Tear downs and set ups.. uggg. At least there was minimal disruption to my crews and clients. I decided we needed another CSR in the office to help with the phones, so training, training, training. fun times.
Secondly.. I LOVE hearing (or reading) about those who think of the next person to come along and deal with something. I know nothing about this sort of thing, but sounds like you're doing just that.. Thinking of the next persons sanity (and looking out for the district's best interest too). Kudos to the Bozz Man!!! I know I hate not knowing something only to discover later that no one took the time to set things up more efficiently while looking toward the future.
You deserve something special. Let me see if I can find it for you...
Thanks! That does sound like you have been crazy busy lately. We have been getting everything ready to go camping. In between that and Jovi getting a UTI that just won't go away it has been hectic. I will be the first to admit that I do a pretty horrible job of documentation it's going to be a nightmare when my replacement comes along. Hopefully this is one less thing they need to deal with!