Laser Engraving PCBs Part 2
Previously in part 1 we looked at the laser process. Stage 2 is the etching part where we get to play with noxious chemicals!
I promised warts and all and today I am here to deliver on that promise ;)
First, what went well ...
Well, the PCB now it is cleaned off looks pretty nice!
Zooming in, however, shows the full story:
I knew some of the traces looked fragile, and unfortunately, that proved to be the case. Thing is, with chemical etchant, it has a tendency to go where it wants to, including seeping under paint, but I actually put a lot of blame down to myself not being gentle enough with removing said paint.
That said, I know the CNC, or laser printer for that matter, could not have gotten such fine traces, so there is that.
Is it usable? Absolutely, this design requires the use of bodge wires already. 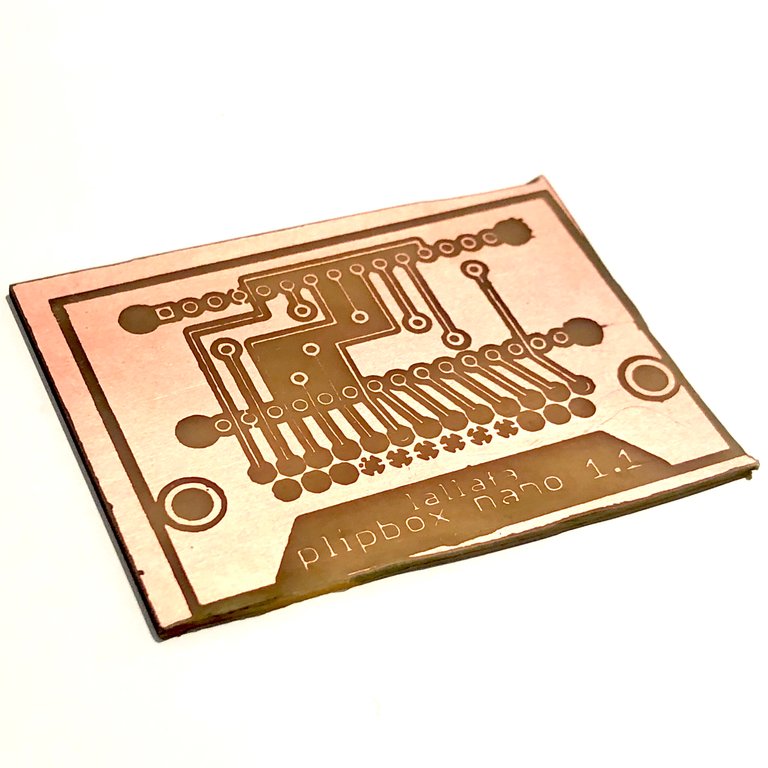
Congratulations @makerhacks! You have completed the following achievement on the Hive blockchain and have been rewarded with new badge(s) :
You can view your badges on your board and compare yourself to others in the Ranking
If you no longer want to receive notifications, reply to this comment with the word
STOPDo not miss the last post from @hivebuzz: