Building the "Fountain of Youth" - Mechanical Modifications
"If there is magic on this planet, it is contained in water."
- Loren Eiseley
Now for some details...
Wow, we're already to Part 6 of this series! Let's begin to look at how I made changes to what was once a mild-mannered acrylic polishing machine.
But first, here's a handy index to the articles leading up to this one:
Series Index
- Part 1: "Fountain of Youth" - Embarking On A New Maker Adventure
- Part 2: "Fountain of Youth" - Figuring Out How To Build It
- Part 3: "Fountain of Youth" - Inside an Acrylic Polishing Machine
- Part 4: "Fountain of Youth" - ~Euphoria!~
- Part 5: "Fountain of Youth" - Standing On Giant Shoulders
- Part 6: Building the "Fountain of Youth" - Mechanical Modifications
- Part 7: Building the "Fountain of Youth" - Tower Cap
- Part 8: Building the "Fountain of Youth" - Electrical Modifications
- Part 9: "Fountain of Youth" - Micro:Bit Python Control Software
If you want,
you can start breathing Brown's Gas for your health right away. Just order a machine "off-the-shelf" from Eagle-Research. But it was quite an epiphany for me when I realized I could assemble the components and build my own HHO for health machine for about $250 US. If you are reasonably skilled with your hands, you can try to imitate what I've done.
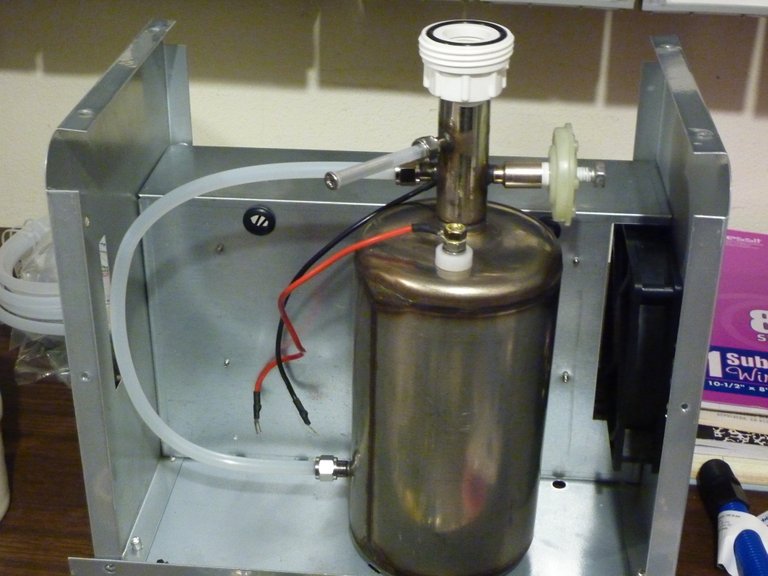
I started with the machine chassis pictured below.
You can read more about that starting point in Part 3 of this series. After removing the cover, it became clear to me that there were several things I wanted to change.
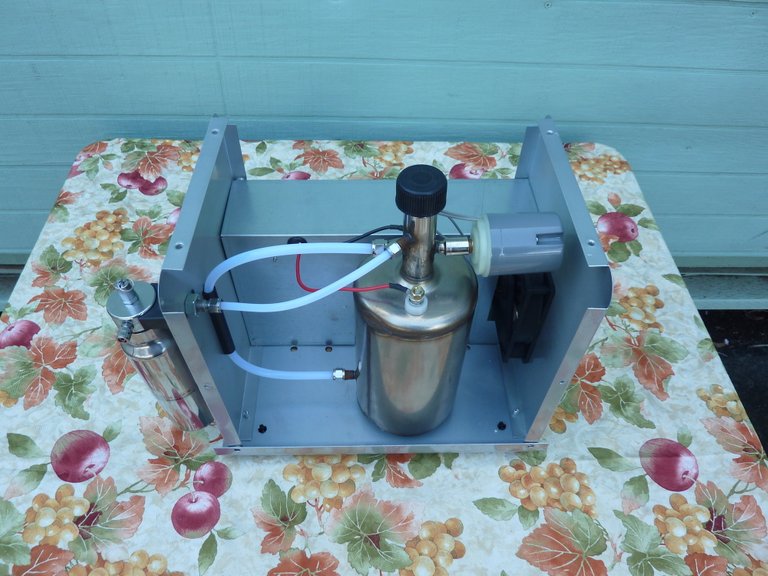
The chassis, minus the cover. Cooling fan in back. ~ Image by the author.
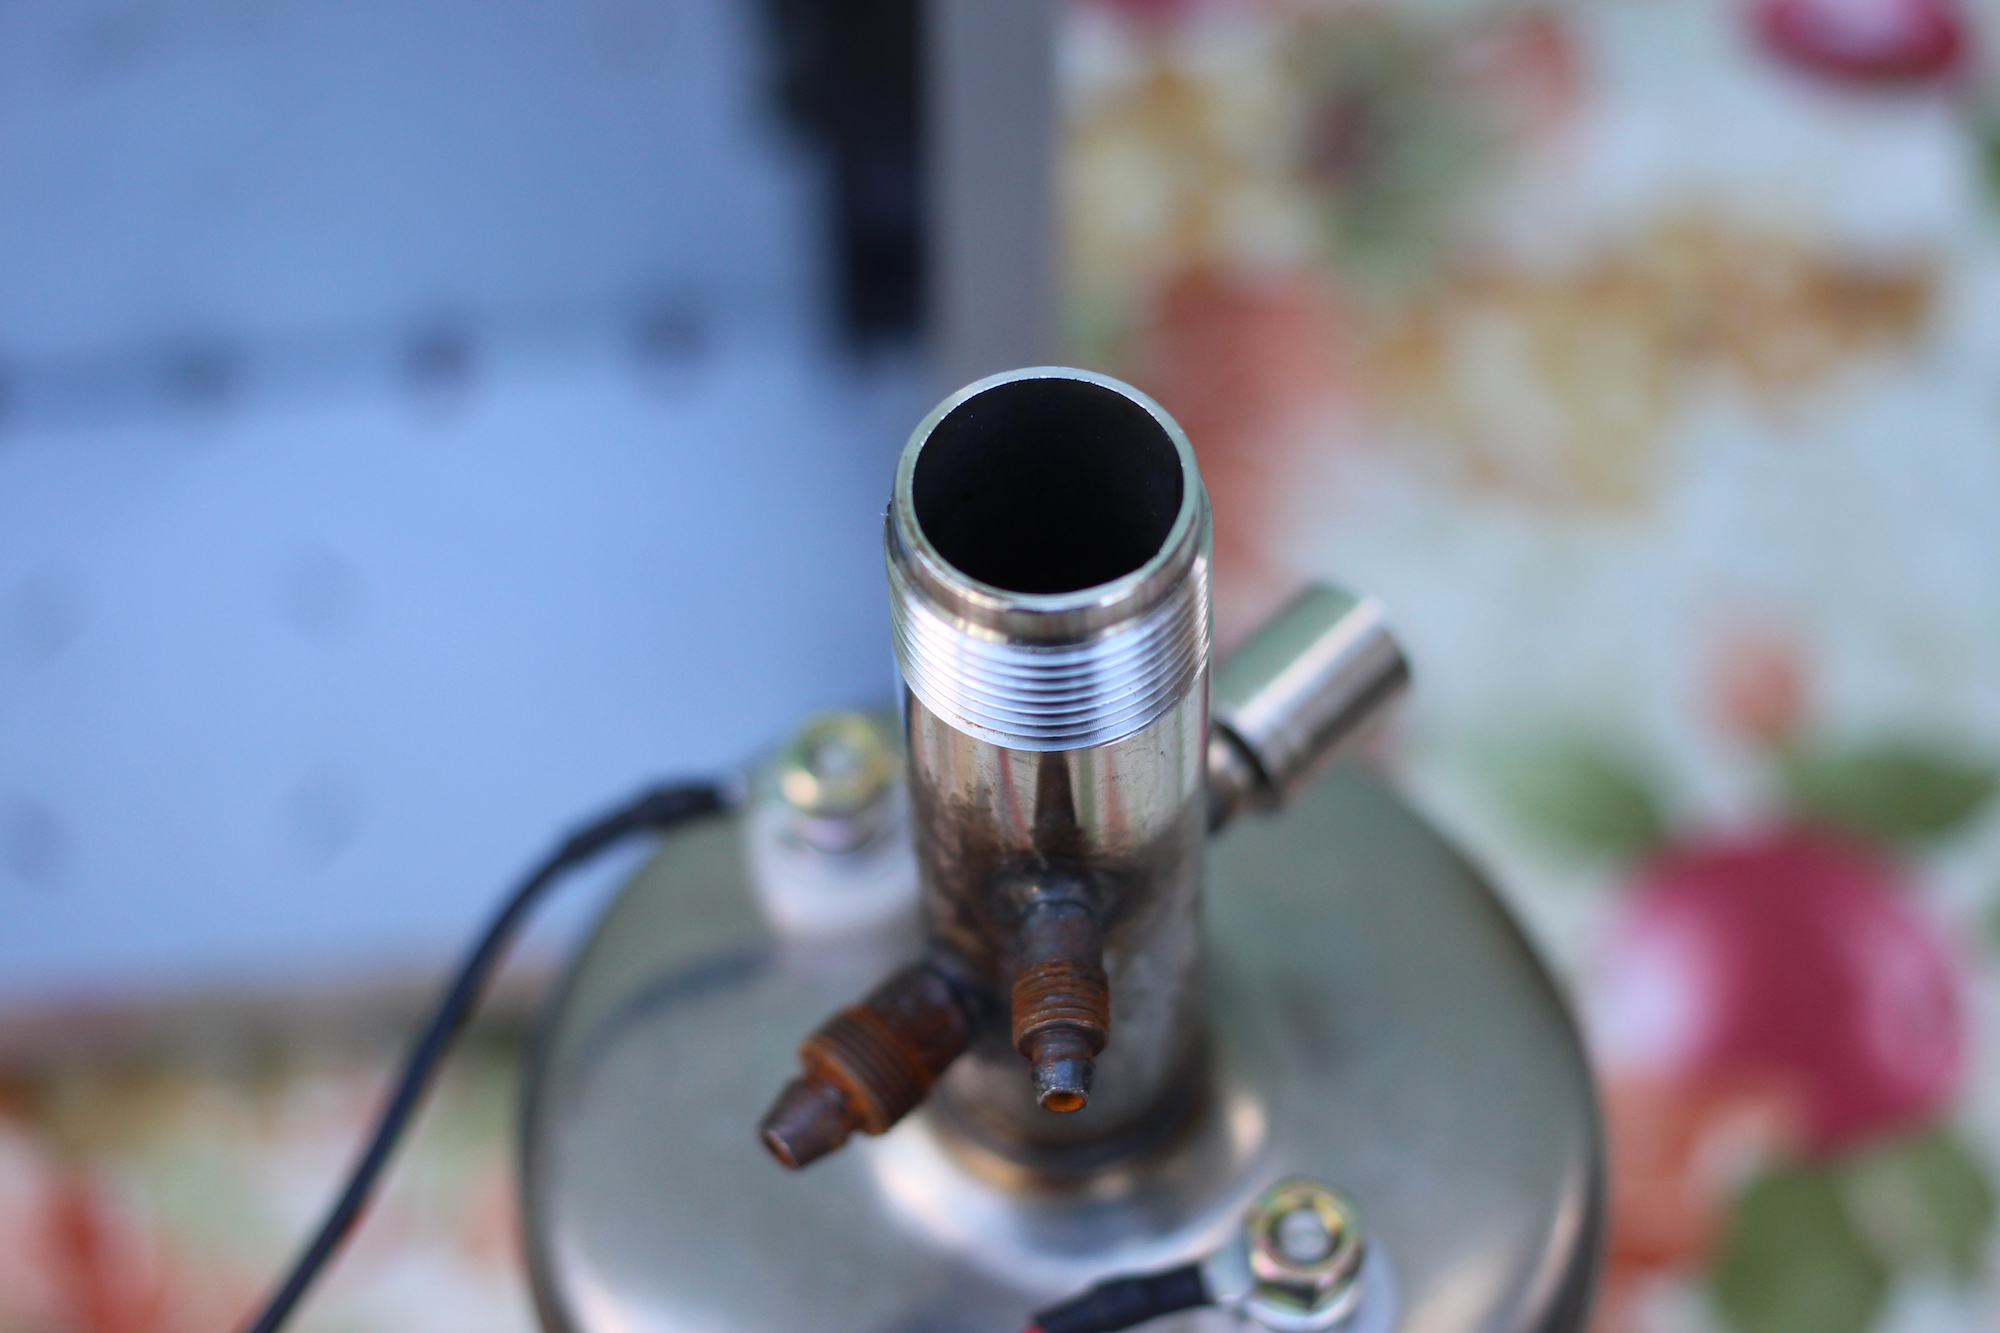
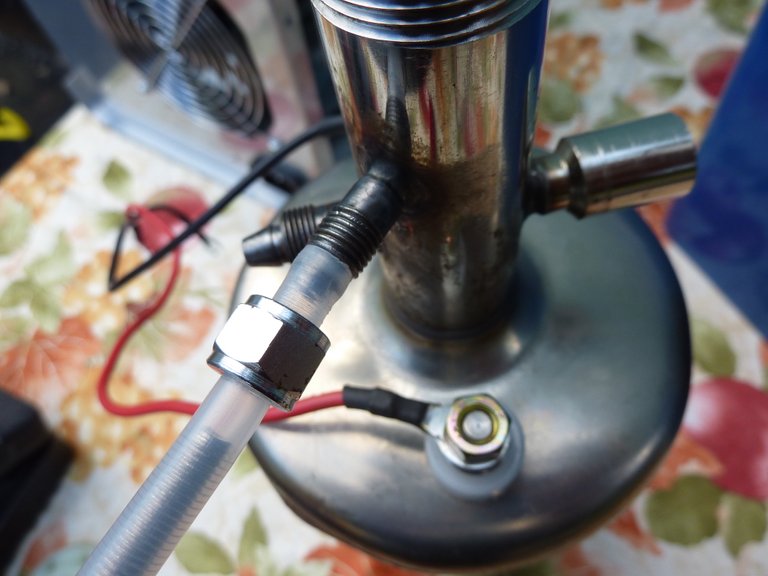
Notice in these photos,
the stainless steel electrolyzer assembly is captive in the chassis. The tank is fastened to the chassis floor, the gas output tube is firmly attached to a fitting connected to the metal bubbler tank in front, and the sight tube for checking fluid level passes through a plastic fixture that holds it firmly to the machine's front panel. Notice also the bulky grey pressure switch on the right side of the tank neck.
Because I'm repurposing the machine for health use, only the sight tube is needed. The pressure switch is unnecessary because I am running the system "open-loop" without building up any pressure. The output tube and metal bubbler tank are no longer needed because the gas will exit via the Tower Cap at the top of the tank.
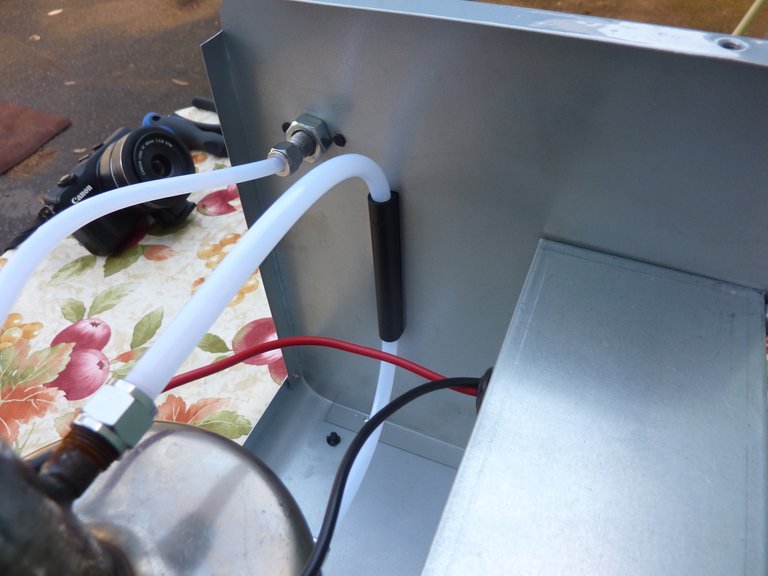
Gas outlet and sight tube are captive. ~ Image by the author.
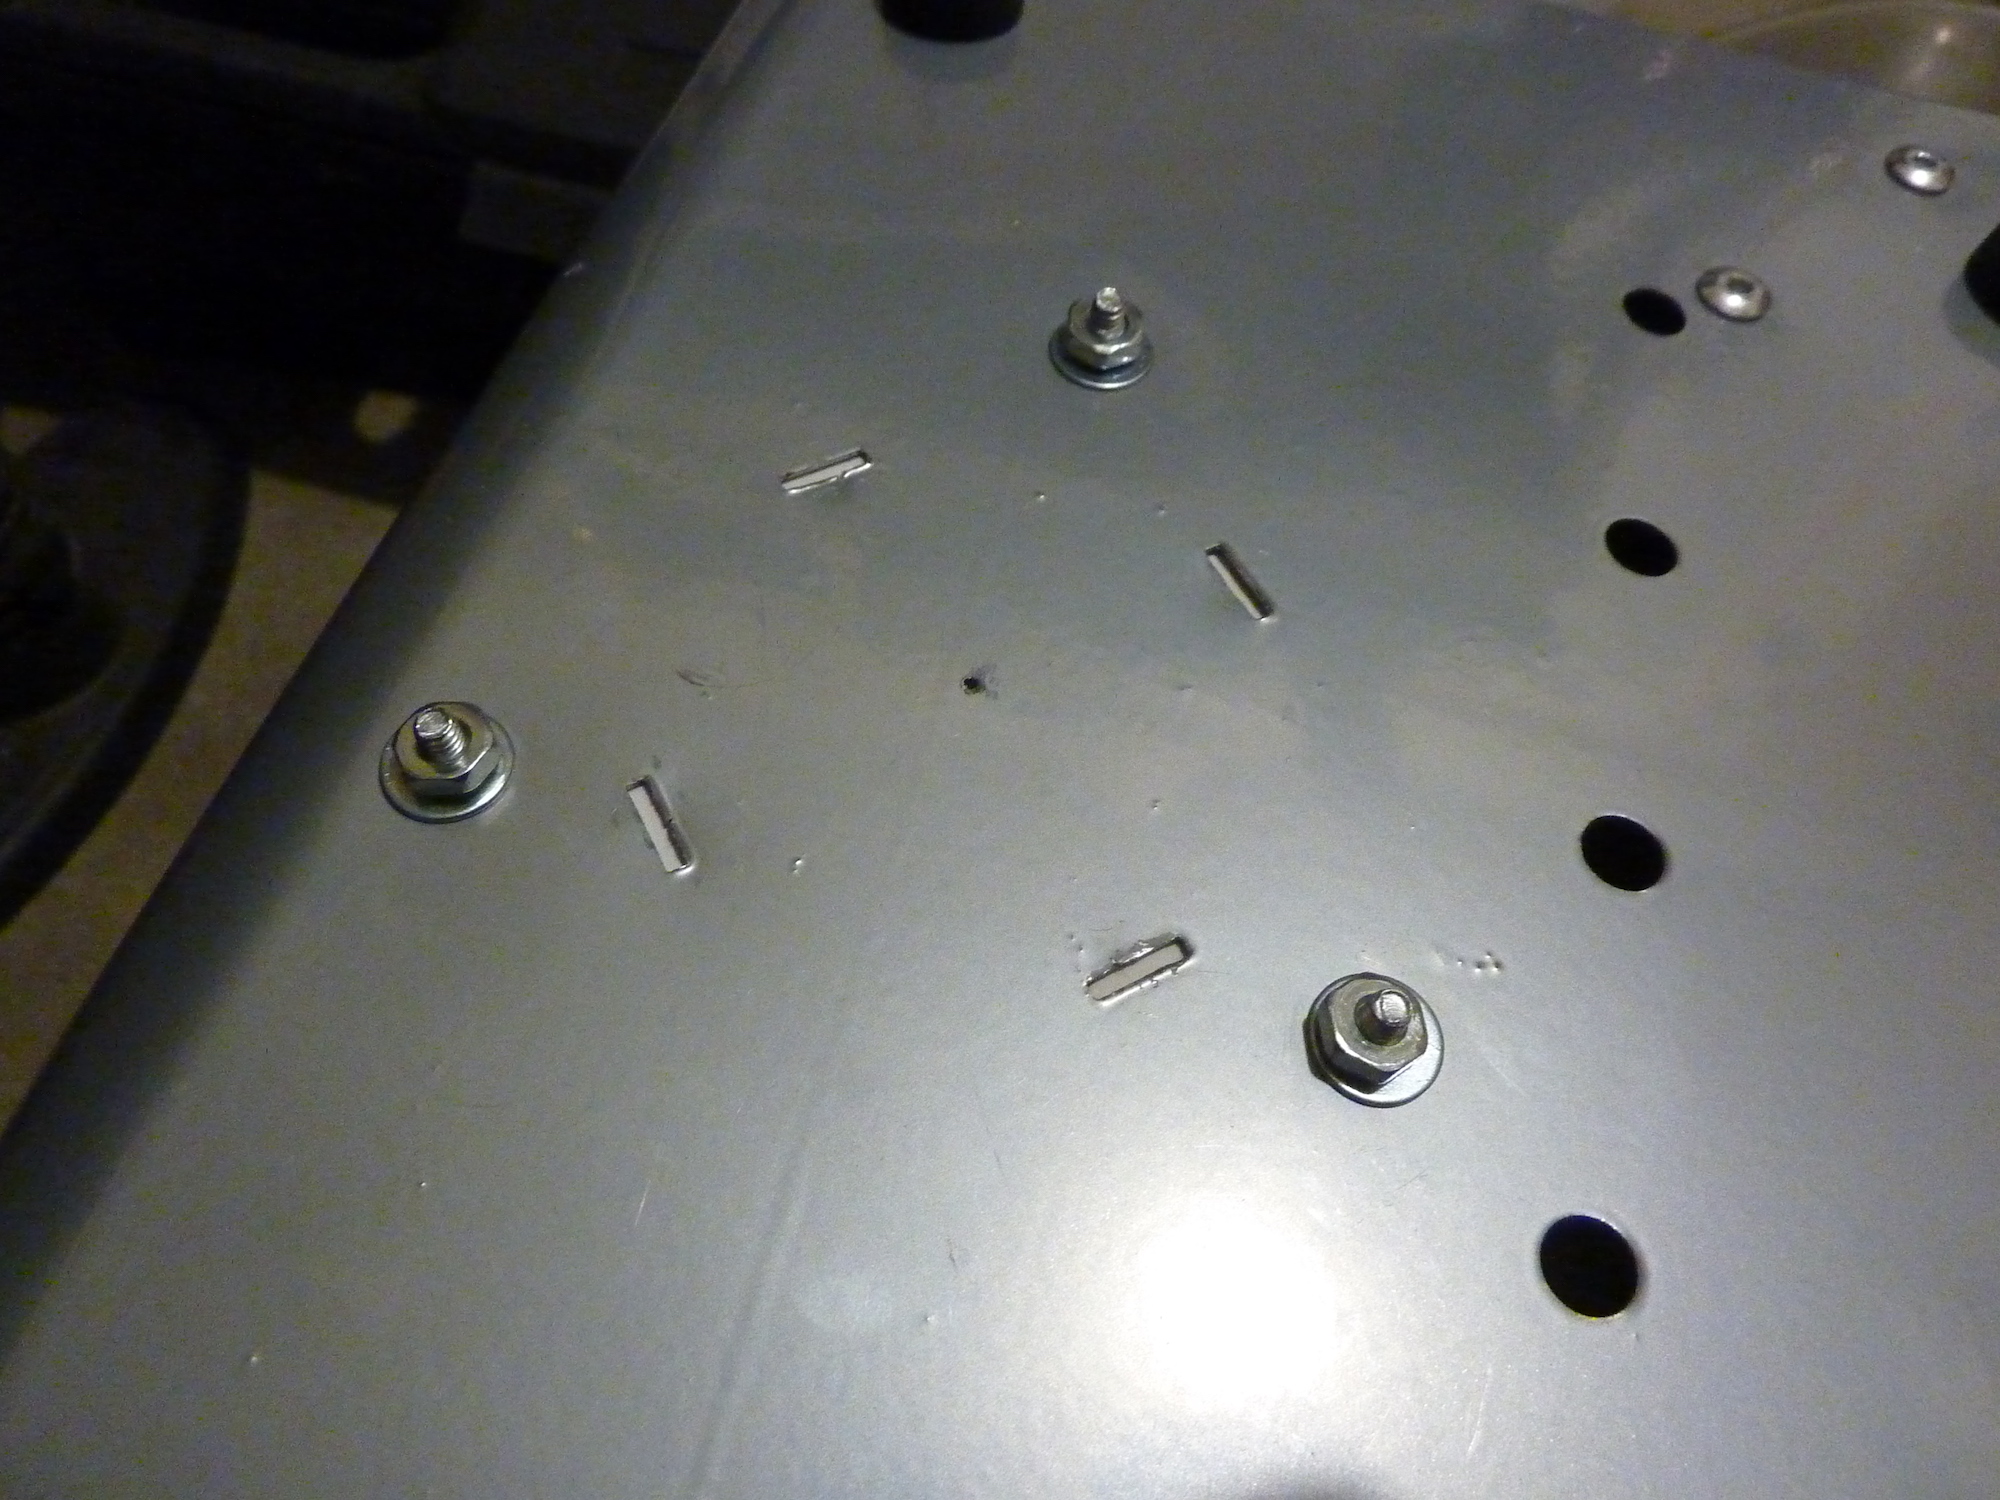
Looking closer,
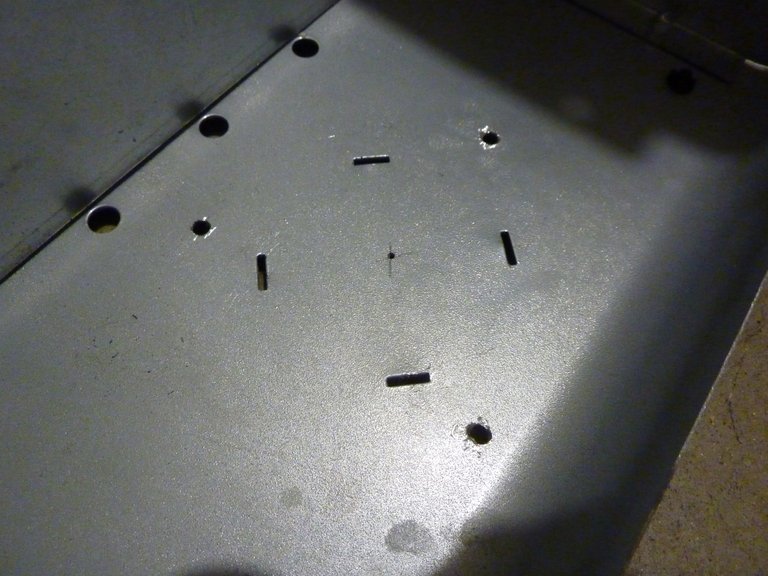
I was surprised to discover that the electrolyzer tank was attached to the chassis in a rather primitive way. Four metal tabs on a ring spot-welded to the bottom of the tank were inserted through slots in the floor of the case and then twisted to fix the tank in place.
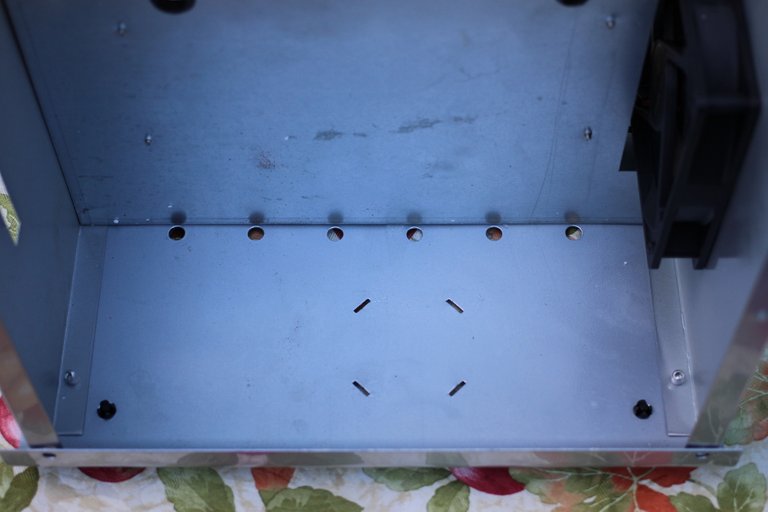
Cheesy tank attachment slots in the chassis base. ~ Image by the author.
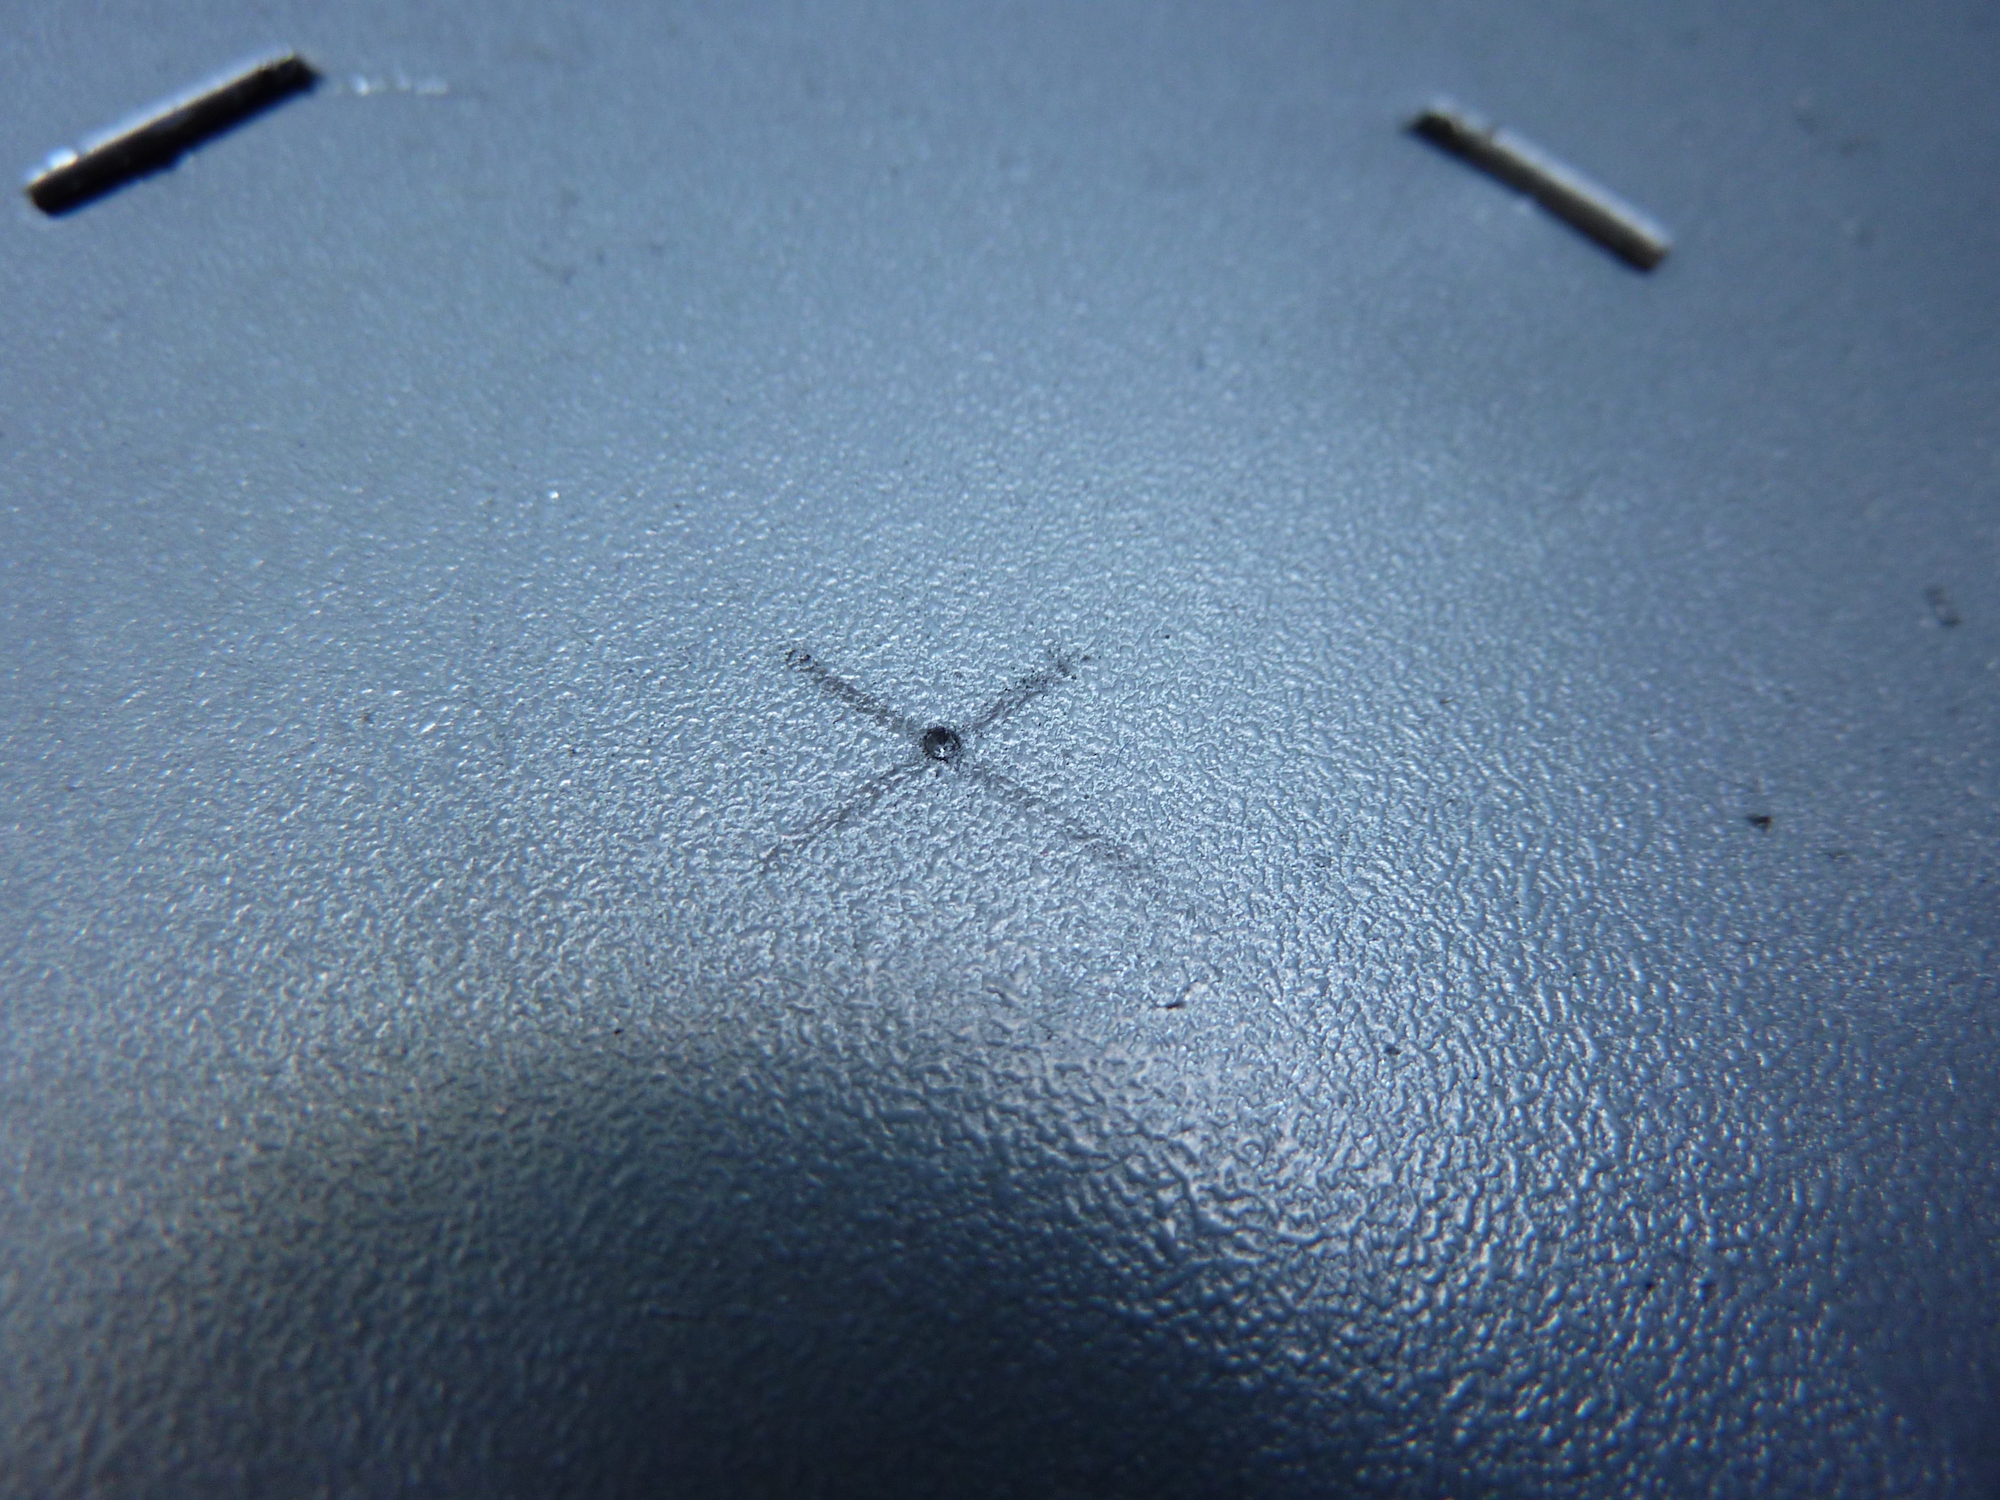
Rather than remove the ring,
I simply flattened the tabs against the base of the electrolyzer tank. But how would I hold the tank in position now that the tabs were no longer in their slots? And, why oh why would I bother to make the thing removable to begin with?
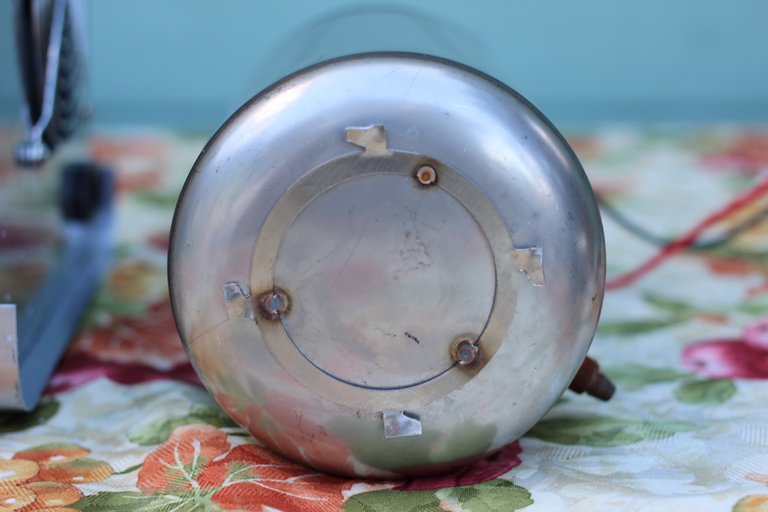
Tabs welded to the tank bottom. ~ Image by the author.
Unfortunately,
in order to service and maintain these Brown's gas machines properly, the electrolyte fluid must be drained and the tank must be rinsed about every 100 "full-bore" operating hours. (Note: Running the machine mostly at lesser "breathing" levels extends that to between 200 and 300 "real-time-clock" operating hours.)
There's a feature of the AquaCure® AC50 that I don't care for. To rinse the tank, you have to unscrew the Tower Cap and pick up and turn the entire machine upside-down over the sink, all while trying to avoid getting electrolyte on anything important.
I decided that I would rather handle only the tank when rinsing is needed. While this requires removing the machine cover (eight sheet metal screws and four machine screws to remove and replace), doing so is only necessary at widely-spaced maintenance intervals.
With that goal in mind, I made design changes that enable easy removal of the tank assembly and its associated plumbing. This not only makes it easier to service the tank, it reduces the risk of dripping lye solution on the machine and damaging the painted finish.
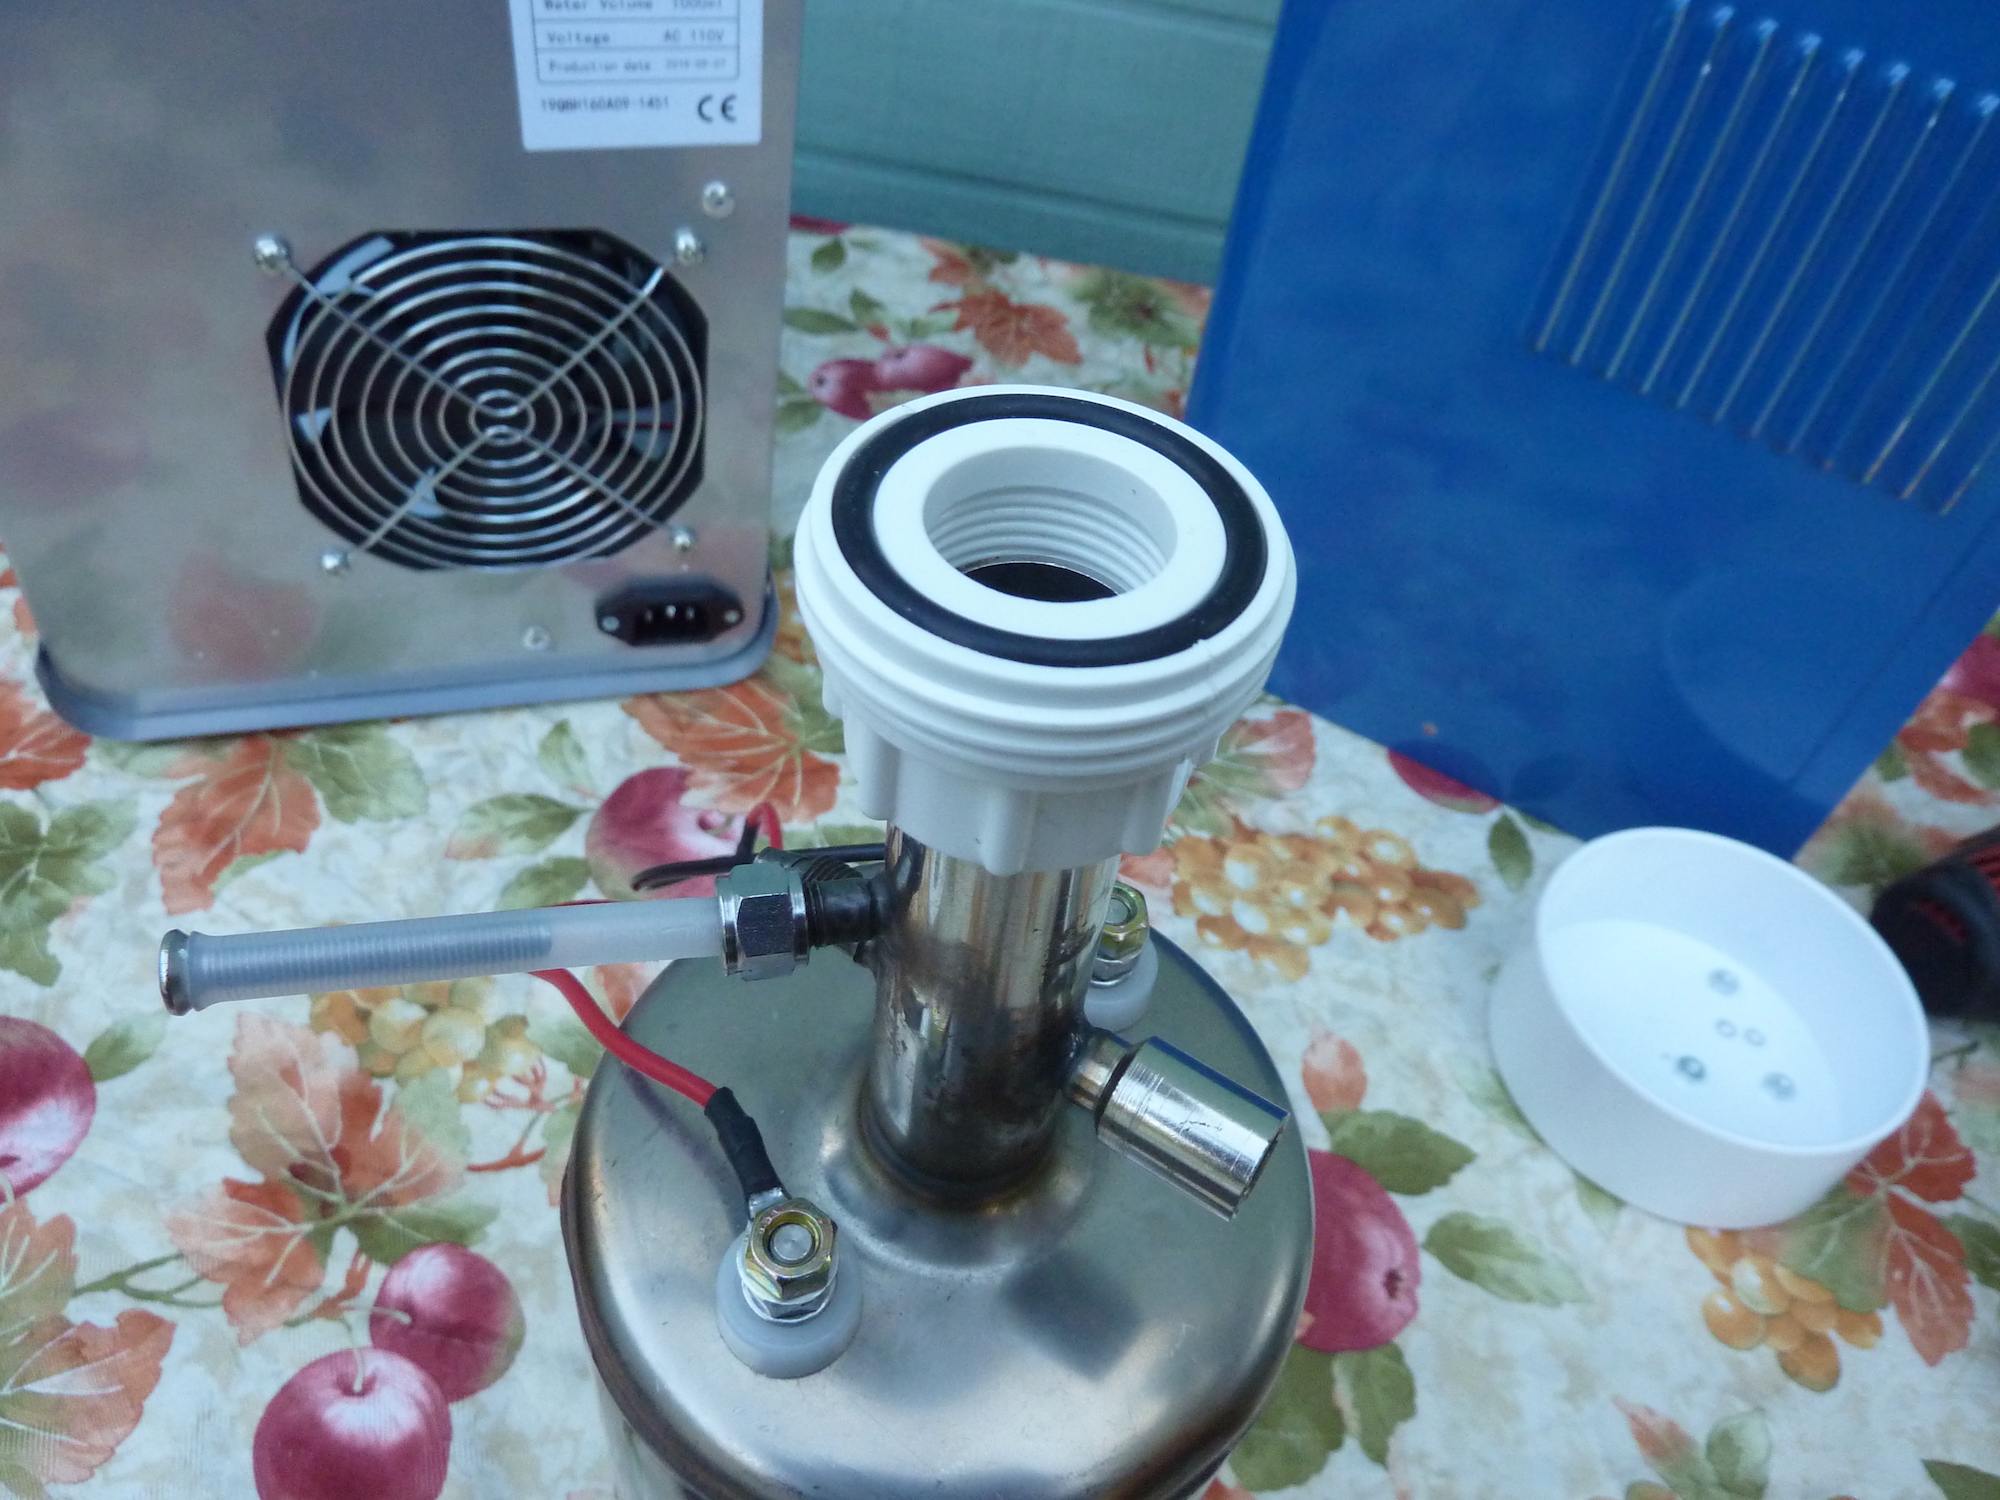
Standalone, Easily Removable Tank Assembly ~ Image by the author.
In the image above,
you can see the tank assembly after modification: compact, self contained, and easy to handle for maintenance purposes.Here's how I made those changes.
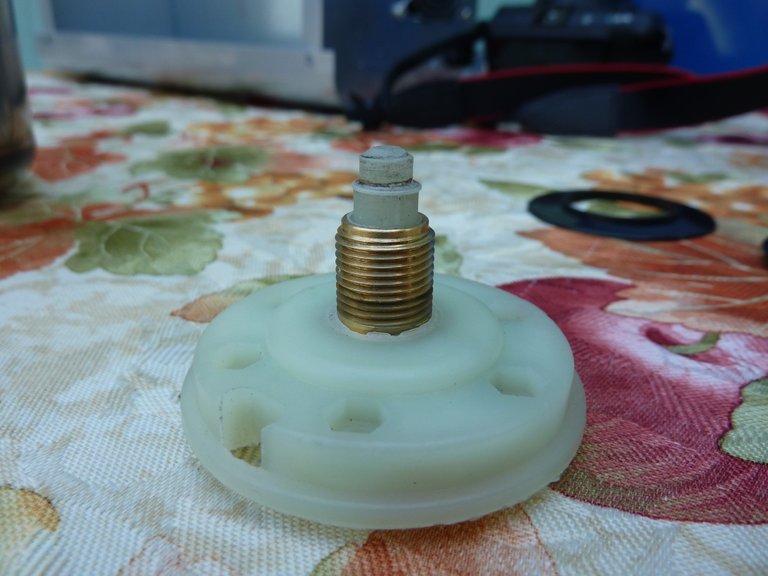
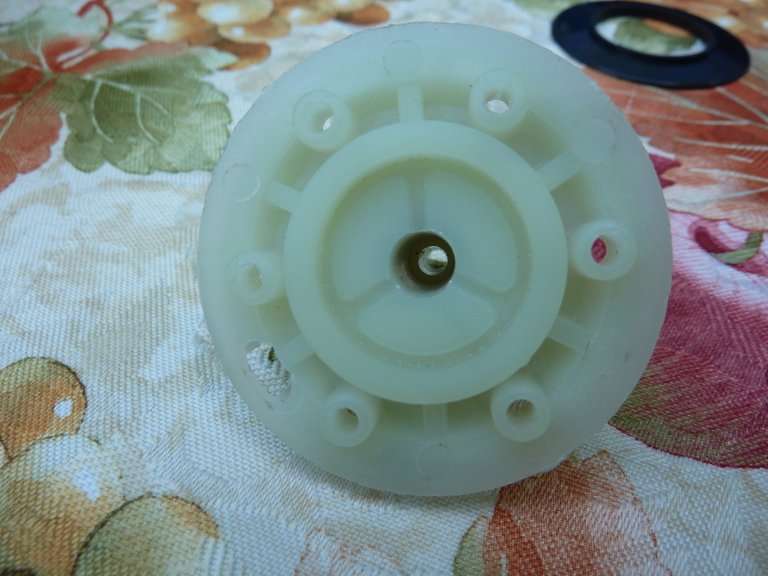
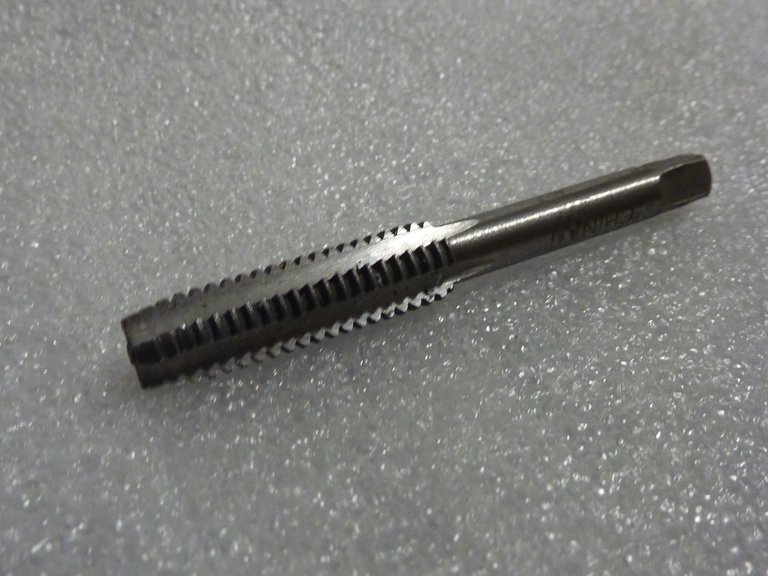
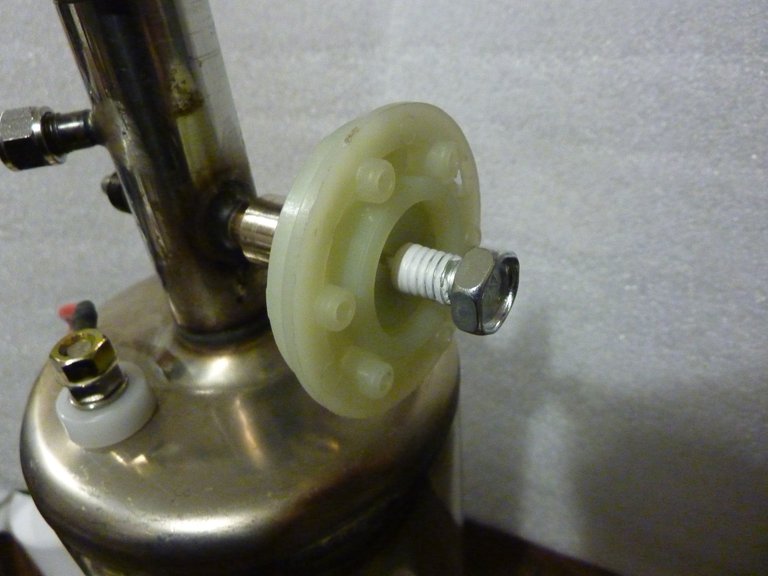
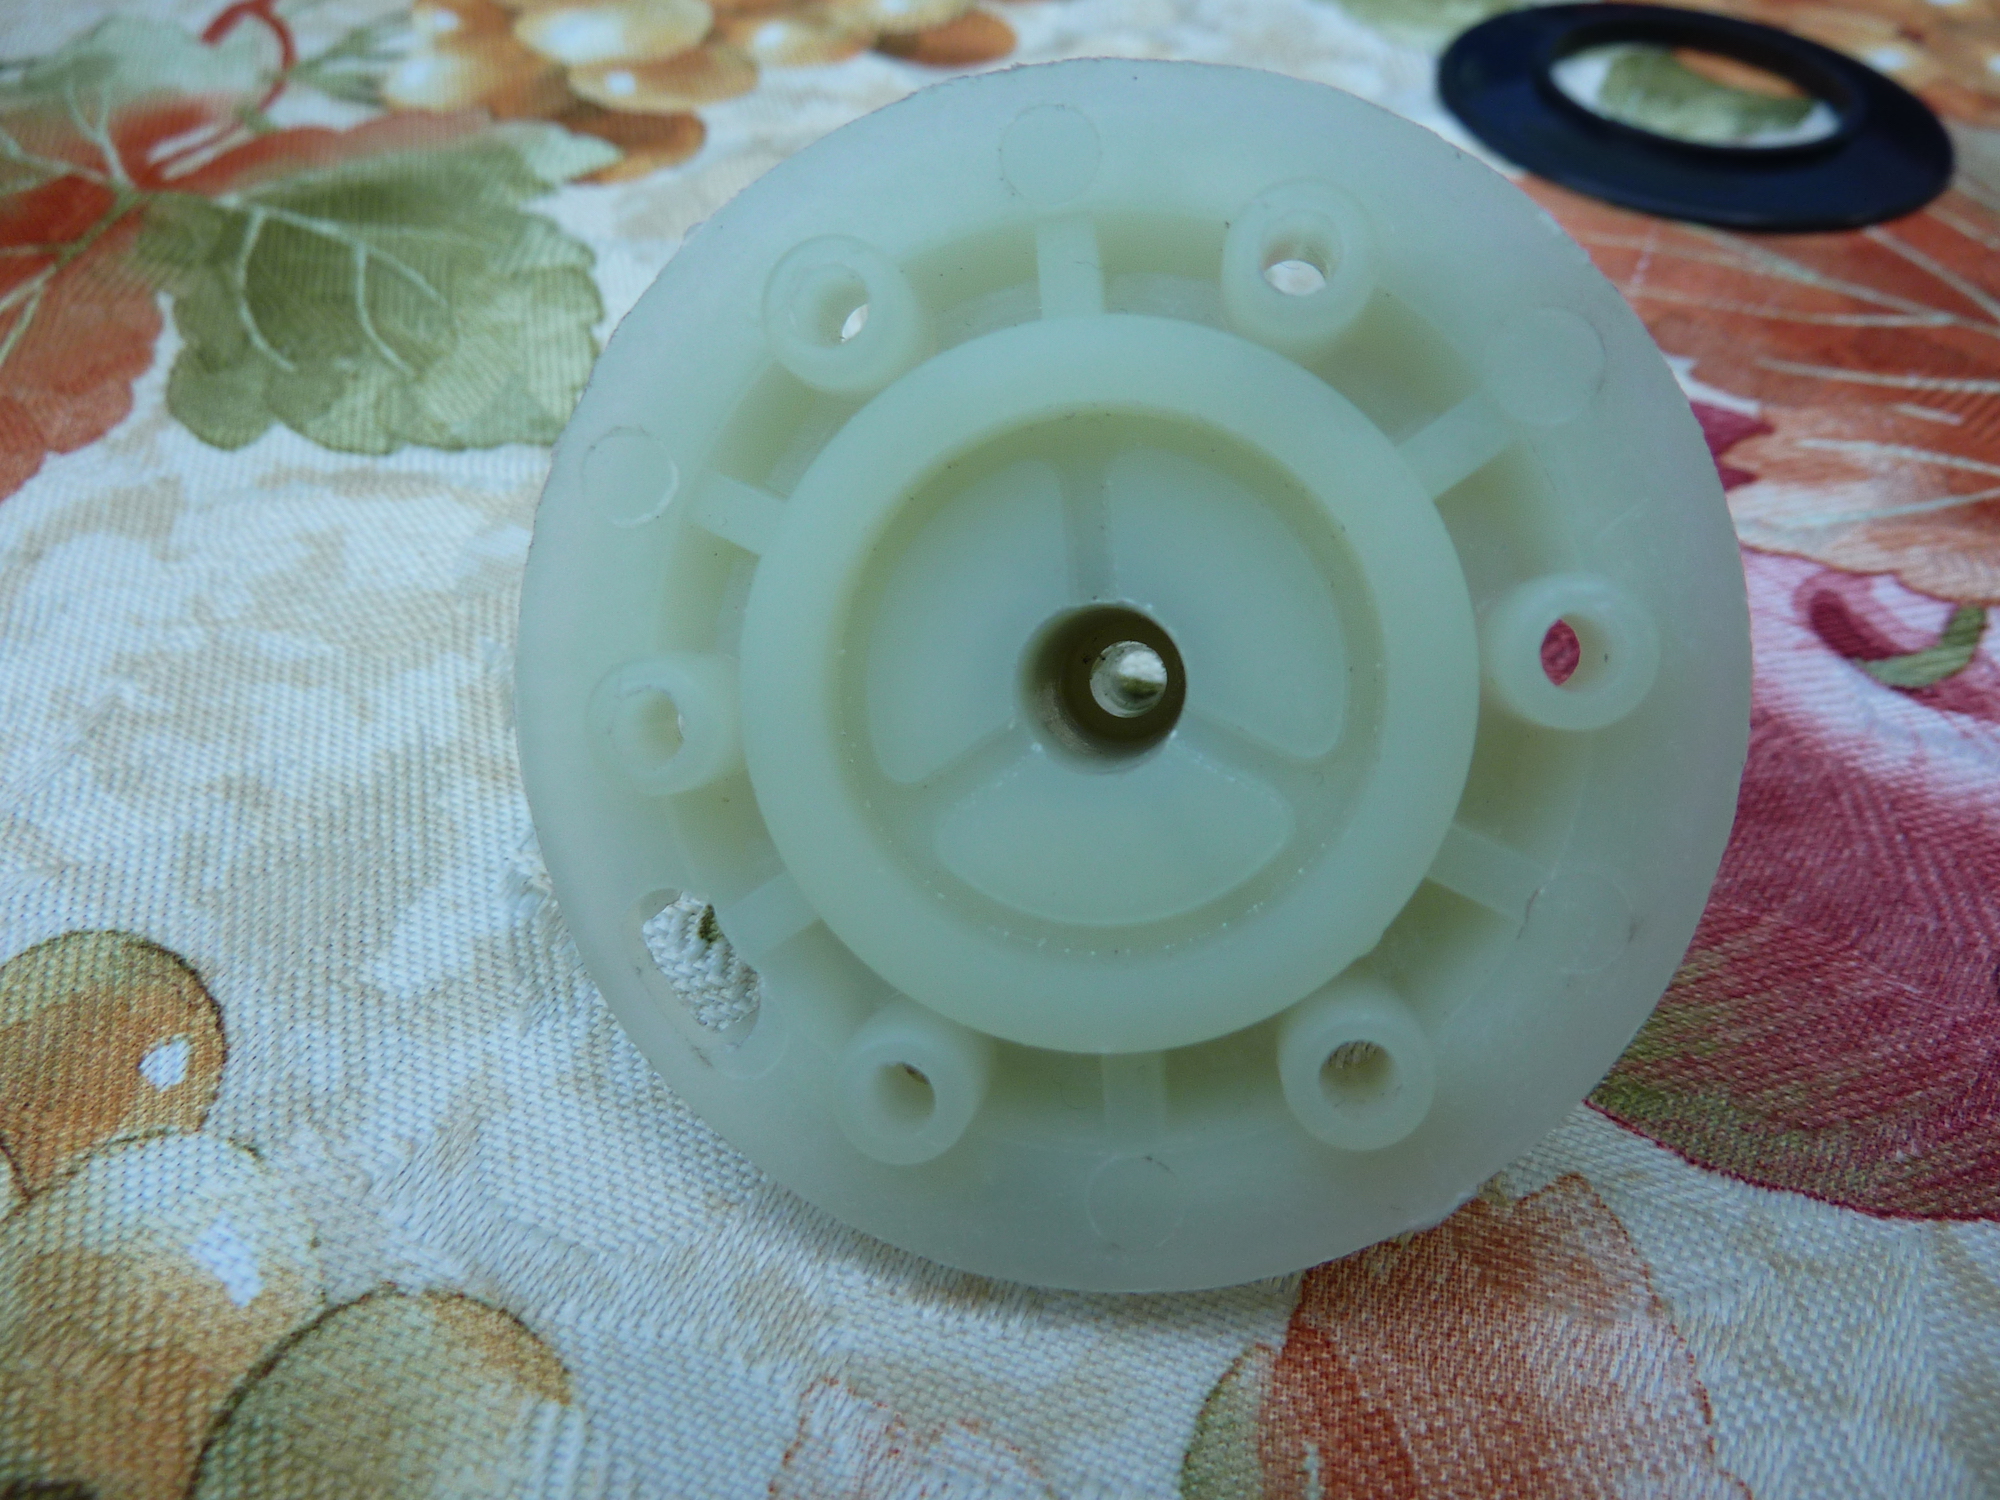
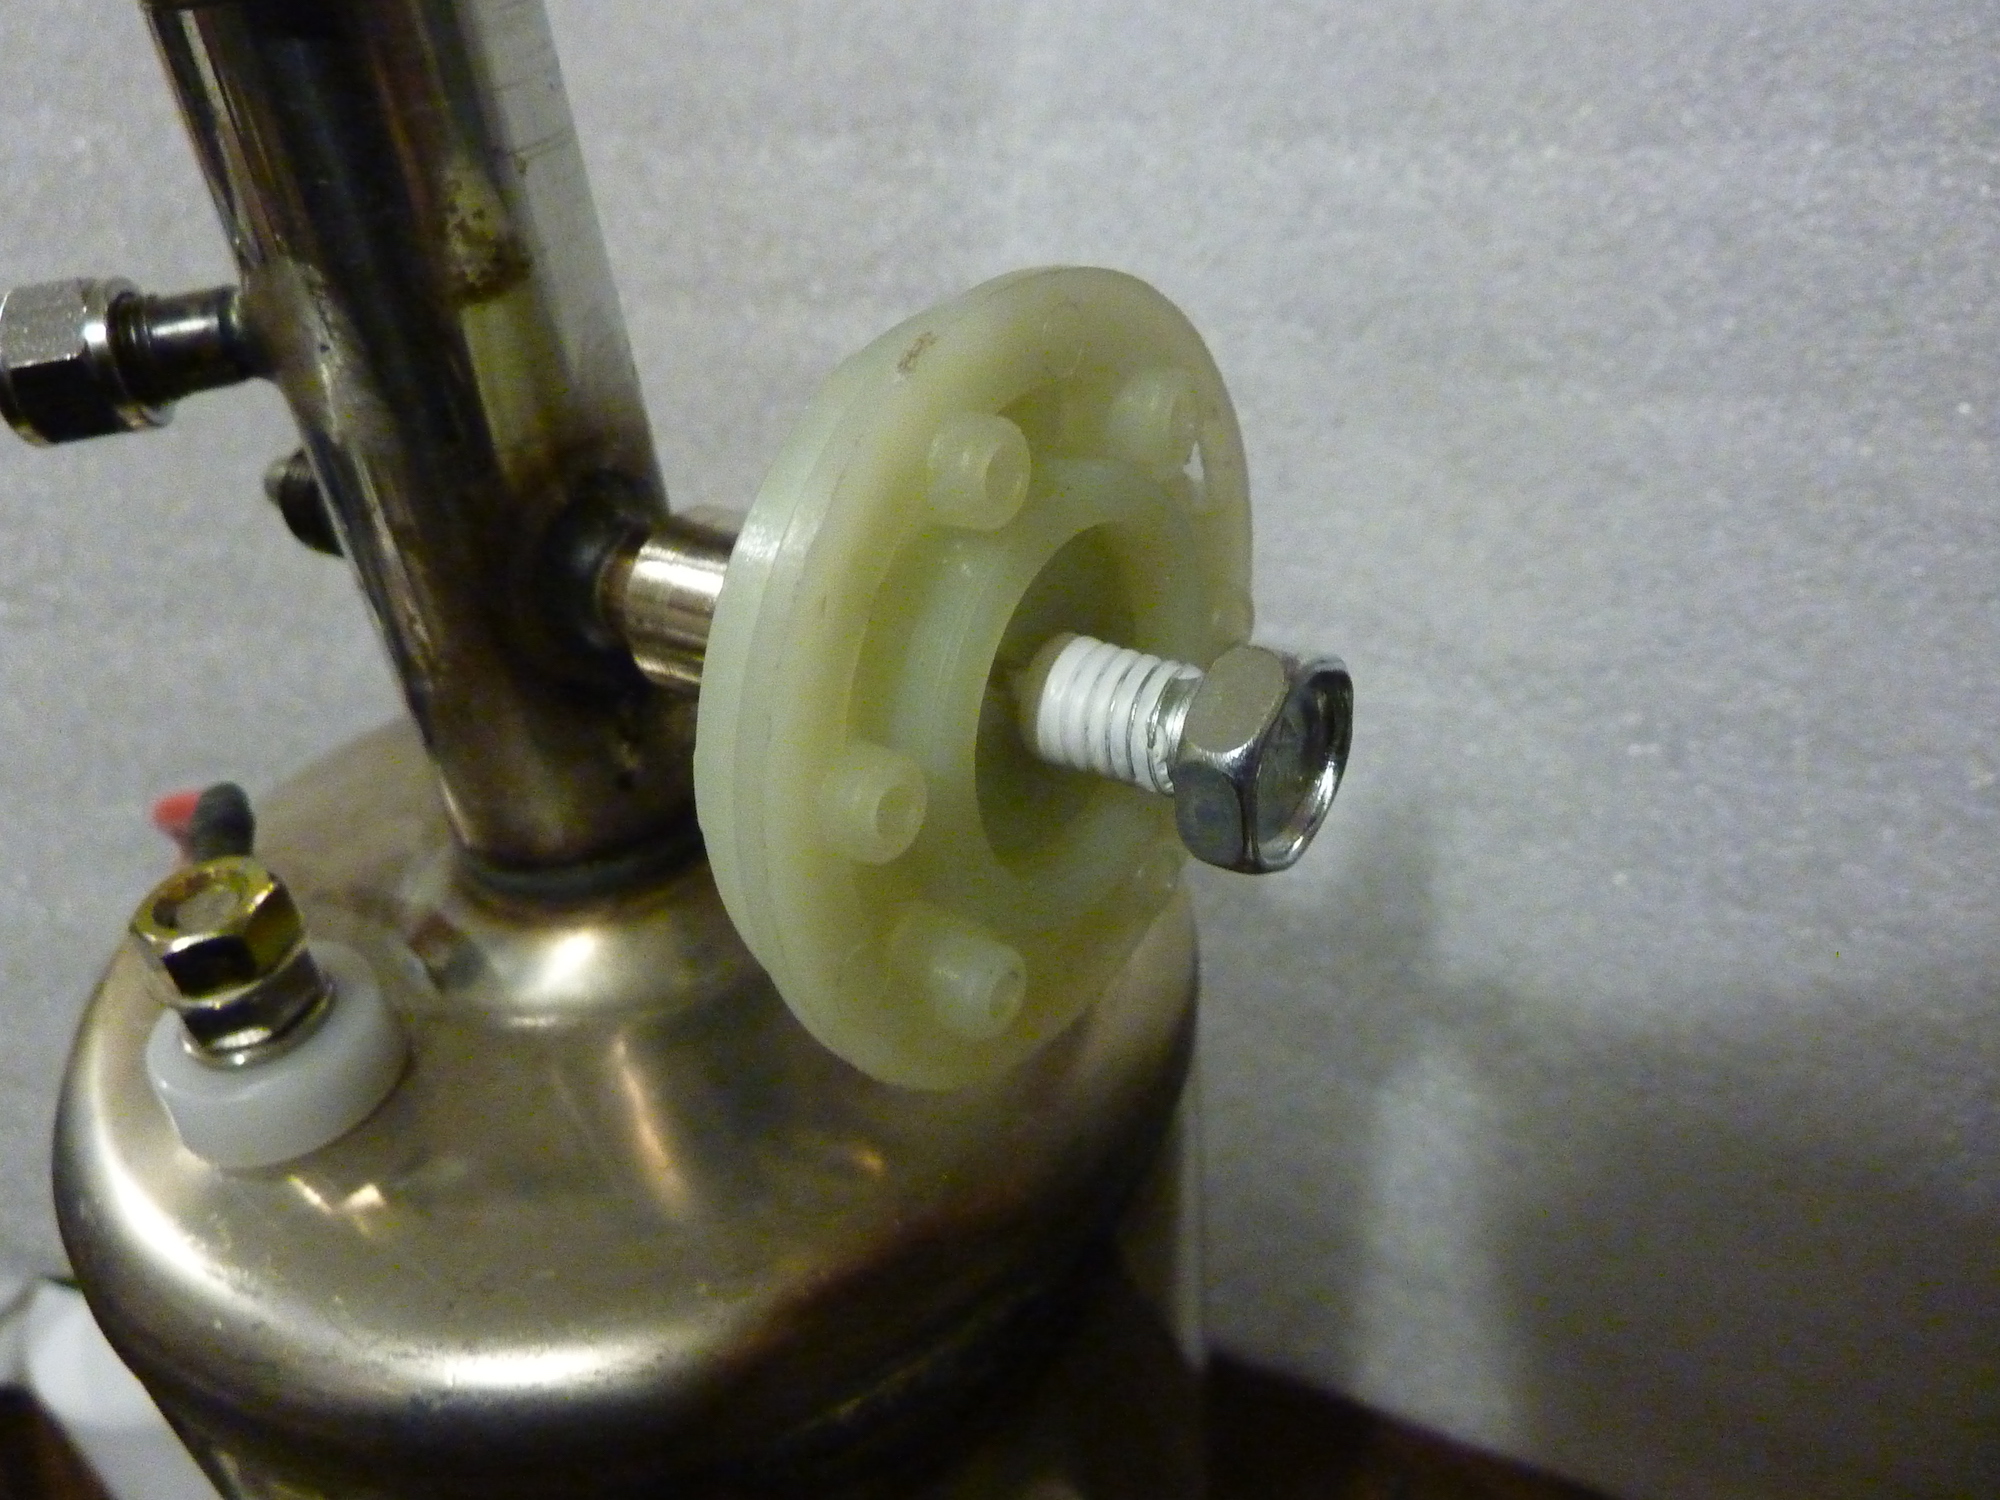
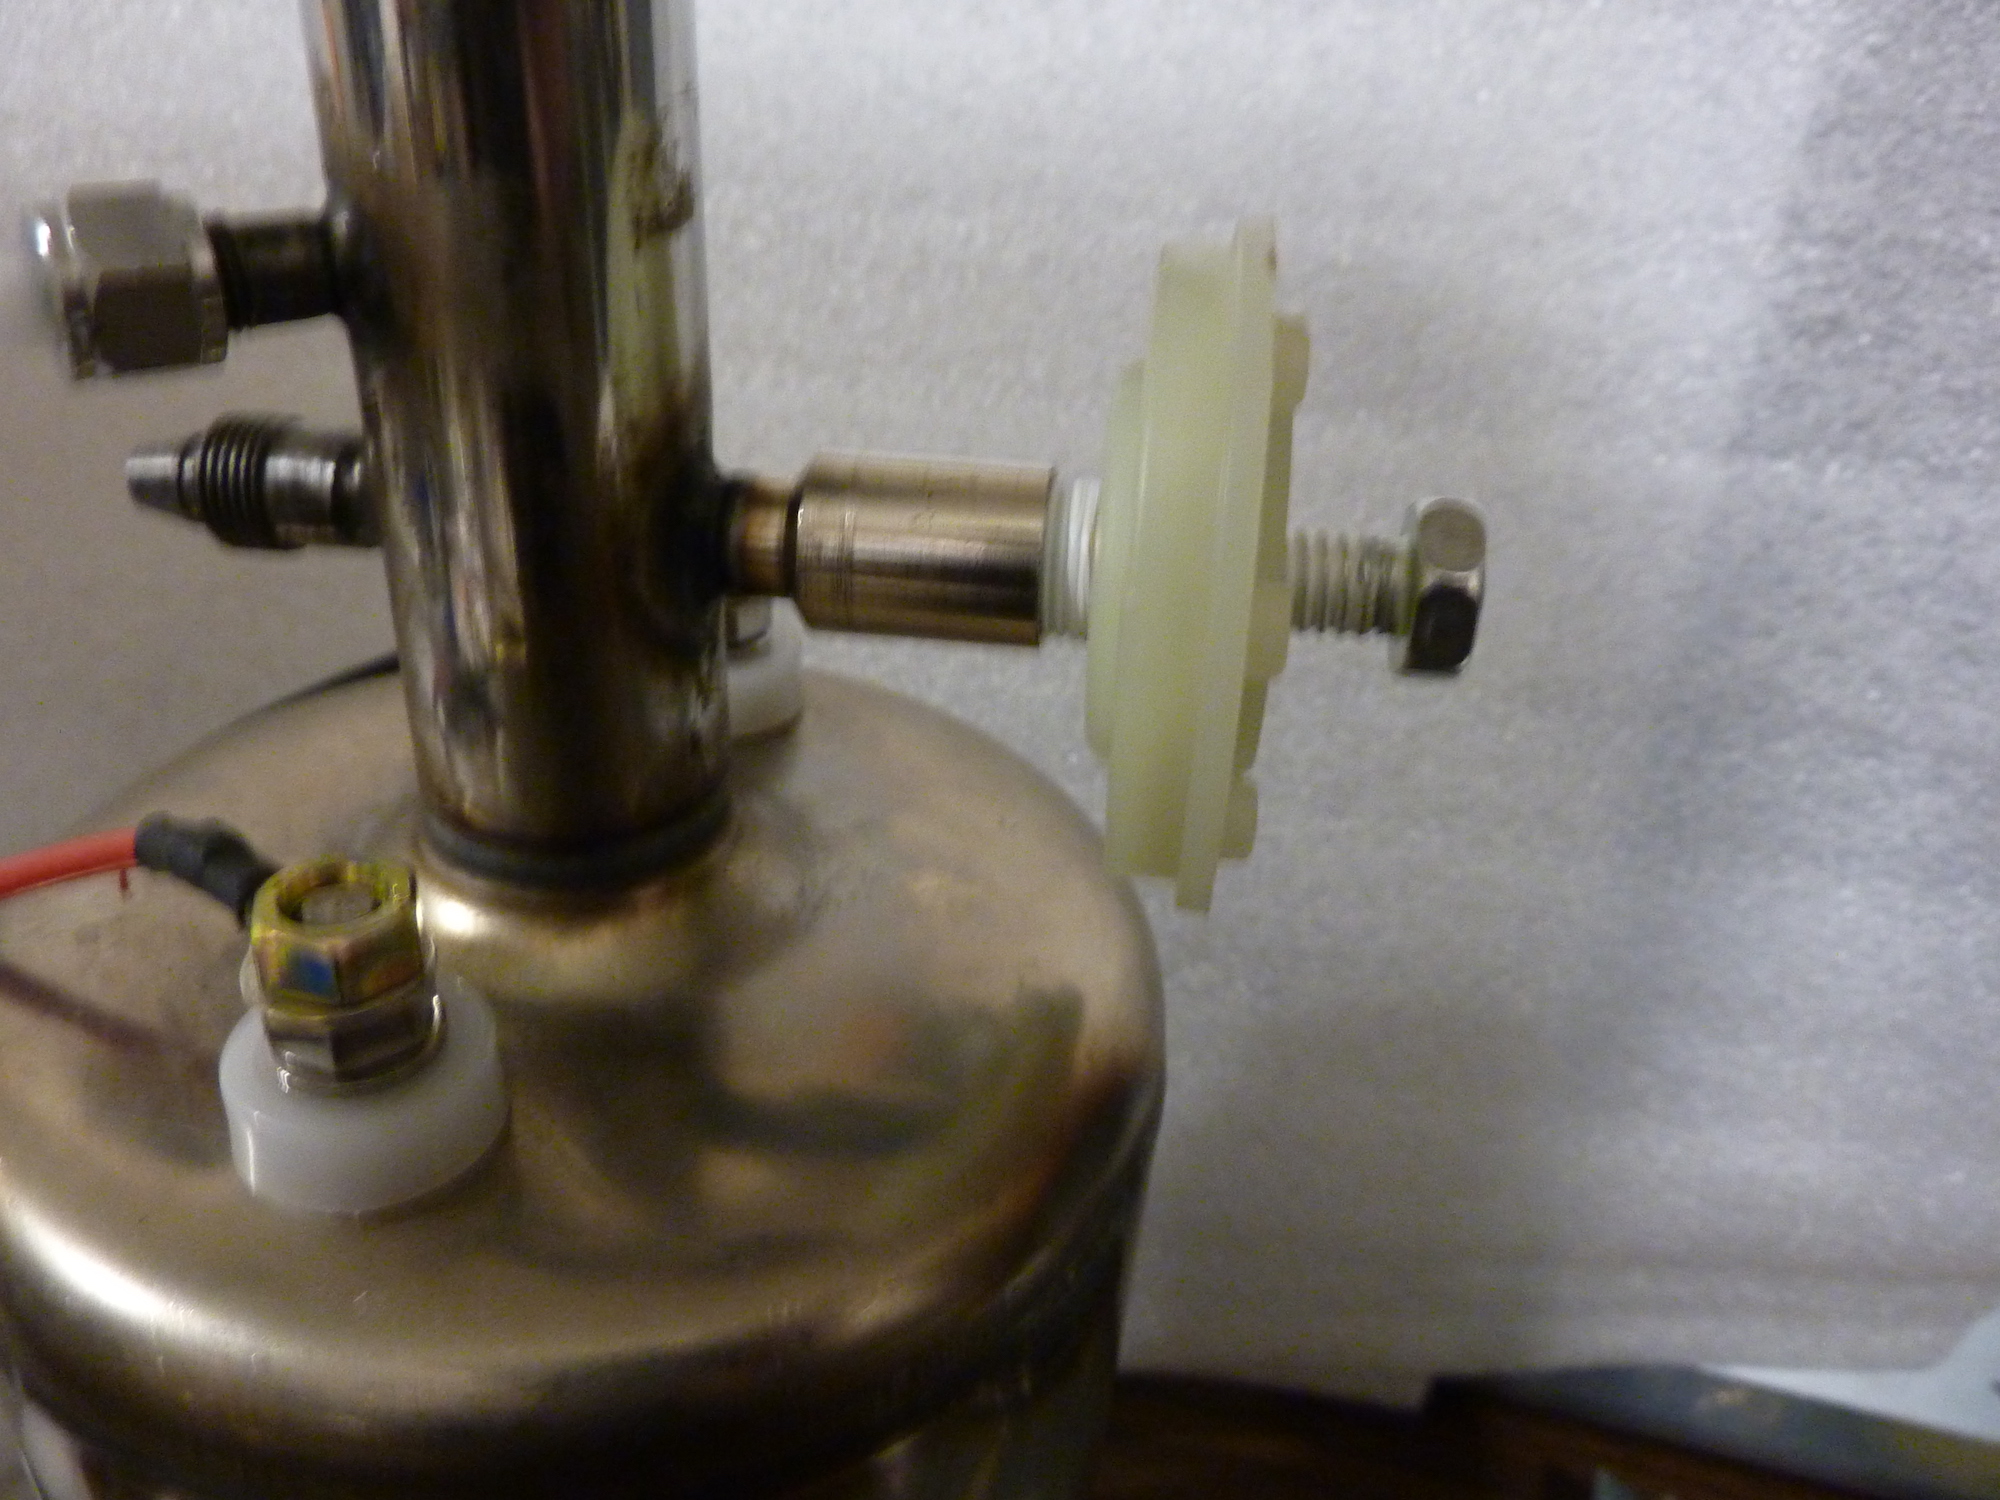
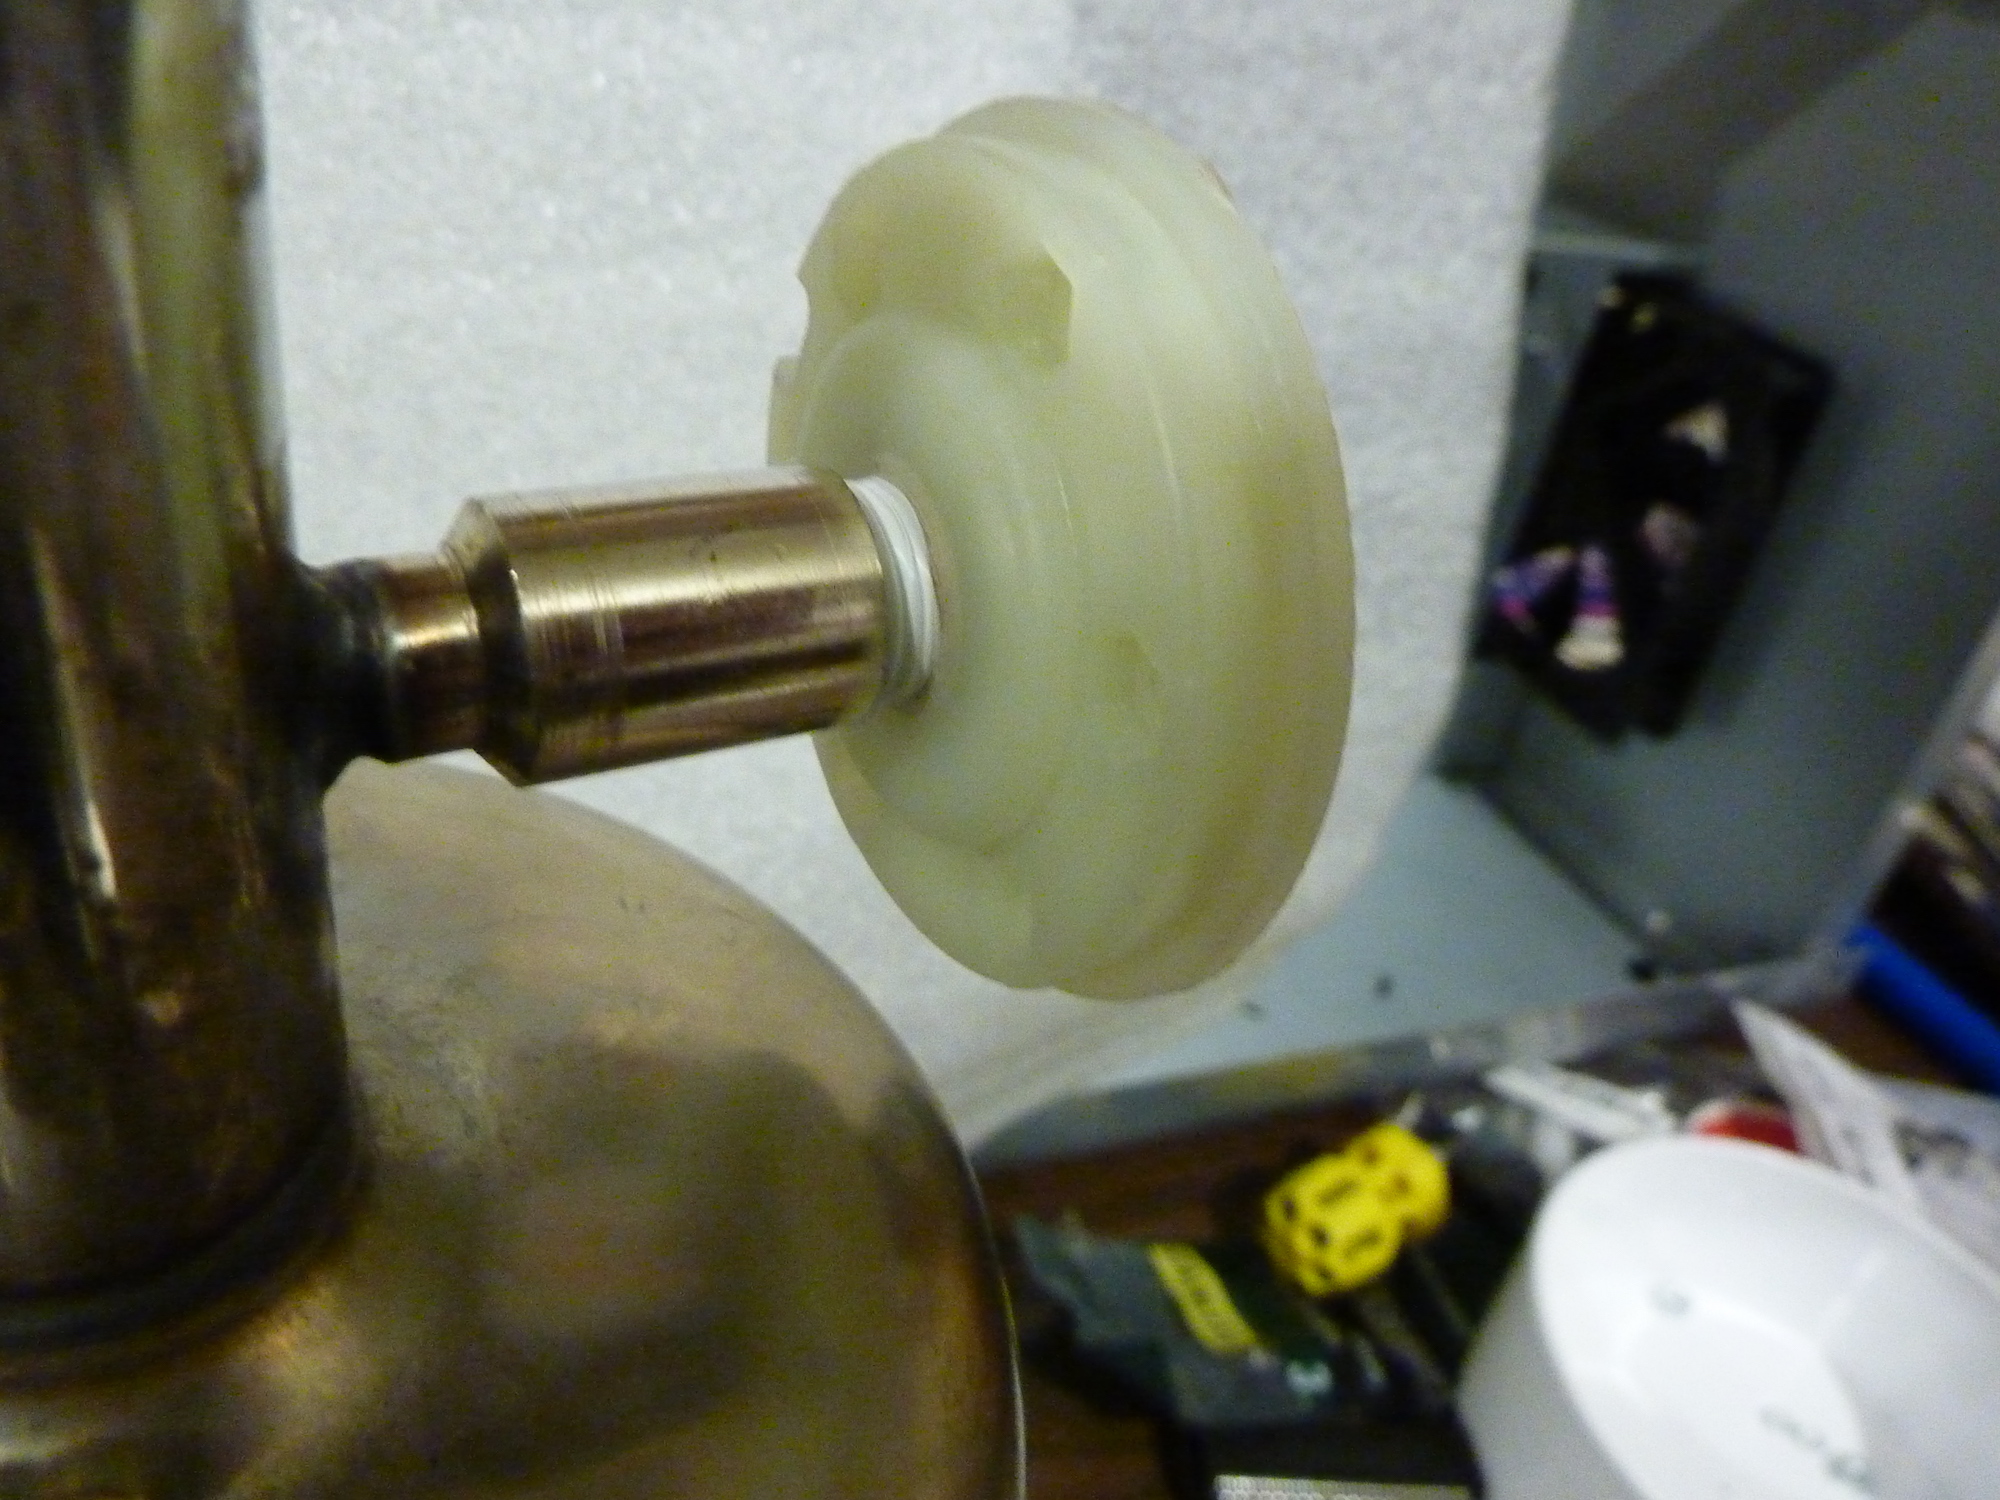
When I removed the unneeded over-pressure switch, I discovered that the threads did not match any standard that I could discover. Needing to plug that hole, I disassembled the switch, removing all unneeded components and leaving only the switch base.
I was able to use a tap to cut some standard threads into the center hole in the base and I then plugged the hole with a thread-tape wound bolt. I reinstalled that new plug, also using thread tape on the original threads. The slide show below shows how this was done.


<<<-Drag to SCROLL Left and Right->>>, CLICK for full-sized image.
All Images by @creatr
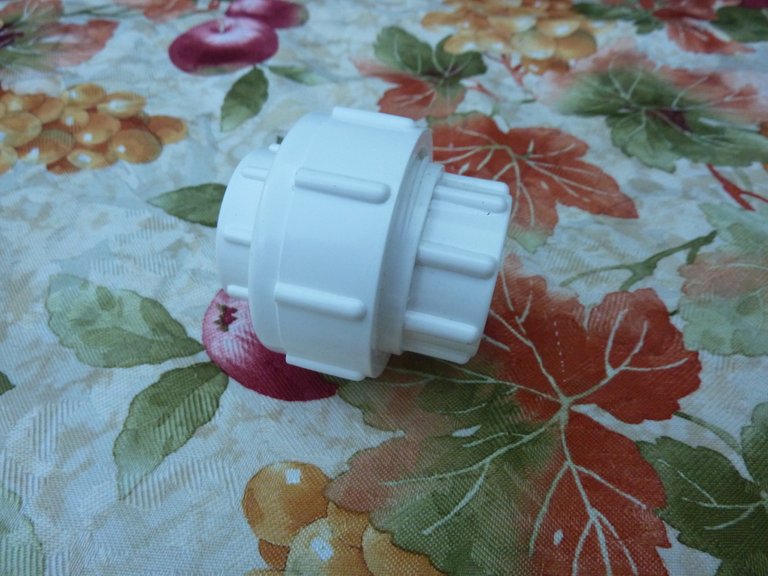
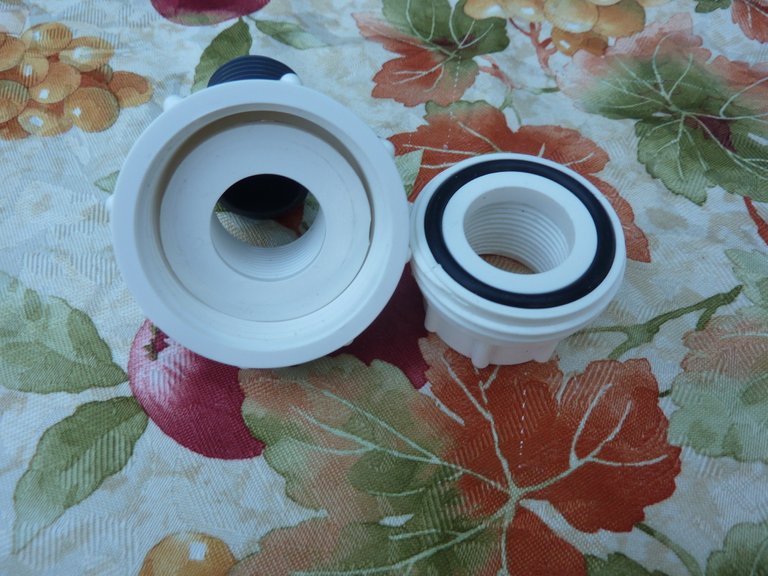
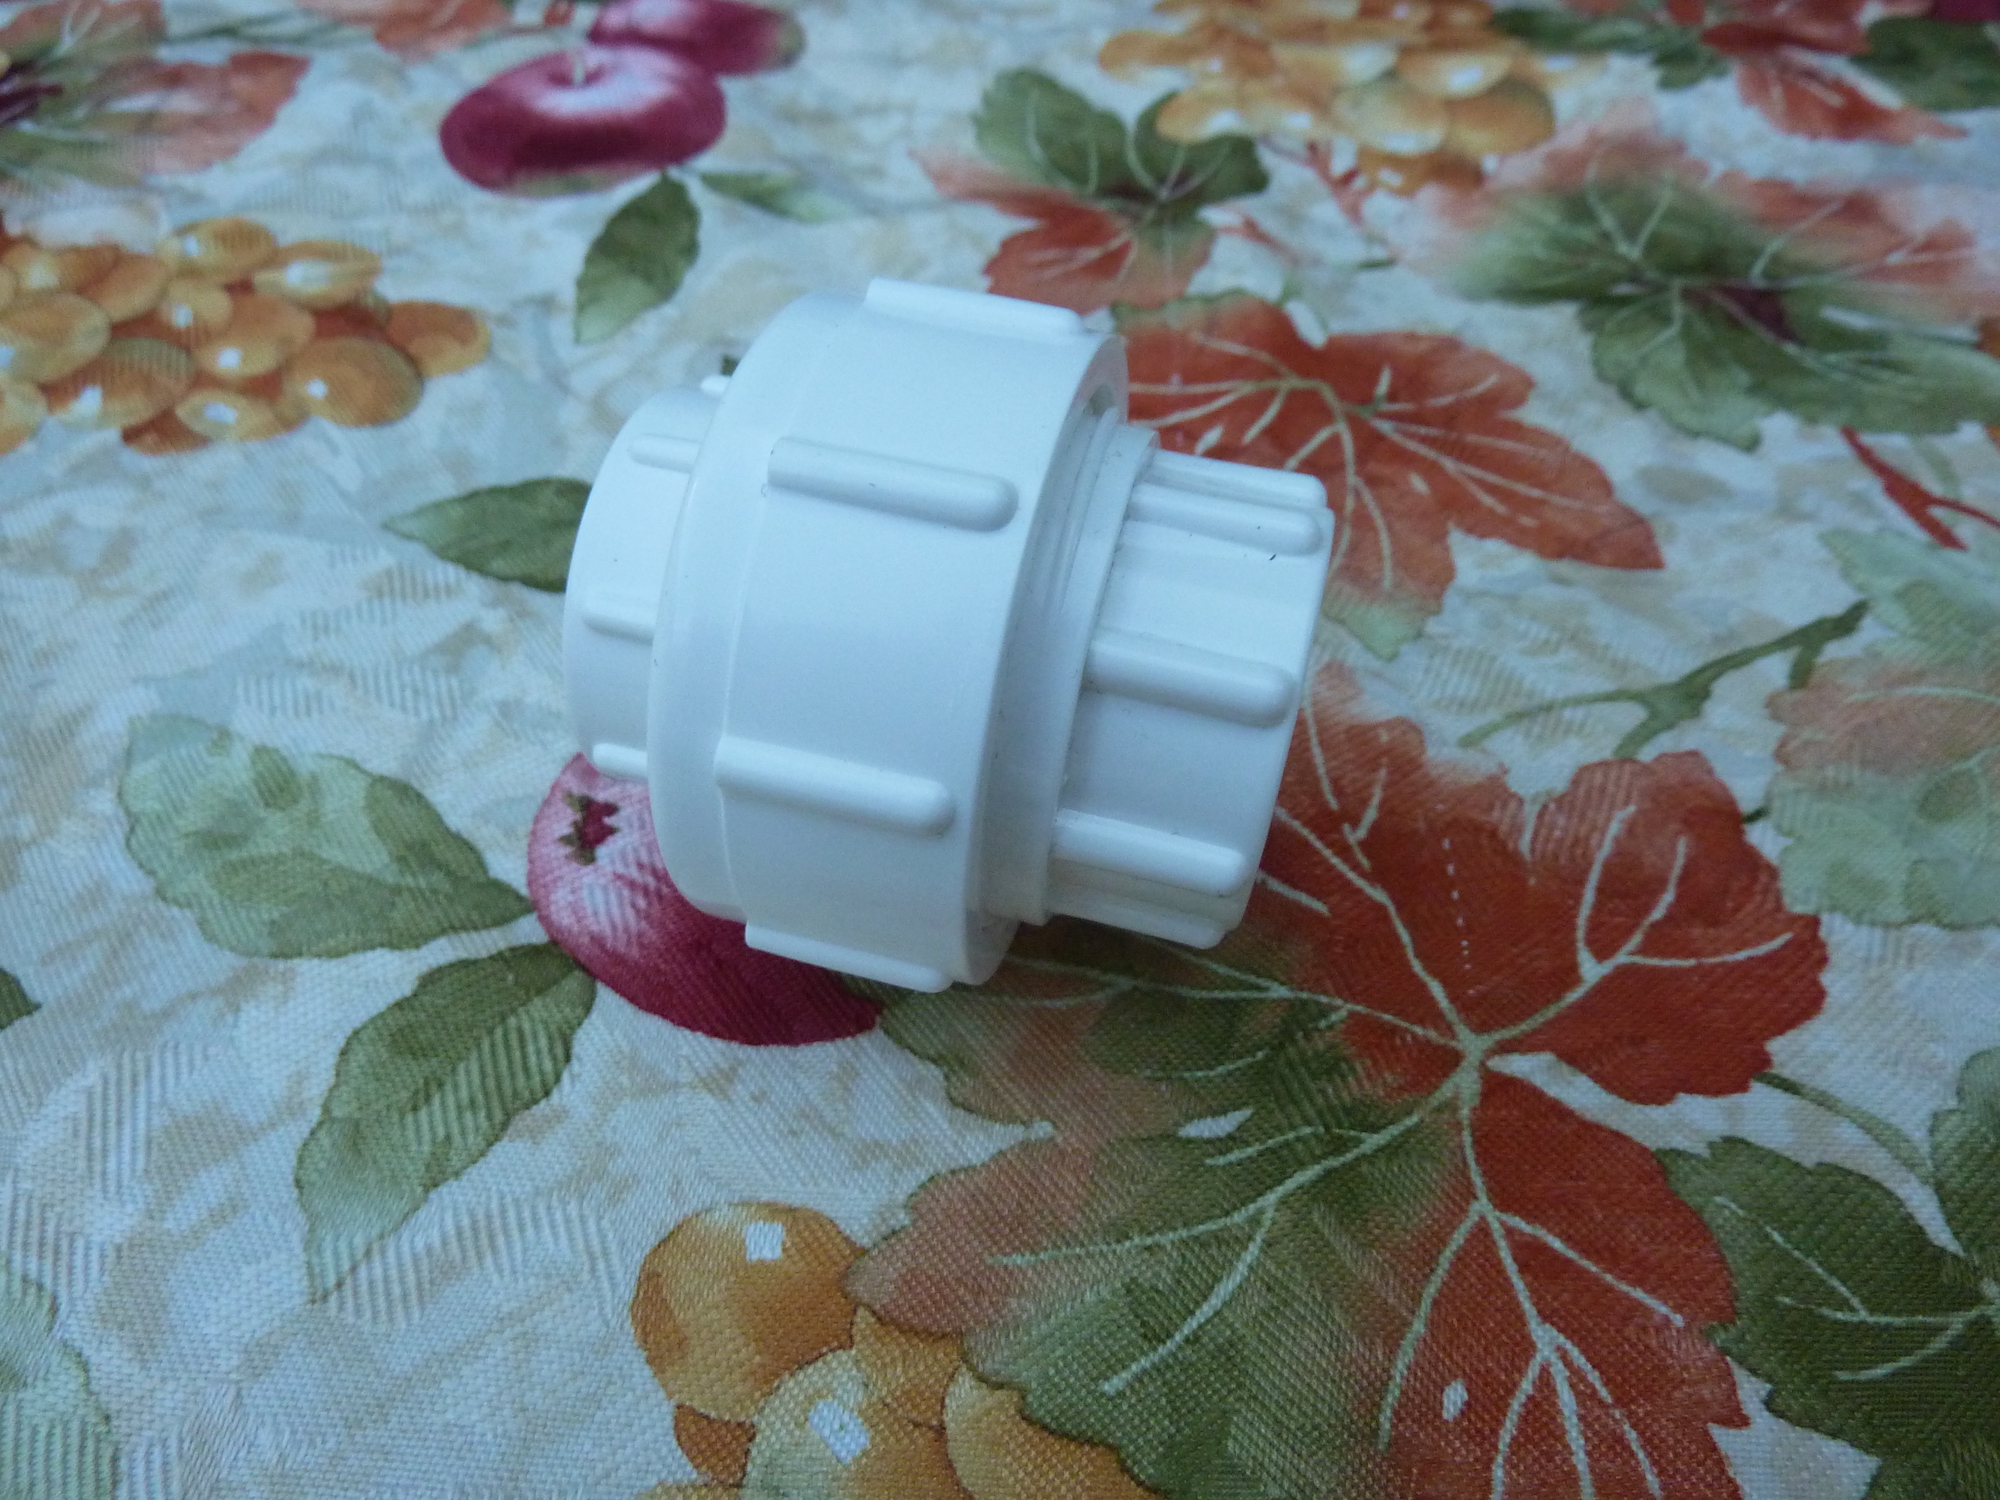
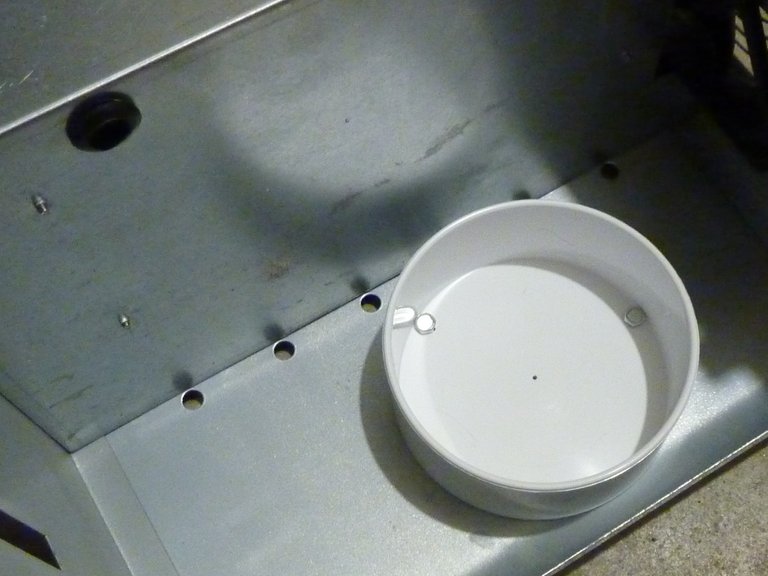
Maintaining the AquaCure® AC50 also requires removing and re-installing the Tower Cap each time the tank is cleaned. This produces wear and tear on the PVC threads in the cap base, and also requires replacing many layers of thread tape. I decided to use a PVC coupler instead. I have permanently attached the smaller half of the coupler to the top of the electrolyzer tank, as shown in the next slide show.


<<<-Drag to SCROLL Left and Right->>>, CLICK for full-sized image.
All Images by @creatr
Oops,
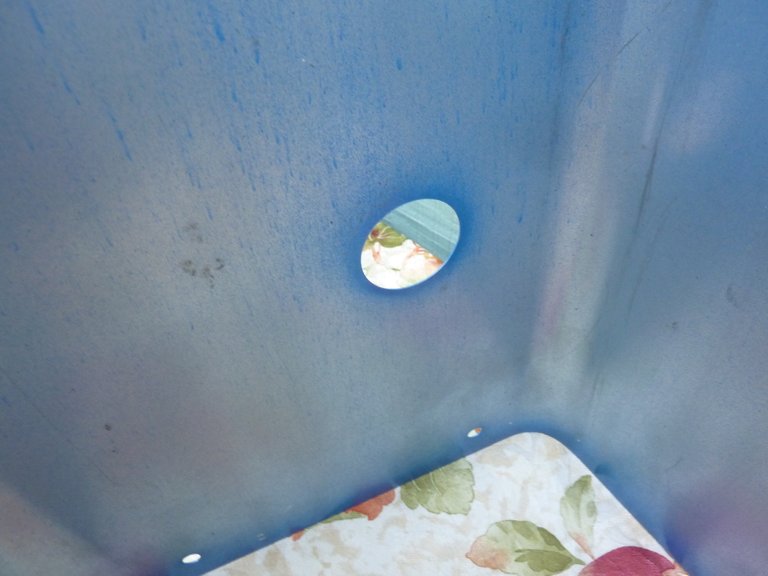
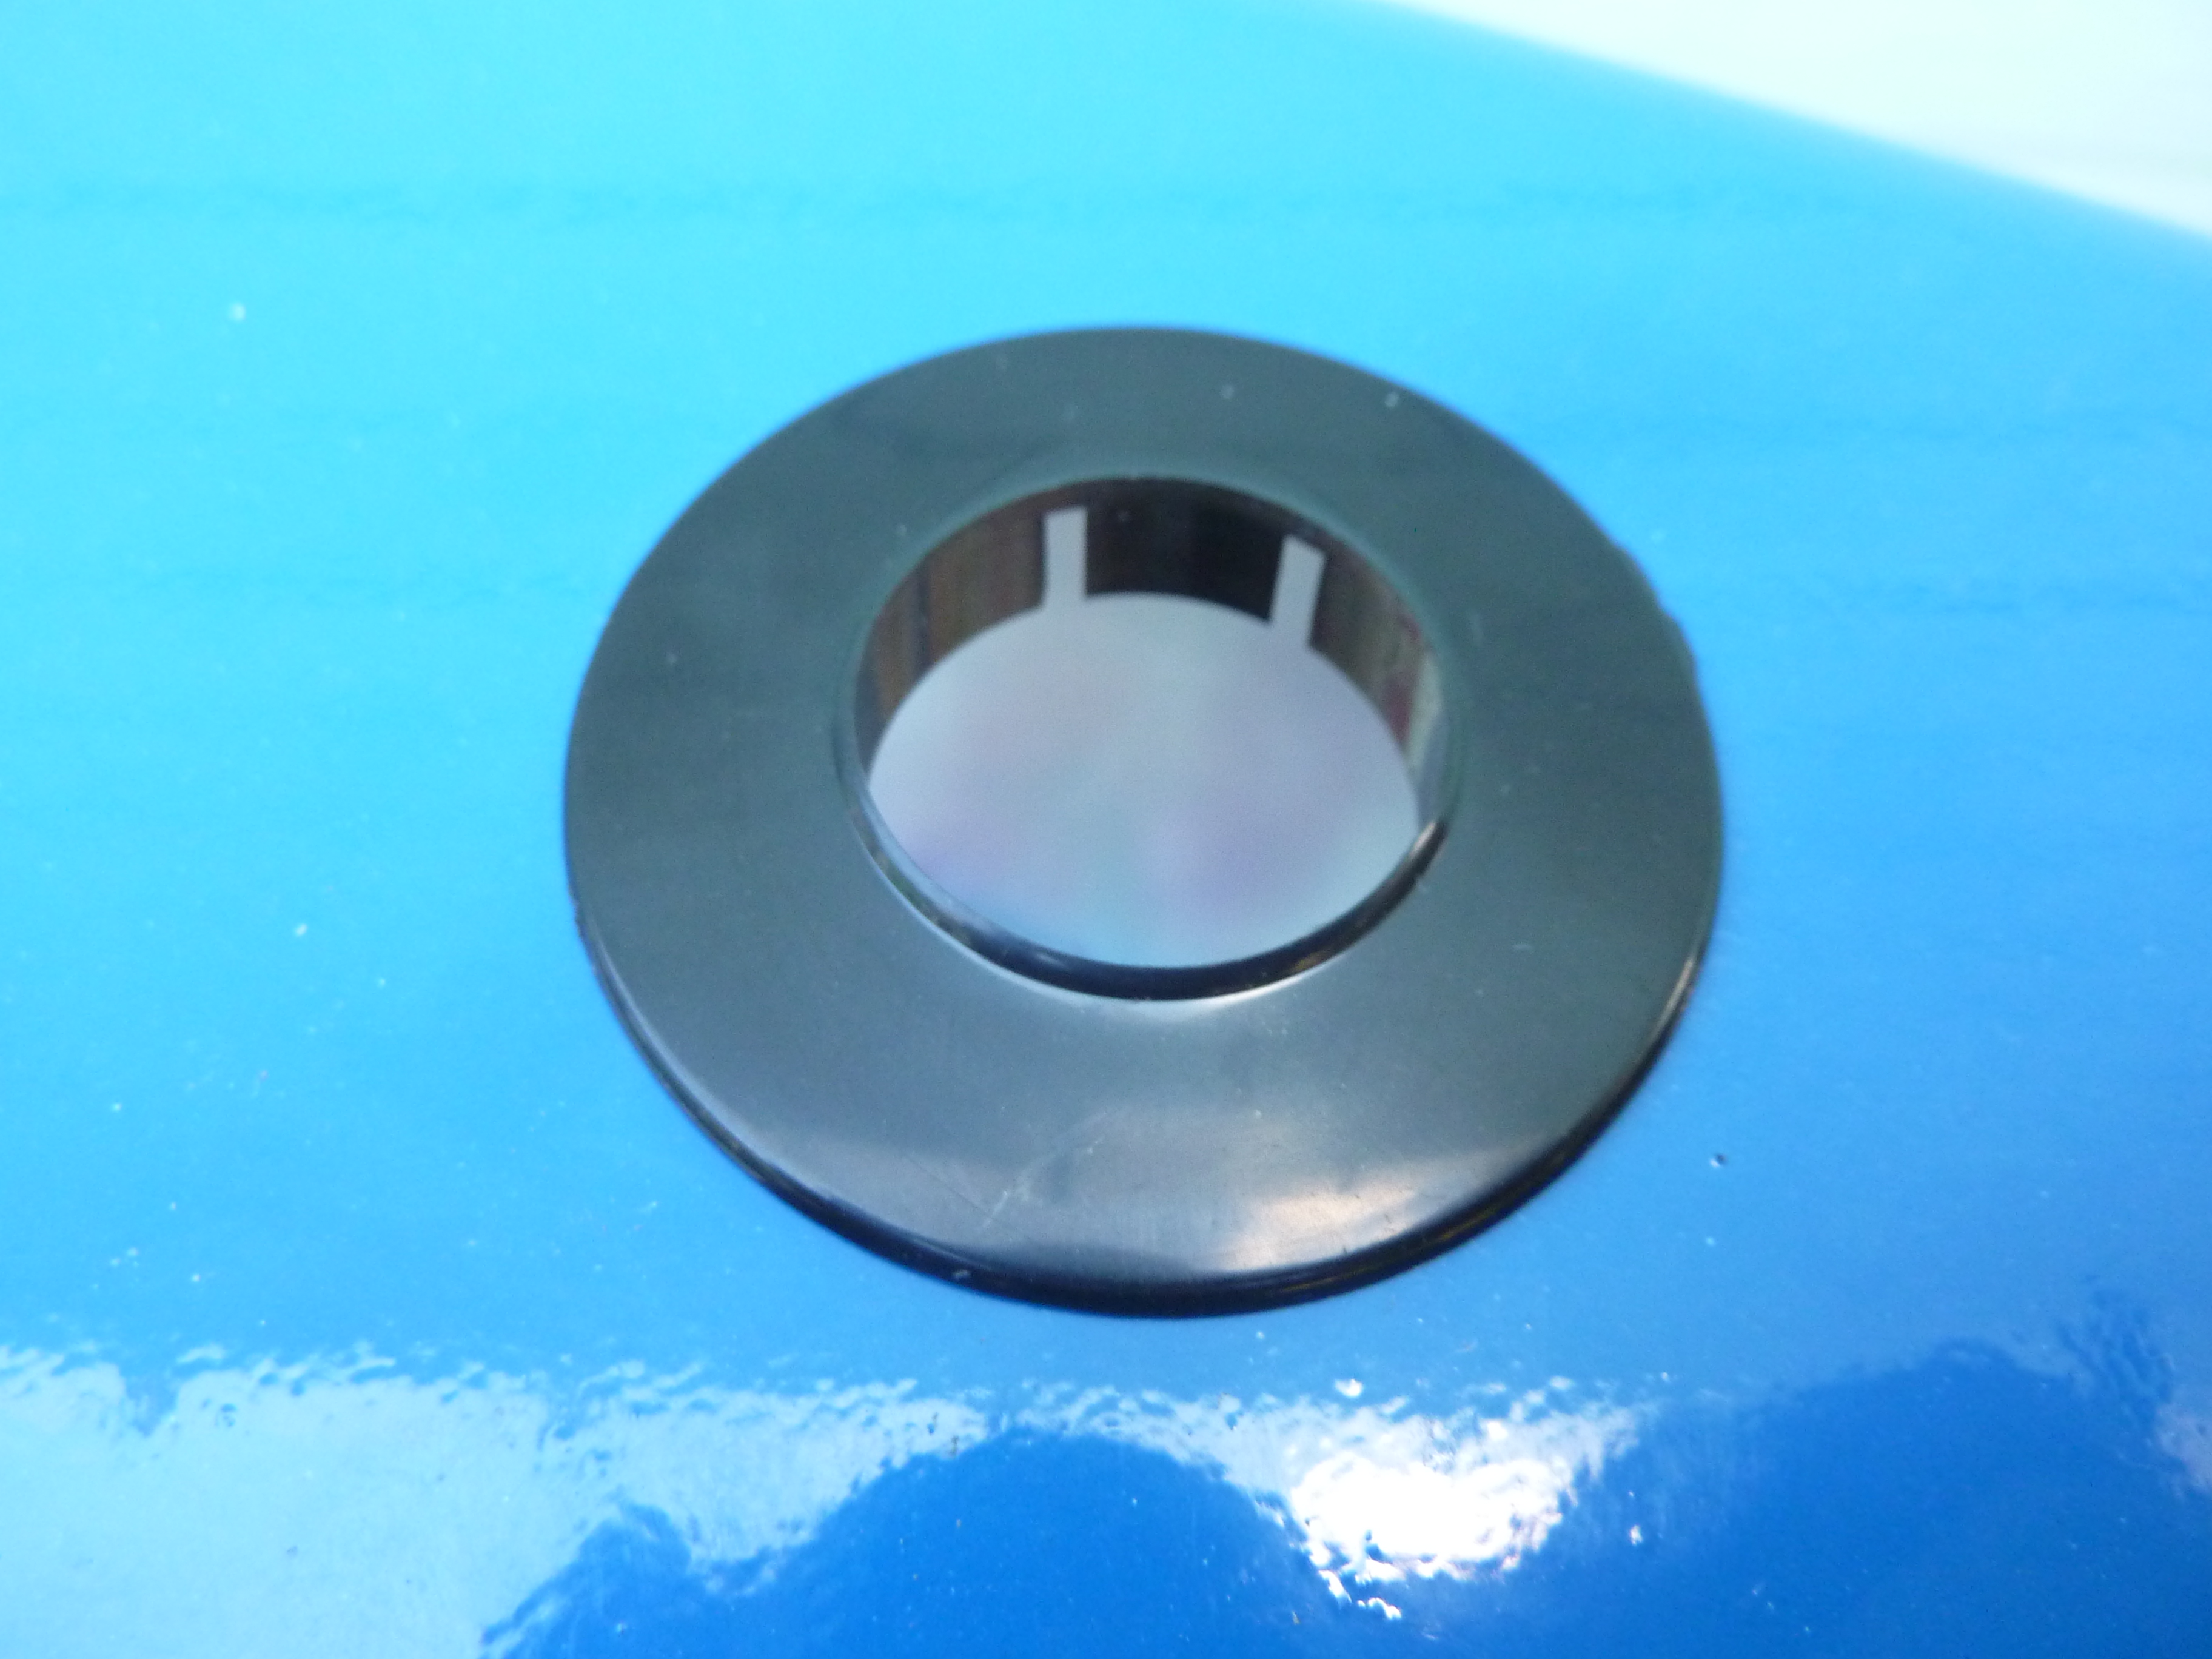
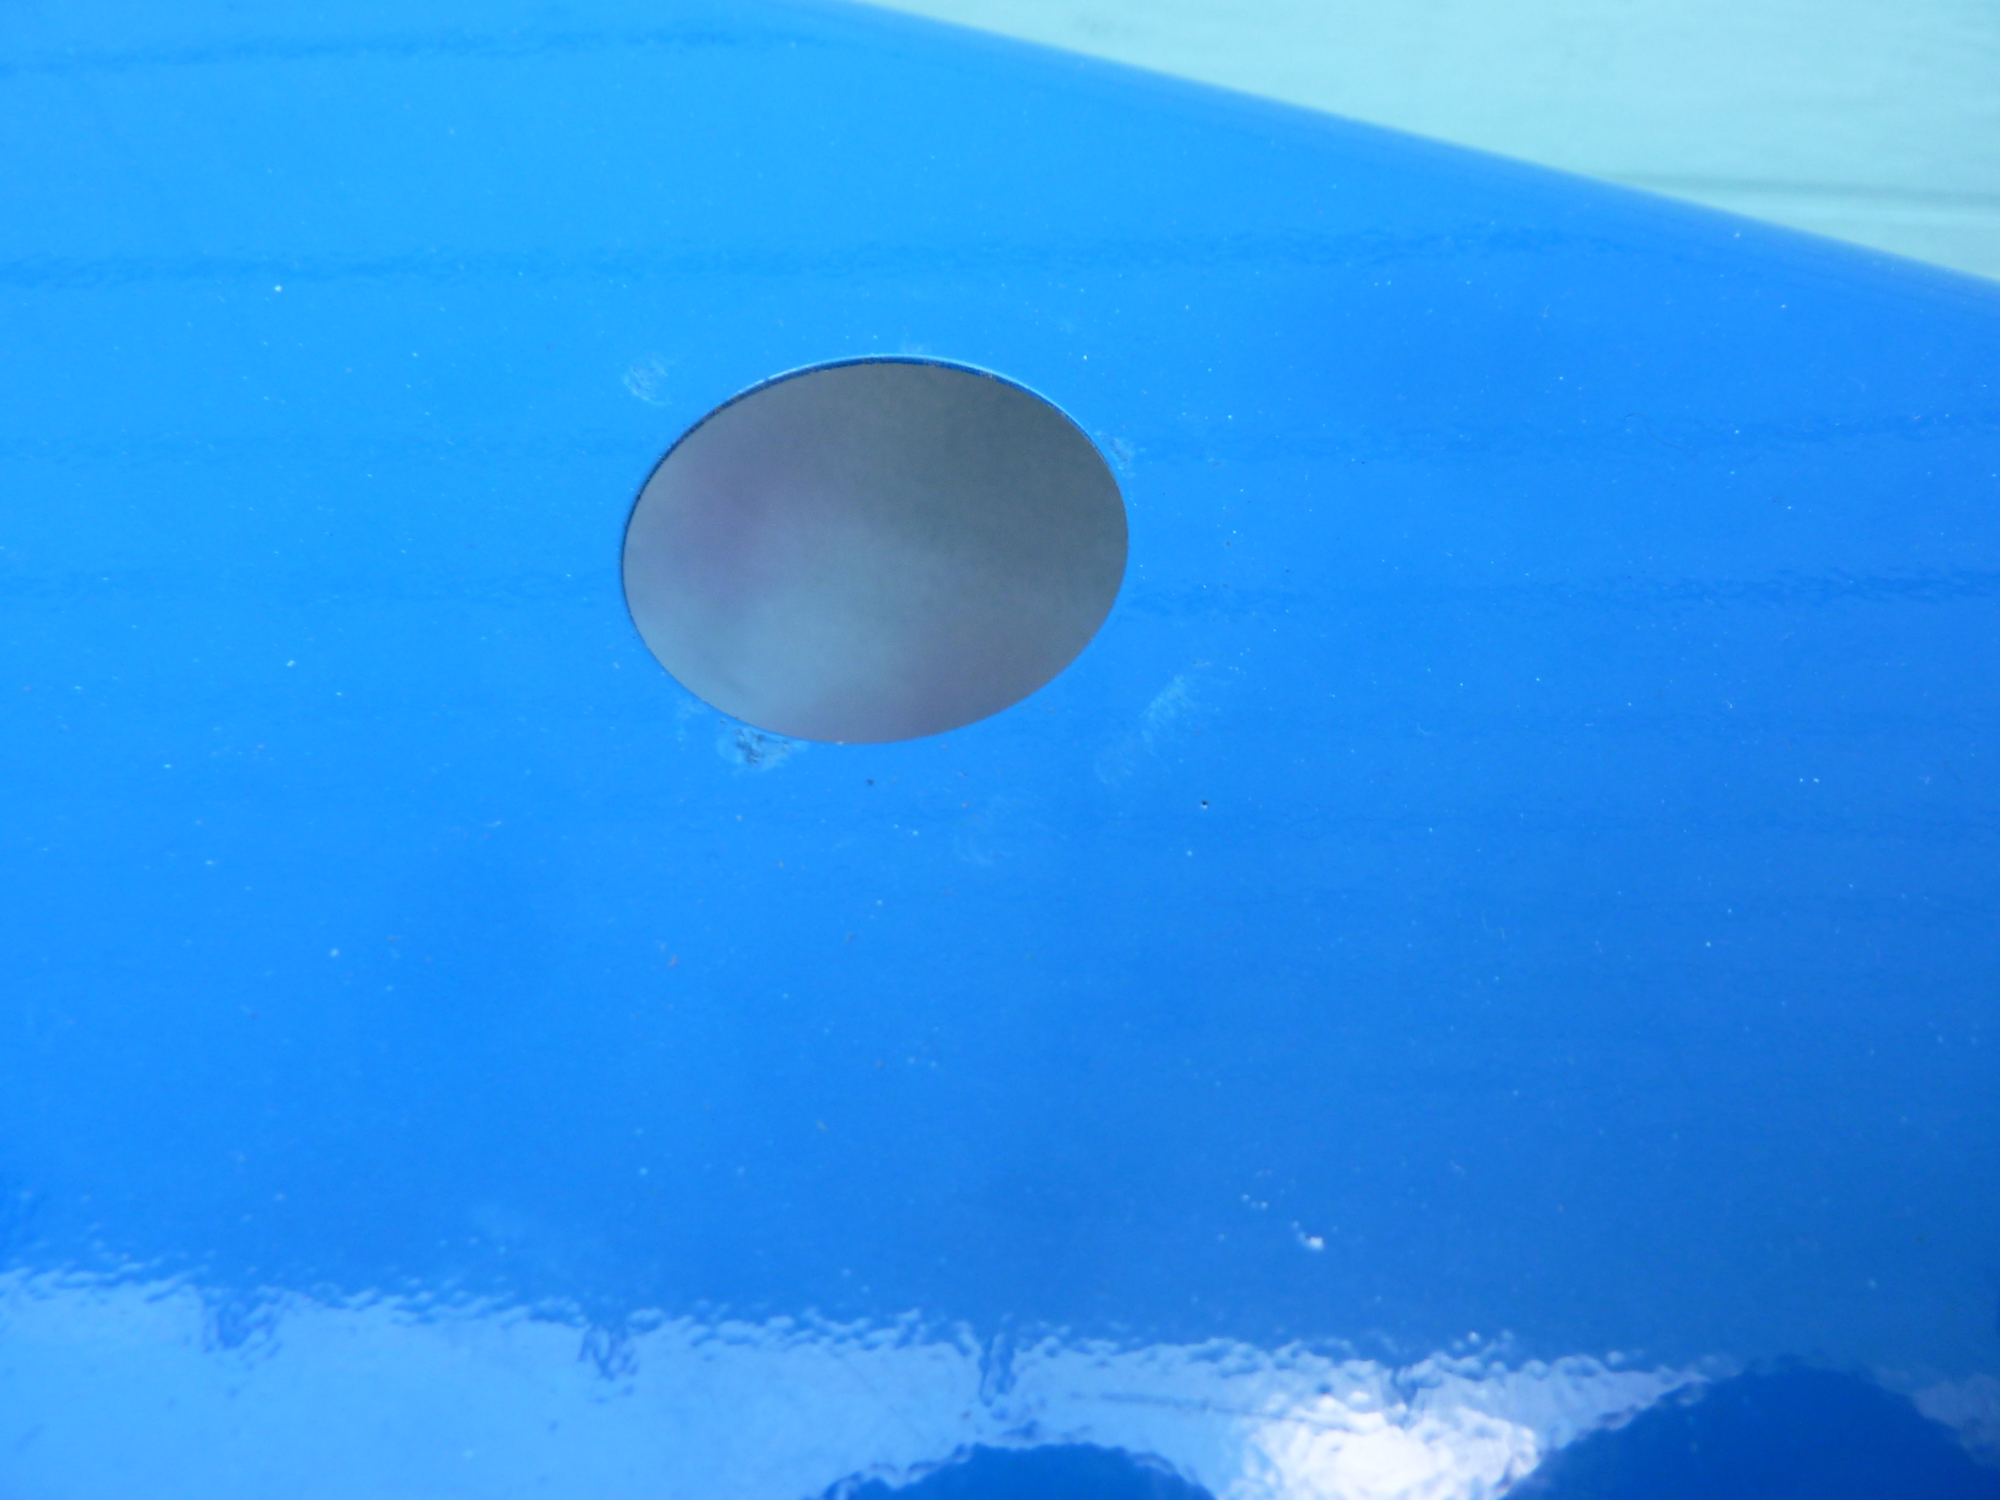
that means the metal machine cover no longer fits over the top of the tank. I had to enlarge the hole in the top of the cover to accommodate the PVC coupler. I was able to do this with a Dremel tool, but grinding the hole larger isn't a lot of fun. If I were going to make more of these machines, I'd purchase a metal punch to make that task neater and easier. The slides below show the collar (now removed) and the original hole, before enlarging.


<<<-Drag to SCROLL Left and Right->>>, CLICK for full-sized image.
All Images by @creatr
The fittings on the tank were rather rusty—probably due to coming here via slow boat from China. I used my handy, dandy Dremel tool with a wire brush attachment to shine them up nicely—see slides below.


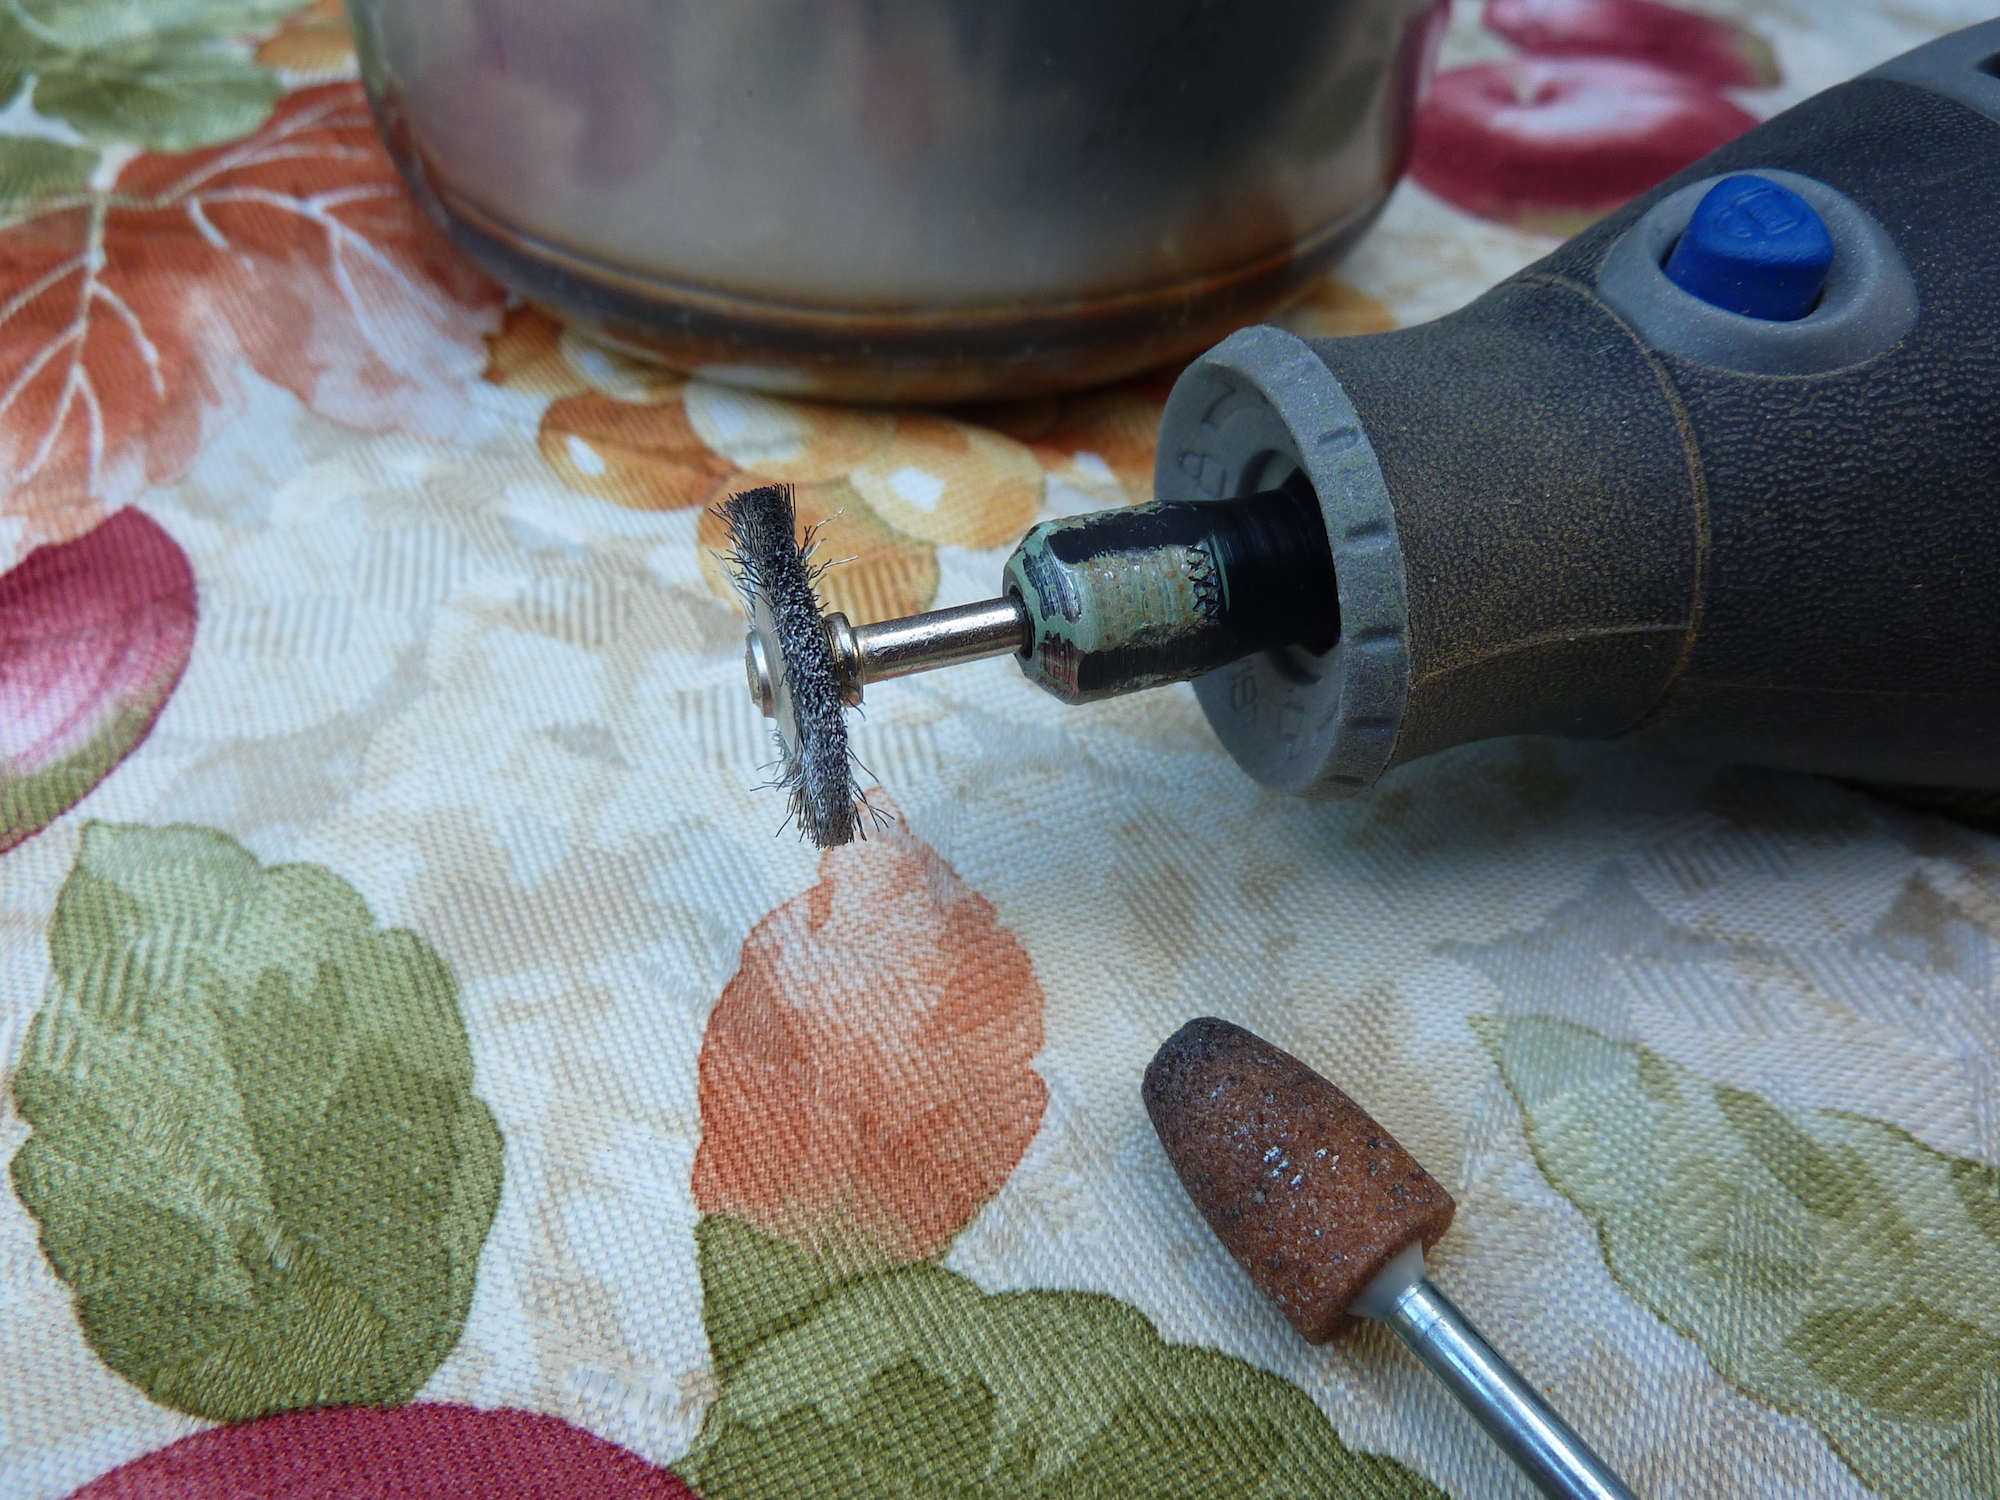
<<<-Drag to SCROLL Left and Right->>>, CLICK for full-sized image.
All Images by @creatr
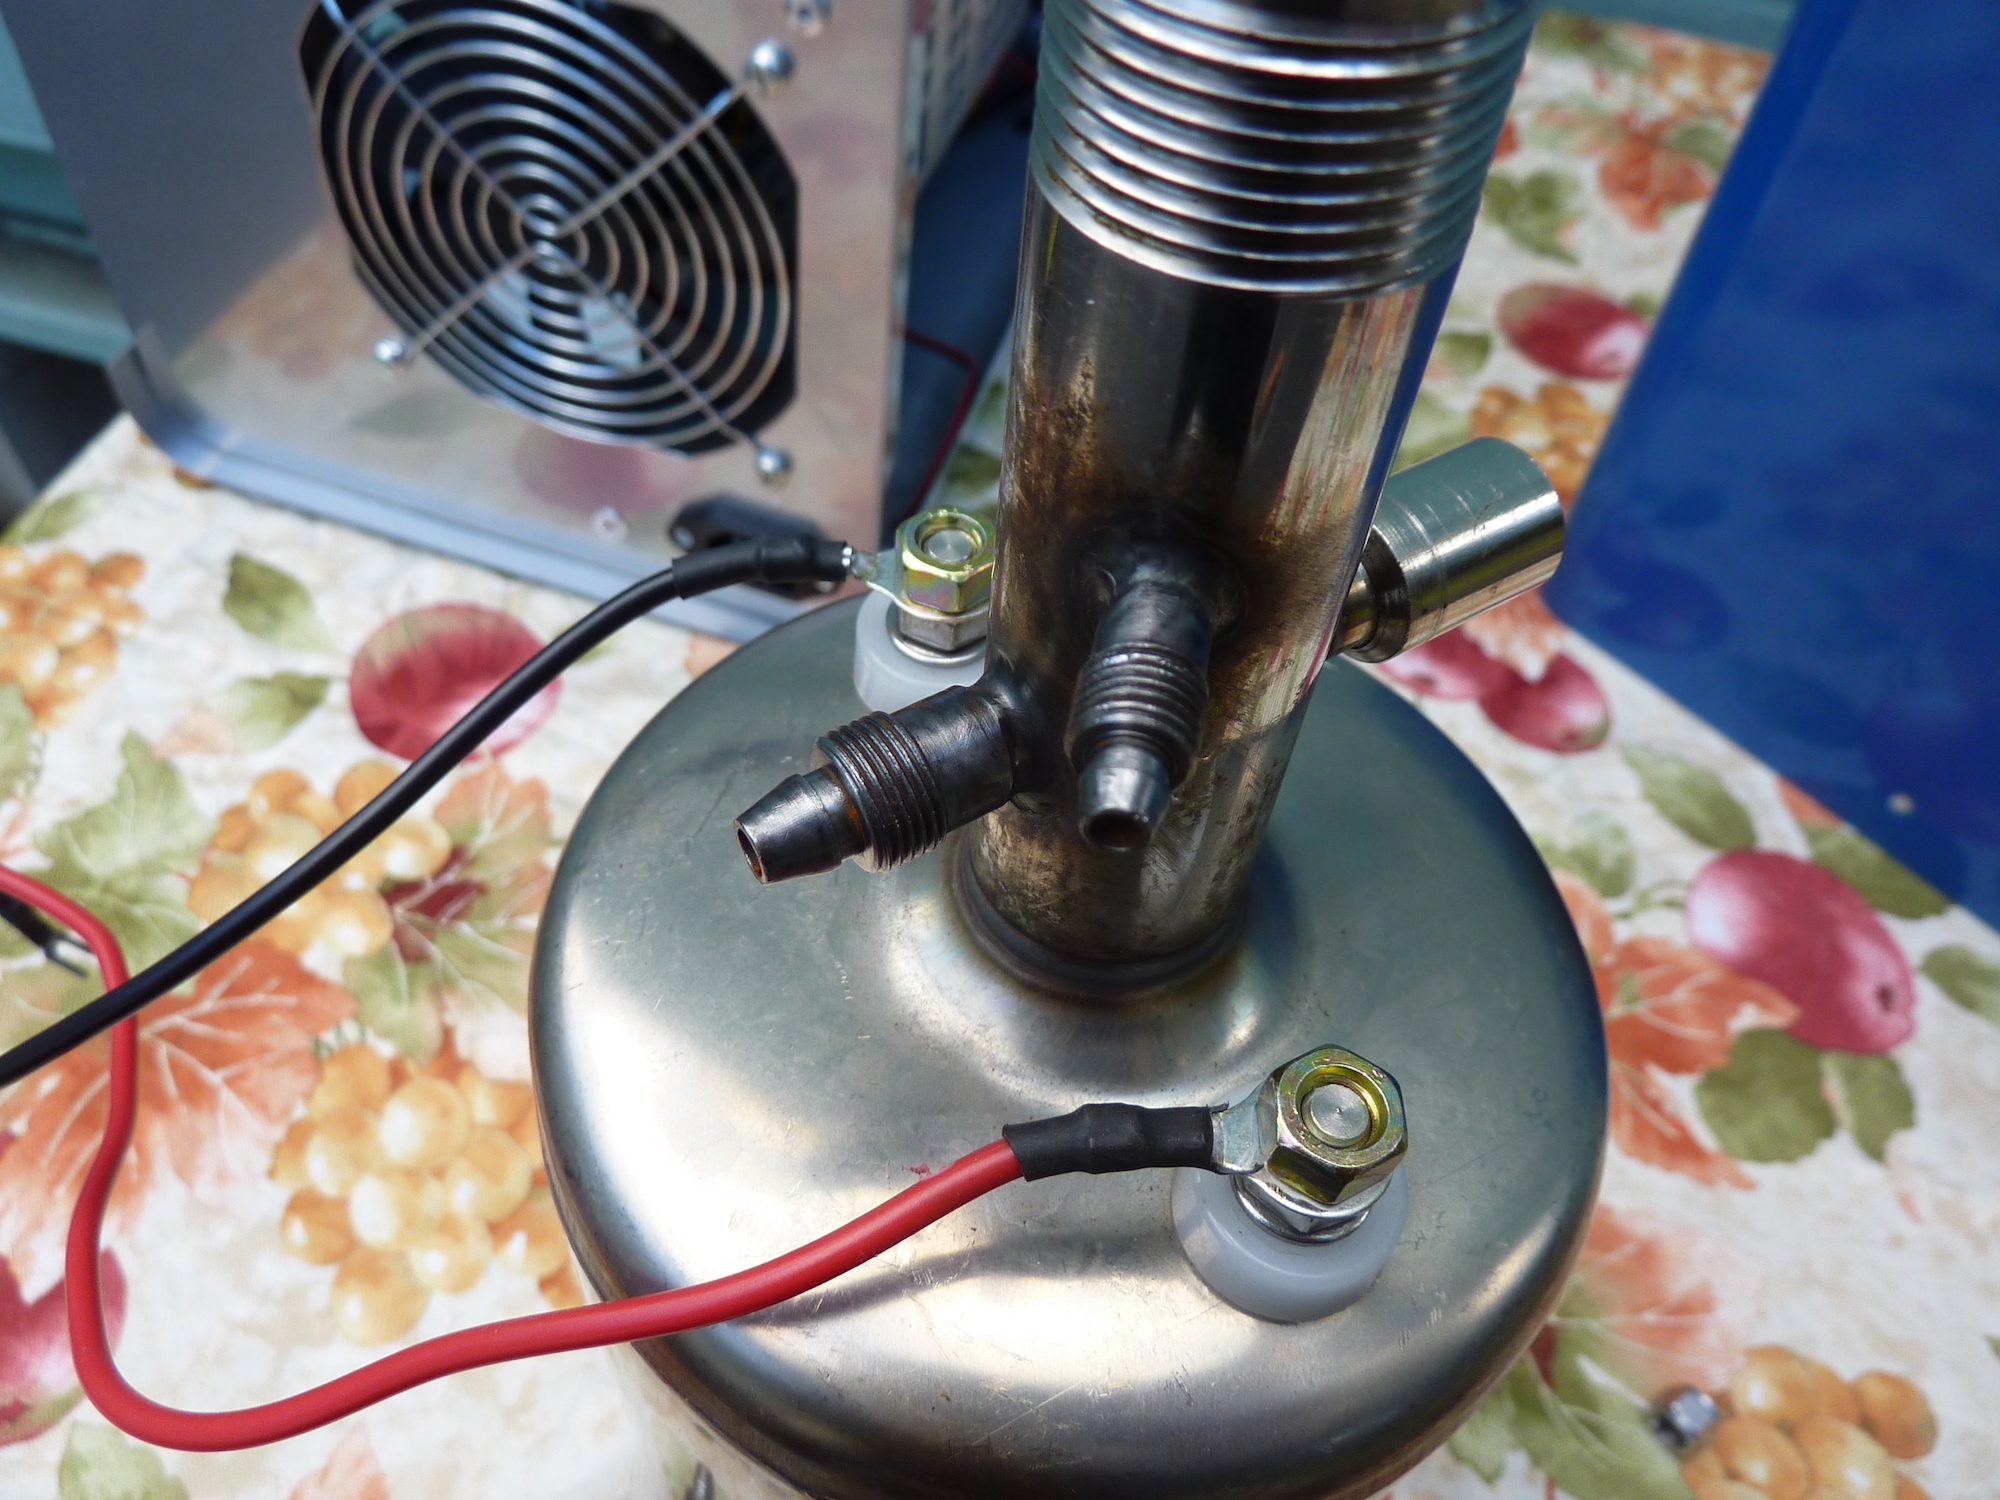
As part of the machine re-design,
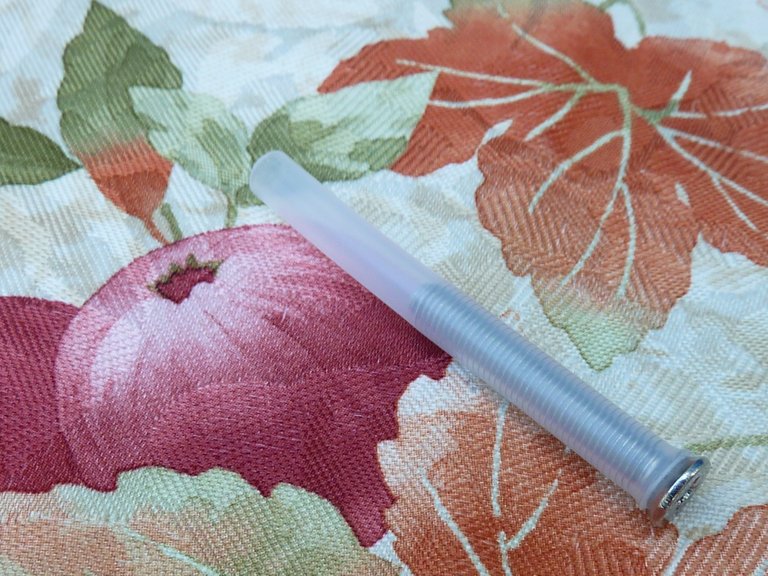
the original gas outlet was no longer needed. Instead, the gas will rise up and exit through the new Tower Cap. This meant the original outlet needed to be plugged.Not having any handy screw-on caps to plug it with, I bought a nice, long stainless steel screw that self-threaded tightly into a piece of polyethylene tube, and used that to seal the opening.
A plug for the original gas outlet ~ Image by the author.
Installing the plug required heating up the end of the tube in order to slide it far enough onto the fitting that the original compression fitting hardware would get a good purchase on it and create a tight seal.
Installing the plug. ~ Image by the author.
When I'm deep in the process of inventing,
designing, or modifying something, you can often find me roaming the hallowed halls of Lowes, Home Depot, and the aisles of assorted Dollar Stores... I absolutely love it when I find some off-the-shelf item that perfectly suits my needs. In this instance, I found a large PVC cap that perfectly fit the base of the electrolyzer tank. All I needed to do was drill a few holes and bolt it to the inside bottom of the chassis.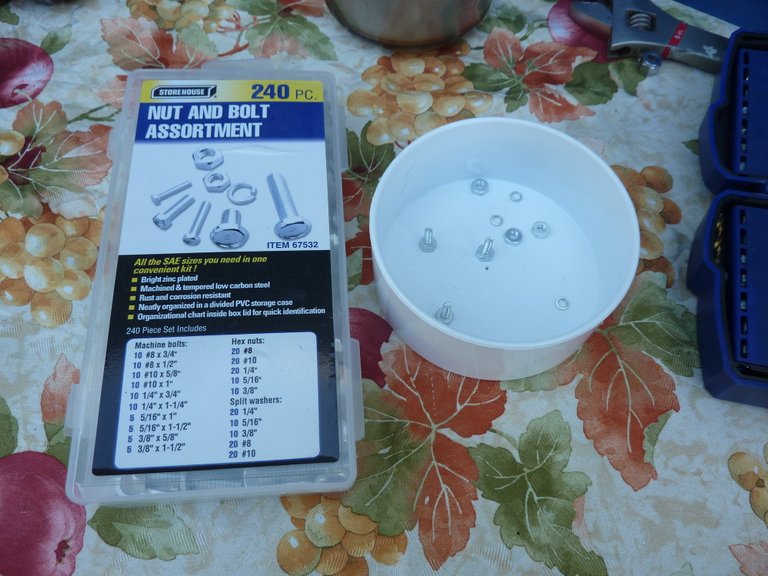
Cap and installation hardware. ~ Image by the author.
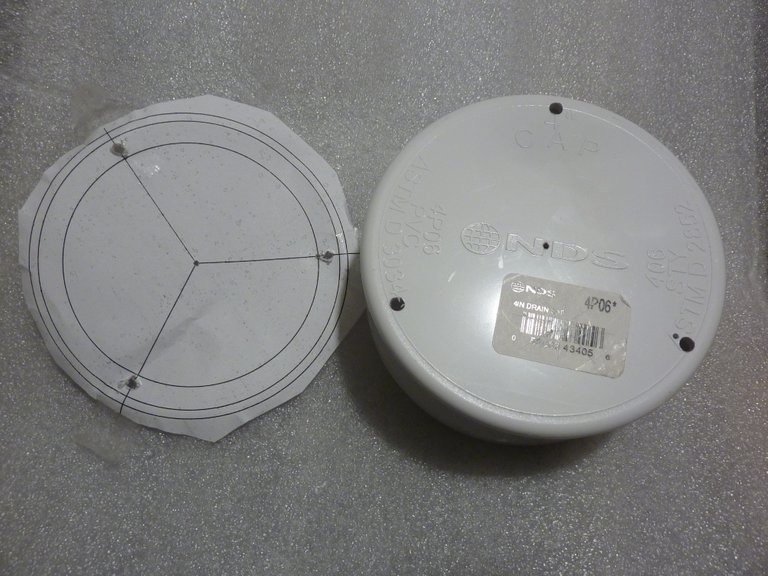
Drilling the holes accurately involved some careful measurements and the use of a nice, free, open-source CAD program that I'm happy to recommend to you, QCAD Community Edition. The only catch was that—because it is supported by a commercial outfit—after download, I had to figure out how to "downgrade" the distribution code to restore it to the "free" level.
If you're repurposing your own machine,
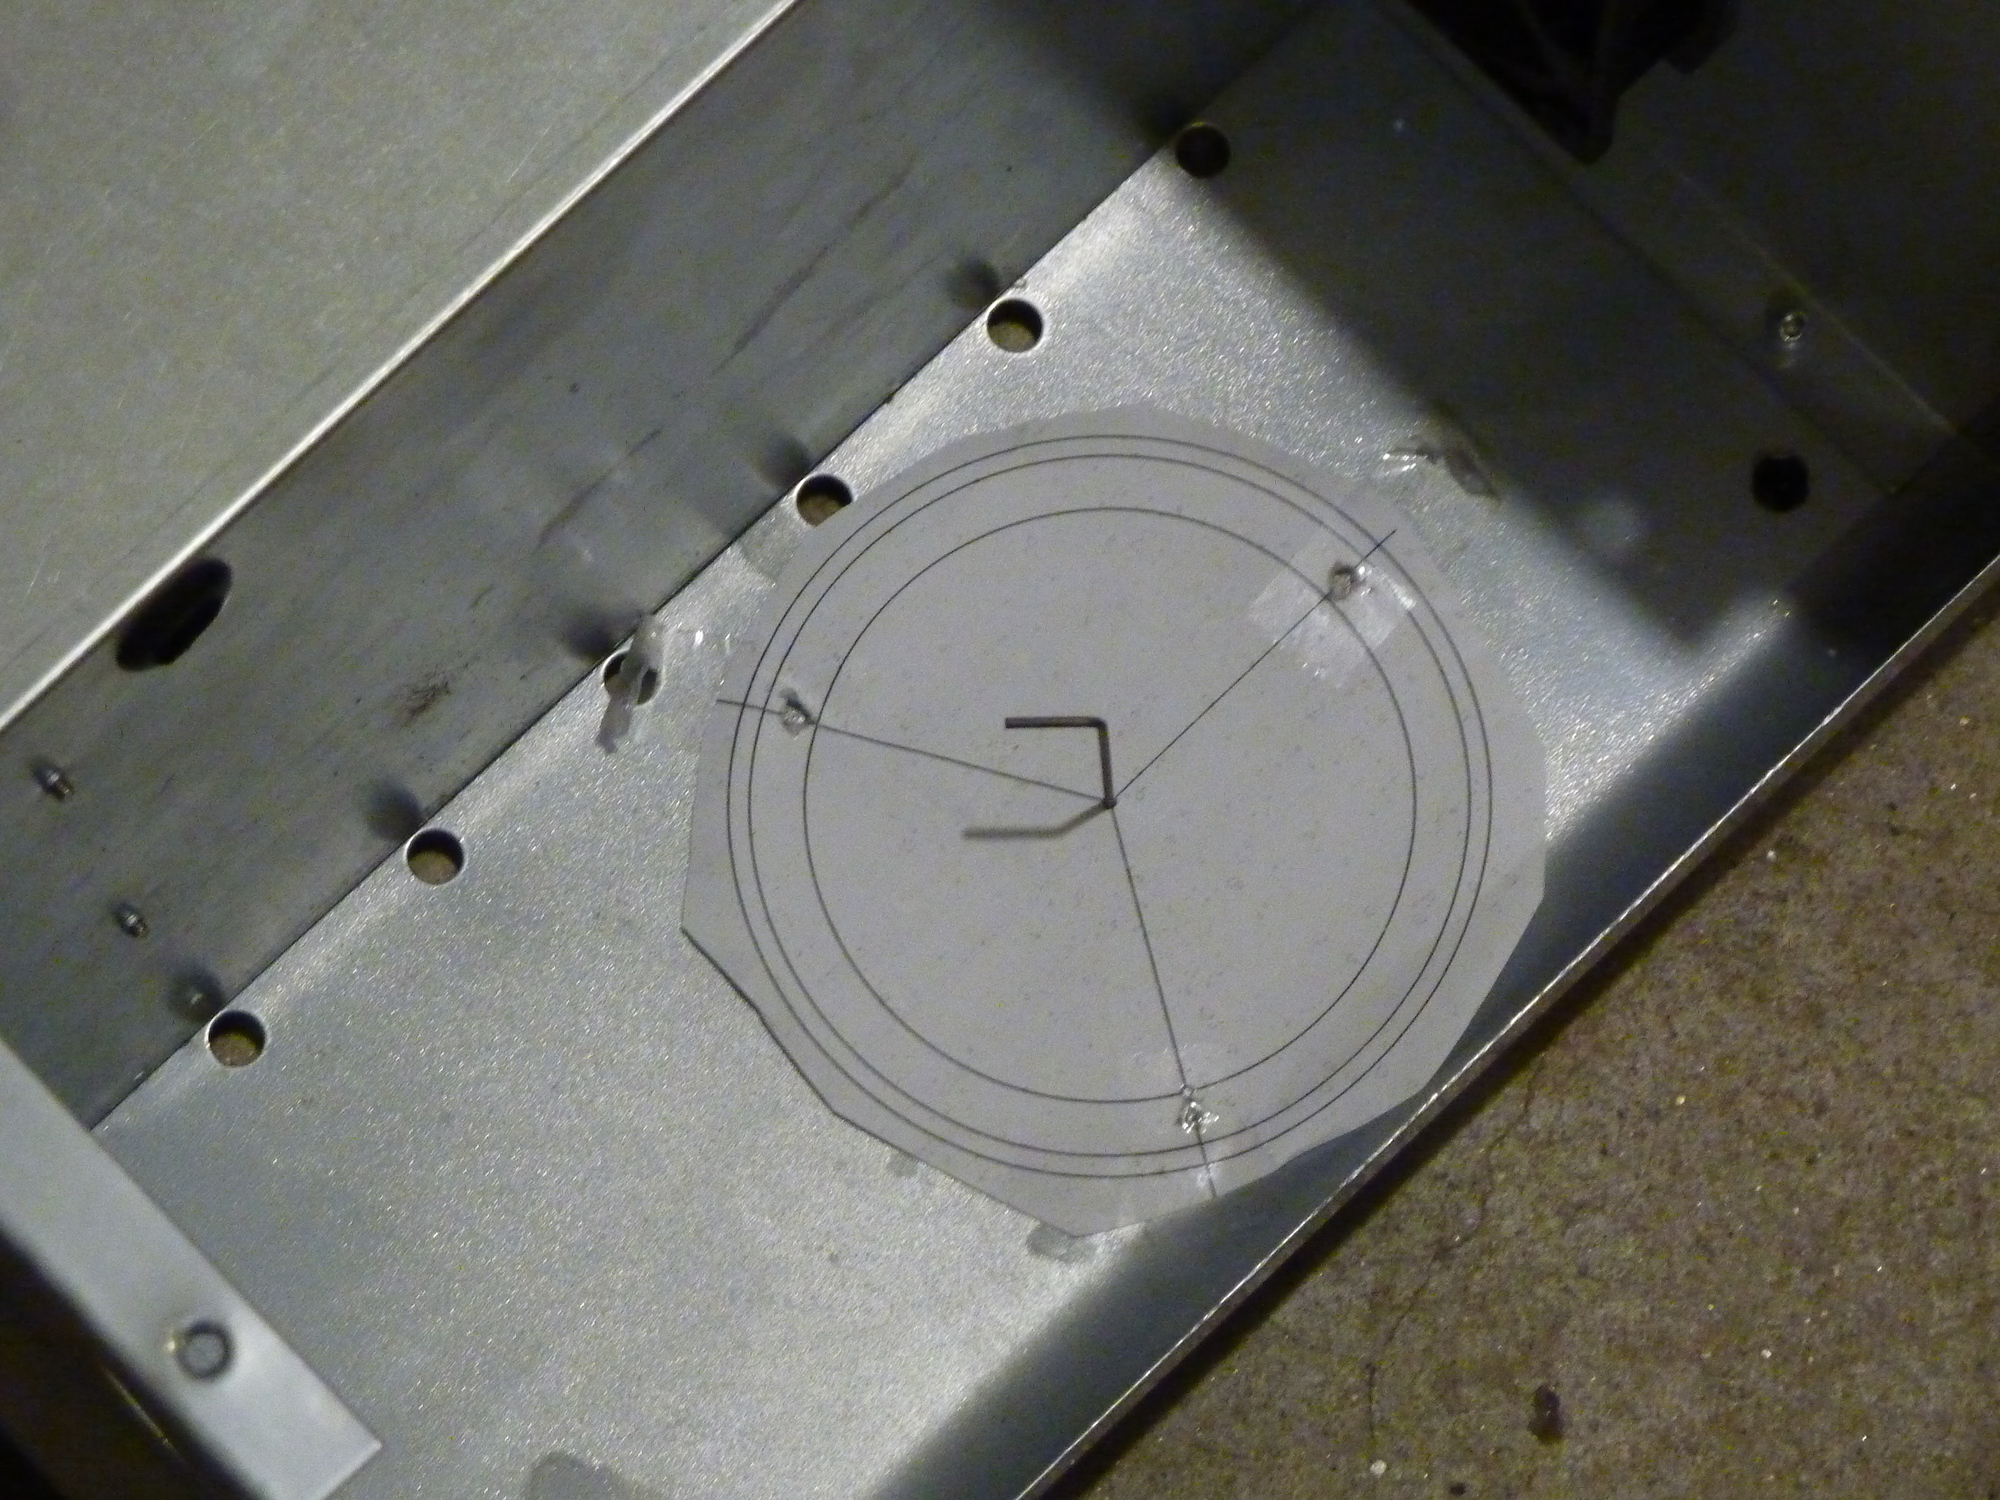
you can "right-click" on the template image below and "save image as," but you should check the fit with whatever parts you have on hand first. If it doesn't print just right, you may be able to scale it with your printer... Or, you can contact me in the comments below and ask for a copy of the DXF CAD file. :wink:The base of the tank is curved just enough that the tank rests on the inside middle of the cap without touching the three bolts that secure the cap in place.

Cap and chassis hole drilling template. ~ Image by the author.
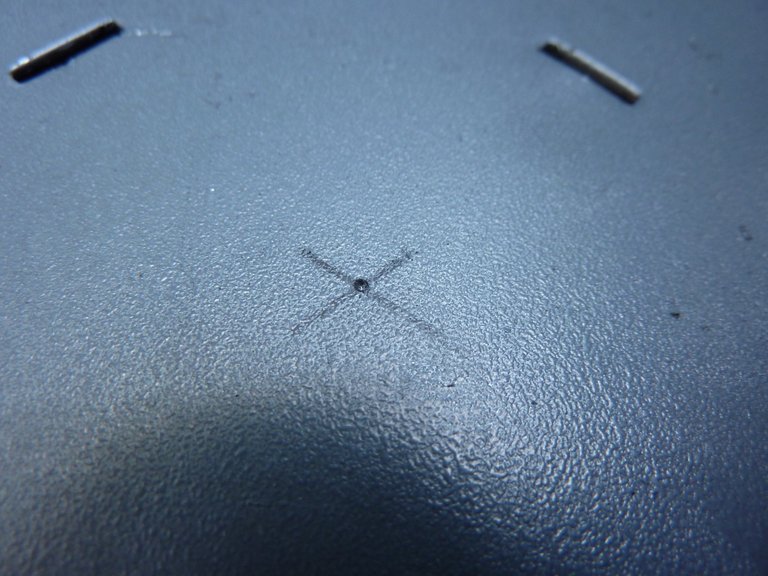
In the next slide show,
you can see a sequence illustrating how I used the template as a guide to first drill holes in the cap and then drill matching holes in the chassis base. I began by finding the center point of each, drilling a small pilot hole, and then using that hole to center the template and drill the three surrounding holes.I bolted the cap to the base with the bolt heads inside the cap and a lock-washer and nut outside the bottom of the case. The bolts I had were a bit too long, and so I used my trusty Dremel tool again, this time with a diamond cut-off wheel to slice off the excess so that the bolts wouldn't drag on the floor.


<<<-Drag to SCROLL Left and Right->>>, CLICK for full-sized image.
All Images by @creatr
Finally, the tank is ready to fill!
In the photo below, you can see the completed, now removable, tank assembly. When the machine cover is off and the wires are disconnected from the power supply, the whole tank assembly can be easily lifted out of the cap. This will make required periodic maintenance relatively easy.
There are, however, a couple of details I have not yet attended to.
I plan to design and 3D-print a plastic insert that will both straighten and better display the polyethylene sight tube via the opening in the front panel of the machine. I also plan to design and 3D-print a collar that will center the neck of the tank in the top cover hole when it is installed.
The tank assembly, installed but easily removable. ~ Image by the author.
For your viewing pleasure,
here is another interview, this time of George Wiseman himself. In the video, George tells how he realized he could repurpose an acrylic polisher. There's a lot of good information in the video, including much that you may find reassuring if you decide you want to breathe Brown's gas yourself.
George Wiseman Interview ~ Courtesy of Osmio Water
In the next installment,
we'll look at how I built the Tower Cap, an attachment designed to allow the lye mist created by the electrolyzer to settle, minimizing the amount of lye that escapes from the machine during operation.
Thanks for your attention!
DISCLAIMER:
I am not a doctor, nor am I a medical professional of any kind. This series of articles describes my very individual, personal quest to investigate credible reports of the benefits of breathing hydrogen and oxygen gas, drinking hydrogen enriched water, and applying hydrogen and oxygen gas to weakened or diseased body parts. The devices I am building, the tools and materials I am using, and the gases I expect them to produce, are potentially dangerous and even life-threatening if used carelessly. Should you choose to use any of this information, do so only with the most serious care taken for safety. Any use made of this information is entirely at your own risk. I am not in any way responsible.
AquaCure® is a trademark of Eagle Research.
~FIN~
you can still reward it: CLICK HERE.

P.S. If you have an "in" with anybody at Steemit, Inc. - Would you please ask them to get rid of these damn, extremely annoying "off-website" arrow/boxes? The have, overnight, made Steemit ugly. There are much better solutions.
For more technology articles,
please check out our Library Technology Shelf - CLICK below:

For more Health articles, CLICK our Library Health Shelf.


Introducing: The SILVERengines proton - Image by @creatr
CONTACT US - Will Exchange for Steem
You are why I'm here on Steemit!
I have very eclectic interests and hope, over time, to write about them all.
⬇️To Check Out @creatr's World⬇️CLICK Each Image Below⬇️

|

|

|
That Is way to techy for me, you're very clever with your hands. Looking forward to seeing this up and running. :)
Thanks!
It actually is up and running, it's just taking me lots of time to tell the story of how I built it! ;)
Look forward to find out if you are feeling the benefit :)
Very interesting - are you feeling the results already?
At this point, there's not much to report...
We are still very much in the phase of making using the machine a genuine habit. There have been days when I've simply "missed," due to forgetting or being too busy with other things. Also, only recently, I upgraded the system to have two lye-scrubbing bubblers before the water-infusion bubbler, as I thought I could taste a trace of lye in the bubbled water. With two bubblers, the water now tastes just fine.
Having said all that—very subjectively, I feel that "something" is beginning to happen. But no overt results yet.
Thanks, @deimus, for reading and for the great question! :D
Thank YOU for your very interesting and informative posts
I'm so glad you are sharing this valuable info!! And very cool how you made the brownsgas machine ( I love the details :)
On a side note, what UI are you using for Steem. I've always used steemit and now they have taken away the ability to see new posts of those that I follow.
Hi, my friend! Thanks so much for stopping by! :)
I hate it when platforms "pull" functionality! :( Very, very annoying... even if temporary!
So, although I usually use the "standard" Steemit interface, from time to time I also use eSteem Surfer, and also Steempeak...
https://steempeak.com/
https://esteem.app/
I hope that helps?
Good to "see" you here... :D
Muchly appreciated! For whatever reason, I seem to have trouble logging into steempeak. But I will keep trying! Thanks again!