Construyendo Resistencias Grandes para mejor visualización
Hola amigos de hive
Hoy viernes, decidí armar unas resistencias grandes para que se distingan mejor, con el objetivo de facilitar la enseñanza del código de colores en electrónica.
Las resistencias comunes son muy pequeñas y, en ocasiones, resulta complicado leerlas, especialmente para los principiantes. Por eso, se me ocurrió hacerlas de mayor tamaño, para que puedan ser observadas y comprendidas con mayor facilidad.
! [English]
Hello Hive friends, Today, Friday, I decided to assemble some large resistors to make them more distinguishable, with the aim of facilitating the teaching of the color code in electronics. Common resistors are very small, and sometimes they are difficult to read, especially for beginners. That's why I came up with the idea of making them larger, so they can be observed and understood more easily.
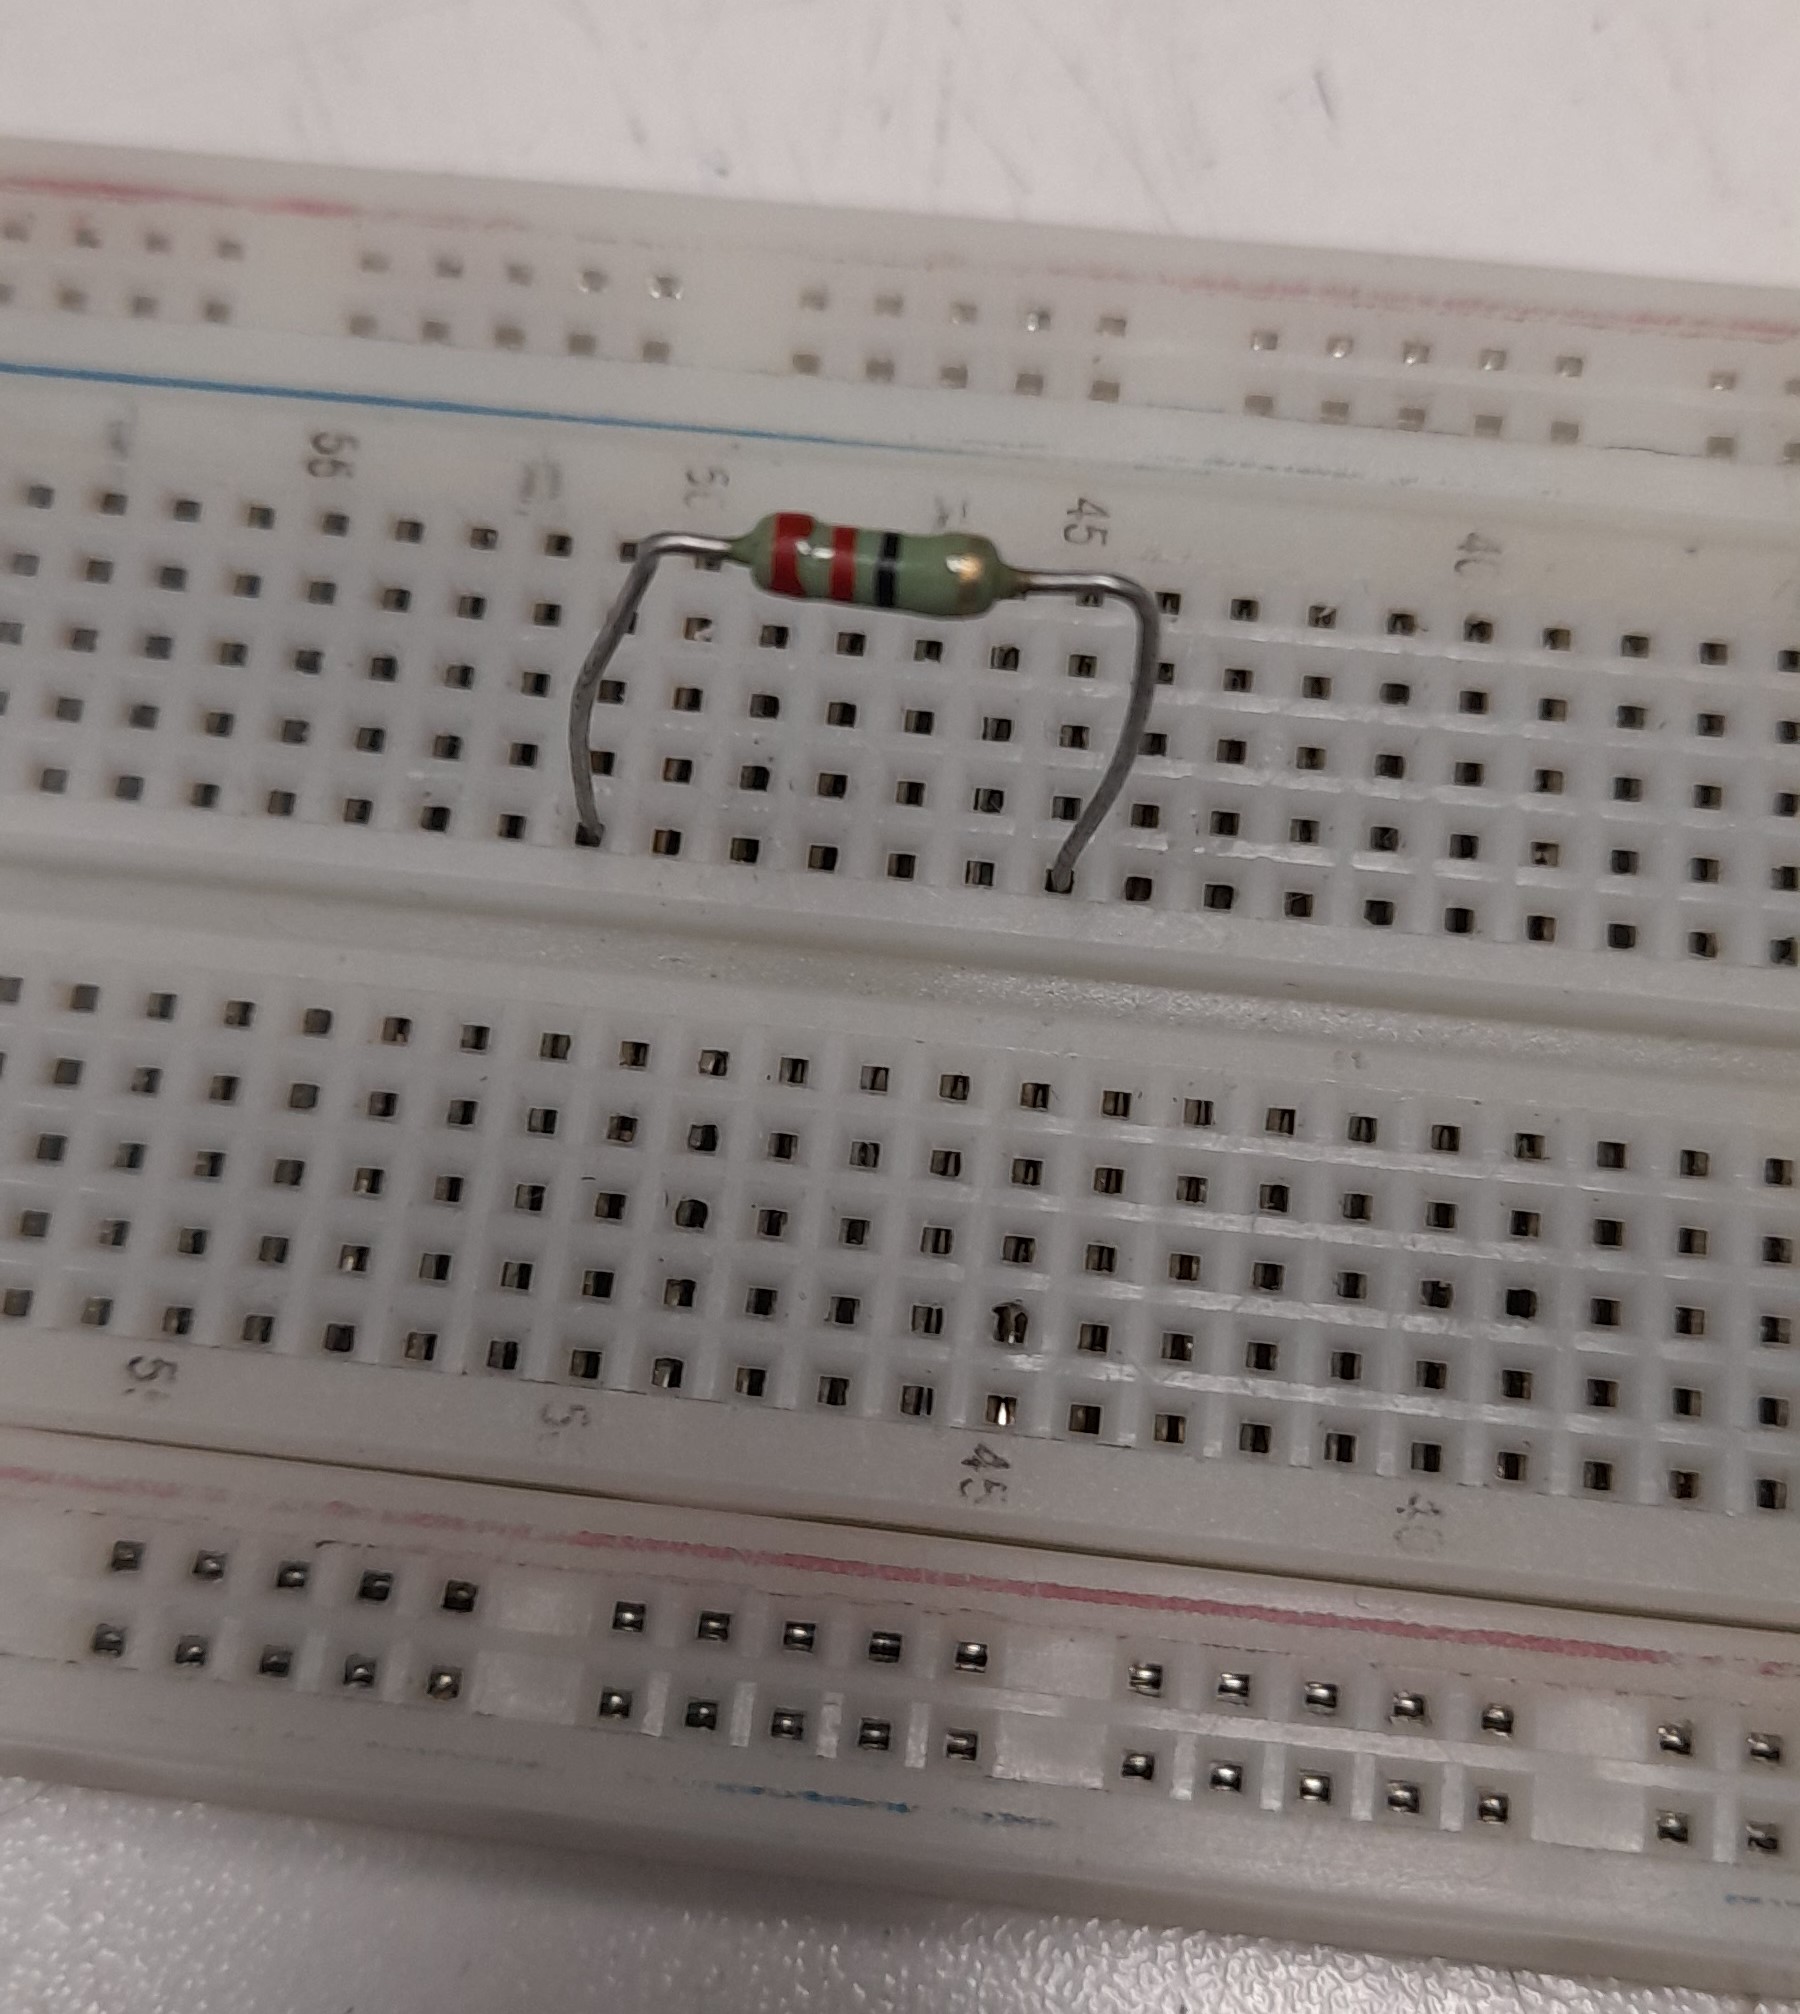
Pasos para la construcción de las resistencias grandes:
! [English] Steps for constructing the large resistors:
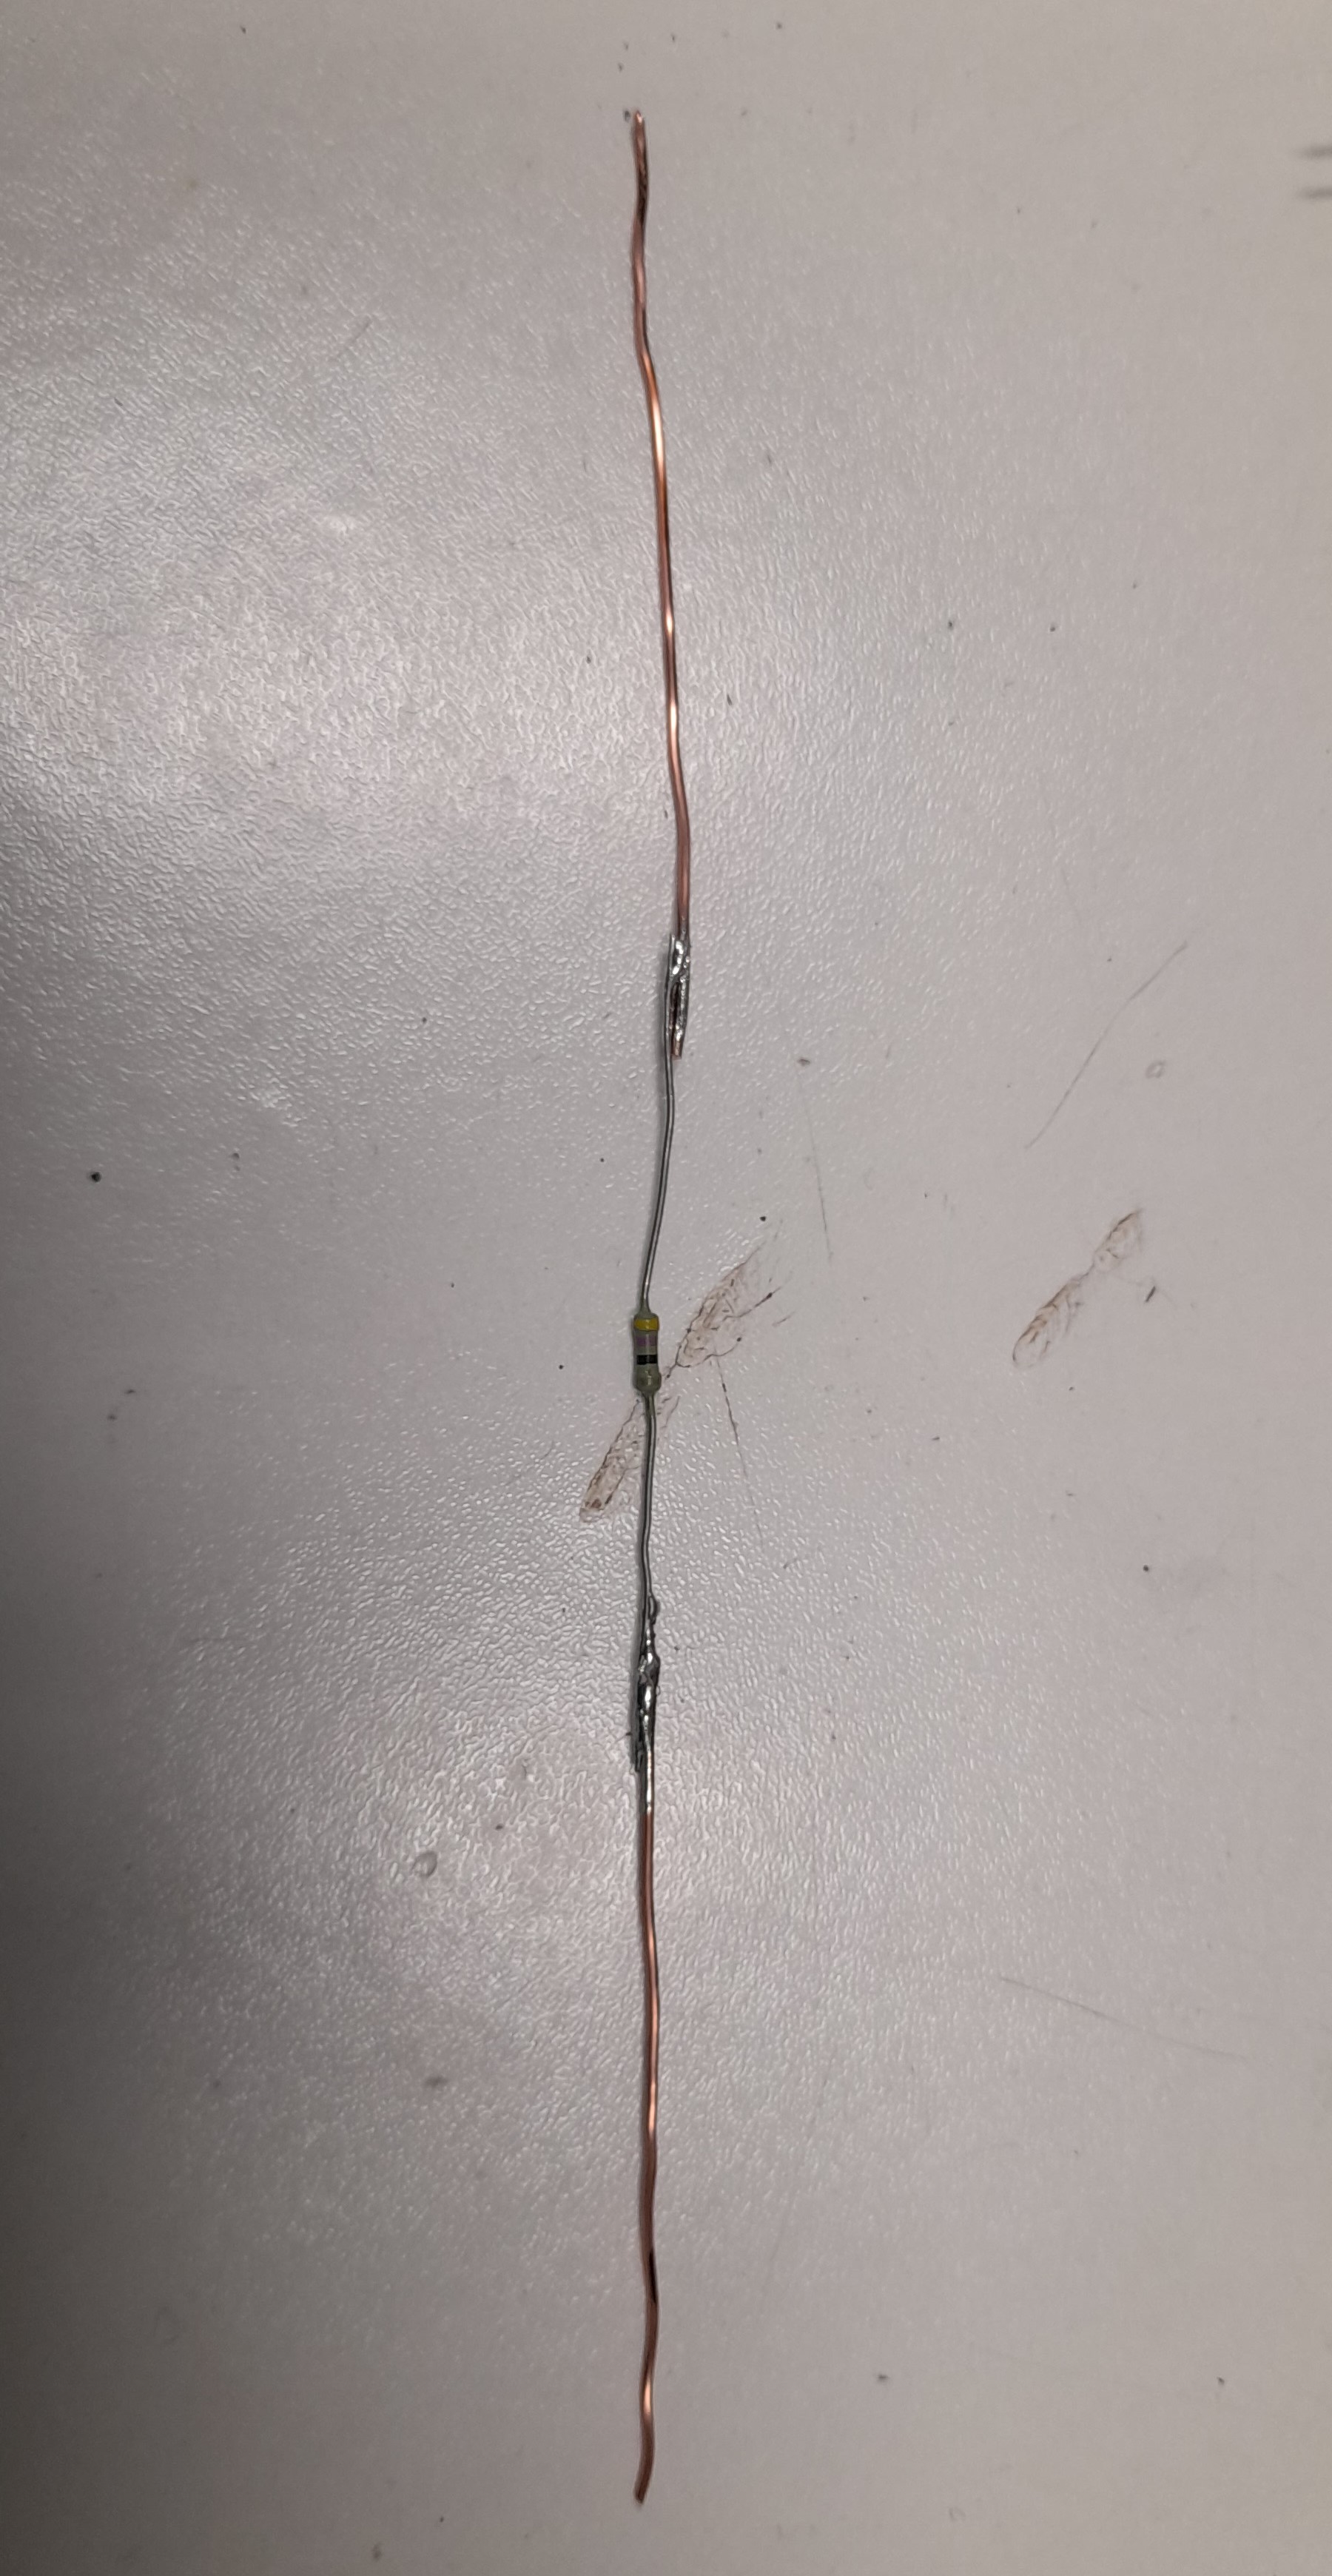
Soldar alambres de cobre grueso a una resistencia común:
El primer paso fue tomar una resistencia estándar y soldarle alambres de cobre grueso en los extremos. Esto no solo le da mayor estabilidad, sino que también simula de manera realista las patas de las resistencias más pequeñas.
! [English] Solder thick copper wires to a standard resistor:
The first step was to take a standard resistor and solder thick copper wires to its ends. This not only provides greater stability but also realistically simulates the legs of smaller resistors.
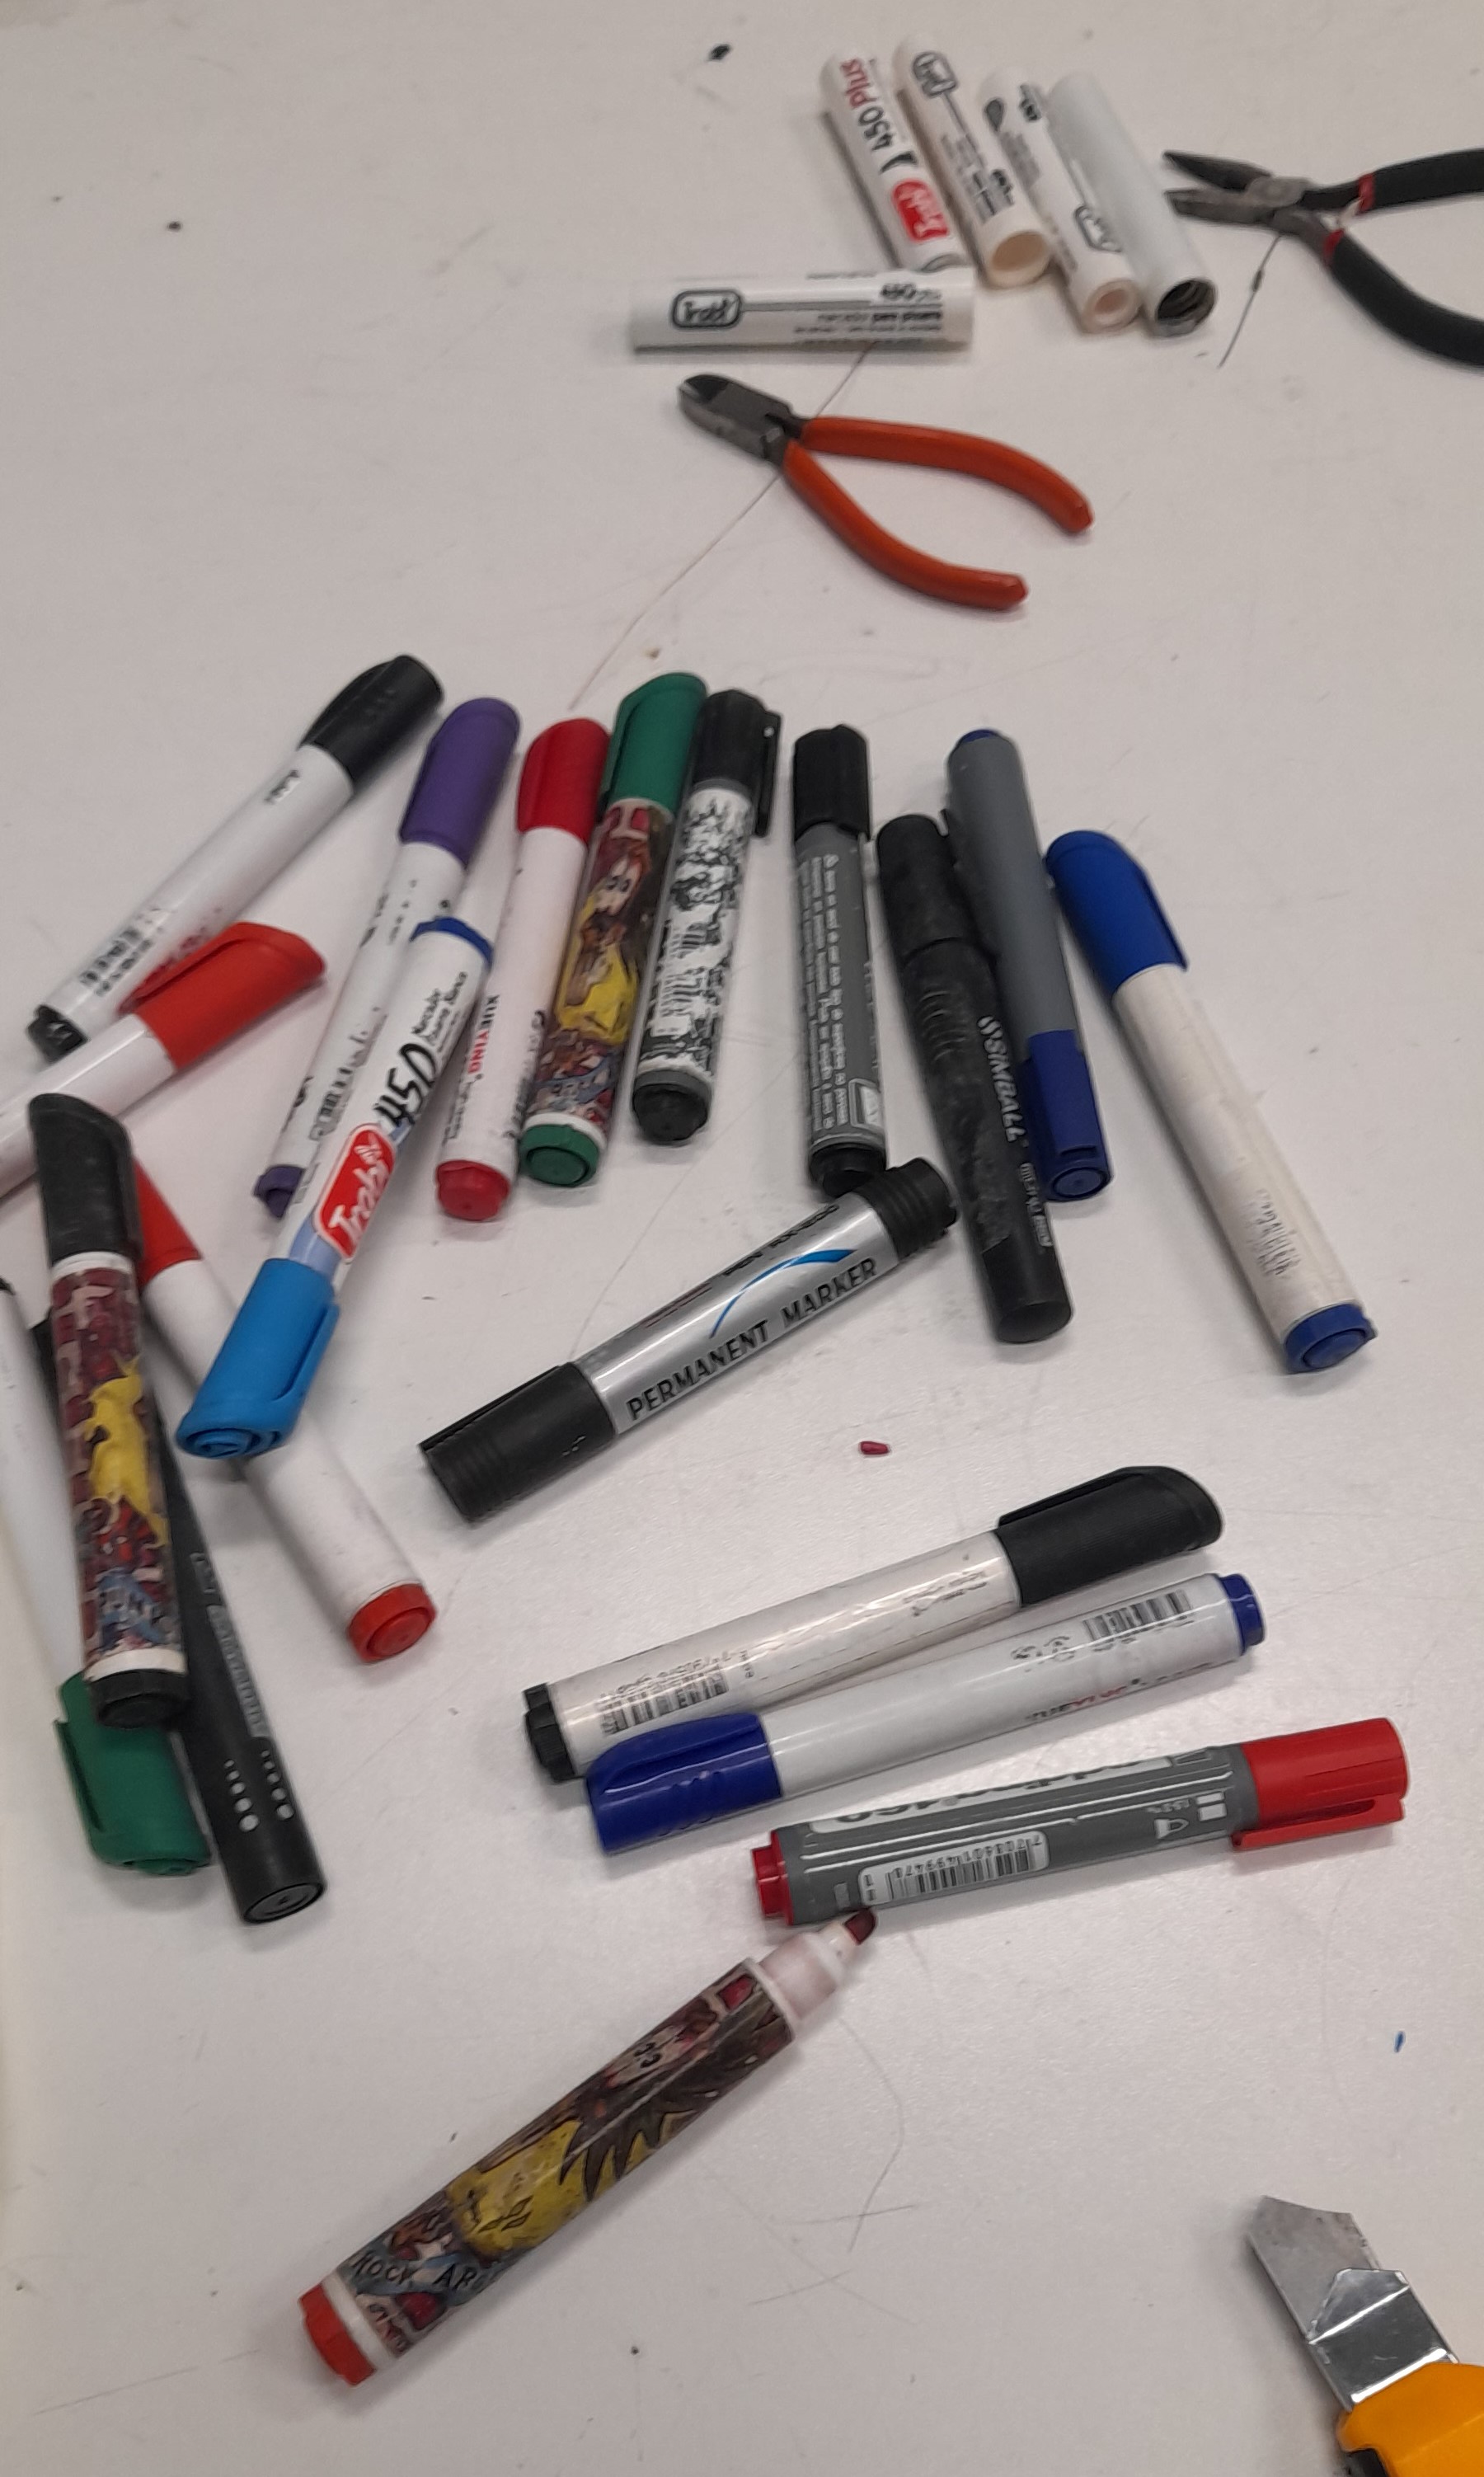
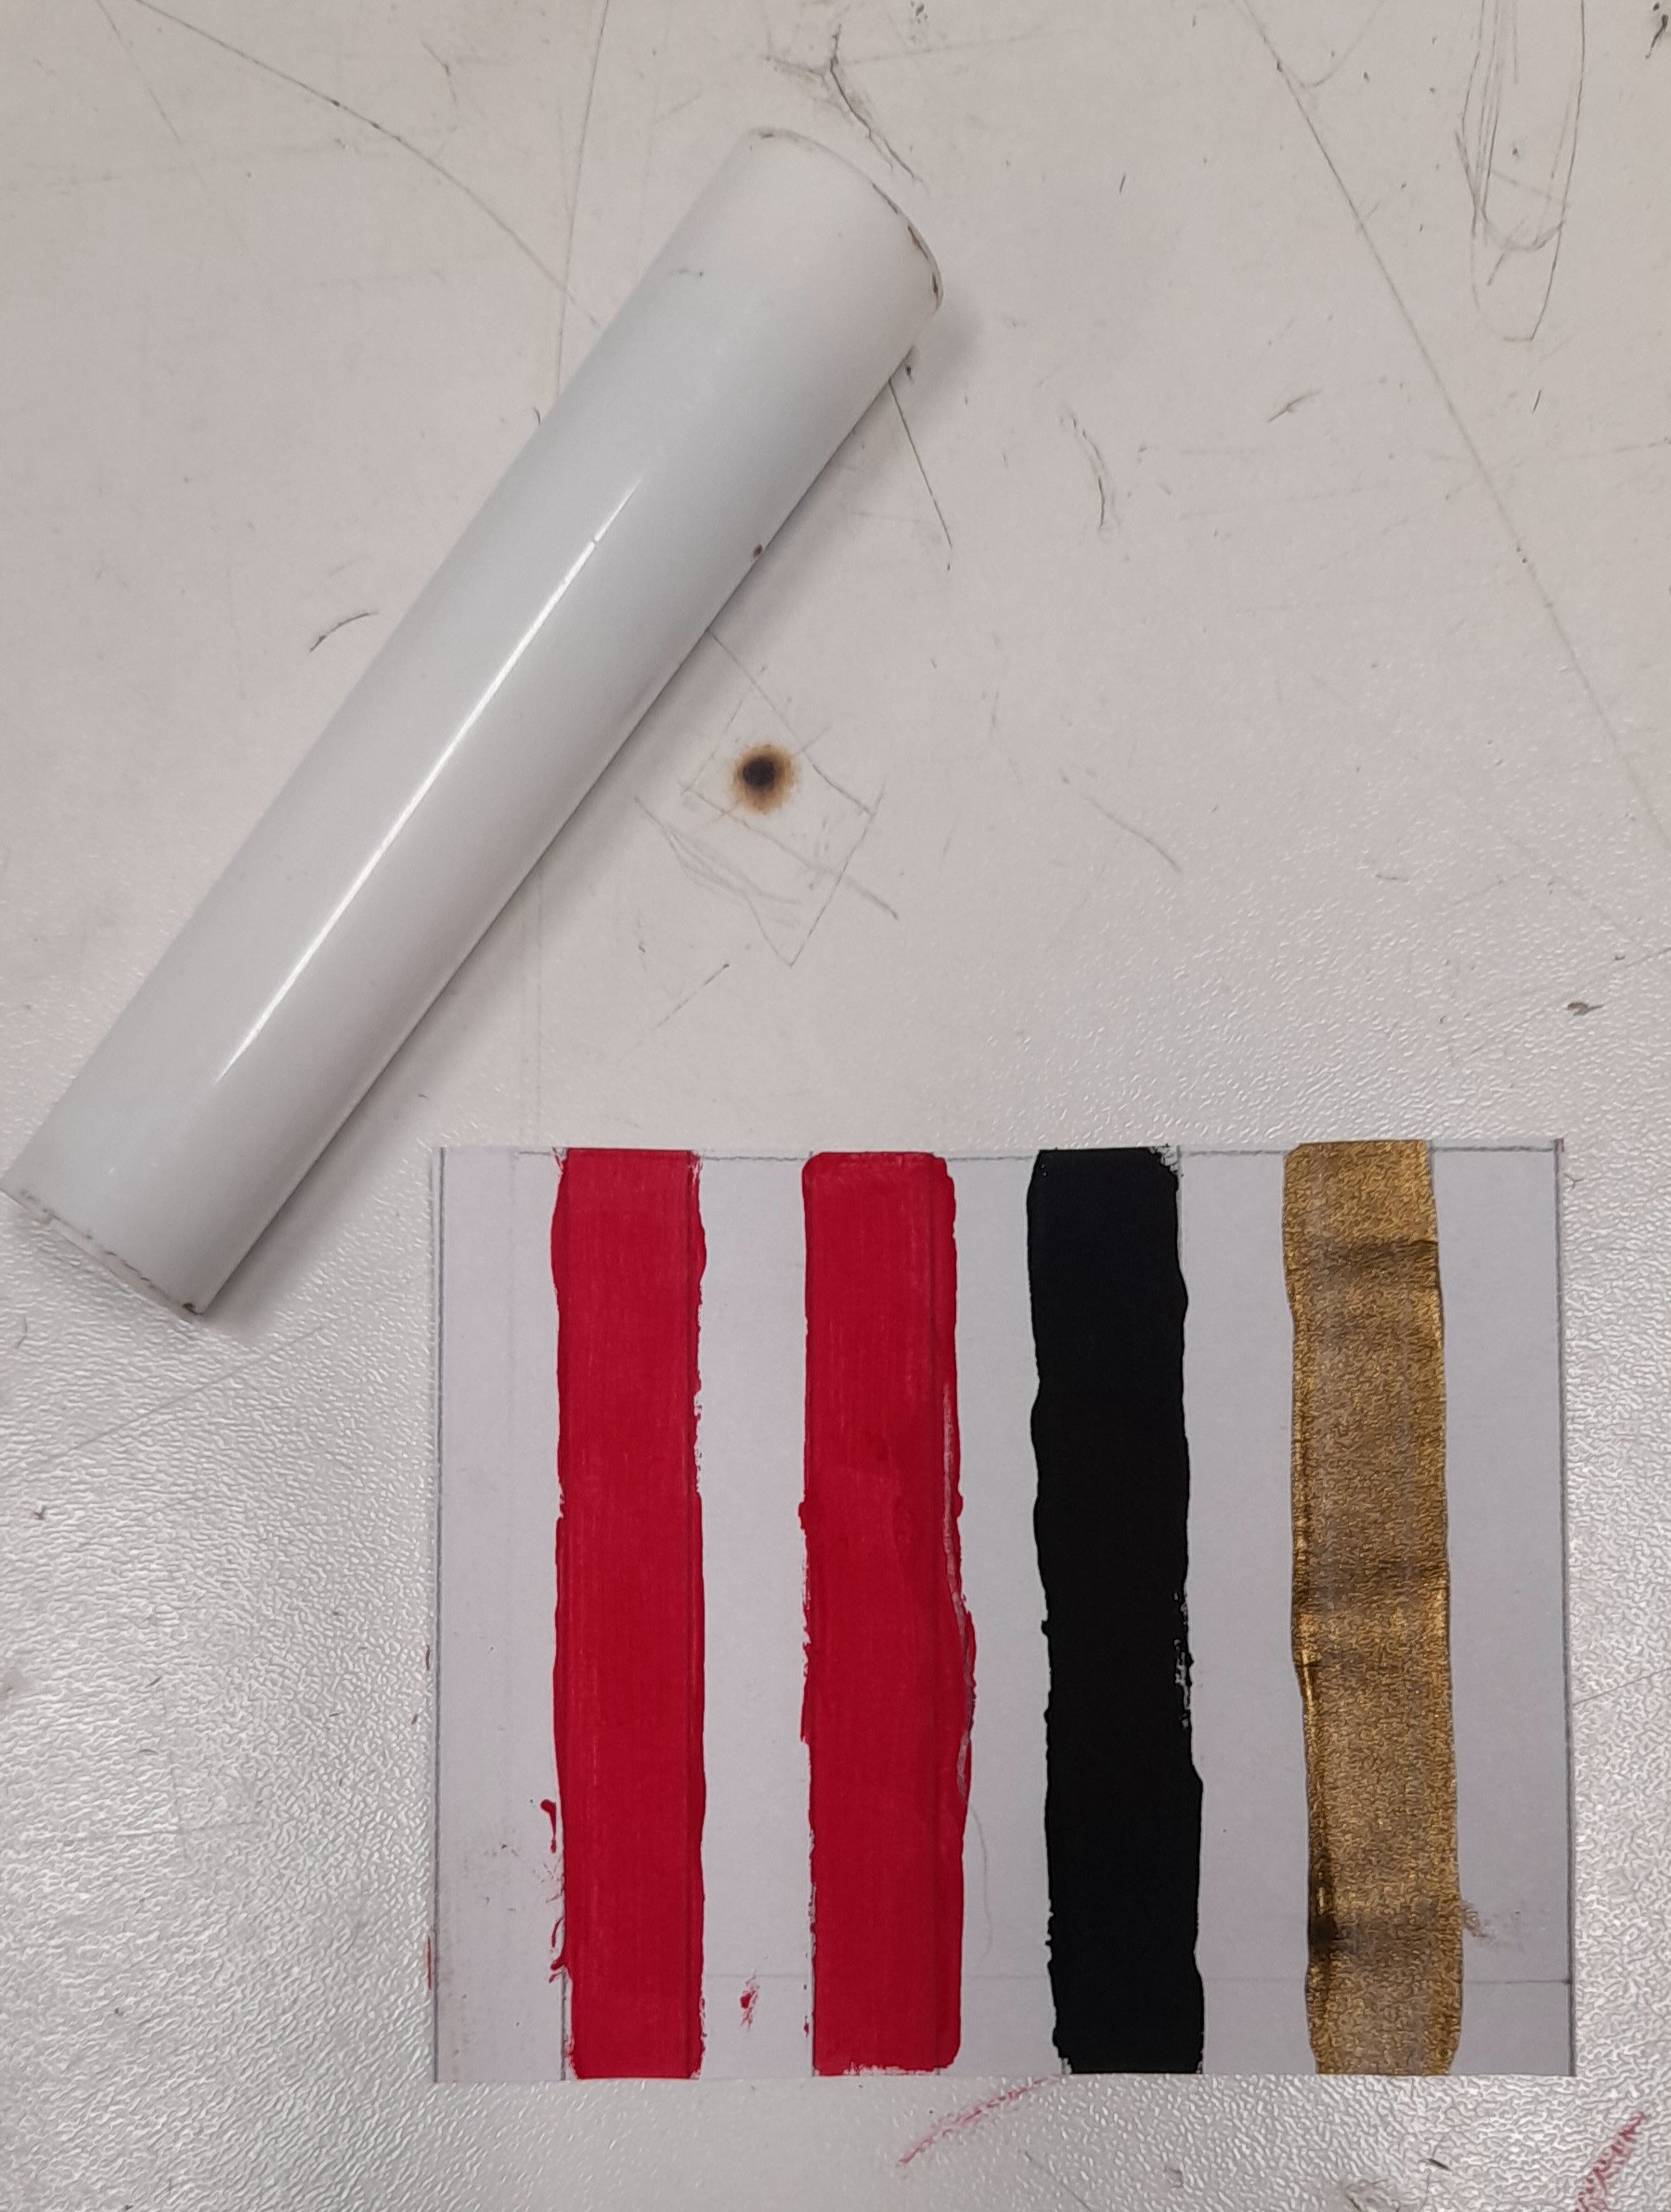
Reciclar marcadores en desuso:
Luego, utilicé la parte cilíndrica de marcadores en desuso para hacer el cuerpo de la resistencia más grande. Este cilindro permitirá visualizar las bandas de colores de manera clara y sin dificultades.
! [English]Recycle used markers:
Next, I used the cylindrical part of used markers to make the body of the resistor larger. This cylinder will allow the color bands to be clearly and easily visible.
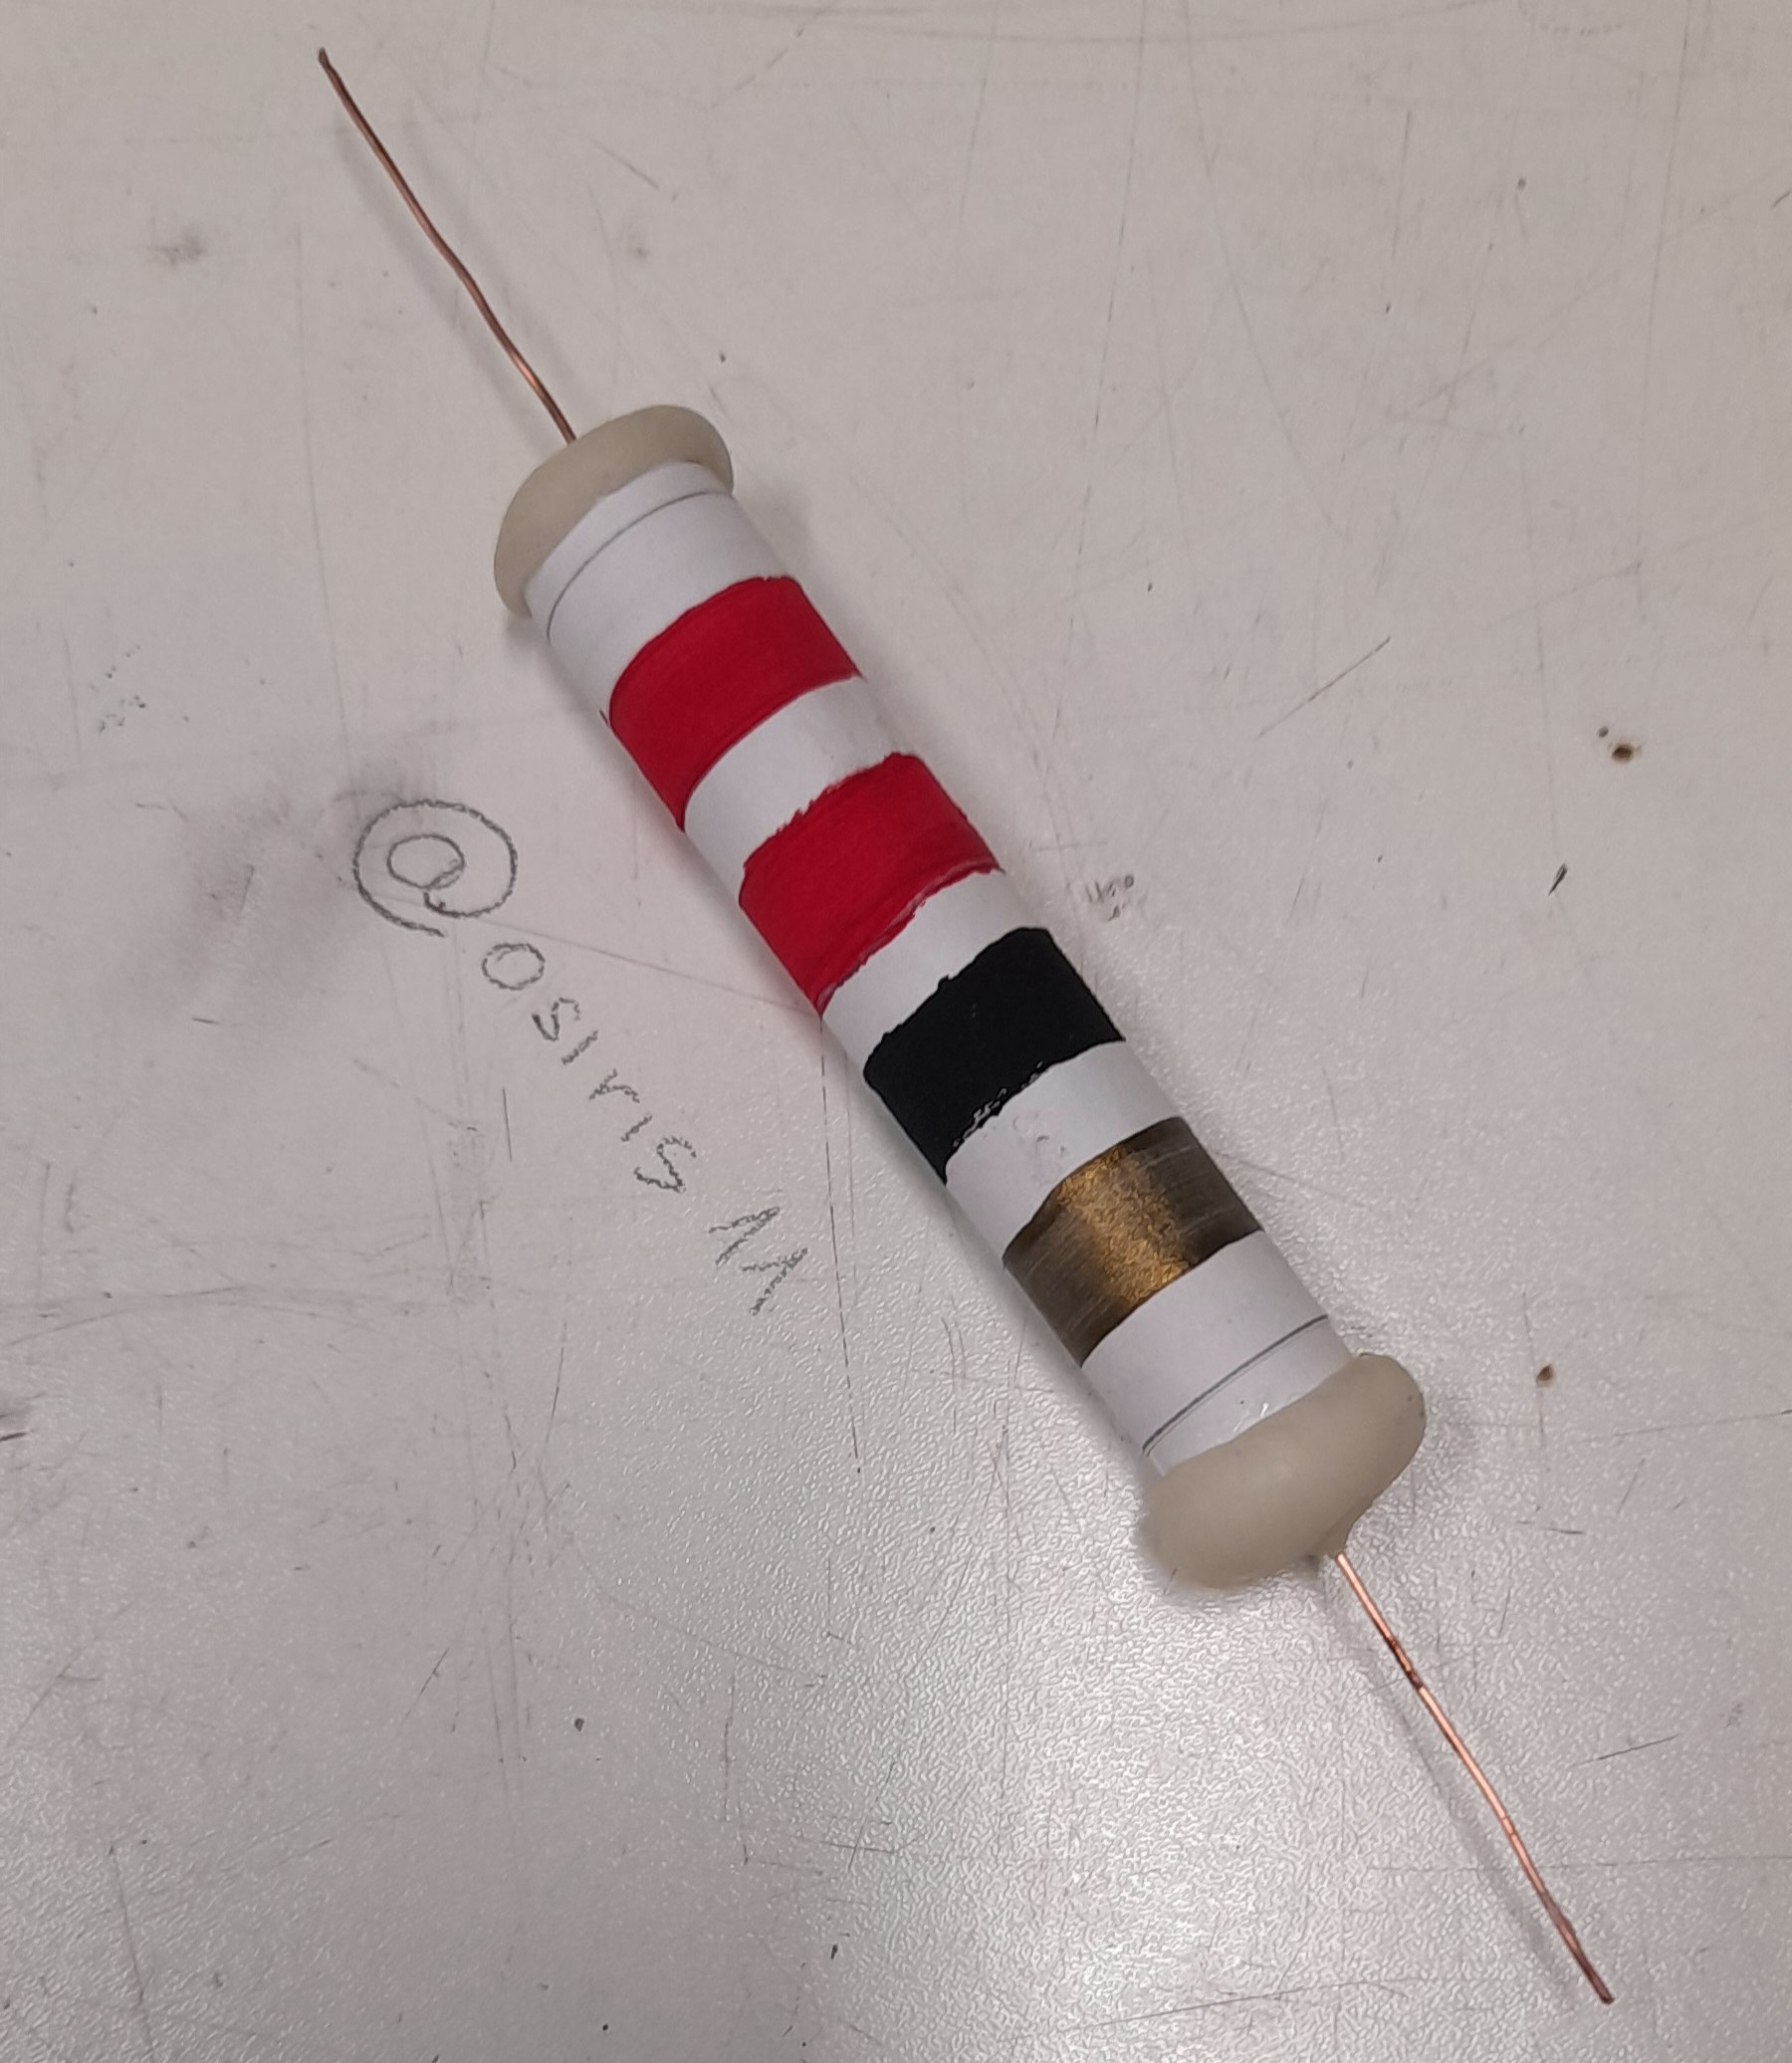
Sellar los extremos con porcelana fría:
Finalmente, sellé los extremos del cilindro con porcelana fría. Esto no solo asegura que los alambres se mantengan firmes en su lugar, sino que también le da un acabado prolijo y profesional.
Ventajas de utilizar resistencias de gran tamaño:
- Mejora la visibilidad:
Las resistencias de mayor tamaño permiten que las bandas de colores sean más visibles, lo que facilita la enseñanza y el aprendizaje del código de colores. Esto es especialmente útil en un entorno de aula, donde todos los estudiantes necesitan ver claramente los detalles. - Facilita la comprensión:
Al trabajar con resistencias más grandes, los estudiantes pueden comprender mejor cómo se aplican los códigos de colores y cómo se leen las resistencias. Esto es especialmente importante para quienes están comenzando en la electrónica. - Estimula el aprendizaje práctico:
Las resistencias de gran tamaño son ideales para actividades prácticas y demostraciones. Los estudiantes pueden manipularlas fácilmente, lo que les ayuda a asimilar conceptos teóricos de manera tangible. - Reutilización de materiales:
Al utilizar marcadores en desuso y otros materiales reciclados, este proyecto no solo es didáctico, sino también ecológico. Promueve la reutilización de recursos, lo cual es una práctica que puede ser integrada en otros proyectos educativos.
! [English] Seal the ends with cold porcelain:
Finally, I sealed the ends of the cylinder with cold porcelain. This not only ensures that the wires stay securely in place but also gives it a neat and professional finish.
Advantages of using large resistors:
1-Improved visibility:
Larger resistors make the color bands more visible, which facilitates the teaching and learning of the color code. This is especially useful in a classroom setting, where all students need to see the details clearly.
2-Easier comprehension:
Working with larger resistors allows students to better understand how color codes are applied and how resistors are read. This is particularly important for those just starting in electronics.
3-Encourages hands-on learning:
Large resistors are ideal for practical activities and demonstrations. Students can easily handle them, which helps them grasp theoretical concepts in a tangible way.
4-Material reuse:
By using discarded markers and other recycled materials, this project is not only educational but also eco-friendly. It promotes the reuse of resources, a practice that can be integrated into other educational projects.
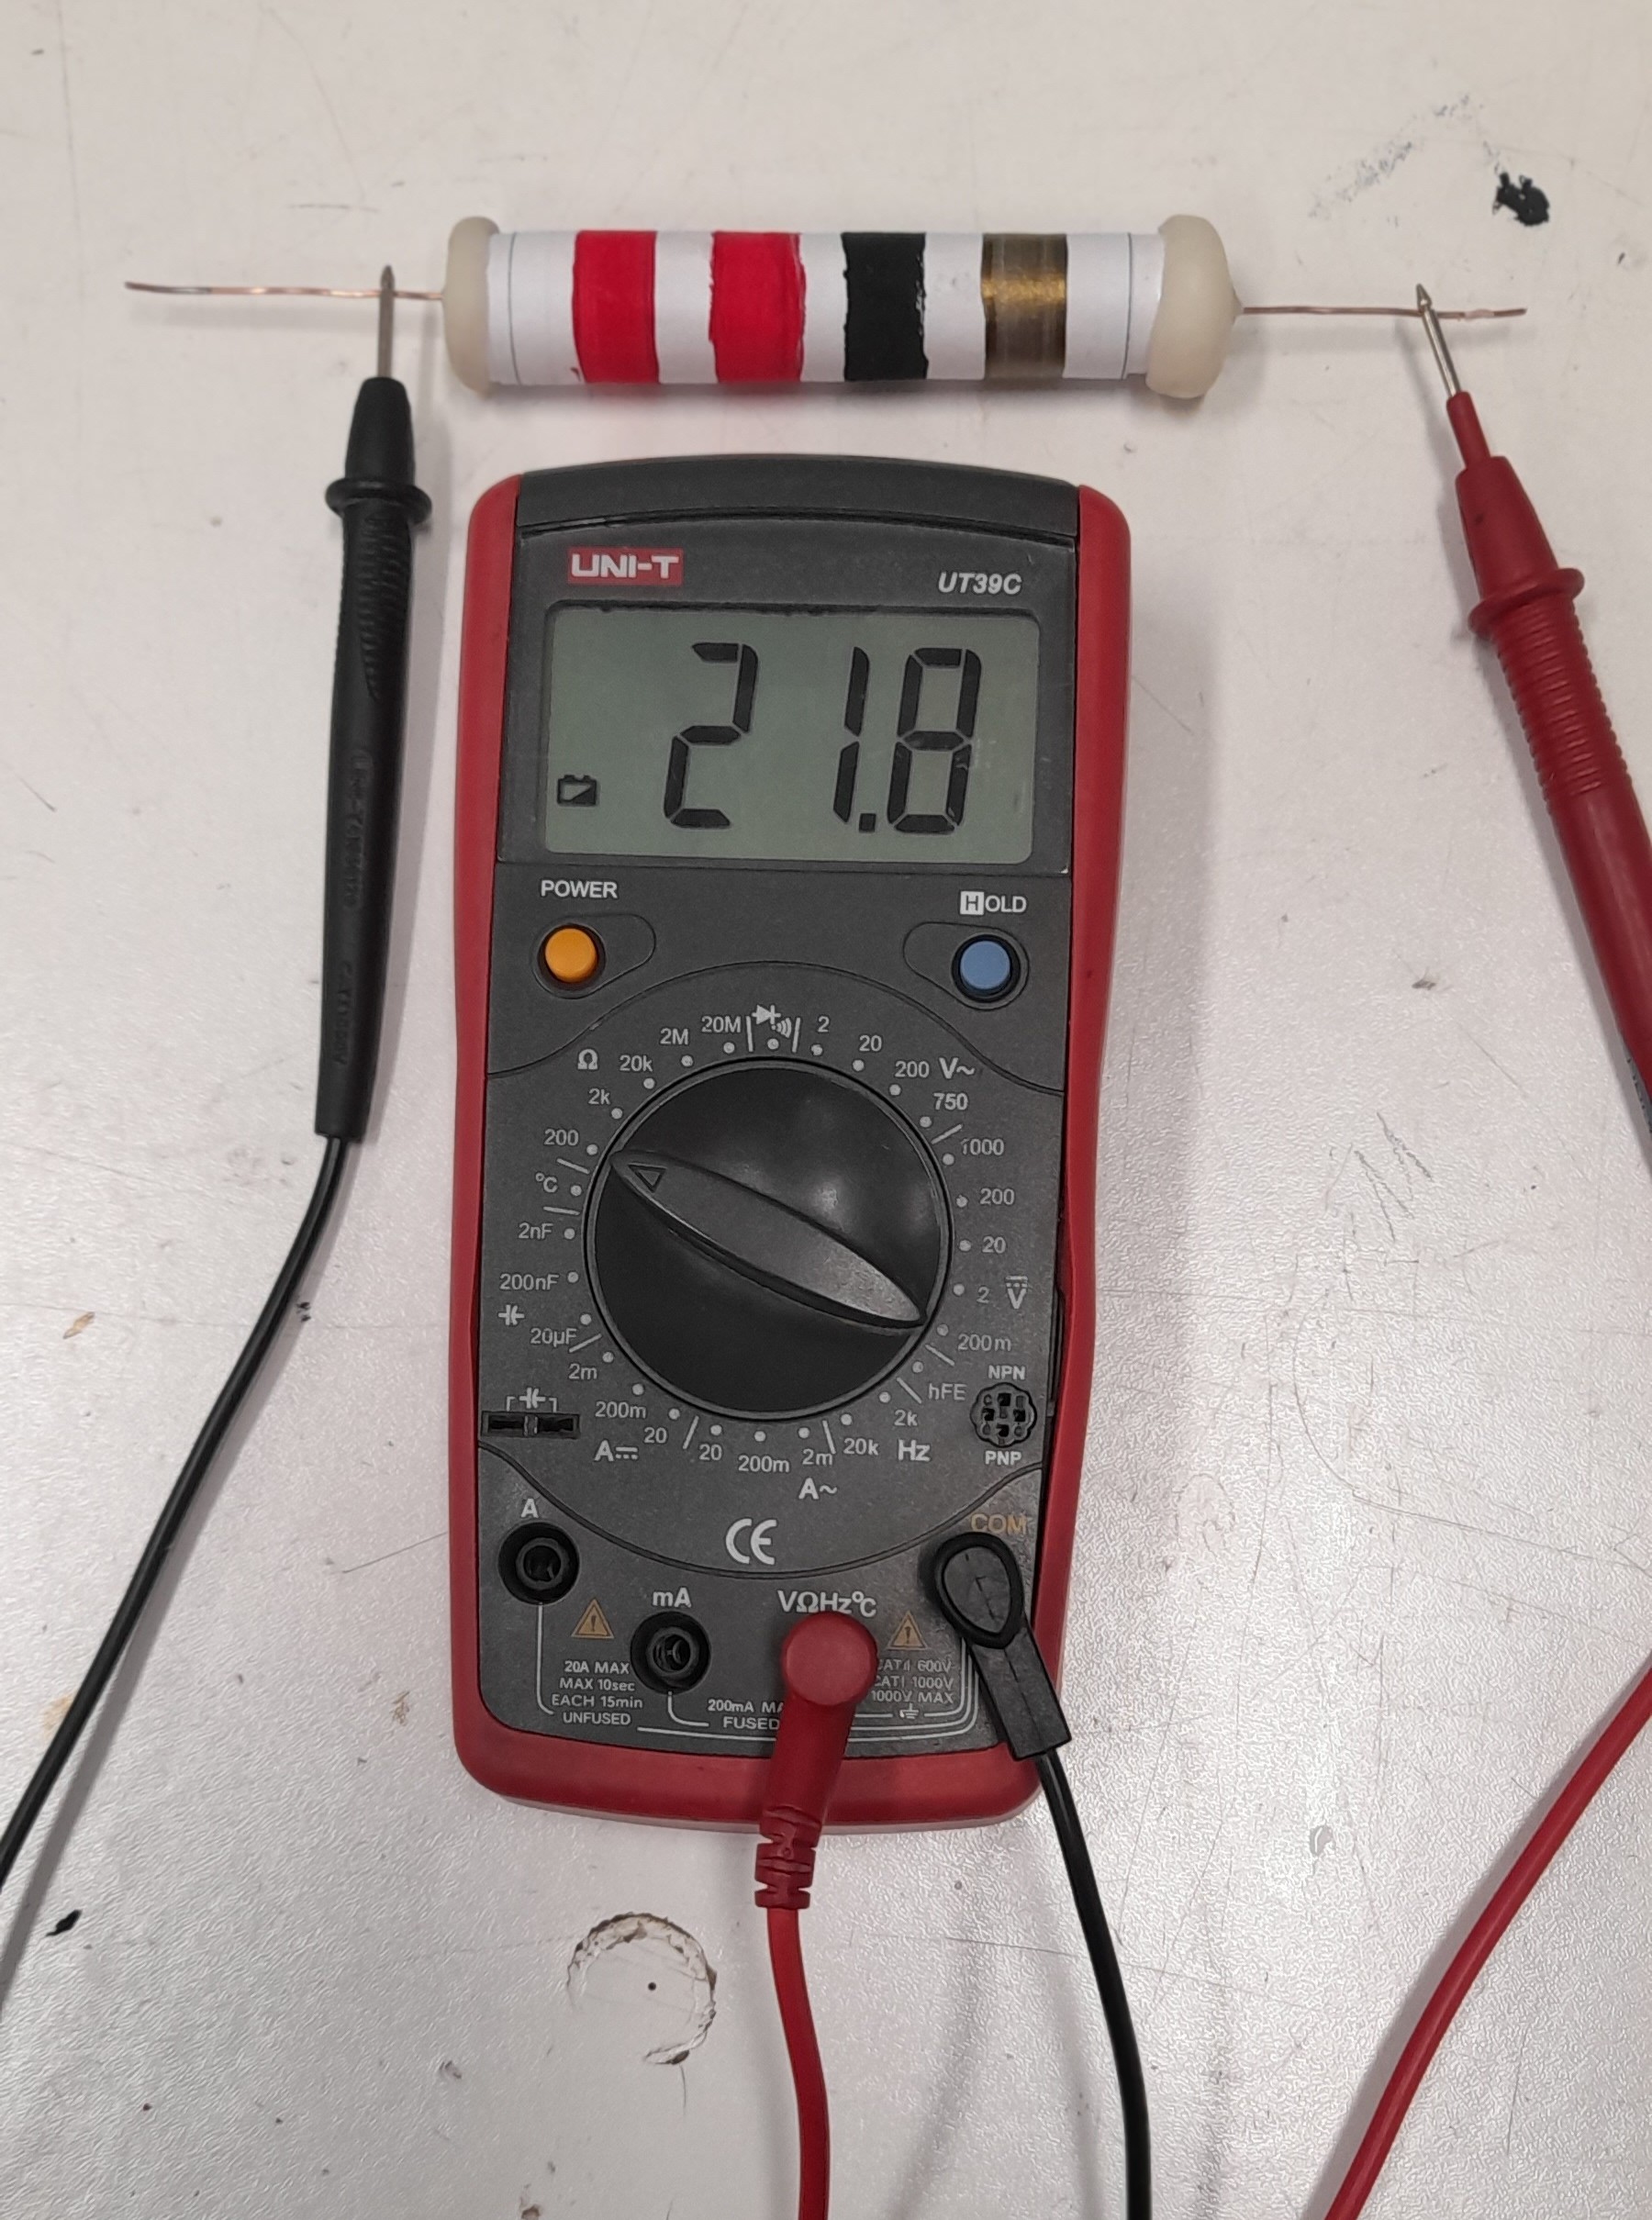
Este enfoque didáctico no solo hace que la enseñanza del código de colores sea más accesible, sino que también enriquece la experiencia de aprendizaje de los estudiantes.
! [English] This educational approach not only makes teaching the color code more accessible but also enriches the students' learning experience.
Congratulations @osiris11! You have completed the following achievement on the Hive blockchain And have been rewarded with New badge(s)
Your next target is to reach 100 upvotes.
You can view your badges on your board and compare yourself to others in the Ranking
If you no longer want to receive notifications, reply to this comment with the word
STOPGrateful for my achievement @hivebuzz, I'm going for my new goal.
You're welcome @osiris11. Looking forward to you reaching your new target 😅
Thanks for your contribution to the STEMsocial community. Feel free to join us on discord to get to know the rest of us!
Please consider delegating to the @stemsocial account (85% of the curation rewards are returned).
You may also include @stemsocial as a beneficiary of the rewards of this post to get a stronger support.
Greetings @osiris11
What a thorough post regarding the making of larger resistors....thank you!
Below I uploaded the English translation....it read very easily and with clarity.
Kind Regards, Bleujay
.
Hello @bluejay, I am immensely grateful for your help. I will add the translation to the explanatory text.