The little snowflake
Science & Kindergarten Focus : The little snowflake
The little Snowflake
Image Source
Once there was a little snowflake floating high up in the sky without any friends. He floated from one cloud to another. He met a cumulus cloud, he was such a fluffy little cloud, no wonder they are also called fluffy clouds. When the wind swished him away again he landed on a stratus cloud. They look like a lot of layers and are also layered clouds. Lastly the wind took the little snowflake to the cirrus clouds. They were beautiful and looked a lot like little feathers, they are also called thin feathery clouds.
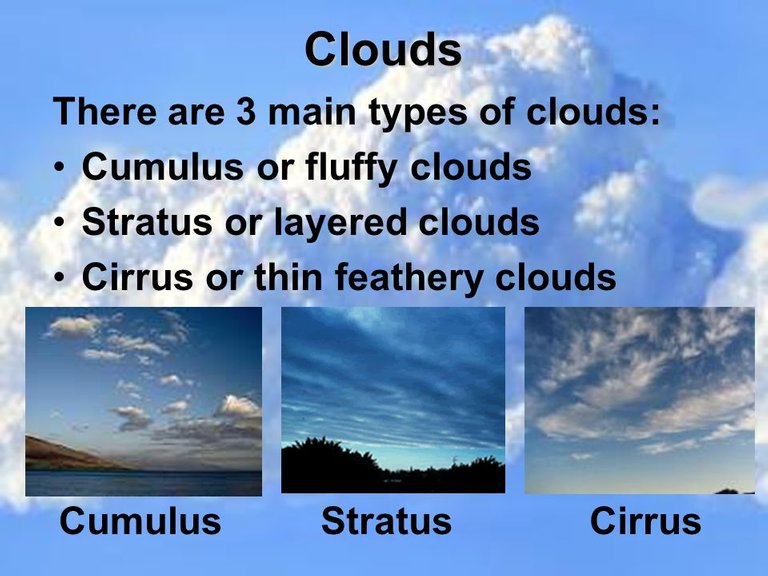
Image Source
But the wind thought that this wasn't where the little snowflake should stay. So he blew, as hard as he could, the snowflake further and further away.
![]()
Image Source
*** He figured there were some countries where the children didn't know how a snowflake looks. So he blew the little snowflake all the way to our country, Namibia, to come and show all the little children how a snowflake looks. ***
There was one thing that the wind forgot,
Namibia is a very, very hot country.
What is he going to do?
He found a little princess who was able to make a little cloud over the snowflake to make sure that the little snowflake will never melt again.
![]()
Image Source
Science Activity 1: Let's make our own snow.
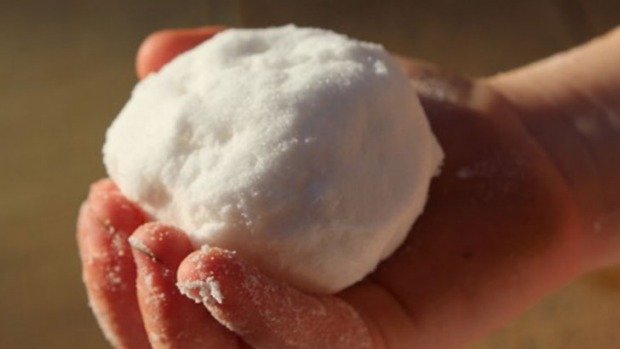
You will need the following:
- 500 g bicarbonate soda
- 1 can of shaving cream
Instructions:
- Throw the bicarbonate soda into a bowl.
- Spray the shaving cream into the bowl.
- Mix well until everything has combined well.
- Let the children have fun.
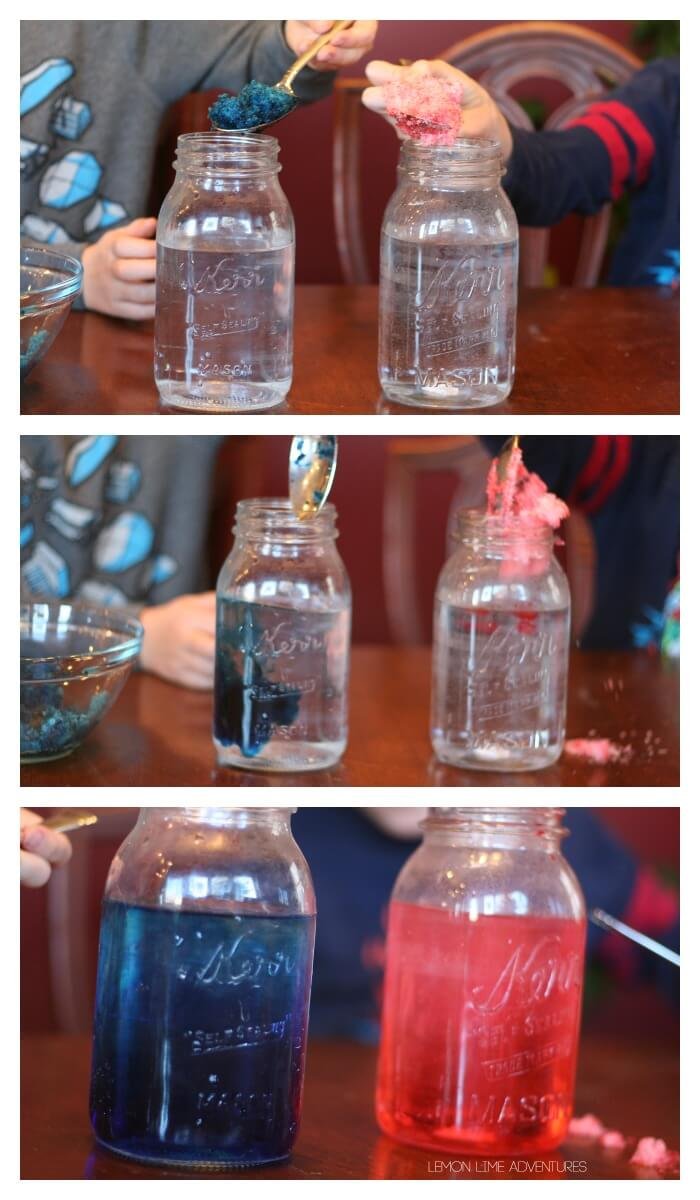
Science Activity 2: Does snow float or sink?
You will need the following:
- Snow or crushed ice (If you don't have access to real snow)
- Two jars (one with hot water and one with cold water)
- Food coloring
- Small bowls
Instructions
- Divide the snow in two small bowls, mix with separate food coloring. (Eg. one bowl red, one bowl blue.)
- Scoop one scoop of snow into the jar with warm water.
- Let the learner observe what happened. (The snow immediately melted.)
- Now scoop one scoop of snow into the jar with cold water.
- Let the learner observe what happened. (The snow dropped to the bottom of the jar, but immediately began rising to the top of the jar.)
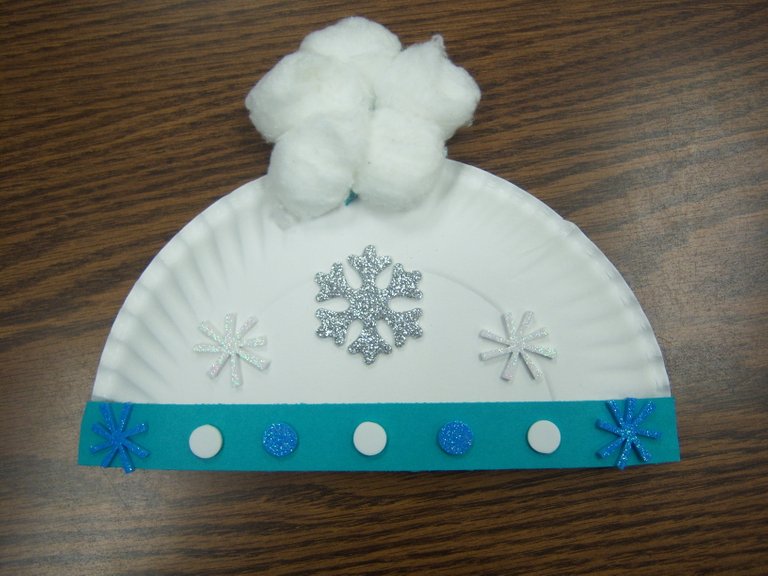
Art Activity: Make a snow hat.
You will need the following:
- Paper plates cut in half.
- Blue paper
- Cotton wool
- Silver Glitter/snowflake decorations.
Instructions:
- Cut a strip of blue paper, long enough to make the edge of your hat, paste it on the paper plate.
- Paste the cotton wool at the top of the paper plate.
- Use the silver glitter or the snowflake decorations to decorate your snow hat.

Created by Giphy
Team South Africa banner designed by @bearone
![]()
GIF

Definitely won't find snow where you live, nice way to teach children about this lovely fluffy white fun stuff called snow.