A Science Experimet: Snowflake
Some countries are fortunate to experience snow during the Christmas holidays, others are not.
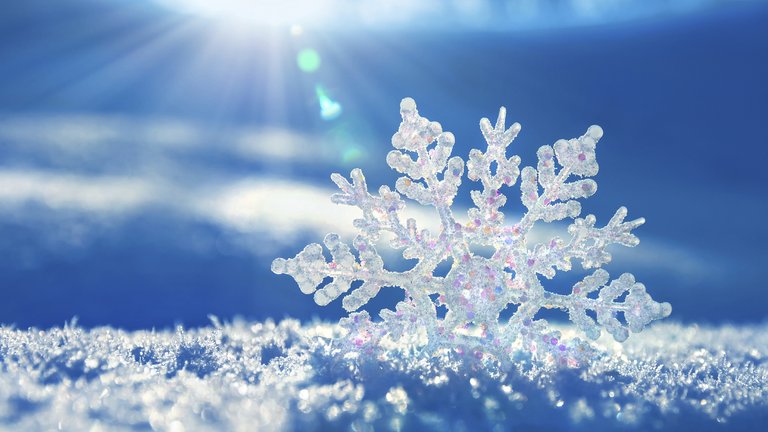
Image Source
Look how beautiful snowfall can be:
Video Source
Wouldn't you want to experience this, even if you don't life in a country where it snows during Christmas.
First a little bit of background: How is snow made?
Snow is made when water vapors into the freezing air, before they are able to turn into water. When the temperature in clouds are very cold they water then crystallizes around pieces of dirt in the air. The snowflakes are very small at first and can grow. The wonderful part about snowflakes are that not one of them ever looks the same.
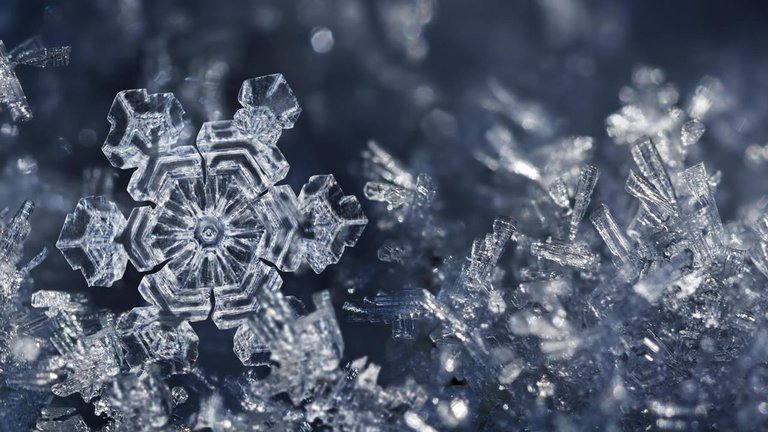
Image Source
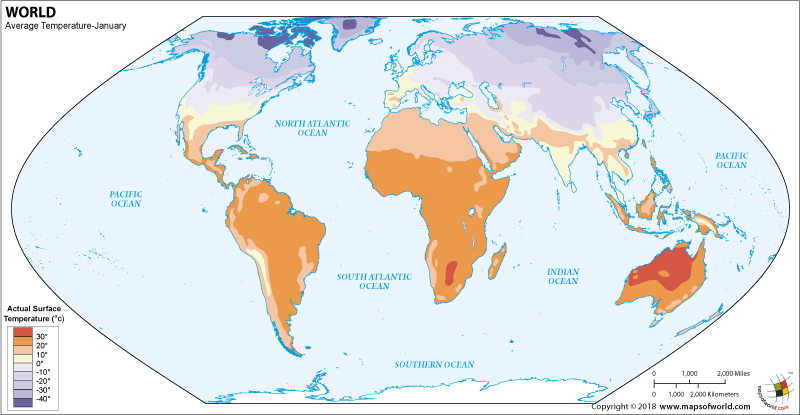
Which countries are prone to experiencing snow - Look on the map.

Image Source
If you have an older class you can teach them a few things from this map:
- Symbols that are used as indicators
- The different continents
- Colors that indicate the temperature.
- The major oceans.
Today we are going to make snowflakes with different materials and then finally we are going to finish the lesson with a bit of science.
Activity 1: Make paper snowflakes
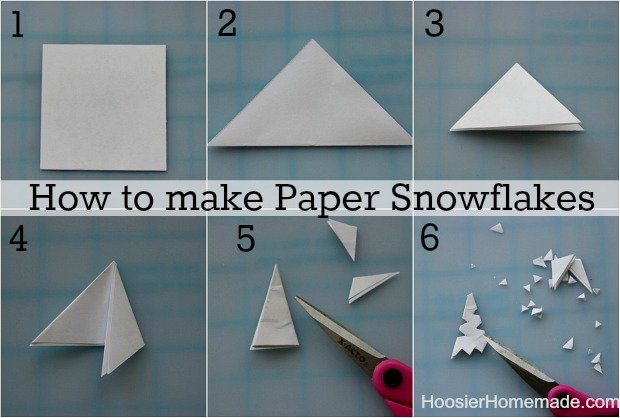
Image Source
You will need the following:
- Paper
- Scissors
- Hole Punch
- Ribbon
Instructions:
- Fold the paper as shown in the picture.
- Use your scissor to cut out pieces of paper. This will assist with the pattern cutting.
- Unfold the piece of paper to see the beautiful snowflake you have made.
- Tie a piece of ribbon on the snowflake to assist you to hang it on the christmas tree.
Activity two: Make snowflakes using salt

Image Source
You will need the following:
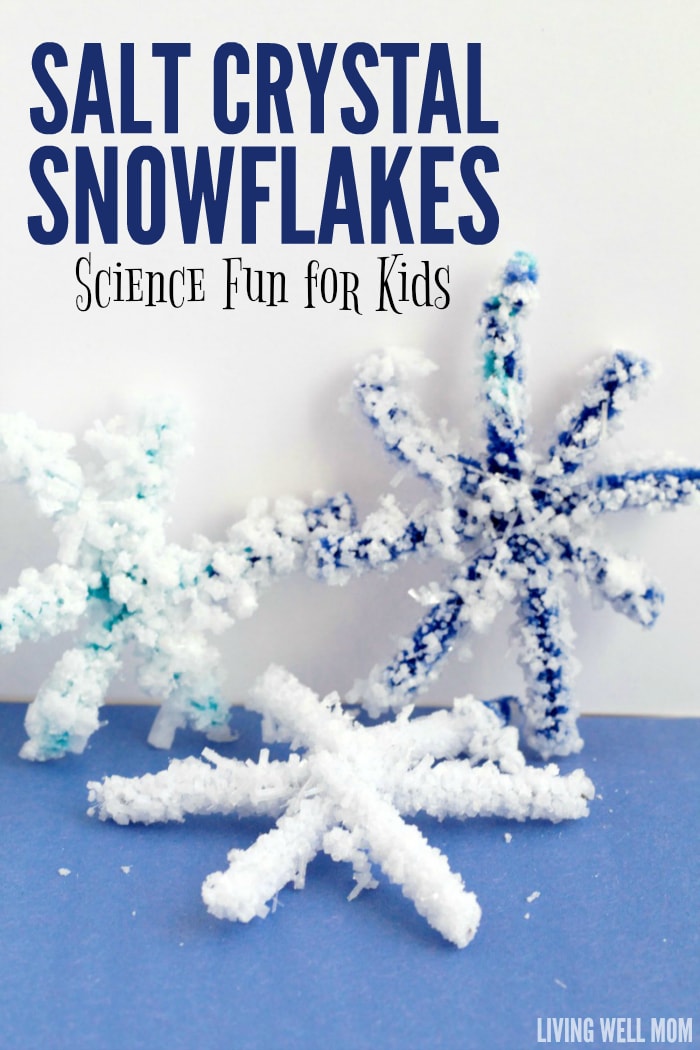
- Salt
- Mason jars (1 per snowflake)
- Pipe cleaners
- Clothes pins
Instructions:
- Heat about 3 cups of water per mason jar (Basically 3 cups of water per snowflake)
- When the water boils you can start adding the salt. Keep on pouring salt until crystals starts to form on the surface of the water. You can work on a container of salt for three snowflakes.
- While the salt water is cooling provide the learners with pipe cleaners. They should now fold/bent the pipe cleaners to form their snowflakes.
- Make sure you have a strand of pipe cleaner that is outside of the jar. Use a clothespin to keep the pipe cleaner attached to the jar.
- Leave them in the jar for 2-3 days.
- Remove them and then hang them up where you can see them.
You can also make borax snowflakes. Follow this link to see the instructions:
https://littlebinsforlittlehands.com/crystal-snowflake-ornament-science-activity-kids/
Here is something beautiful that we can learn from the tiny, little snowflake:
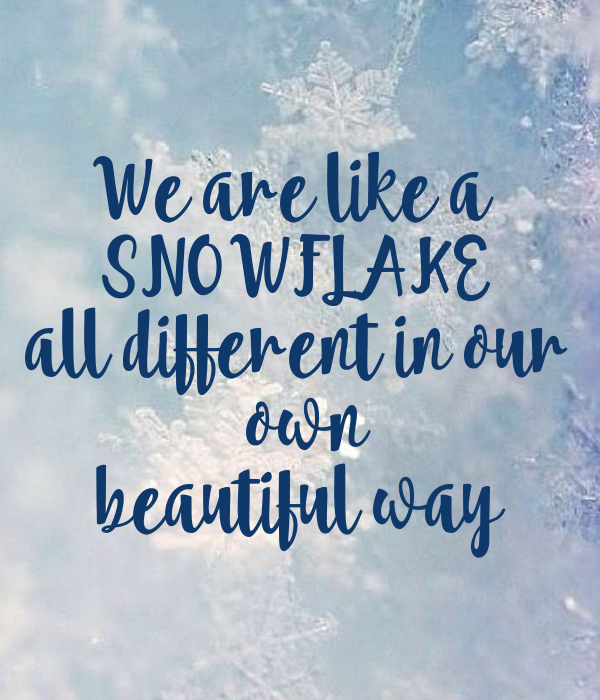
Image Source
Team South Africa banner designed by @bearone
@tipu curate
Upvoted 👌 (Mana: 10/15 - need recharge?)