How to: WebGL + WebAssembly in React with Typescript | PART 1

Introduction
In this tutorial, we will see how to set up a project with Rust-WASM, and effectively build and deploy a GatsbyJS site 🤓.
According to webassembly.org, WebAssembly (aka WASM) is a binary instruction format for a stack-based virtual machine. In practice, it is a format upon which we can deploy performant code for demanding tasks that run in browsers.
Because WASM is a binary format, we need to compile other languages to it. Common options are C, C++, Rust, and AssemblyScript. This time we'll use Rust for the task.
Requirements
For this project, you'll need Node (preferably with yarn) and Rust installed, as well as gatsby-cli and wasm-pack.
Creating a Gatsby Project
To create our Gatsby project run the following commands
gatsby new tutorial
cd tutorial
yarn start (or npm start)
We can now go to http://localhost:8000/ and see the default gatsby page
Going back to the terminal, we are going to add a couple of dependencies which I will explain as we use them.
yarn add @loadable/component react-hooks-lib
yarn add -D @types/loadable__component
Creating our Rust project
Now that we have Gatsby ready for our purposes we will create our rust project inside tutorial/src.
cd src && cargo new wasm
This will create a default rust project which we can extend to support wasm.
Note: If you don't know anything about rust there is an amazing Youtube Channel where you can learn the basics and beyond.
If everything went right up until this moment, you should be able to do cd wasm and then cargo run, the expected output should be Hello, world!
In order to compile to wasm we need to add the following lines to Cargo.toml
# .
# .
# .
[lib]
crate-type = ["cdylib"]

[dependencies]
wasm-bindgen = "0.2"
Now we need to change our starting point. By default rust will use main.rs but our project will be a library project and therefore the starting point must be lib.rs. (For further explanation refer to this video). To do this, simply delete main.rs and create a new file called lib.rs. We can populate that new file with the snippet from rustwasm guide to verify that everything is working as it should.
use wasm_bindgen::prelude::*;

#[wasm_bindgen]
extern "C" {
    fn alert(s: &str);
}

#[wasm_bindgen]
pub fn greet(name: &str) {
    alert(&format!("Hello, {}!", name));
}
run wasm-pack build to build our wasm code. You'll see a pkg folder inside wasm, this contains all the files we need, you can take a look at wasm.d.ts to see types declarations.
You should see
export function greet(name: string): void;
Hold on with your rust code for a while because we need to go back to gatsby
Back to Gatsby
Run cd .. (assuming you were on tutorial/src/wasm)
Let's rename tutorial/src/pages/index.js to tutorial/src/pages/index.tsx (Restart gatsby if you get any errors)
Create a types folder inside src and create a file called WASM.ts with the next line:
export type IWASMModule = typeof import("../wasm/pkg/wasm")
This is a bit hacky since, as we will see, WASM must be imported dynamically and Gatsby will have trouble if we don't use a clever hack.
Now back to our index.tsx, we will use loadable to import WASM dynamically,
/* index.tsx */
/*
.
.
.
*/
import loadable from "@loadable/component"
import { IWASMModule } from "../types/WASM"

const WASMModule = loadable.lib(
 () => import("" + "../wasm/pkg/wasm") as Promise<IWASMModule>
)
WASMModule is now a component which have a callback as a children, meaning that we can now pass the entire WASM module or only some parts of it as a prop to other components.
As an example we will use a button that calls the greet method.
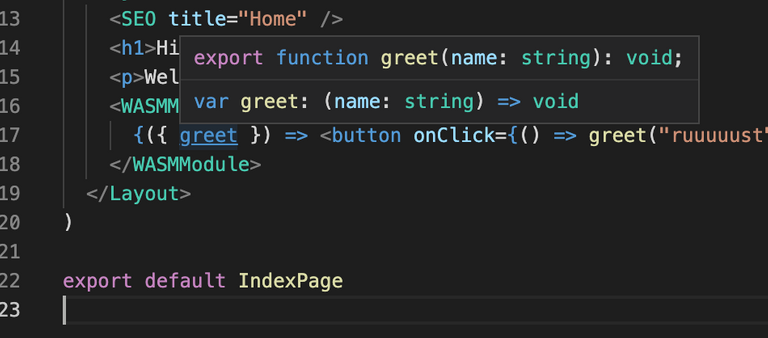
    <WASMModule>
      {({ greet }) => <button onClick={() => greet("ruuuuust")}>press me</button>}
    </WASMModule>
Note that if you hover over greet you get the exact type
The full code will looks like something like this
import React from "react"

import Layout from "../components/layout"
import SEO from "../components/seo"
import loadable from "@loadable/component"
import { IWASMModule } from "../types/WASM"

const WASMModule = loadable.lib(
 () => import("" + "../wasm/pkg/wasm") as Promise<IWASMModule>
)
const IndexPage = () => (
  <Layout>
    <SEO title="Home" />
    <h1>Hi people</h1>
    <p>Welcome to your new Gatsby site.</p>
    <WASMModule>
      {({ greet }) => <button onClick={() => greet("ruuuuust")}>press me</button>}
    </WASMModule>
  </Layout>
)

export default IndexPage
And if you press the button
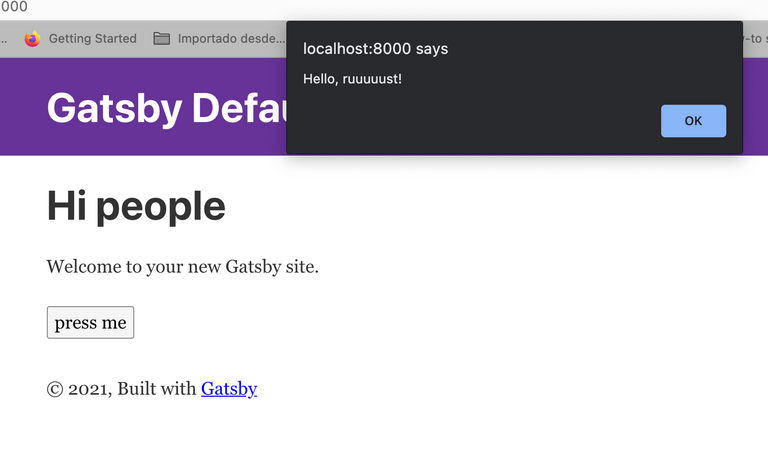
Works like a charm 🔥!
Splitting functionality
We want to keep things separated to make a robust solution. To do that we will create a canvas.tsx file inside src/components
We are going to use the useDidMount hook from react-hooks-lib to greet our user, later on we will use it to set up WebGL. We'll also leave a canvas element for future usage.
import React, { FC,  } from "react"
import { useDidMount } from "react-hooks-lib"


import { IWASMModule } from "../types/WASM"

type CanvasComponent = FC<{
    greet: IWASMModule["greet"]
  }>

const Canvas: CanvasComponent = ({ greet }) => {
  useDidMount(() => {
    greet("from did mount")
  })
  return (
    <>
      <p>placeholder for part 2</p>
      <canvas  width="640" height="480"> </canvas>
    </>
  )
}

export default Canvas
Back to our index.tsx we import and use the new canvas component.
import React from "react"

import Layout from "../components/layout"
import SEO from "../components/seo"
import loadable from "@loadable/component"
import { IWASMModule } from "../types/WASM"
import Canvas from '../components/canvas'

const WASMModule = loadable.lib(
 () => import("" + "../wasm/pkg/wasm") as Promise<IWASMModule>
)
const IndexPage = () => (
  <Layout>
    <SEO title="Home" />
    <h1>Hi people</h1>
    <p>Welcome to your new Gatsby site.</p>
    <WASMModule>
      {({ greet }) => <Canvas greet={greet} />}
    </WASMModule>
  </Layout>
)

export default IndexPage
Now every time refresh the page we will get

Part 2
We are now ready for part 2 where we will go deeper on rust and also review a bit of WebGL. It may seem like a lot to learn but possibilities are endless.
I will post part 2 in the next couple of days.
If you like it I would love to hear your feedback.
Happy coding!
Yay! 🤗
Your post has been boosted with Ecency Points.
Continue earning Points just by using https://ecency.com, every action is rewarded (being online, posting, commenting, reblog, vote and more).
Support Ecency, check our proposal:
Ecency: https://ecency.com/proposals/141
Hivesigner: Vote for Proposal