Programming the Amiga with AMOS BASIC: Bobs and Sprites
Previously we looked at how AMOS can load images and configure screens, and layered scrolling via a feature called “Dual Playfield”.
If we are going to create playable games then we will also need graphics to represent the player and the enemies.
Colloquially we call these sprites, but in AMOS the term sprite has a specific meaning ...
Amiga Hardware Sprites
The Amiga has built-in hardware that enables fast and easy sprite operations.
In fact, the mouse pointer is a Sprite. You can set the mouse to use your own sprite as a pointer using:
Change Mouse 4
This would use Sprite 1 from the sprite bank (see below about Object Editor) as any number greater than 3 is implied to be your user-defined sprites.
4 Colour, 16x16 Sprite as Mouse Pointer
Unfortunately, the hardware sprites are limited in number (8) and palette (4 or 16 colours).
Strangely they can be any height, but are restricted to 16 pixels wide.
Another area that can cause problems is Sprites use the hardware coordinate system, but fortunately AMOS includes two functions that translate regular screen coordinates into the internal hardware ones.
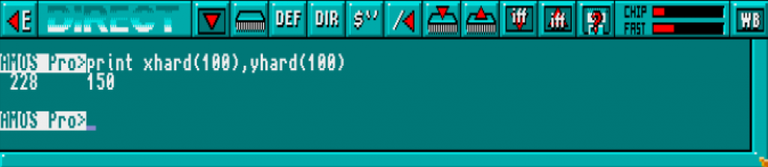
What if you need more than 8 sprites? 8 would be sufficient for, say, Pacman (4 ghosts and Pacman), but for a shoot-'em-up, you will soon run out. Heck, just the player and your bullets will take up a bunch before you have anything to attack!
Blitter Objects (BOBs)
The good news is AMOS has an alternative option that uses the Amiga Blitter hardware to move blocks of data around, not quite as fast as hardware sprites, but still really quickly.
Even better, Bobs have none of the weird restrictions of hardware sprites, so have as many as you want, sized however you want, within the obvious limitations of memory and speed. Oh, and there are no funky coordinate system conversions either!
Creating BOBs
Before you can play with BOBs, you need some to play with.
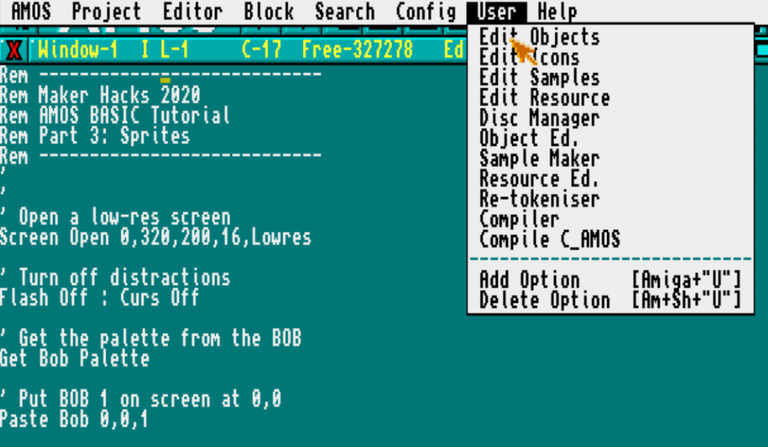
Fortunately, AMOS Pro comes with an Object Editor, which combines simple paint tools with a "grabber" that allows you to load your IFF images in and copy out the parts you need as BOBs.
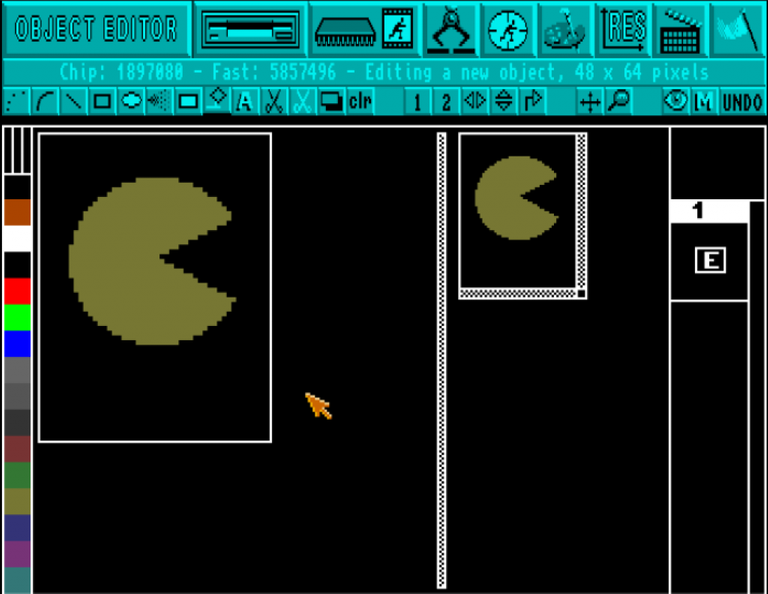
So you can draw a character as I have in this example (a basic Pacman rip-off), or create your art in Deluxe Paint, Personal Paint, and so-on, then load it into the program:
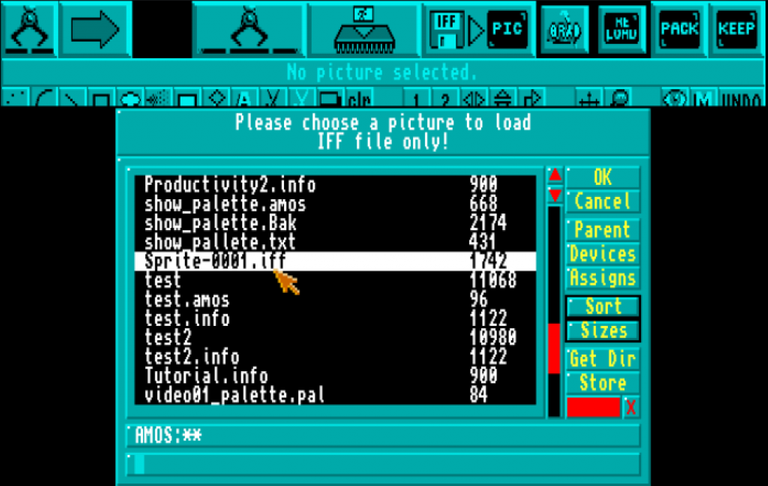
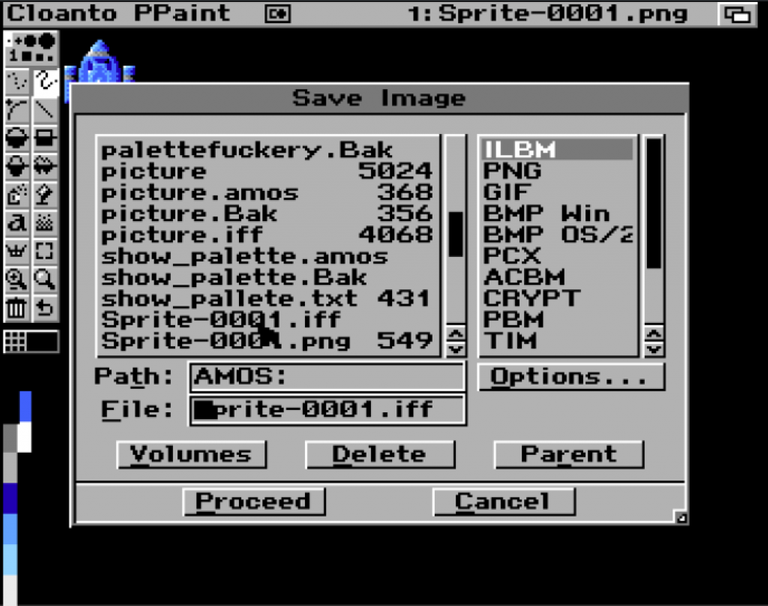
While AMOS Object Editor can only load IFF images, Personal Paint can load your regular, modern image formats, and it comes with Amiga Forever.
If you launch the Object Editor from within your open AMOS program, it will offer to save the data bank right back to that file when you close.
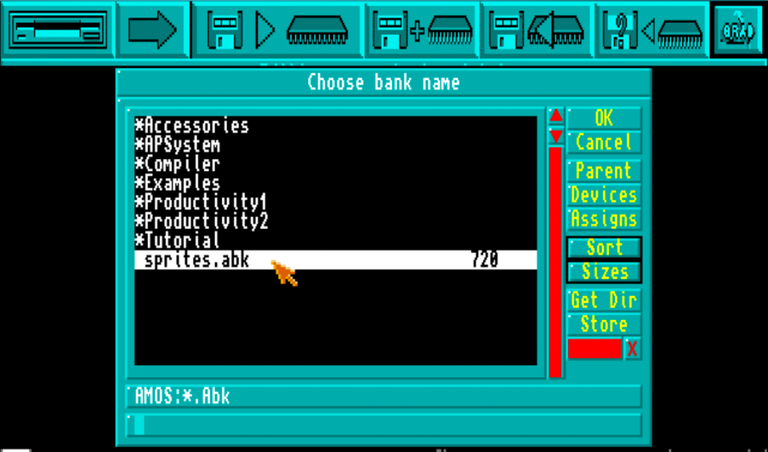
Otherwise you can save your data out as an .ABK file:
Loading AMOS Bobs
If you didn't elect to have your data saved with the AMOS program, you can load in your freshly minted .ABK file by simply adding
Load "sprites.abk"
You can also optionally specify a number after the filename to indicate you want just the specified bank.
Unless your palette is already set up in a way you are happy with, also go ahead and grab the palette from the Bob also:
Get Bob Palette
Once that is done, all that is left is to display it.
Displaying Bobs in AMOS
To display Bob 1 on the screen at coordinate 160, 100, we can simply do:
Paste Bob 160,100,1
Let's make our bob move …
' Load BOB data Load "sprites.abk"' Open a low-res screen
Screen Open 0,320,200,16,Lowres' Turn off distractions
Flash Off : Curs Off' Get the palette from the BOB
Get Bob Palette' Set up X and Y coordinates
X=100
Y=100' Put BOB 1 on screen at X, Y coordinates
Paste Bob X,Y,1' Loop and move until space is pressed
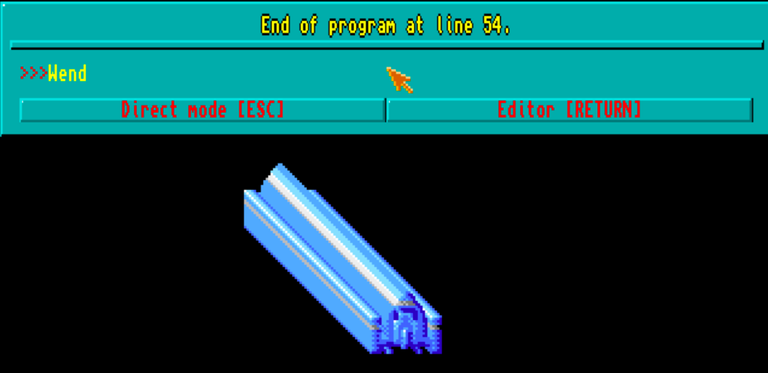
While Inkey$<>" "' if the X/Y is on screen, increment If X<320 Then X=X+1 If Y<200 Then Y=Y+1 ' wait for screen refresh Wait Vbl ' paste the bob at the new coordinates Paste Bob X,Y,1' end of while loop
Wend
Notice we looked for keypresses using Inkey$? In the future, we can use this to control our player or to select from menu options, but for now, we are just using it so we can keep looping (using a "while loop") until the space key is pressed.

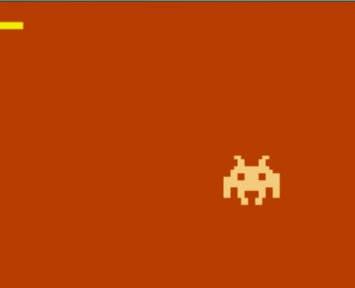
Oh no! What happened?
Well we pasted the bob, which is like using it as a rubber stamp.
Instead, we use our bob as an individual, persistent object, like a sprite, which takes into account transparency and the background to allow us to move it.
Let's make it bounce around the screen:
Final Code
Rem ---------------------------- Rem Maker Hacks 2020 Rem AMOS BASIC Tutorial Rem Part 3: Sprites Rem ----------------------------' Load BOB data
Load "sprites.abk"' Open a low-res screen
Screen Open 0,320,200,16,Lowres' Turn off distractions
Flash Off : Curs Off' Get the palette from the BOB
Get Bob Palette' Set up X and Y coordinates
X=100
Y=100' Direction of movement
XMOVE=1
YMOVE=1' Loop and move until space is pressed
While Inkey$<>" "' if the X/Y is on screen, increment
If X=0 and XMOVE=-1 Then XMOVE=1
If X=290 and XMOVE=1 Then XMOVE=-1
X=X+XMOVEIf Y=0 and YMOVE=-1 Then YMOVE=1
If Y=168 and YMOVE=1 Then YMOVE=-1
Y=Y+YMOVE' wait for screen refresh
Wait Vbl' Show the bob at the new coordinates
Bob 1,X,Y,1' end of while loop
Wend
Posted from my blog with SteemPress : https://makerhacks.com/amos-basic-bobs-and-sprites/
Congratulations @makerhacks! You have completed the following achievement on the Hive blockchain and have been rewarded with new badge(s) :
You can view your badges on your board and compare yourself to others in the Ranking
If you no longer want to receive notifications, reply to this comment with the word
STOPDo not miss the last post from @hivebuzz: