ChocoL3D Chocolate 3D Printer Extruder Review

If you are anything like me you've thought about what other materials you can 3D print and one of those materials that comes to mind is chocolate. It can be melted down, and formed into amazing ideas by artists, and since it can be melted, extruded and cooled it makes sense for it to be able to be printed. ChocoL3D out of the Ukraine has taken it upon themselves to make a chocolate extruder. The ChocoL3D chocolate 3D printer extruder can be mounted on your 3D printer of choice. ChocoL3D sent me one extruder to test and review.
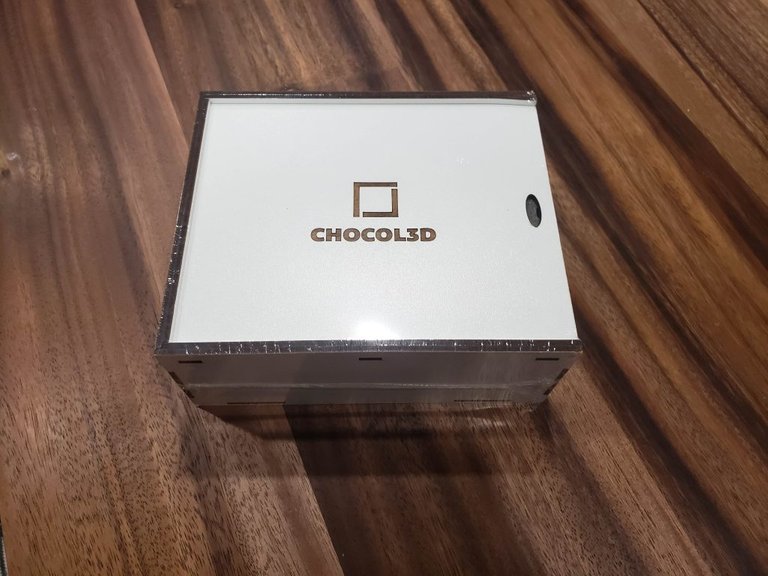
Unboxing
The package arrived and the box itself is a work of art, it is wooden with a slide out cover. All the components were nicely organized and packaged inside the wooden box with ribbons to help remove the items from the firm grip of the foam.
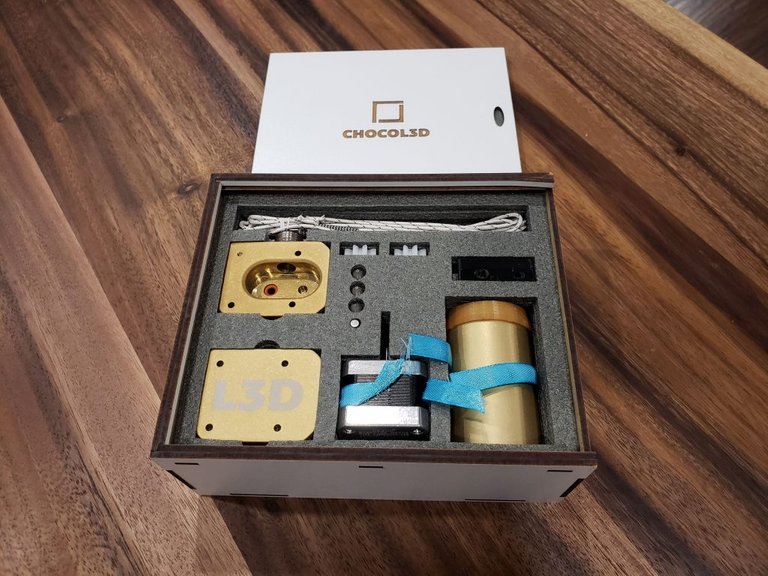
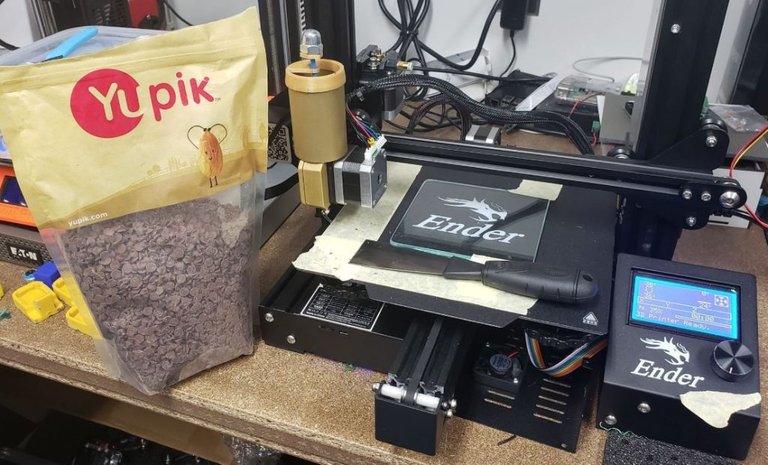
Inside the box you have the extruder components, vat, variety of nozzles, stepper motor, heater cartridge, thermistor, and screws. I planned to install this on an Ender 3 and was provide an STL from the company to print a mount.
All the components feels like they've been made very well with the fit and feel feeling great. From the manufacturer's website, it says " Extruder and tank are made from aluminium and plated with titanium nitride (TiN) to prevent oxidation and ensure food safety. Gears are made in Polyoxymethylene (POM).". The nozzles are made of stainless steel.
Assembly
Assembly was fairly straight forward if you've ever taken apart your printer, or installed a different hot end or extruder. With the old hot end and extruder assembly removed and unplugged from the control board I installed the adapter that was provided by ChocoL3D onto the X carriage. They provide a variety adapters for different printers on their website support page. I then followed their assembly instructions to complete the hardware installation.
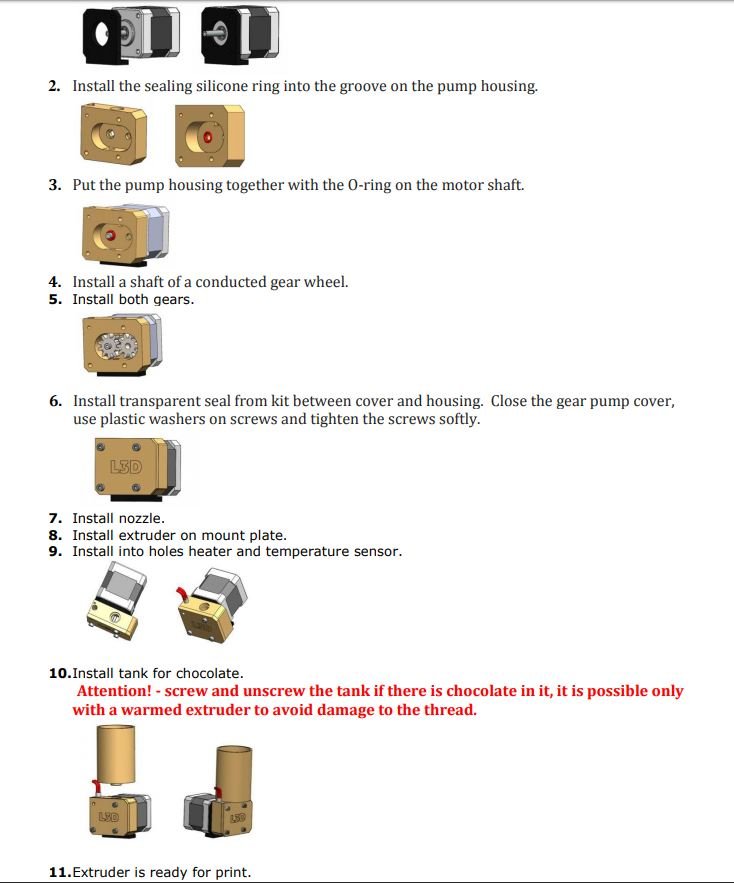
I connected the heater cartridge and thermistor to the Ender-3 control board and moved the existing extruder stepper motor cable over to the new chocolate extruder stepper motor. Mechanically I was ready.
Slicing for Chocolate
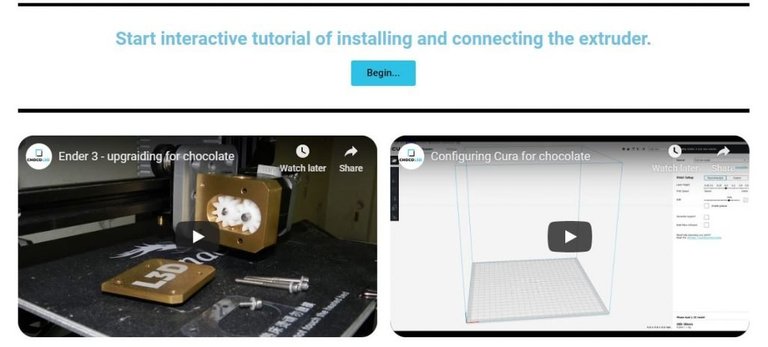
Slicer settings for chocolate as a material will be fairly different and luckily they have a setup tutorial video on their website. I was able to make the adjustments needed in Simplify3D by watching their video as I do not use Cura.
Chocolate
The other complex piece to printing chocolate is the chocolate itself. There is a difference in what ChocoL3D calls natural and unnatural chocolate. There are cacao fats in natural chocolate, and vegetable fats, such as palm oil in glazes or unnatural chocolate as per ChocoL3D. I saw another review on YouTube with the reviewer having more success with unnatural chocolate so I went ahead and found some chocolate chips, based on palm oil, for $7 Kg on Amazon.
Printing
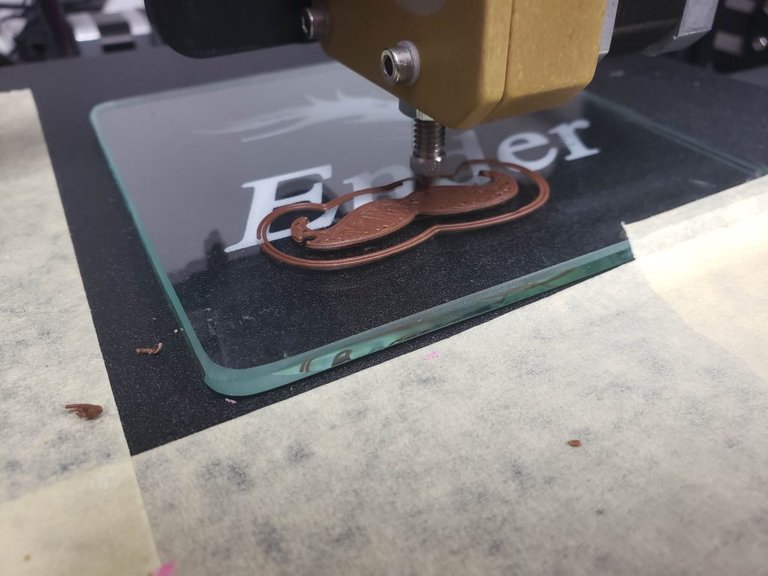
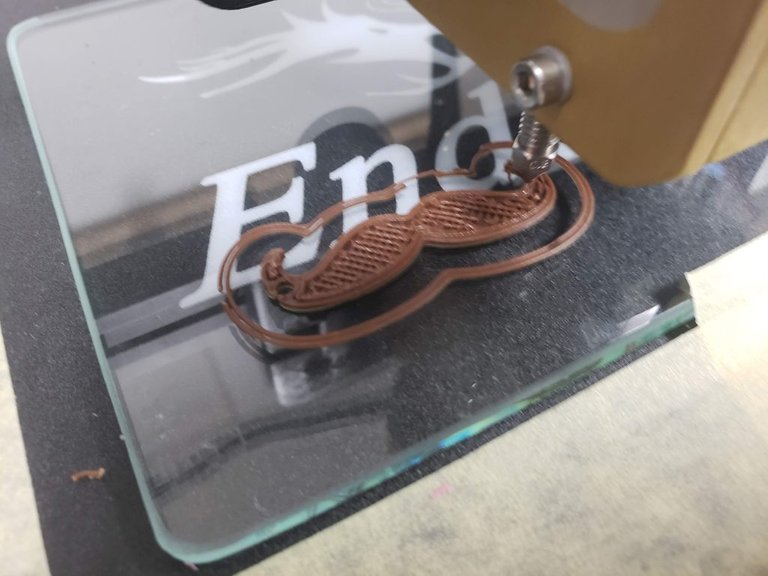
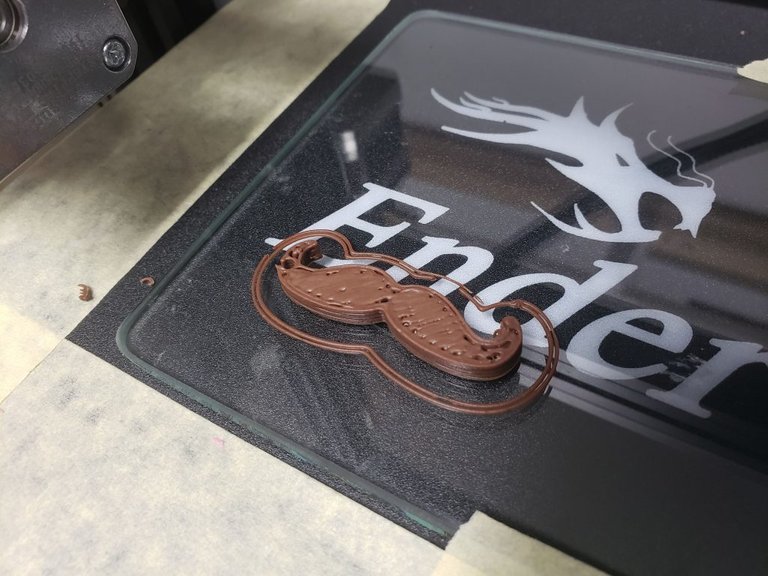
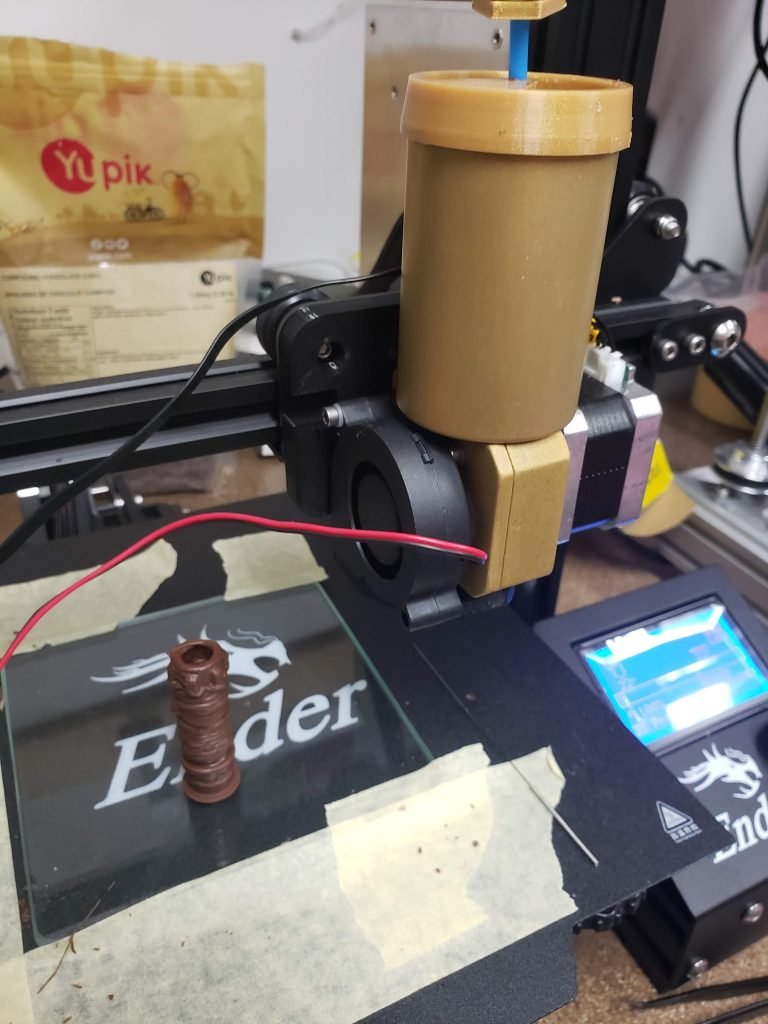
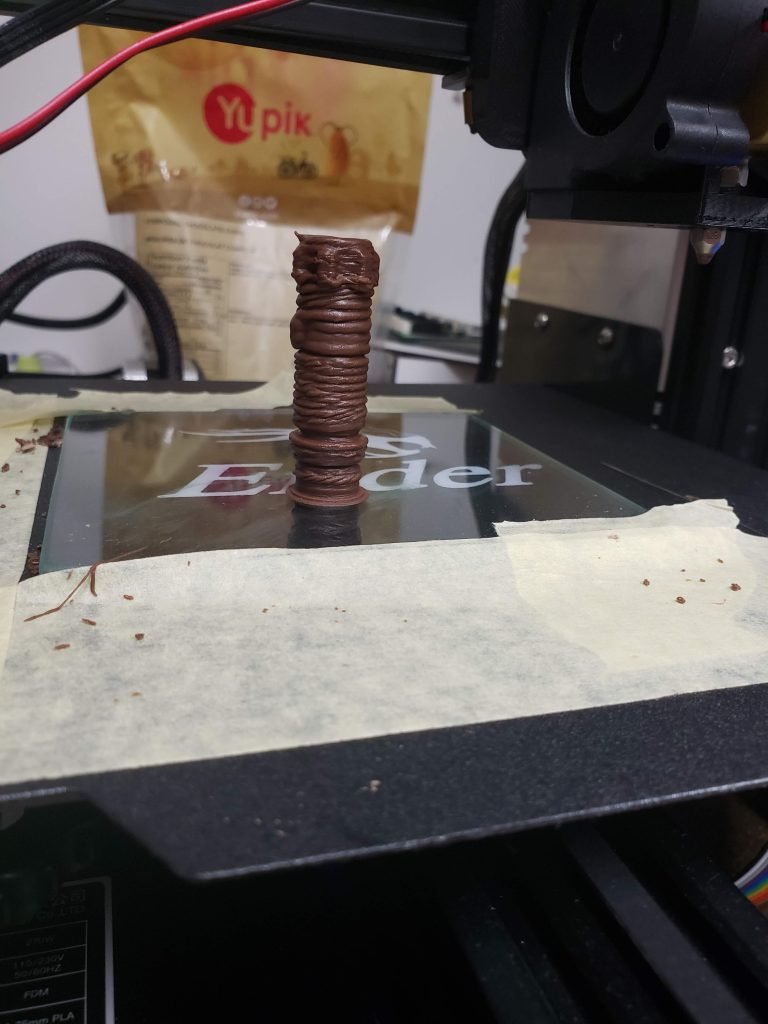
I watched the videos, bought the chocolate, and setup the slicer and it was time to start printing. I started with a mustache and while it did print it needed some tuning. The top layer left something to be desired. That being said, failures aren't always failures when printing with chocolate. This "failed" mustache tasted just fine :) .
Next I tried this hammer. I increased the flow a little bit. and I was really happy with the result. My daughter certainly enjoyed eating it.
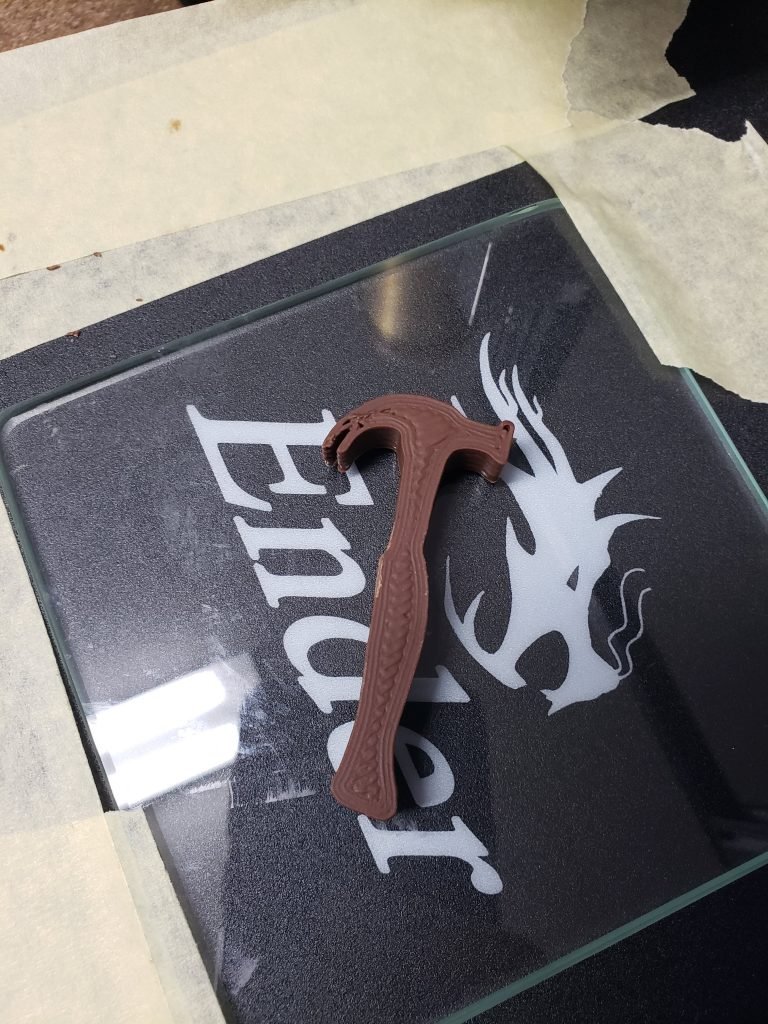
I followed up with a variety of prints trying different settings. On simple bulky shapes like the hammer things were pretty good. I did have trouble with more complex prints, generally relating to cooling of the chocolate.
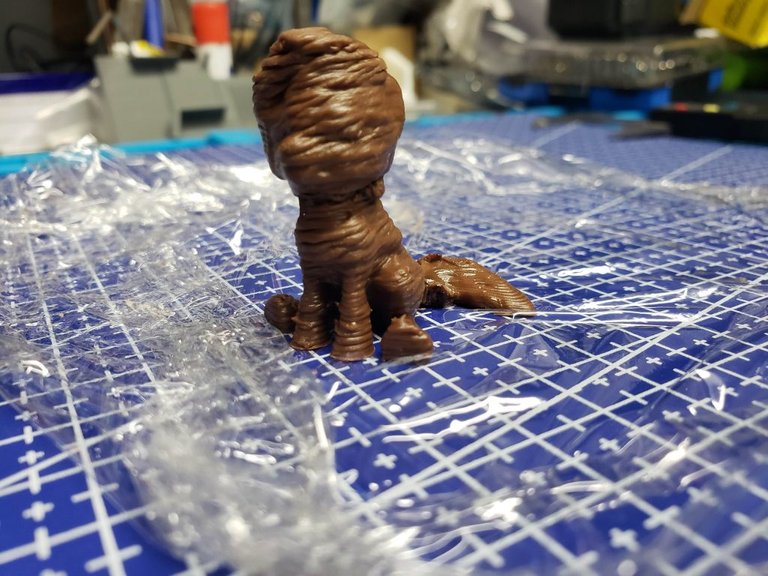
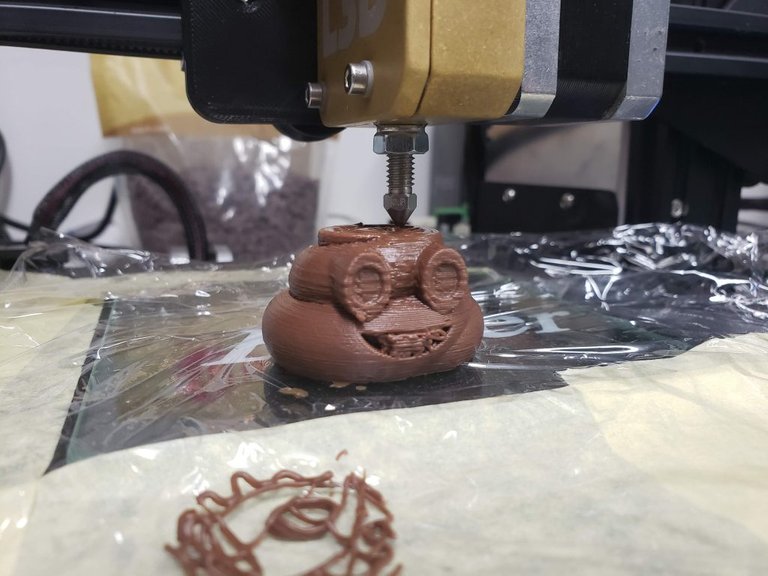

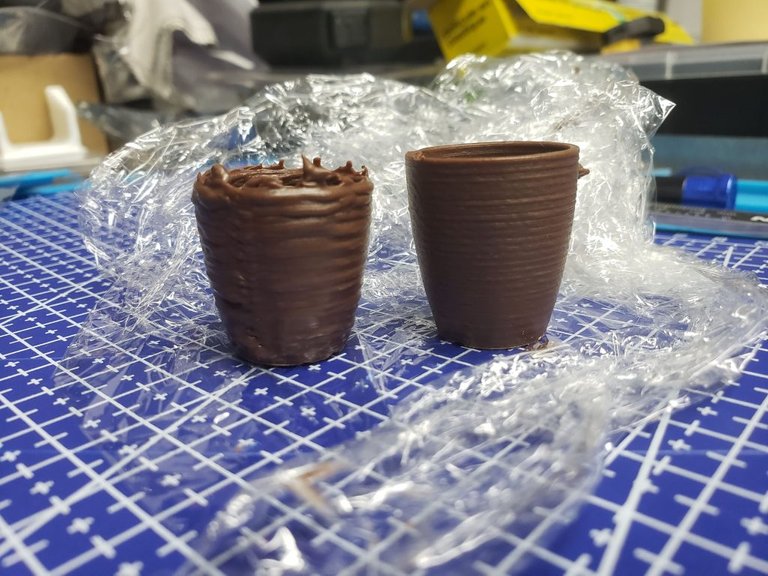
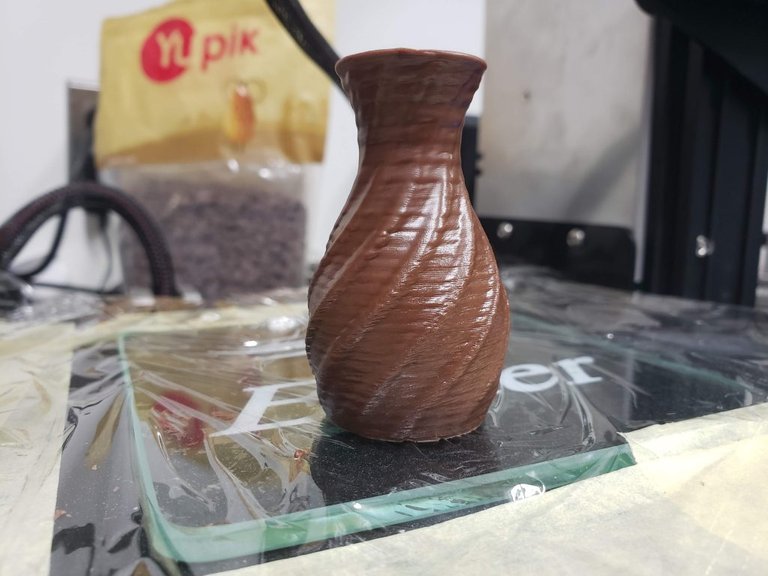
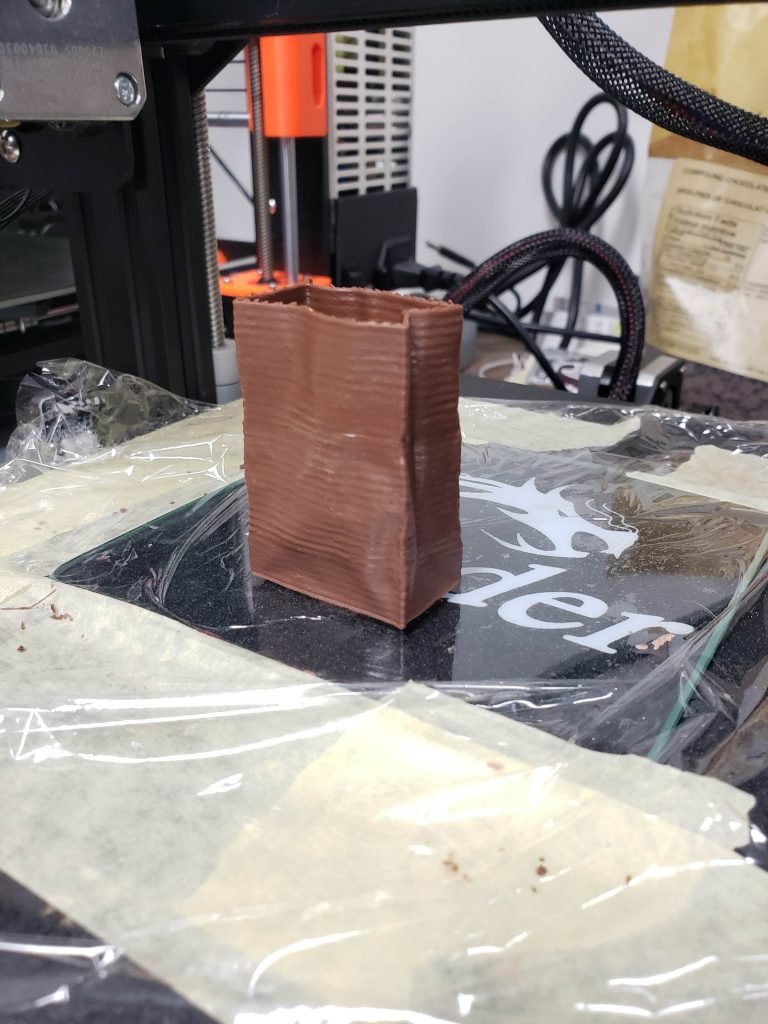
The chocolate bunny ears just didn't seem to cool enough even with really slow layer times to allow it to cool more. Same applied with the unicorn, and top of the emoji (with edible supports!). I was playing with slowing down the layers on short layers and you can see a big difference on the following vase. The first was my initial settings, and the second was extending the layer length time in S3D.
I did print a blower fan duct and added a fan but I got mixed results. Sometimes the fan itself seemed to cool the nozzle to much and clog it. Since we are printing at a temperature of 37C for this chocolate, it doesn't take much for a fan to cool the nozzle too much and solidify the chocolate. I ended up turning the fan off again just to complete a print and make sure everything else was working as required for this attempt at a chocolate lightsaber:
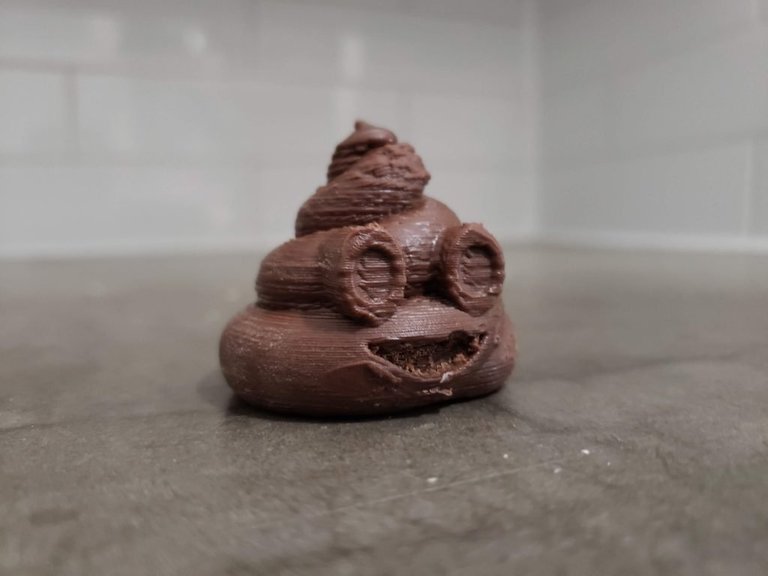
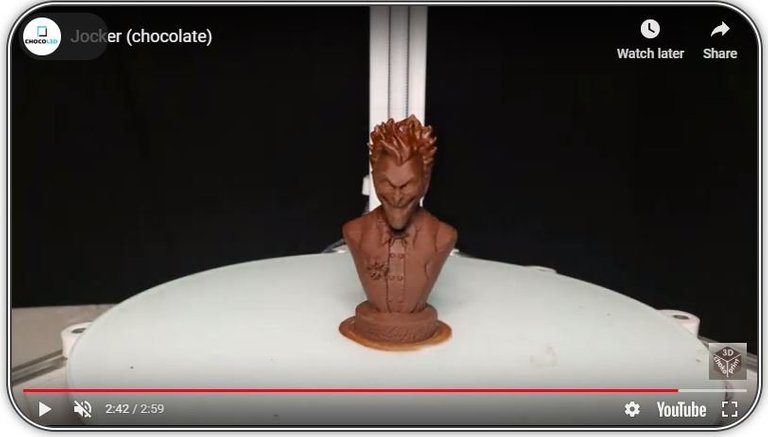
A couple more completed prints:
Final Thoughts
Using my 3D printer to print edible chocolate has been a really cool exercise. It is not as easy as printing with normal filament and with the community for this not being very large, you are in relatively uncharted waters. Luckily, ChocoL3D was really responsive to me on Facebook anytime I had a question. It needs some fine tuning to get there but some of the prints that ChocoL3D showcase on their website really show how capable this extruder is.
I think that this type of extrusion system is well made and worth it for someone who doesn't mind tinkering and really wants to print in chocolate. At between $250-$350 USD, depending on wait times, for the ChocoL3D chocolate 3d printer extruder kit alone, it's not a cheap system, however it truly does feel like a quality product made in small batches. I plan to continue to use this extruder and see how far I can take it. The print I've given to friends and family have truly been some conversation starters...
Posted from my blog with SteemPress : https://makerhacks.com/chocol3d-chocolate-3d-printer-extruder-review/
Congratulations @makerhacks! You have completed the following achievement on the Steem blockchain and have been rewarded with new badge(s) :
You can view your badges on your Steem Board and compare to others on the Steem Ranking
If you no longer want to receive notifications, reply to this comment with the word
STOPTo support your work, I also upvoted your post!
Vote for @Steemitboard as a witness to get one more award and increased upvotes!