Citizen Science on Hive: Report #3 - Analysing simulated particle collisions using MadAnalysis5
This is my new report on the physics participative project on Hive started by @lemouth. You can follow all the entries by the group of hivers participating in the tag #citizenscience.
In the previous entries, we have installed a software capable of simulating particle collisions (Report #1) in the Large Hadron Collider at CERN, and used it to simulate in our computers 10000 proton collisions to generate a pair top-antitop quarks (Report #2). In this third report, we are taking the outputs of our collisions, and analysing it. After a particle "crash", some new particles are created and evolve, and thus, they are detected by the detectors at the LHC.
In case you want to join or follow this adventure, here below I leave a table with all the original entries and my output. In any case, there are also very good entries done by all the people participating in this activity (#citizenscience). They have been very useful to help me in my reports both with their own reports and their comments.
Task 1 - Installing and configuring MadAnalysis5
MadAnalysis5 is available from GitHub. In my case, since I am working with a new Virtual Machine, the versioning software git was not installed in my computer. That has an easy solution, I went to a new terminal and typed:
sudo apt install git
Note: as a recommendation, I always do sudo apt update and sudo apt upgrade to check for possible updates in my system before installing anything new. But that is probably just a not-so-necessary habit.
Then we can "clone" (copy/download) the repository to our computer by navigating to the folder where we want it and doing:
git clone https://github.com/MadAnalysis/madanalysis5

The report by @travelingmercies put me on the hint that I had installed python 3.7 in my virtual machine and that prevents the software from working since it is looking for python 2. Her report has a solution for OSX. In order to make my Ubuntu based system to use python 3 by default I have entered the following in my terminal:
sudo update-alternatives --install /usr/bin/python python /usr/bin/python3 10

Before launching madanalysis5, we are going to install some required dependencies:
- Matplotlib:
sudo apt install python3-matplotlib

- Latex and pdflatex. Note that @isnochys (report) and @gentleshaid (report) have not installed them and have been able to successfully finish the activity. In case you have not heard about it, Latex is a very common scientific documents and graphics preparation system where you "program" what you can see (documents, plots, formulas…). I installed the basics, some fonts and an extra package containing pdflatex:
sudo apt install texlive-latex-base texlive-fonts-recommendend texlive-fonts-extra texlive-latex-extra

And now, we can launch madanalysis5. It is as simple as doing:
./madanalysis5/bin/ma5
This command may vary depending on from where folder you are right now, just note that madanalysis5 is the folder that is downloaded from Github.
The software only detects 1 available core on my virtual machine and will ask for the maximum I want to dedicate to this analysis. I had no more alternative than selecting 1.

When MadAnalysis starts, it is giving the packages that are active. Following the guidelines for this report, the required ones are:
Matplotlib, pdflatex (optional) and latex (optional).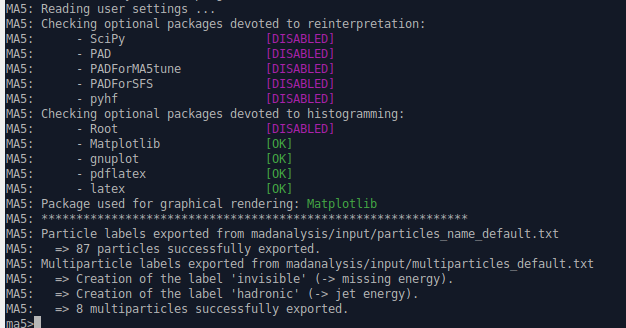
Task 2 - Installing zlib and fastjet
Next step is to install two additional packages for event reconstruction (fastjet) and to read the compressed event files (zlib).
For that, remaining inside madanalysis5, we do:
install zlib
Process will install, restart MadAnalysis 5 and test itself again. Then we can continue with Fastjet:
install fastjet
This took a while, but now I can see how these packets are active in my installation of MadAnalysis5:

Task 3 - Top-antitop simulations
And here comes the moment when we start using the file that we generated in the last report. File is called tag_1_pythia8_events.hepmc.gz and it is inside the folder that was created with our outputs, in my case
<Folder-where-I-installed-MG5_aMC>/report2/Events/run_01_decayed_1/tag_1_pythia8_events.hepmc.gz
The first step is to use a simulation of the detector to reconstruct the higher-level objects that one of the LHC experiments/detector would have found.
In order to run the detector simulator, we run from the madanalysis5 folder:
./bin/ma5 -R madanalysis/input/ATLAS_default.ma5
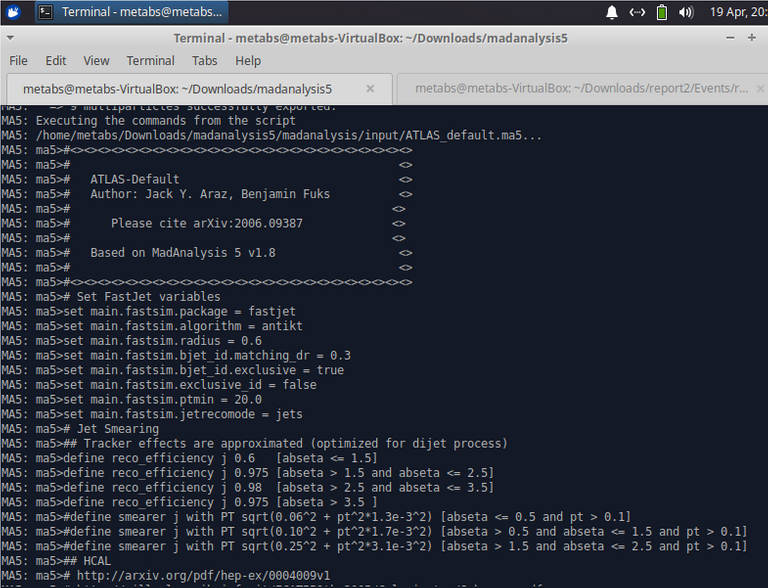
I think one of those names sounds familiar to me... By the way, ATLAS stands for A toroidal LHC apparatus and it is dedicated to study the Standard Model and Beyond Standard Model physics with proton collisions -like it is our objective-, but it is not the only experiment in the LHC. And by the way, as you can see in the photo bellow, the whole assembly is huge!
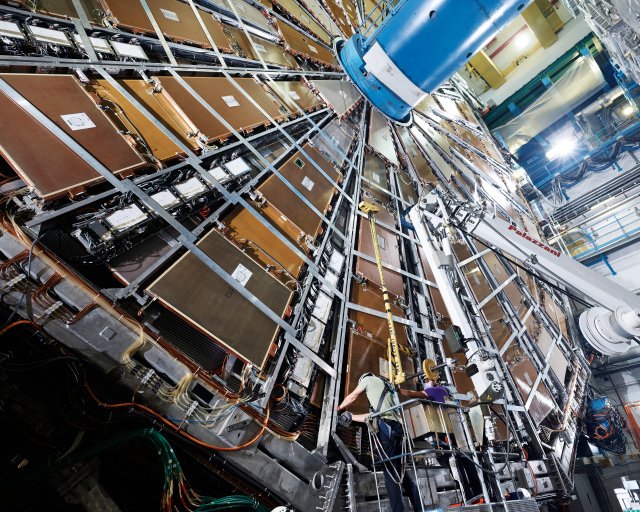
ID: CERN-PHOTO-202201-006-18. Source CERN, use allowed for educational purposes.
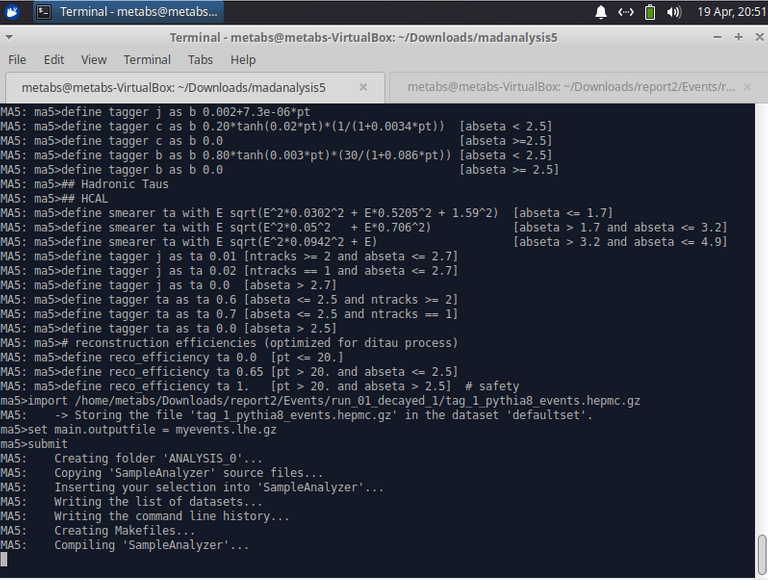
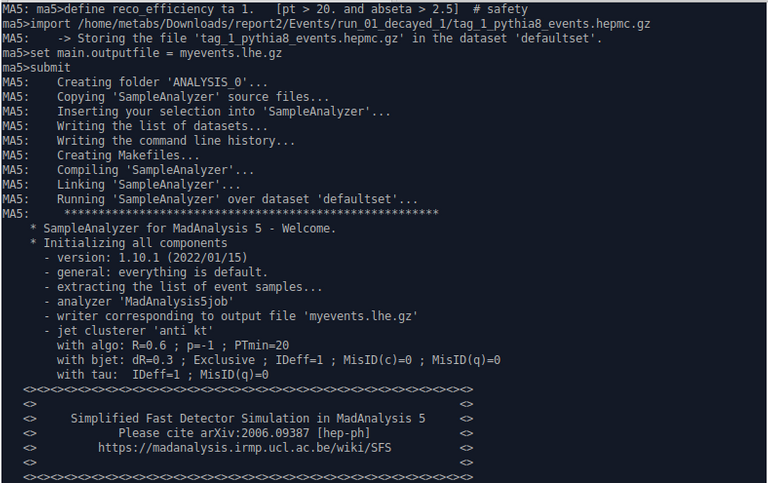
Then we indicate to the program where to find the file, the output name and launch the simulation:
import <Folder-where-I-installed-MG5_aMC>/report2/Events/run_01_decayed_1/tag_1_pythia8_events.hepmc.gz

set main.outputfile = myevents.lhe.gz

submit
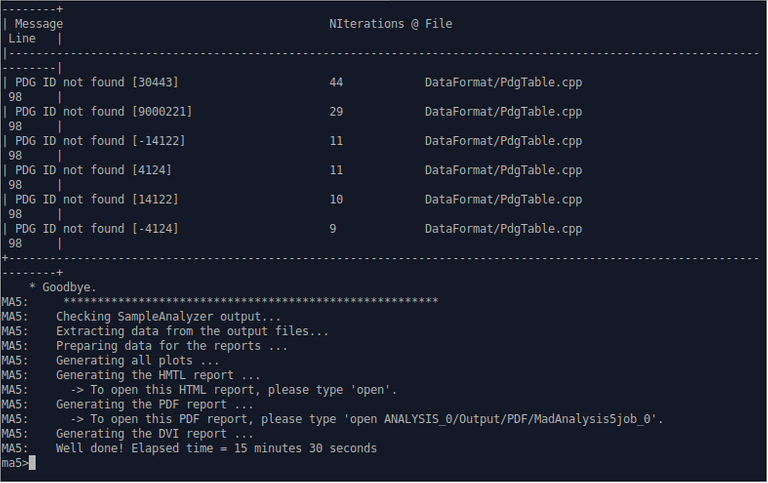
And after this process, a new file of less than 7MB was created as an output and located in
ANALYSIS_0/Output/SAF/_defaultset/lheEvents0_0
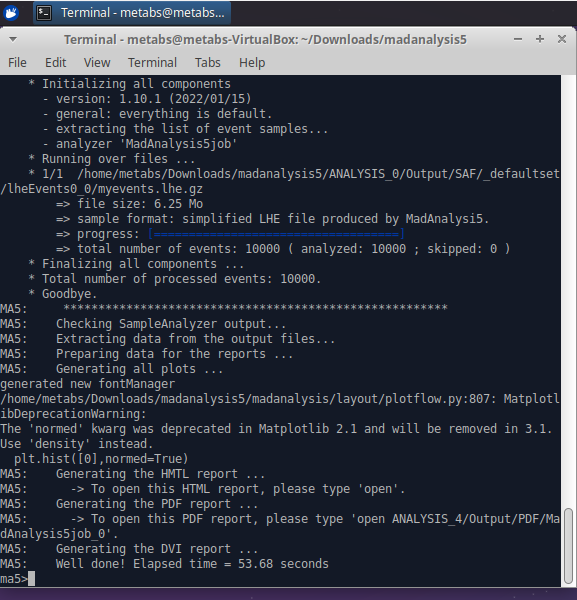
Task 5 - Output analysis
Finally, it is time to analyse the file we have created and check the number of events created in our simulations.
Important part, we close (exit) the detector simulator and run madanalysis5 normally:
./bin/ma5
I put this in spotlight because I got stuck there, trying to process again the file with the MA5 with the detector simulator active. In this way, my program was trying to reconstruct again the file, performing the same processing that we did before in a file that was already reconstructed, returning an error.
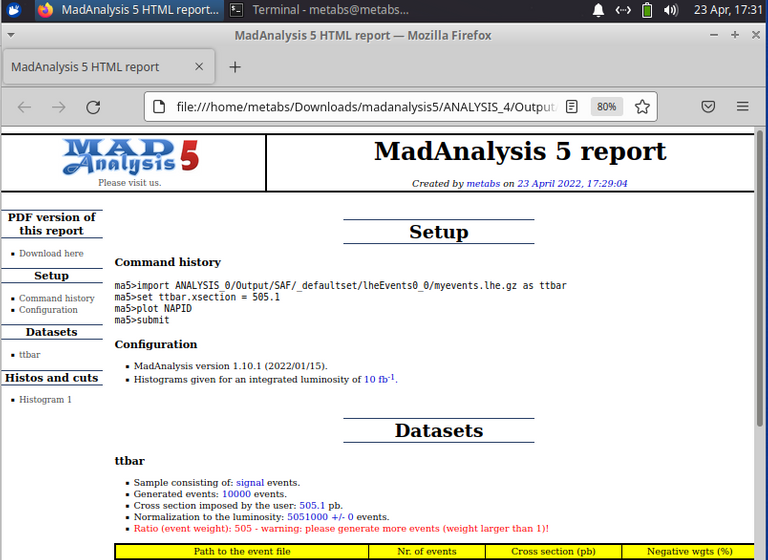
Now, we indicate which is our file and name it ttbar:
import ANALYSIS_0/Output/SAF/_defaultset/lheEvents0_0/myevents.lhe.gz as ttbar
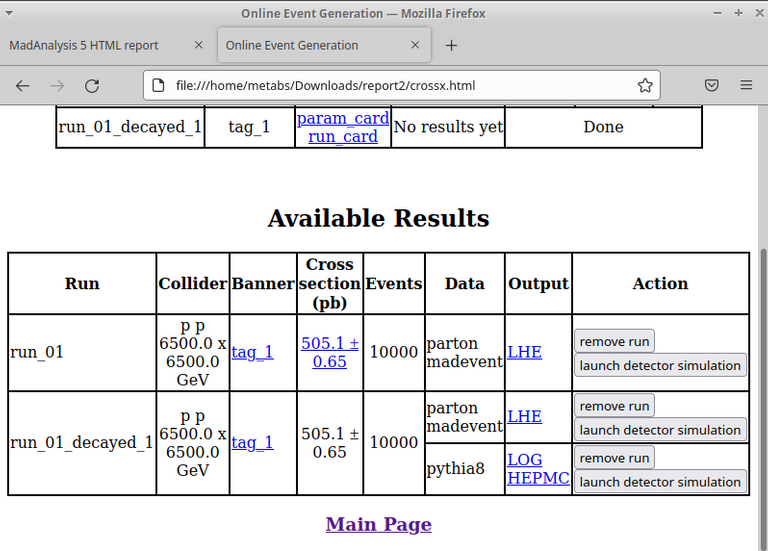
We need to set our production cross section, this value was given to us during the processing that we did in report #2. In case you do not remember which was the value, the information of our previous event generation can be retrieved and checked nicely in some HTML files that are created as part of the process and are stored in our output folder. My output was called report2 and the location will vary in your installation, but you can see in the screenshot that it should be available in a file called crossx.html that you can open with your web browser.
Then we do:
set ttbar.xsection = 505.491
And finally, the type of plot (histogram) and we execute:
plot NAPID

submit
If we type open, a new HTML page opens with our report and the plots we are looking for:
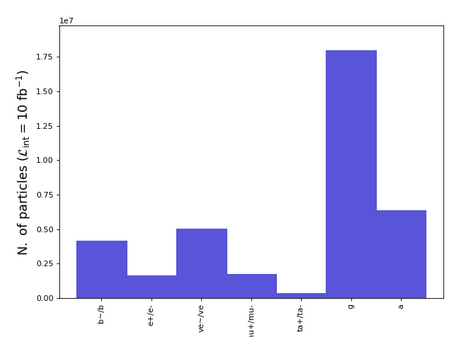
In his post, @lemouth explains that our top-antitop decay producing a b-jet (
b/b~) and a W boson. And they can decay into electron (e+/e-) and missing energy (ve/ve~), or a muon (mu+/mu-~) and missing energy, or a tau (ta+/ta-) and missing energy or two jets (g). And apparently, the probabilities are not uniform based on what we see on the graph. Additionally, jets and photons (a) may come from radiation.
Finished for today
This is the end of this episode of the #citizenscience project. It has been interesting to run our file and see some results. I hope with time I will start understanding more the concepts and keep digging during the next incoming weeks.
Technically this part has been quite easy, it is fun to notice how naked a new computer is, and how we need to keep installing even the simplest of the dependencies.
And it is so rewarding now that we can start to see plots and stuff coming! Thanks to everyone for the hints and tips.
https://twitter.com/GusCryptoSpace/status/1518260244736102400
The rewards earned on this comment will go directly to the person sharing the post on Twitter as long as they are registered with @poshtoken. Sign up at https://hiveposh.com.
Great article! Thanks for sharing !1UP
Thank you!
You have received a 1UP from @falcout!
@stem-curator, @vyb-curator, @neoxag-curatorAnd they will bring !PIZZA 🍕
Learn more about our delegation service to earn daily rewards. Join the family on Discord.
It's good that a simple code exist for installing pdflatex and latex. In case there's a need for them in future tasks. We'll done. Seems you had a relatively smooth ride compared to mine.
It was not so bad, but still managed to get stuck in some point in which, in fact... it was taking lot of time until telling me that it was failing, making me lose a lot of time. It was a really small thing (starting MA5 with the detector to do the final analysis). Luckily I asked lemouth and for him was so immediate, and in the moment I read him I knew I was wrong and felt so stupid :D
Yay! 🤗
Your content has been boosted with Ecency Points, by @metabs.
Use Ecency daily to boost your growth on platform!
Support Ecency
Vote for new Proposal
Delegate HP and earn more
Congratulations @metabs! You have completed the following achievement on the Hive blockchain and have been rewarded with new badge(s):
Your next target is to reach 5000 upvotes.
You can view your badges on your board and compare yourself to others in the Ranking
If you no longer want to receive notifications, reply to this comment with the word
STOPCheck out the last post from @hivebuzz:
Support the HiveBuzz project. Vote for our proposal!
Thanks a lot for your hard work and this very nice report. I am glad to see that you managed to solve all issues, and I apologise for answering so late. I am in a trip in the US and quite busy with work, so that I will probably skip the post of this week (but be ready for next week!).
I have a question. Concerning the latex installation, how heavy is it? Others reported that their installation could weight up to 5 GB. I did however not imagine this, so that if you found a way out, I would be very happy to know it.
We can argue this is not a very original acronym, but it is an amazing detector and collaboration, believe me ;)
Cheers!
Enjoy the trip (or do the most of it at least)!
So... I really did not think about the LaTex packages sizes until now you and @travelingmercies commented it and it is true that I remember it took a while to download.
The packages available in ubuntu that I installed were:
texlive-latex-base, texlive-fonts-recommendend, texlive-fonts-extra, texlive-latex-extraAnd checking their sizes I get:
Those sizes are in kB and... it is true that they are surpsingly big. The packets that look the basic installation of latex may be not so hevy so maybe it the basics + the latex-extra package could weight about less that 300 MB. The extra fonts package weights more than 1GB! I would say that the whole package in my case weights less thatn 2GB, but it is quite much more than what I was expecting to be honest. @travelingmercies, you will have to explain us how you did it to have it in 95MB!
I think what I did is only applicable for Mac OS users. The TeX distribution for Mac is MacTeX, this contains the full distribution (4GB) and other components like GUI applications, which I think is not needed for the tasks at the moment.
I opted for the smaller distribution which is the BasicTeX (also for Mac users), it contains the standard tools of TeX Live such as TeX, LaTeX, pdfTeX, and more. And the BasicTeX is only 95MB. :) Hope this is helpful for the other participants, since you're using Ubuntu, maybe it's different for your case.
Thanks a lot for the info! I am sure will be useful in the future.
Exactly, for me in Ubuntu was different. Probably there is a way to install even only more basic packages.
We will try to see what we can do at the code level. This is definitely something that needs to be fixed.
I have open a GitHub issue to remember, and will try to address it at some point (I was in the US for work this week, and had no time to be close to the chain).
Definitely! :)
Thanks for your contribution to the STEMsocial community. Feel free to join us on discord to get to know the rest of us!
Please consider delegating to the @stemsocial account (85% of the curation rewards are returned).
Thanks for including @stemsocial as a beneficiary, which gives you stronger support.
I had to go away with the large disk space needed for installing (pdf)latex, I used the smaller download version (~95mb). But, things work as well even without it, that I didn't know. 😅
It is true that it is a huge package and "just for some nice output" :D
As usually, your report was so useful. Specially this time that I was sooo late that I had a lot of time to reiview everyone else while waiting to be able to start with mine.