The Handy Mini Fan; Let's Get It Fixed!
Hello everyone, trust I meet you doing good?
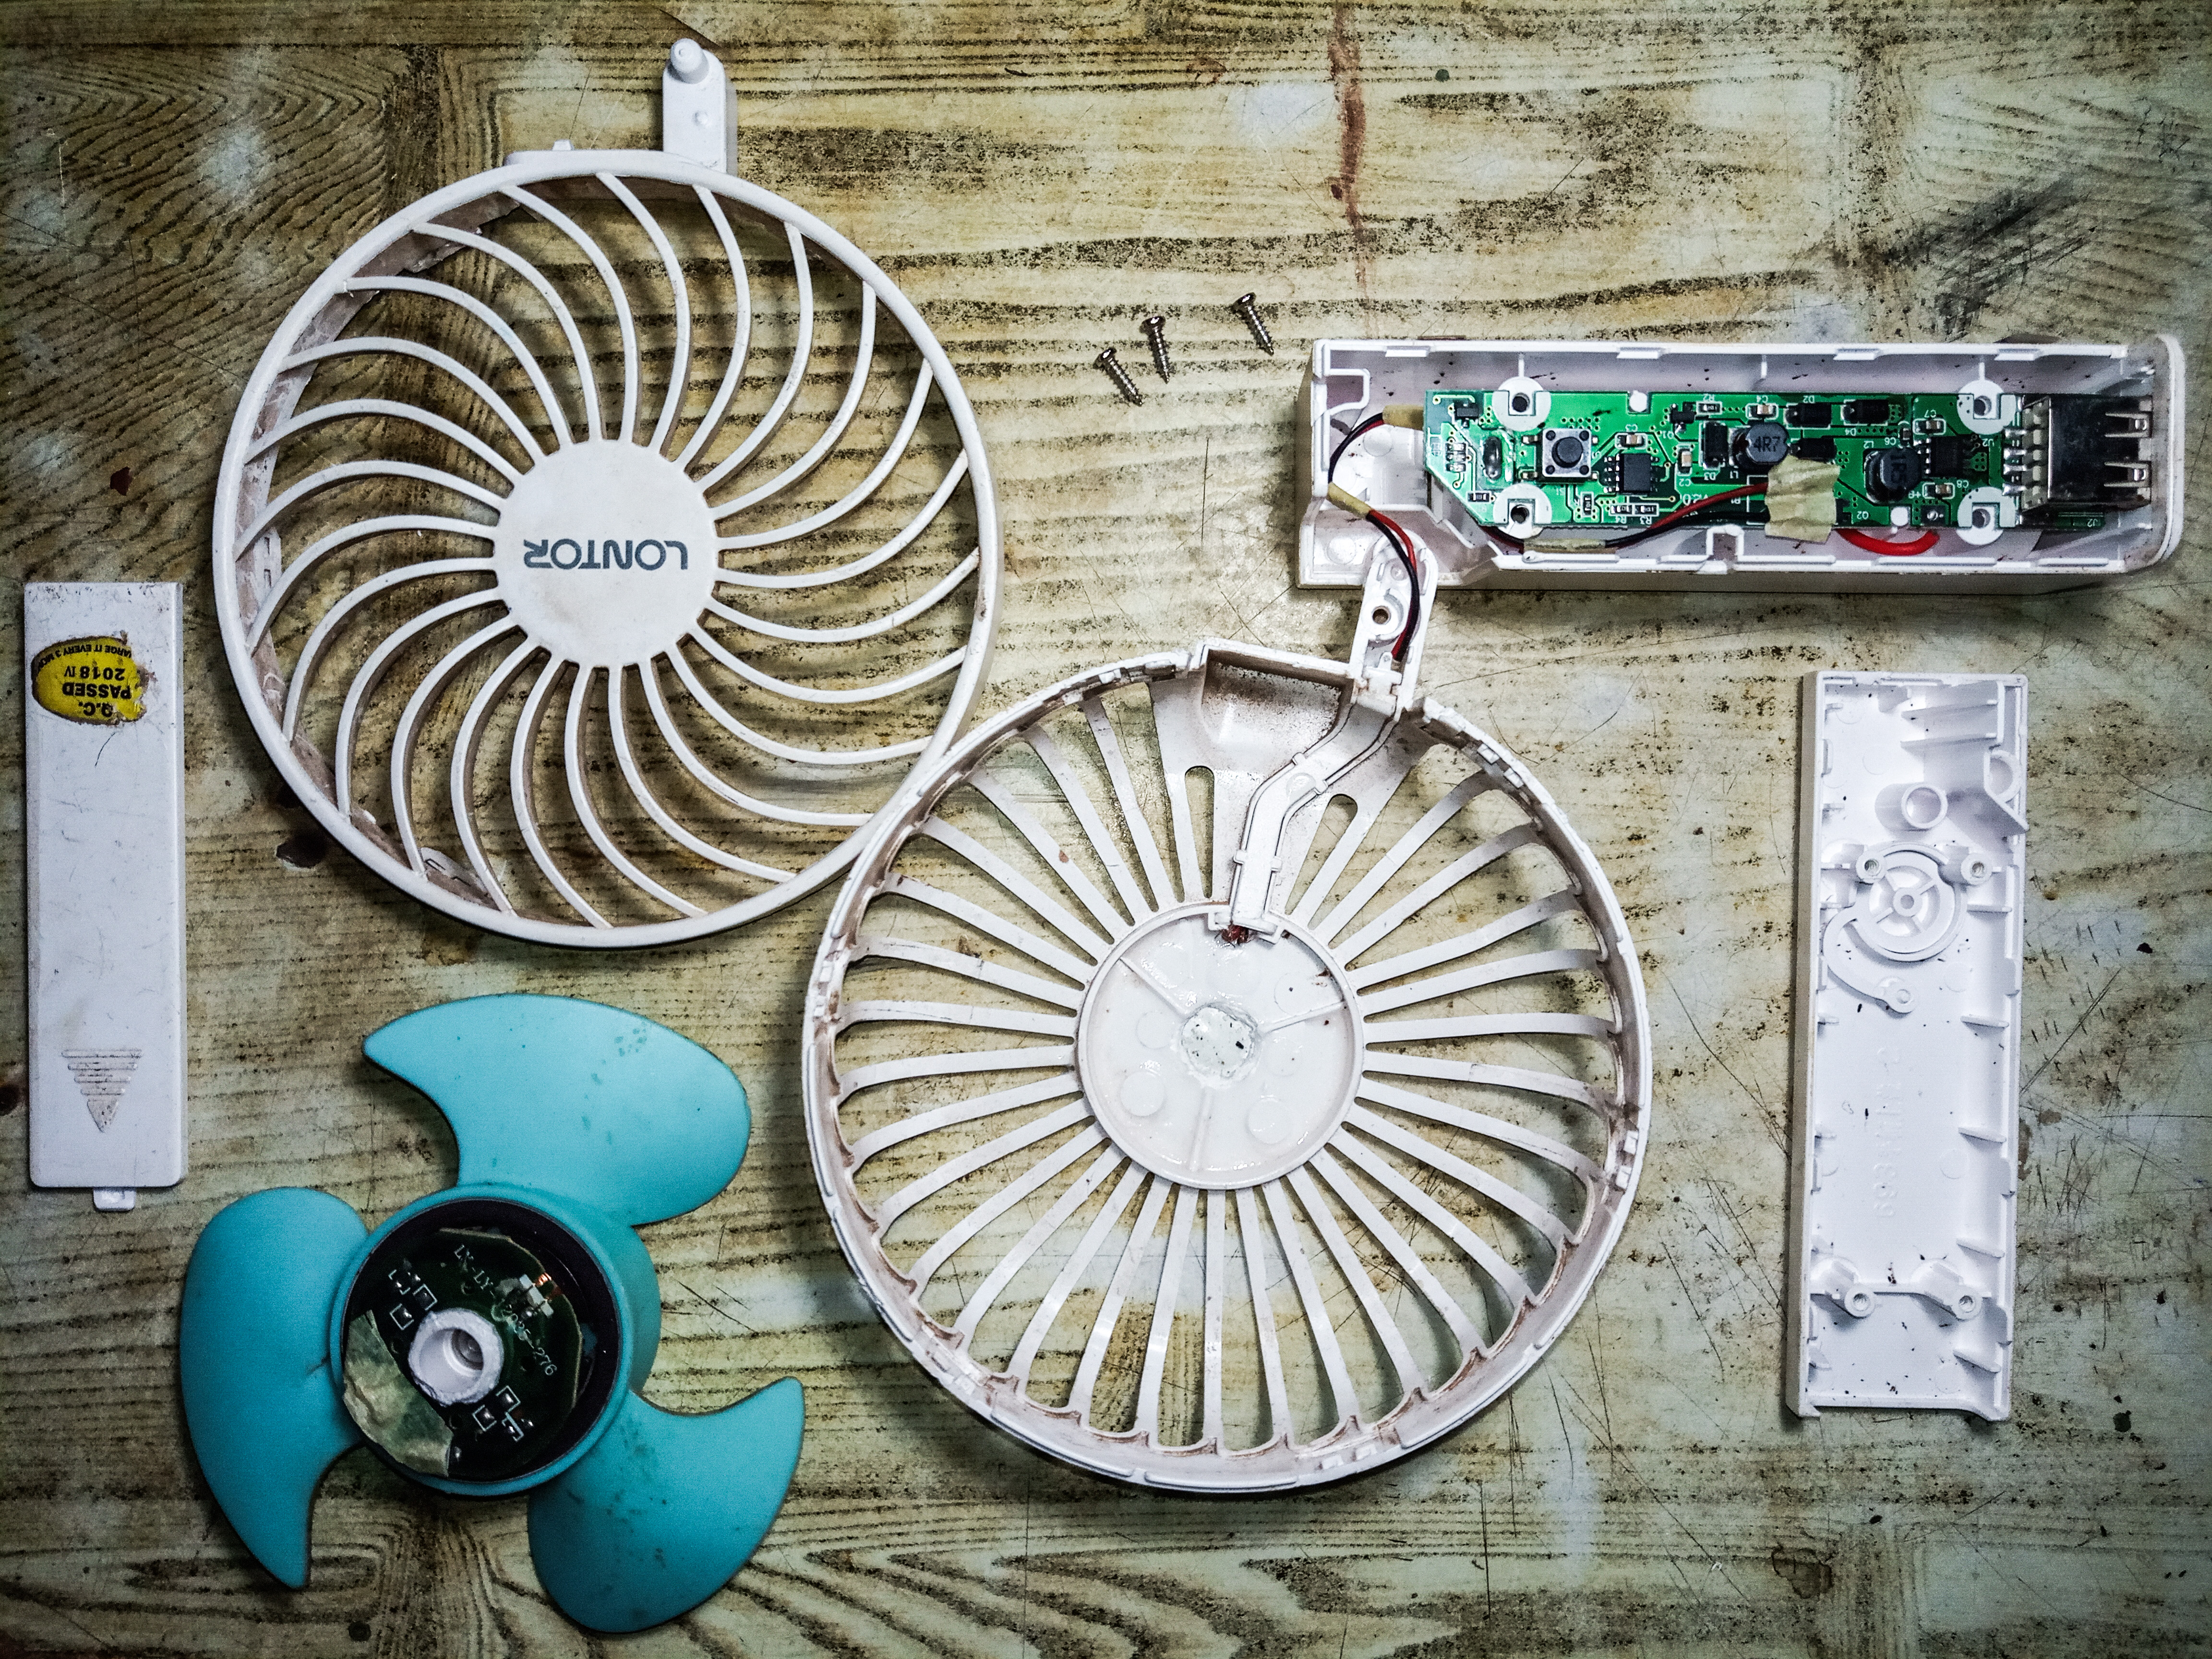
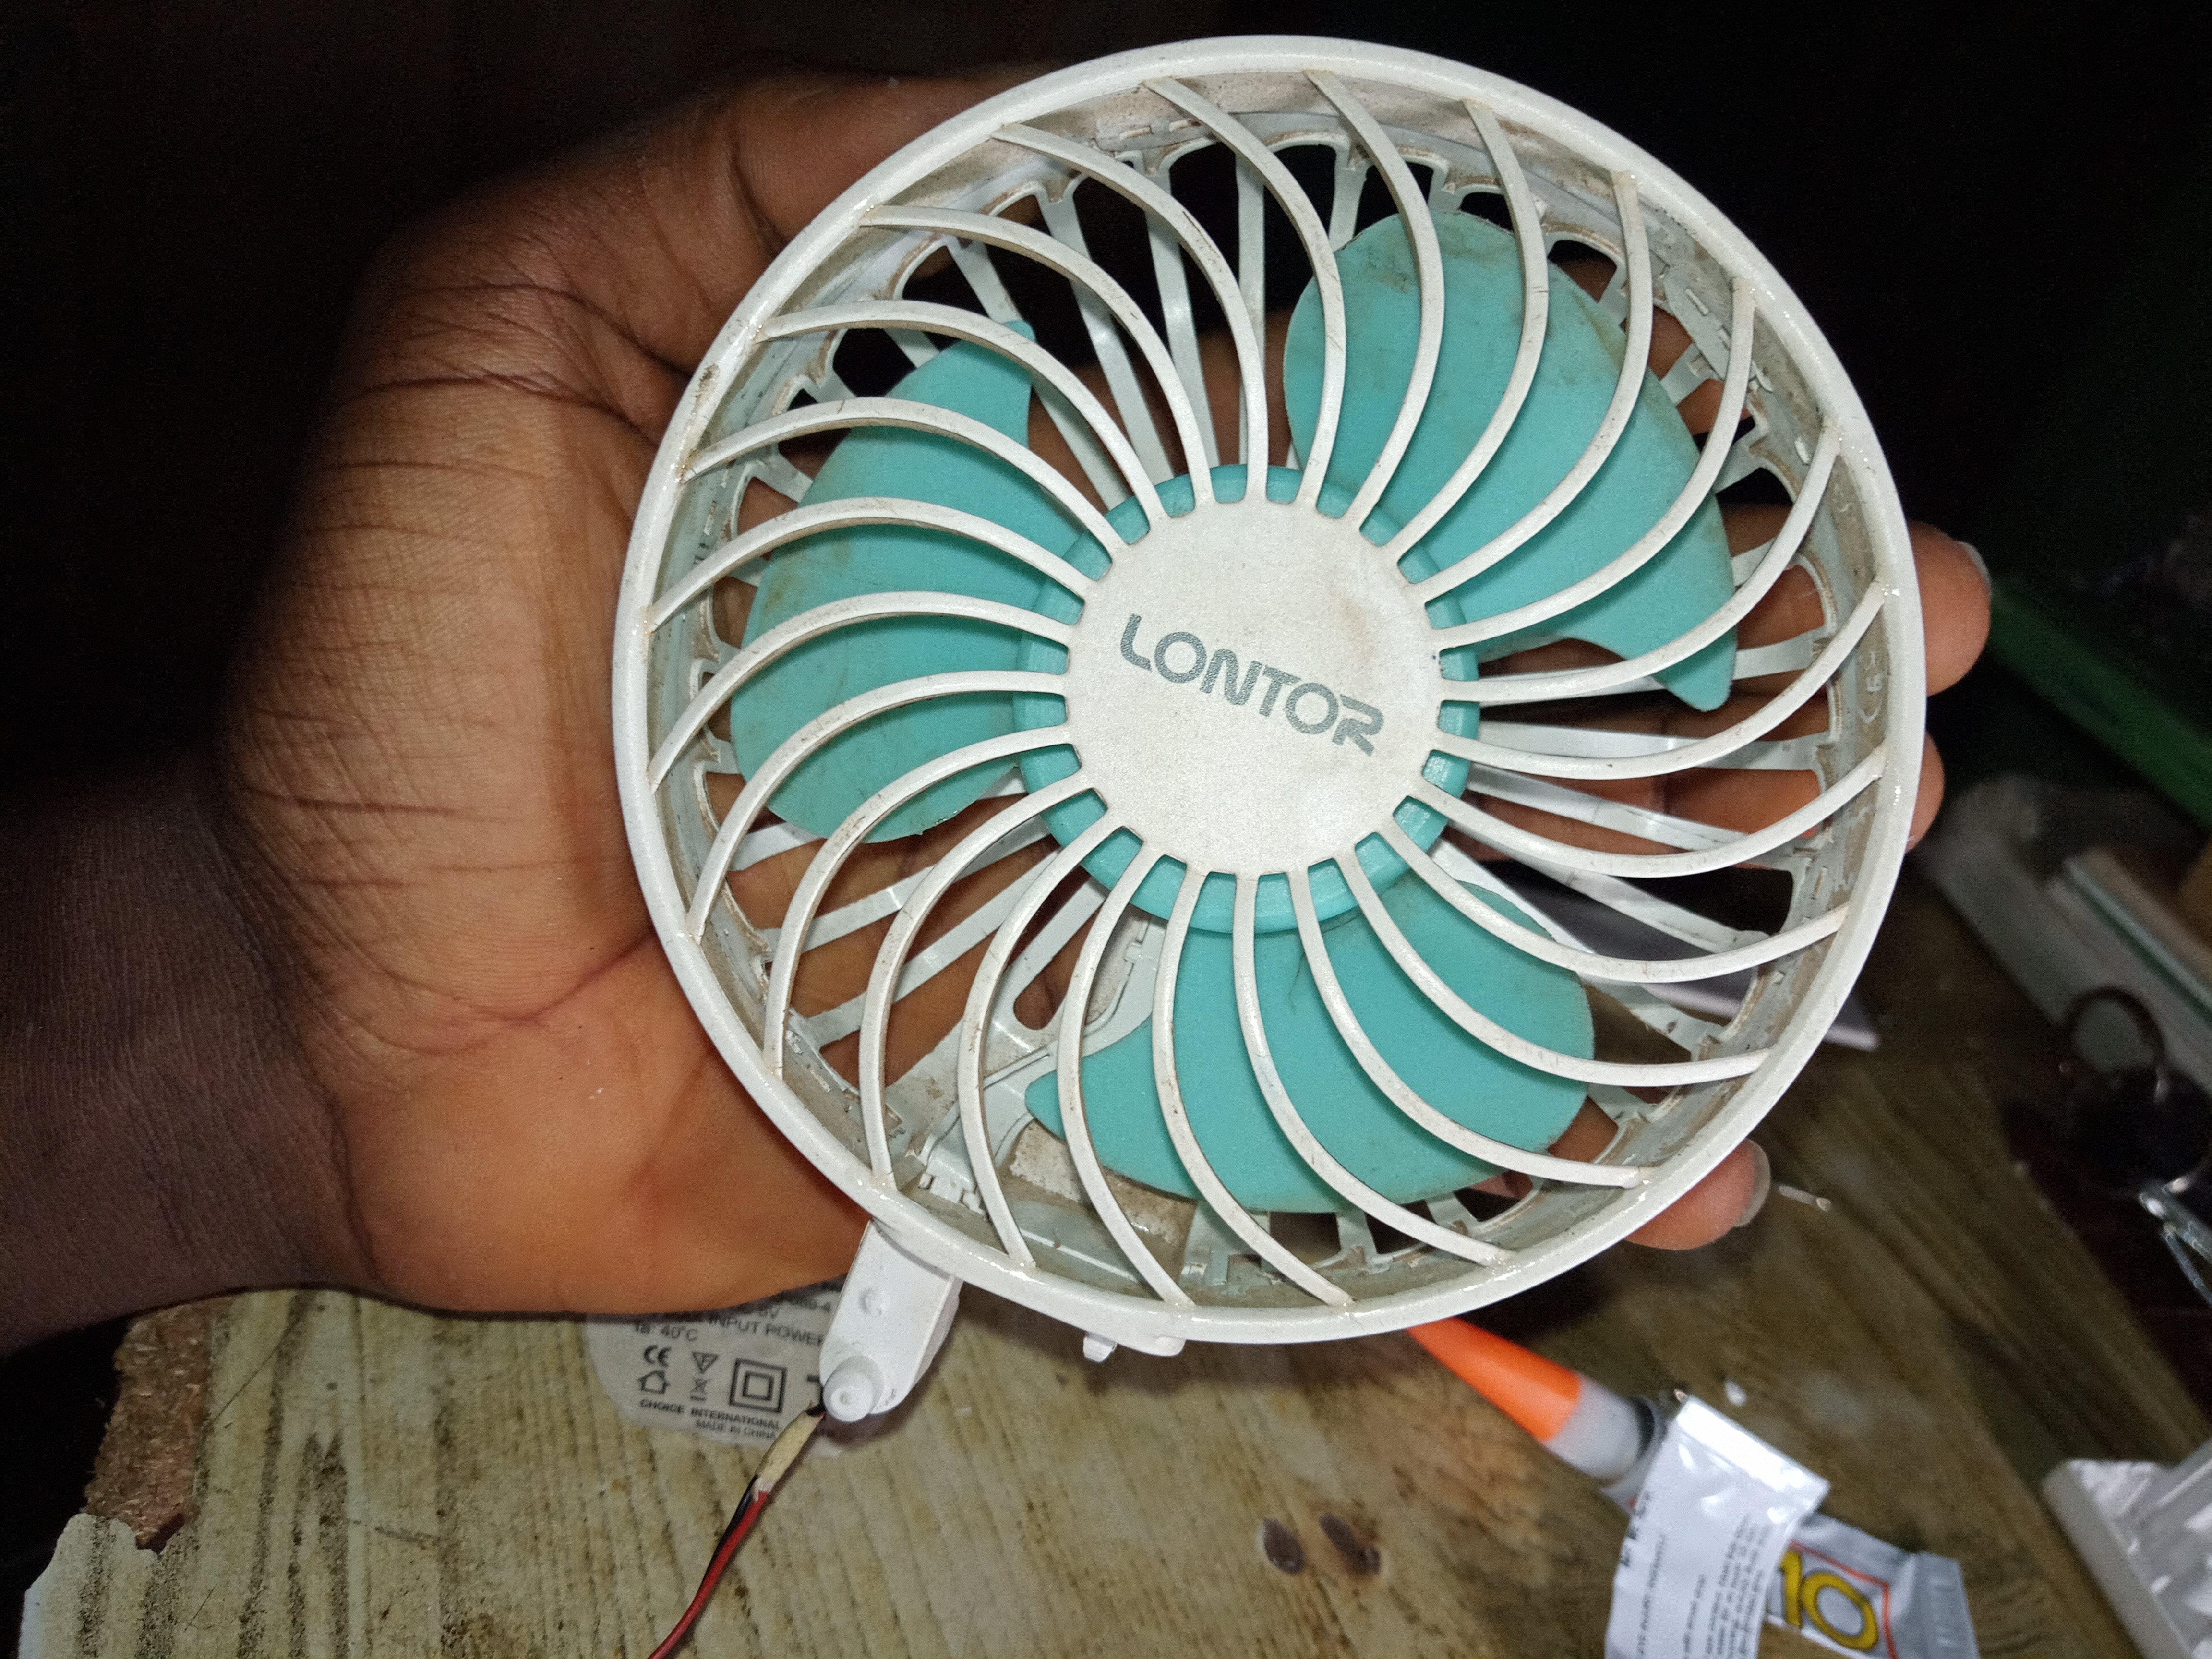
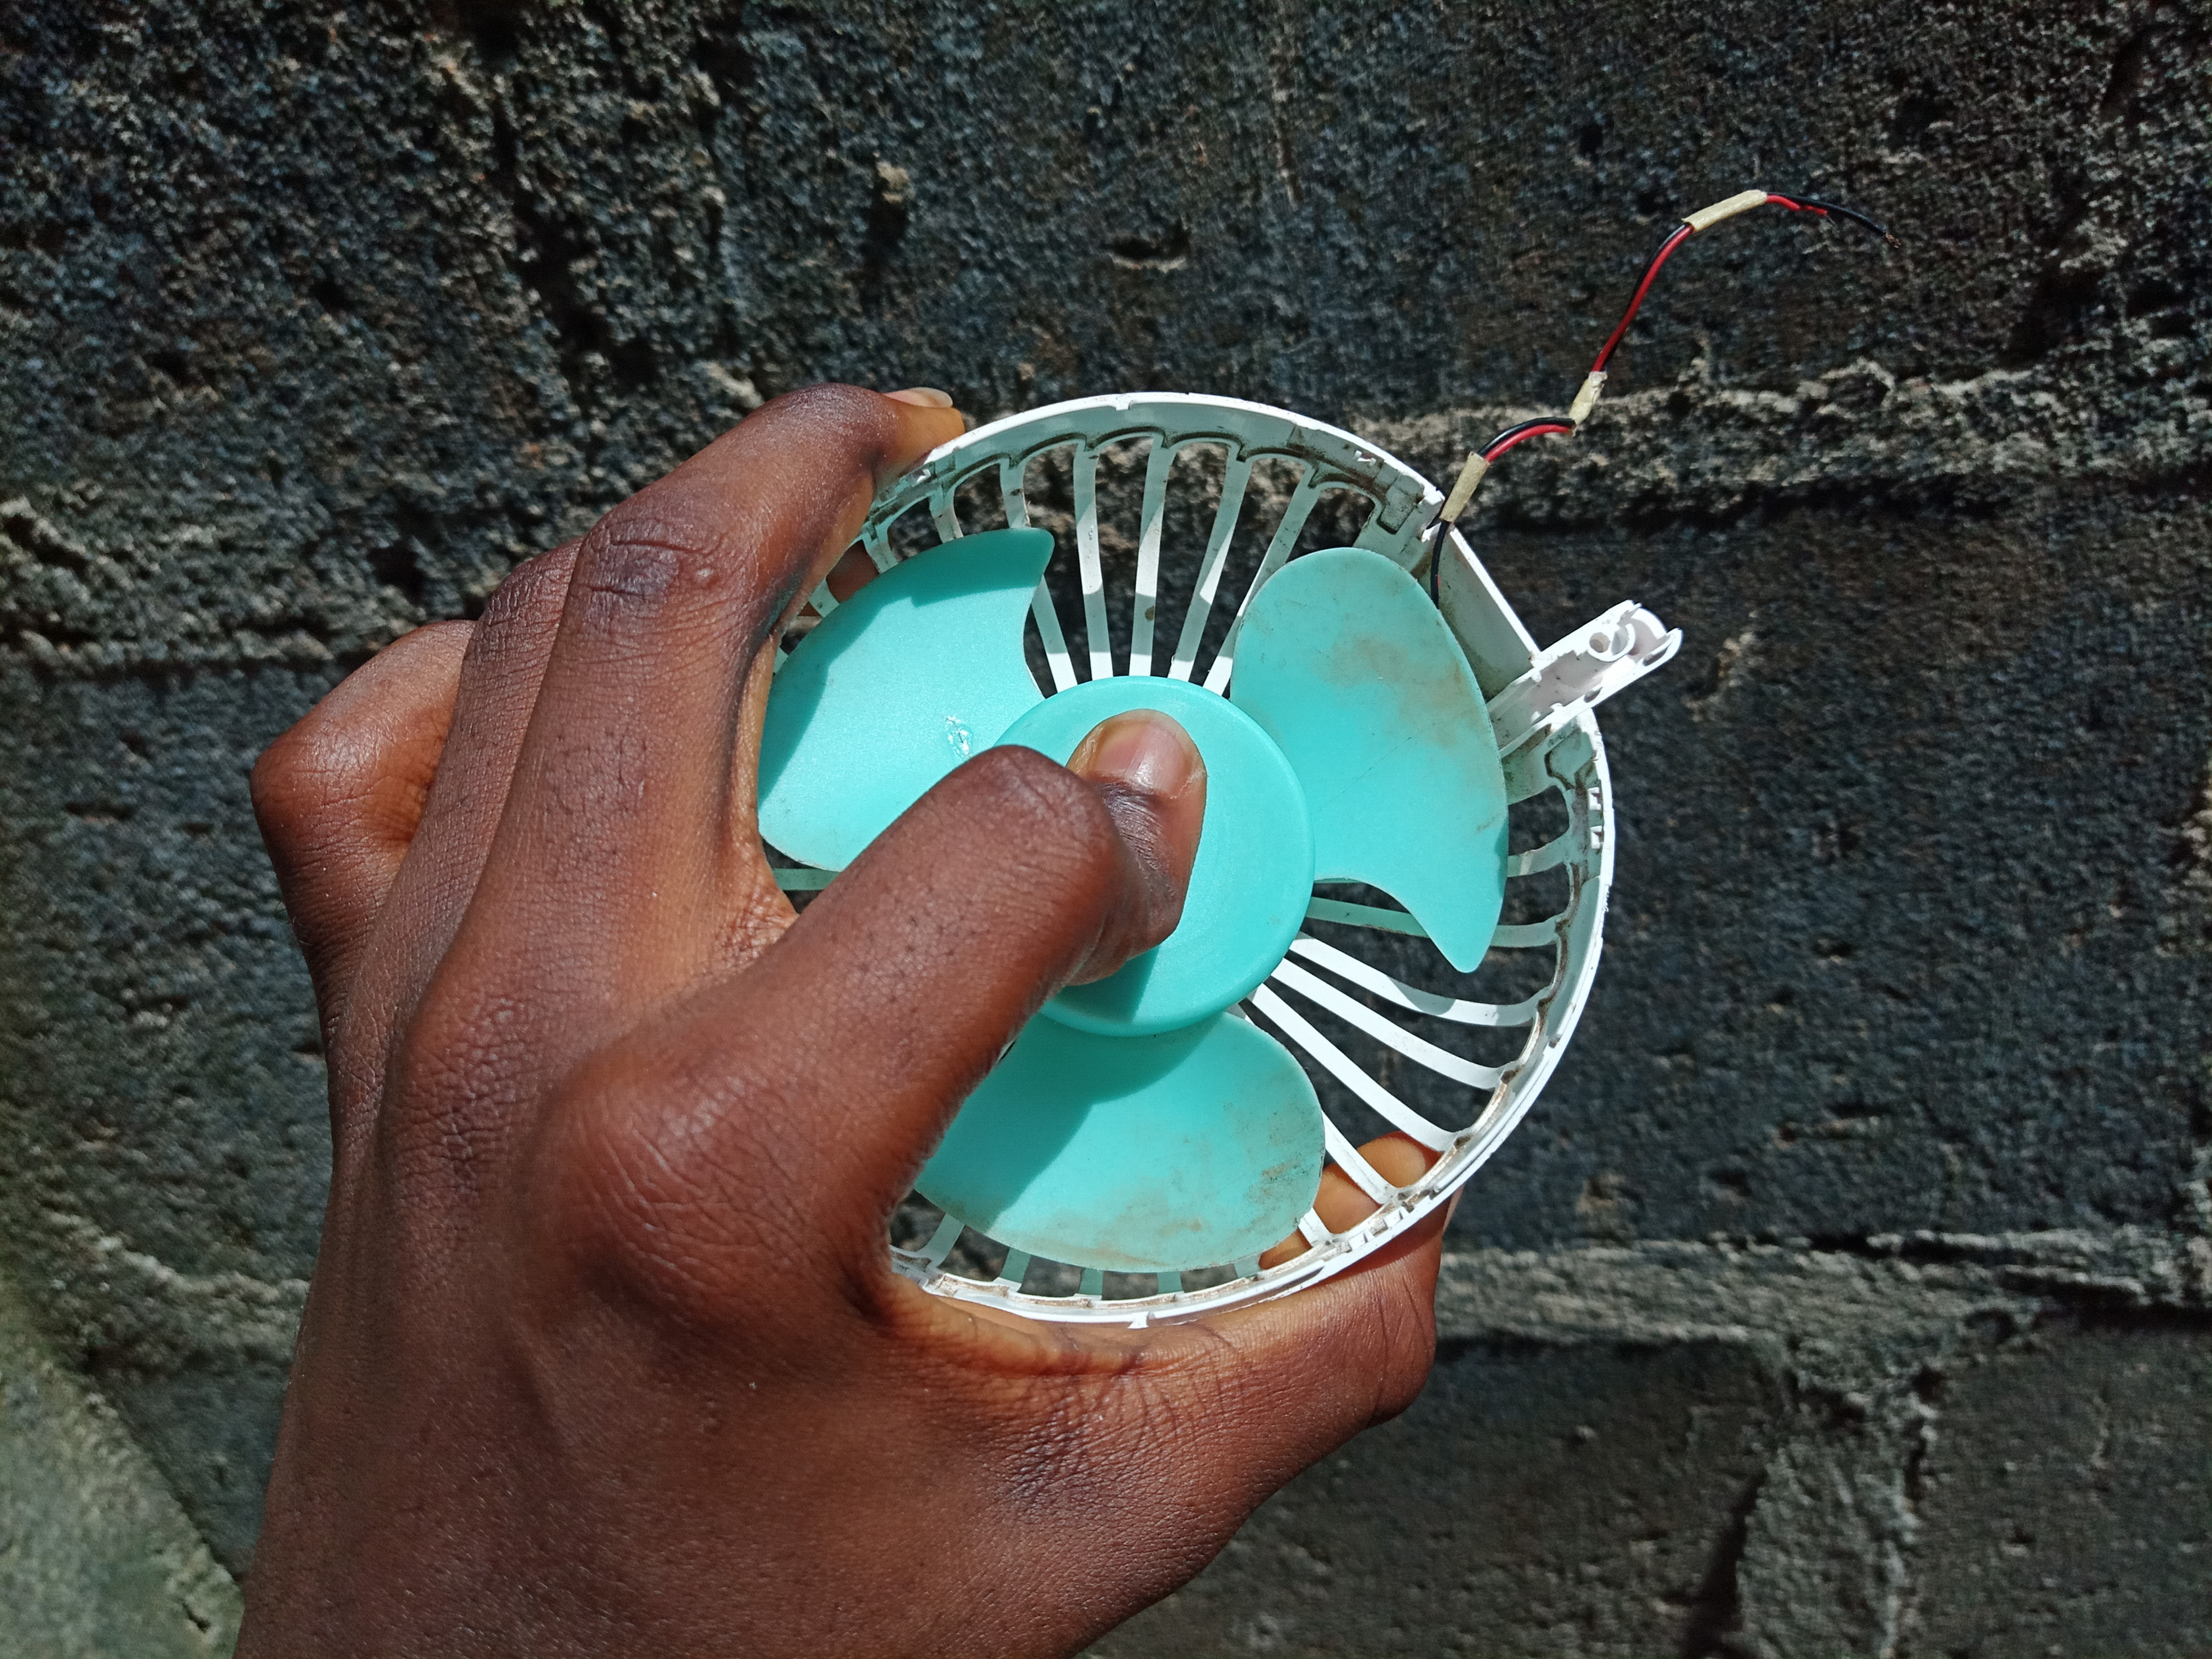
Sometimes last week, my mum brought home a handy mini fan requesting me to get it fixed that it was broken. She didn't even have to narrate what the the said fault was to me before I could detect what was wrong with the mini fan. It was the same mini fan owned by one of her colleague at her place of work which I worked on earlier this year. February I think. So what actually happen this time around was that, the DC motor which I forcefully dismounted by breaking it off its plastic body and then glued back has been broken again. So, as a result of that, the wire connecting the the DC motor to it power source also got disconnected.
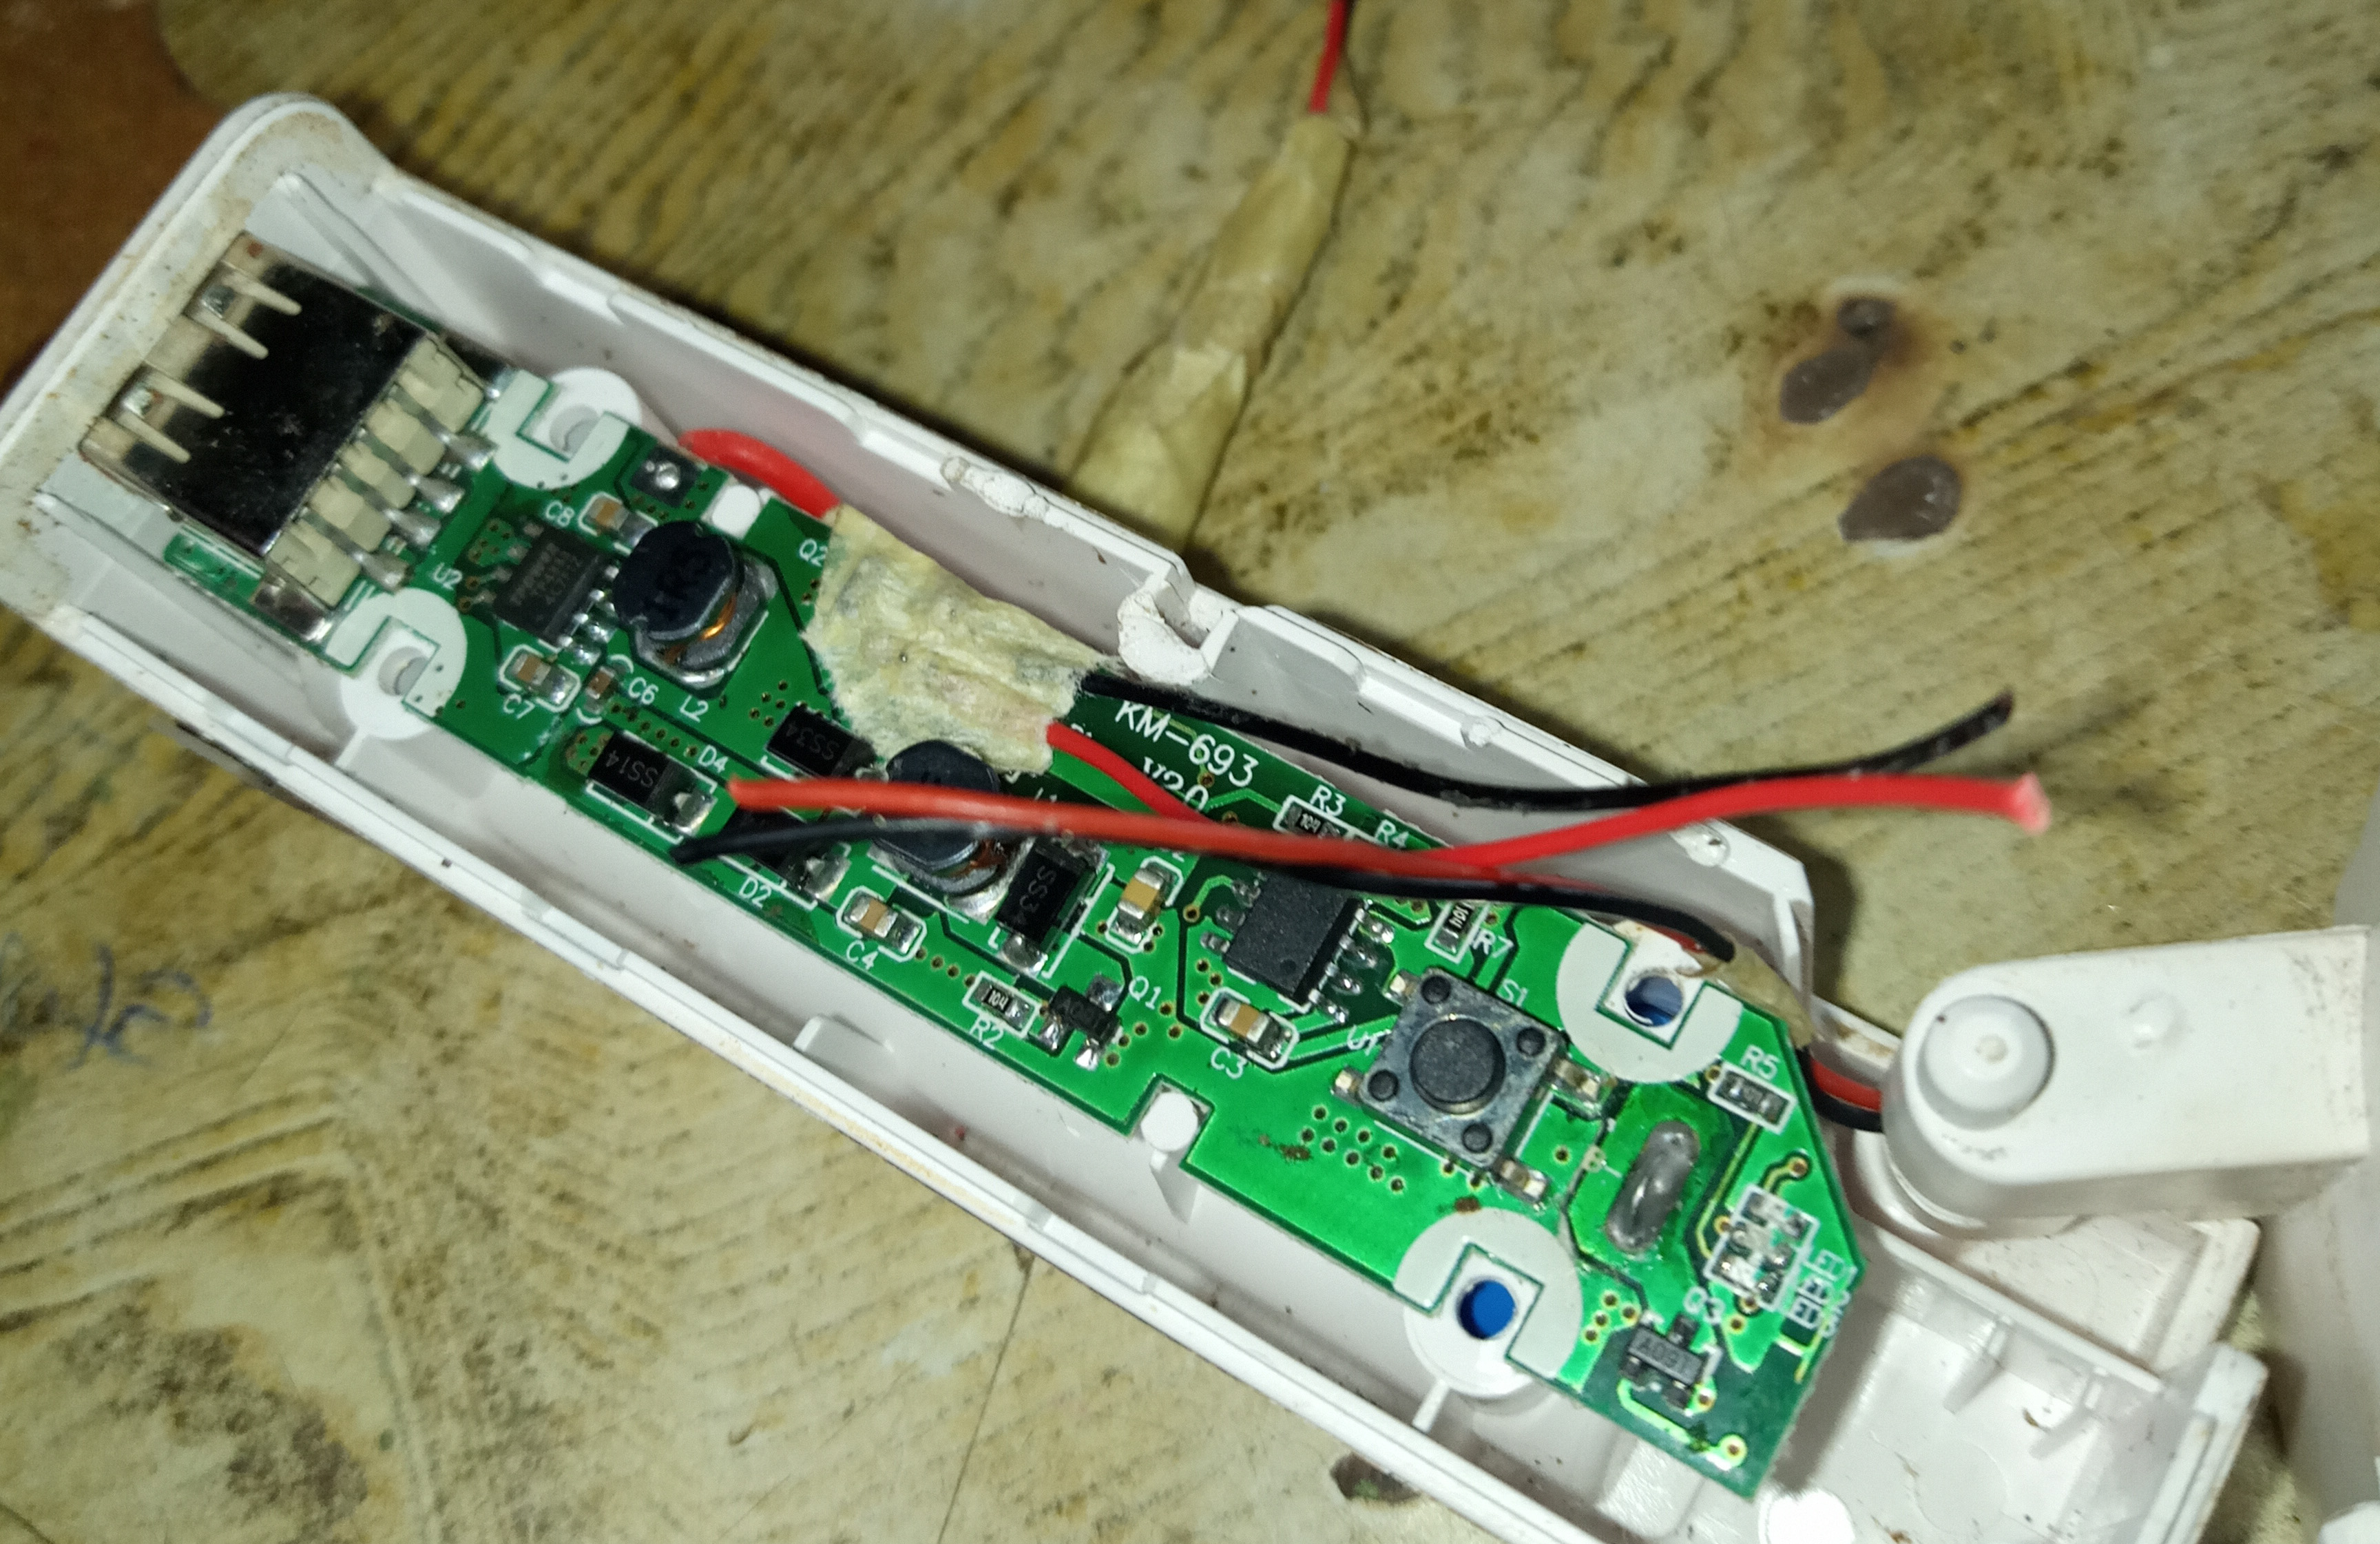
One weird things about this handy mini fan is that, it wasn't built in a way whereby one can get it fixed whenever it gets damaged or faulty. Why do I say so? One, the printed circuit board (PBC) utilized in it has only surface mount component on it. Which is technically difficult for anyone to replace or work on. Two, the casing for the DC motor wasn't designed in a way one could have access the PCB behind it. This basically makes the fan difficult to fix when it's get damaged.
But being the creative being God has created me, I was able to derive a means of accessing the PBC behind the DC motor. What I do is, I forcefully break off the DC motor from where it was mounted so it can come off and I'll have access to do what ever I need to do, and then glue it back. So let me share with you the little fix I made on handy mini fan this time around.
So, I immediately unscrewed the mini fan and opened it having sketched and listed the steps on how to go about fixing it in my head 😃. I didn't write it down this time around because there were basically just three major steps which I could retain in my head. All I had planned was to;
THANKS FOR VISITING MY BLOG
BEST REGARDS

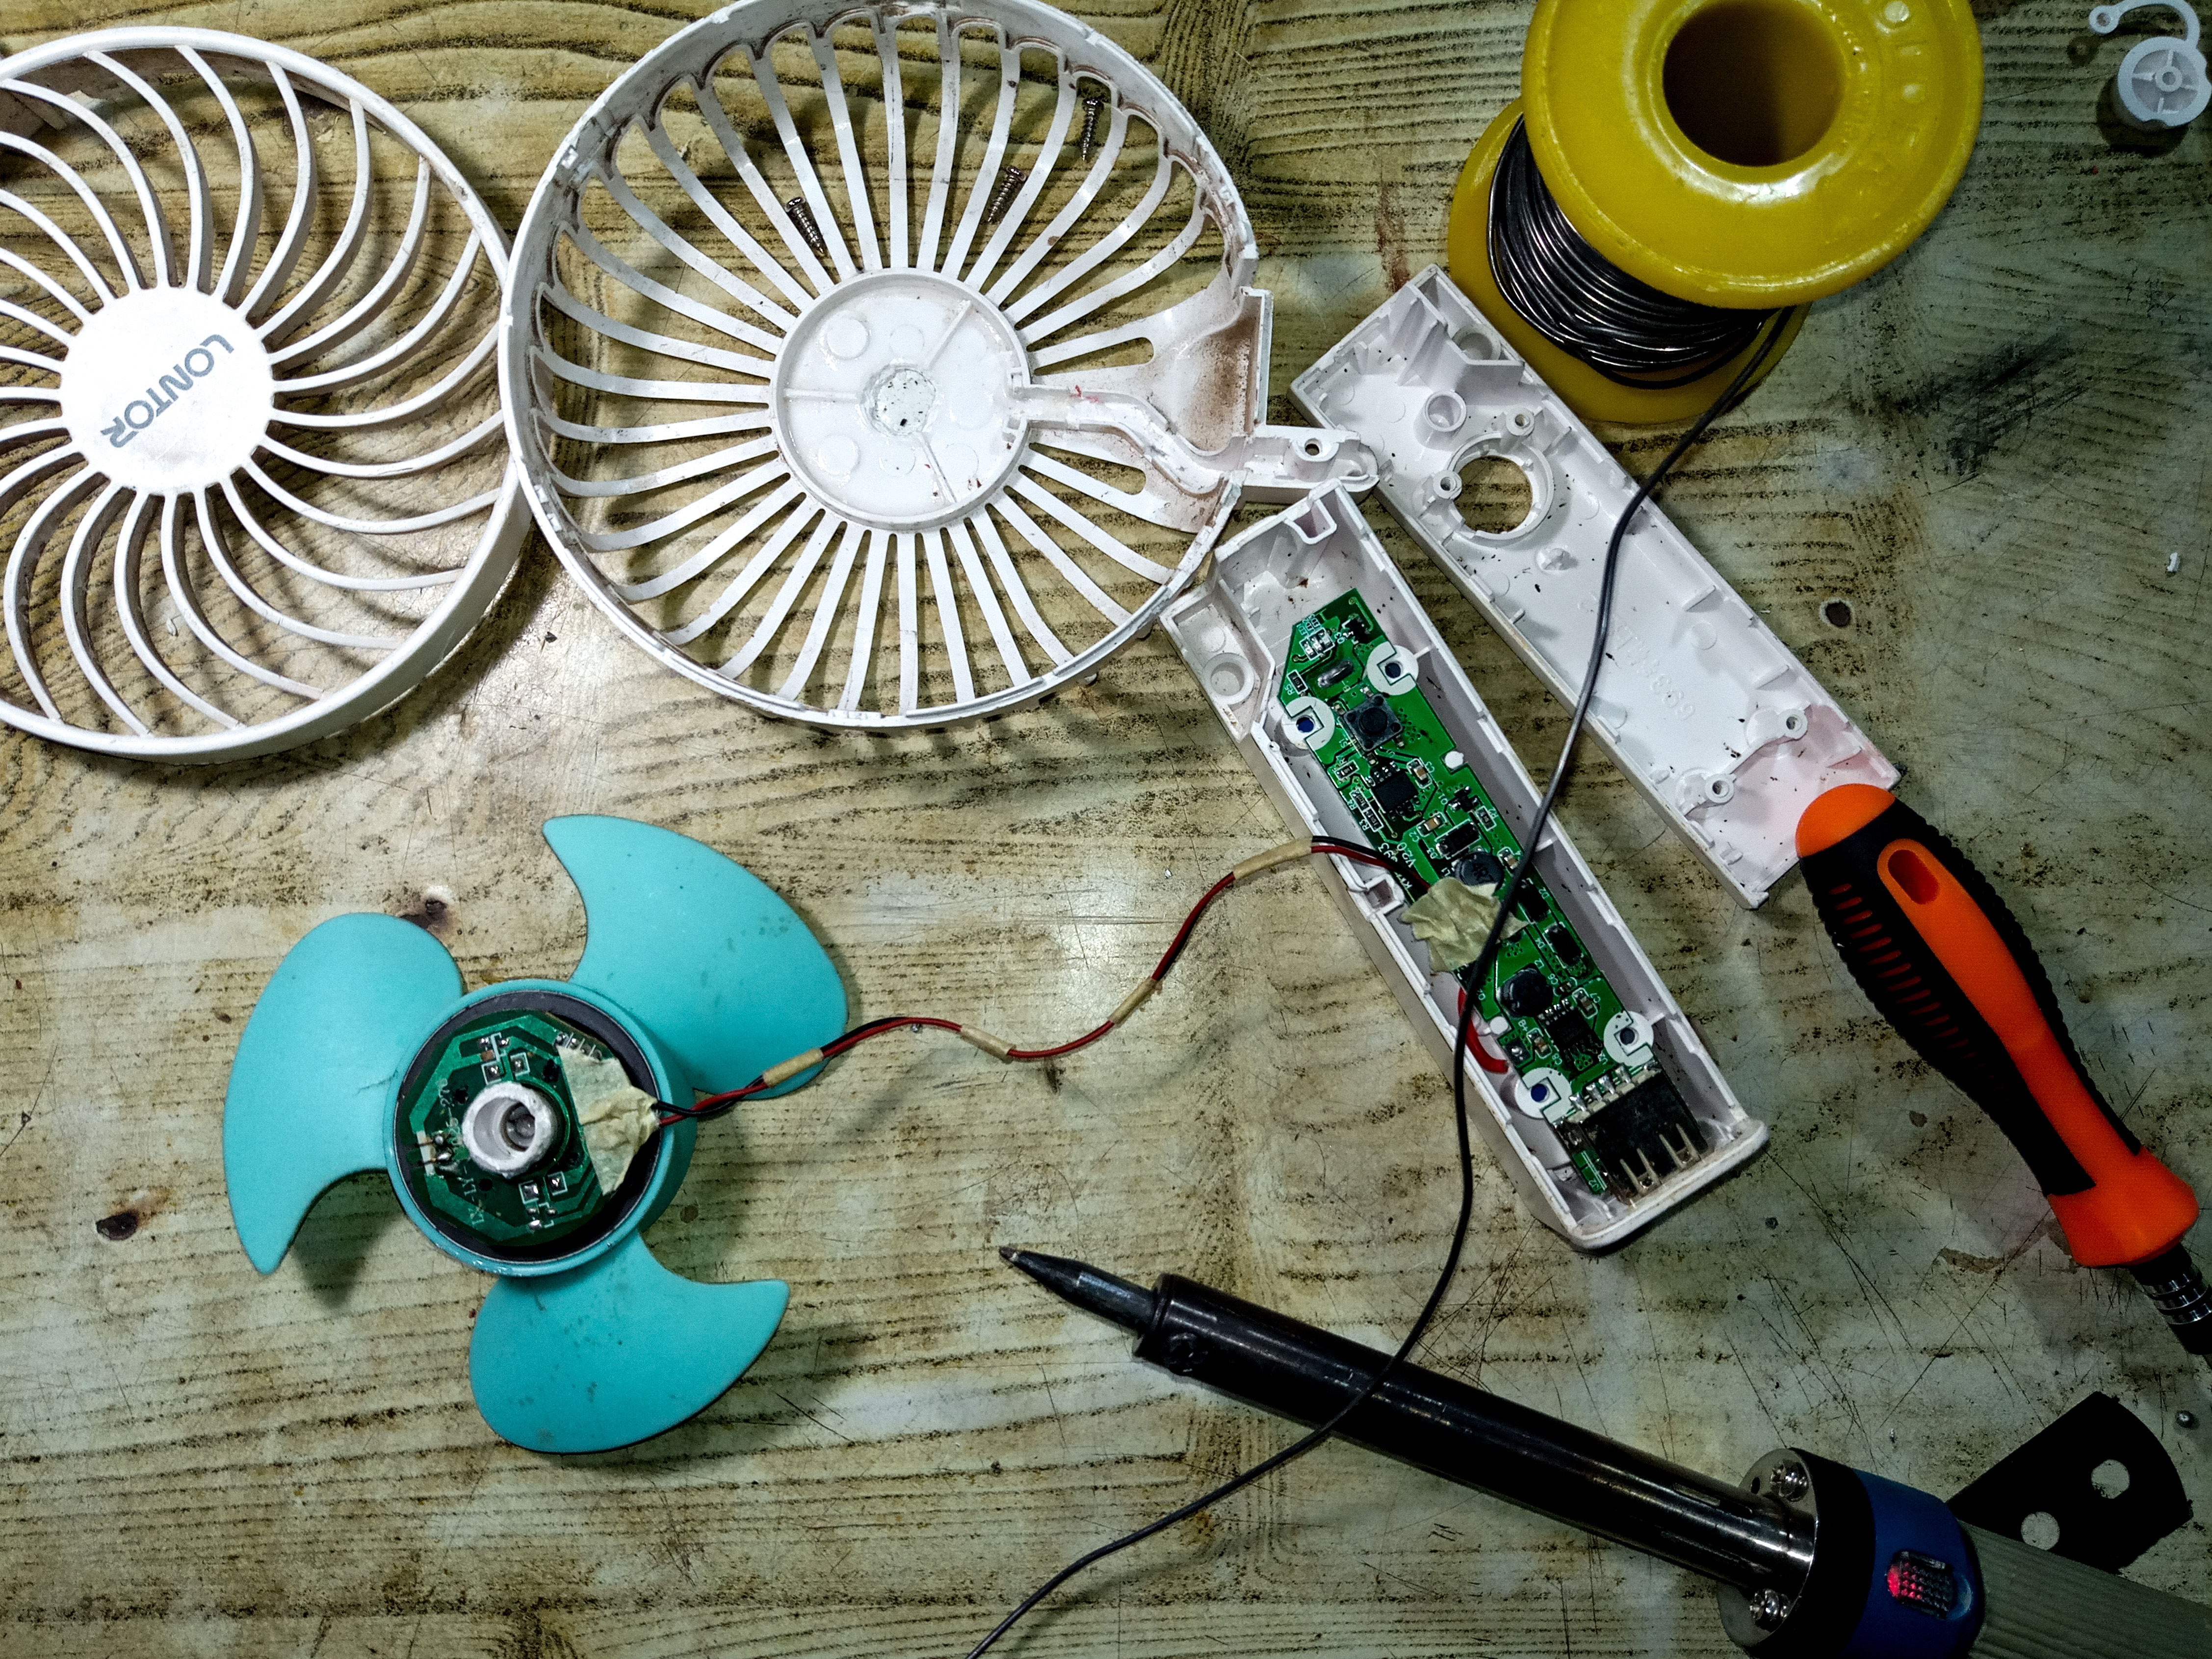
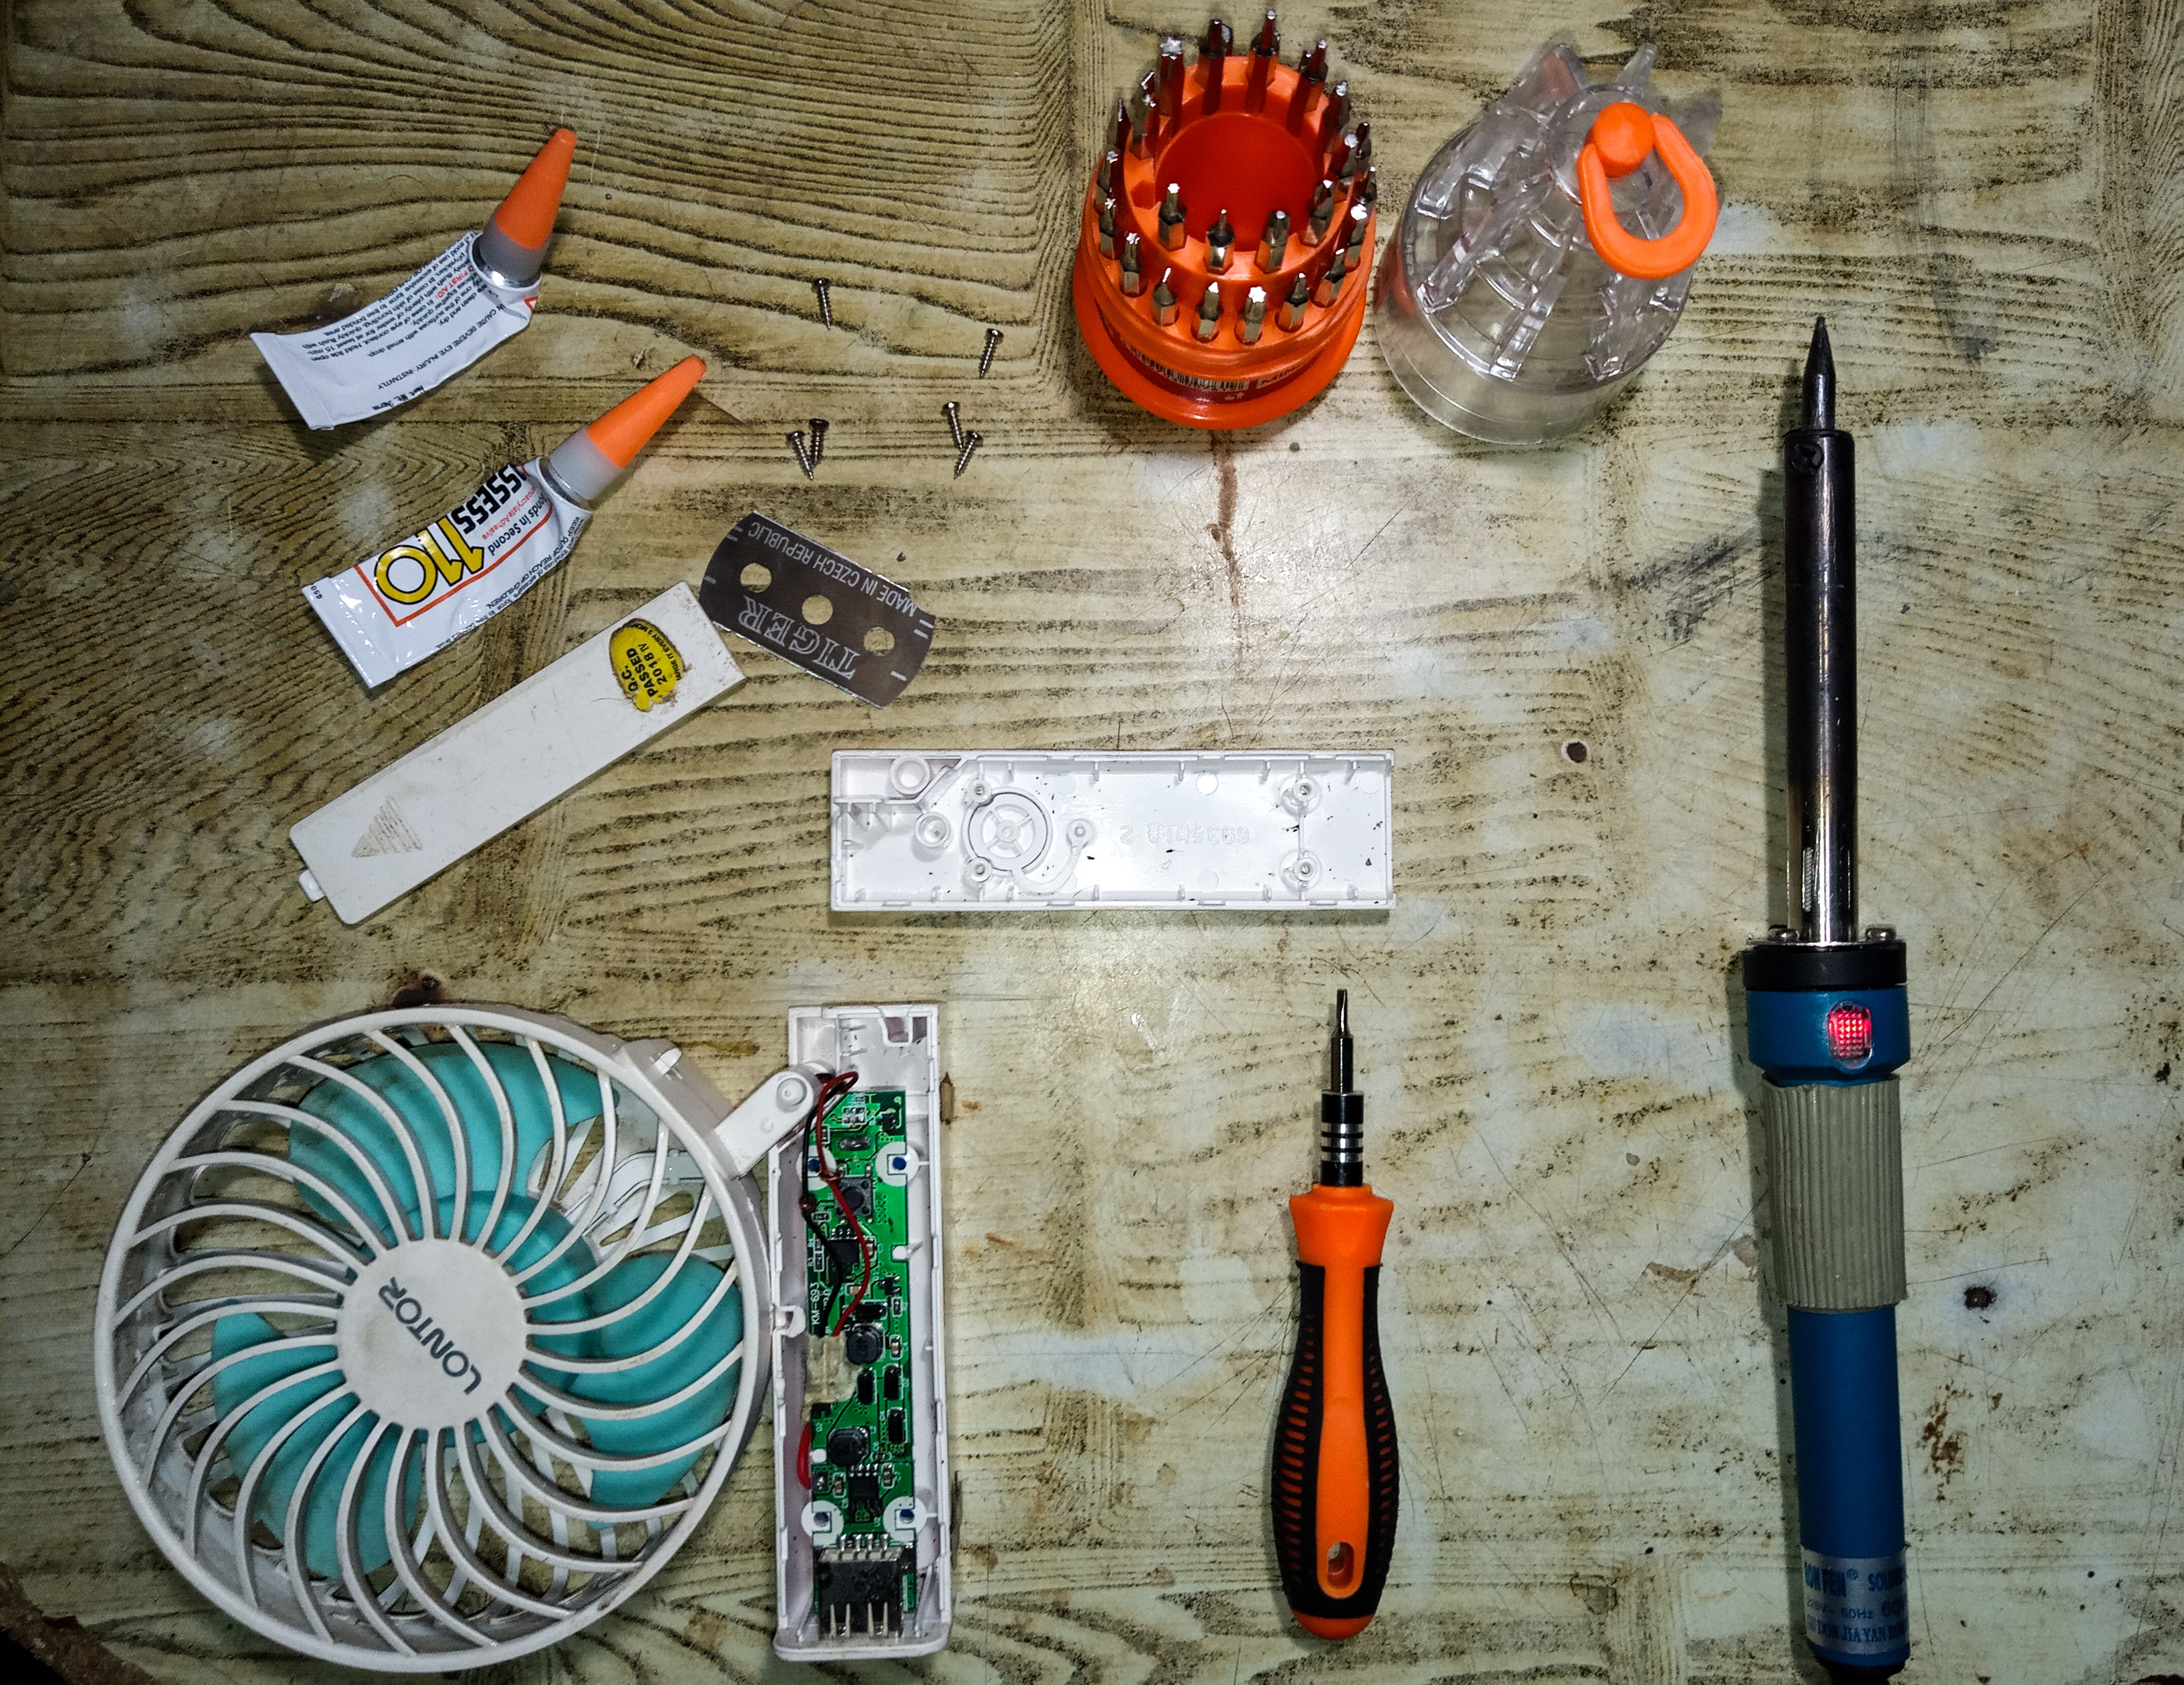
Connect the DC motor back to it source, Glue the part that was broken and lastly Cleaning and Coupling it back. Form what you can see above, I already soldered the disconnected wires and protected them with a masking tape.
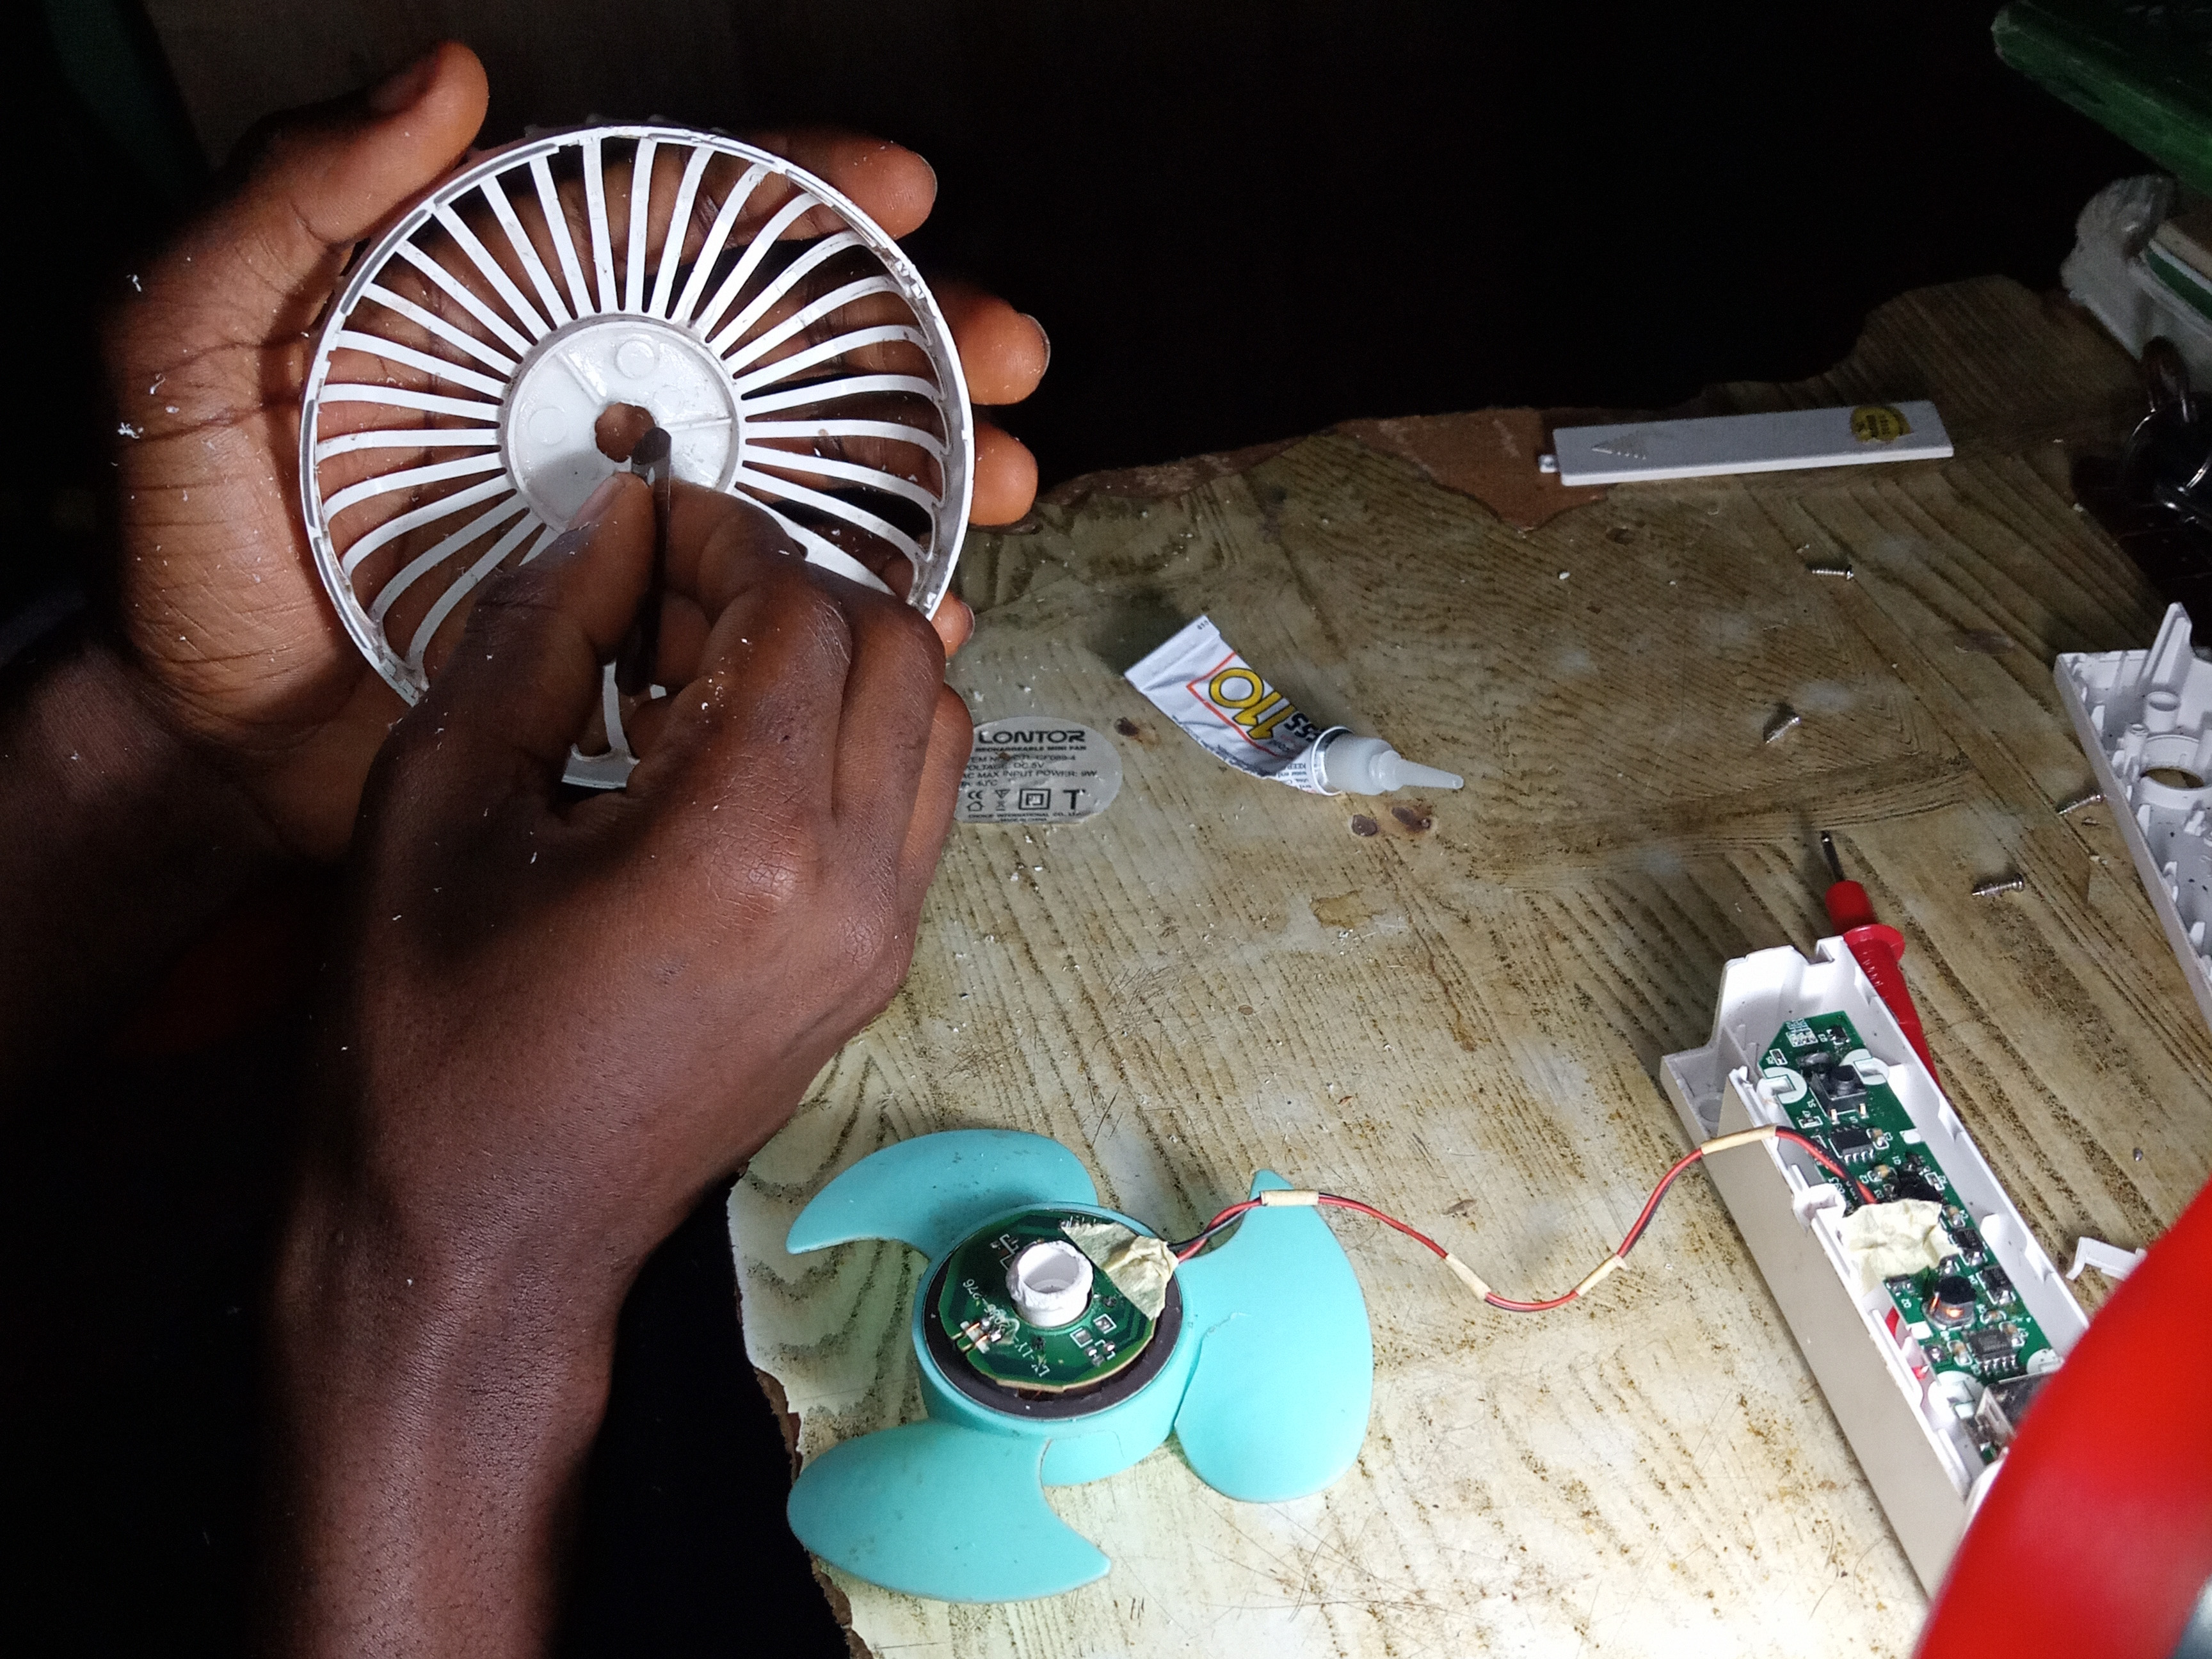
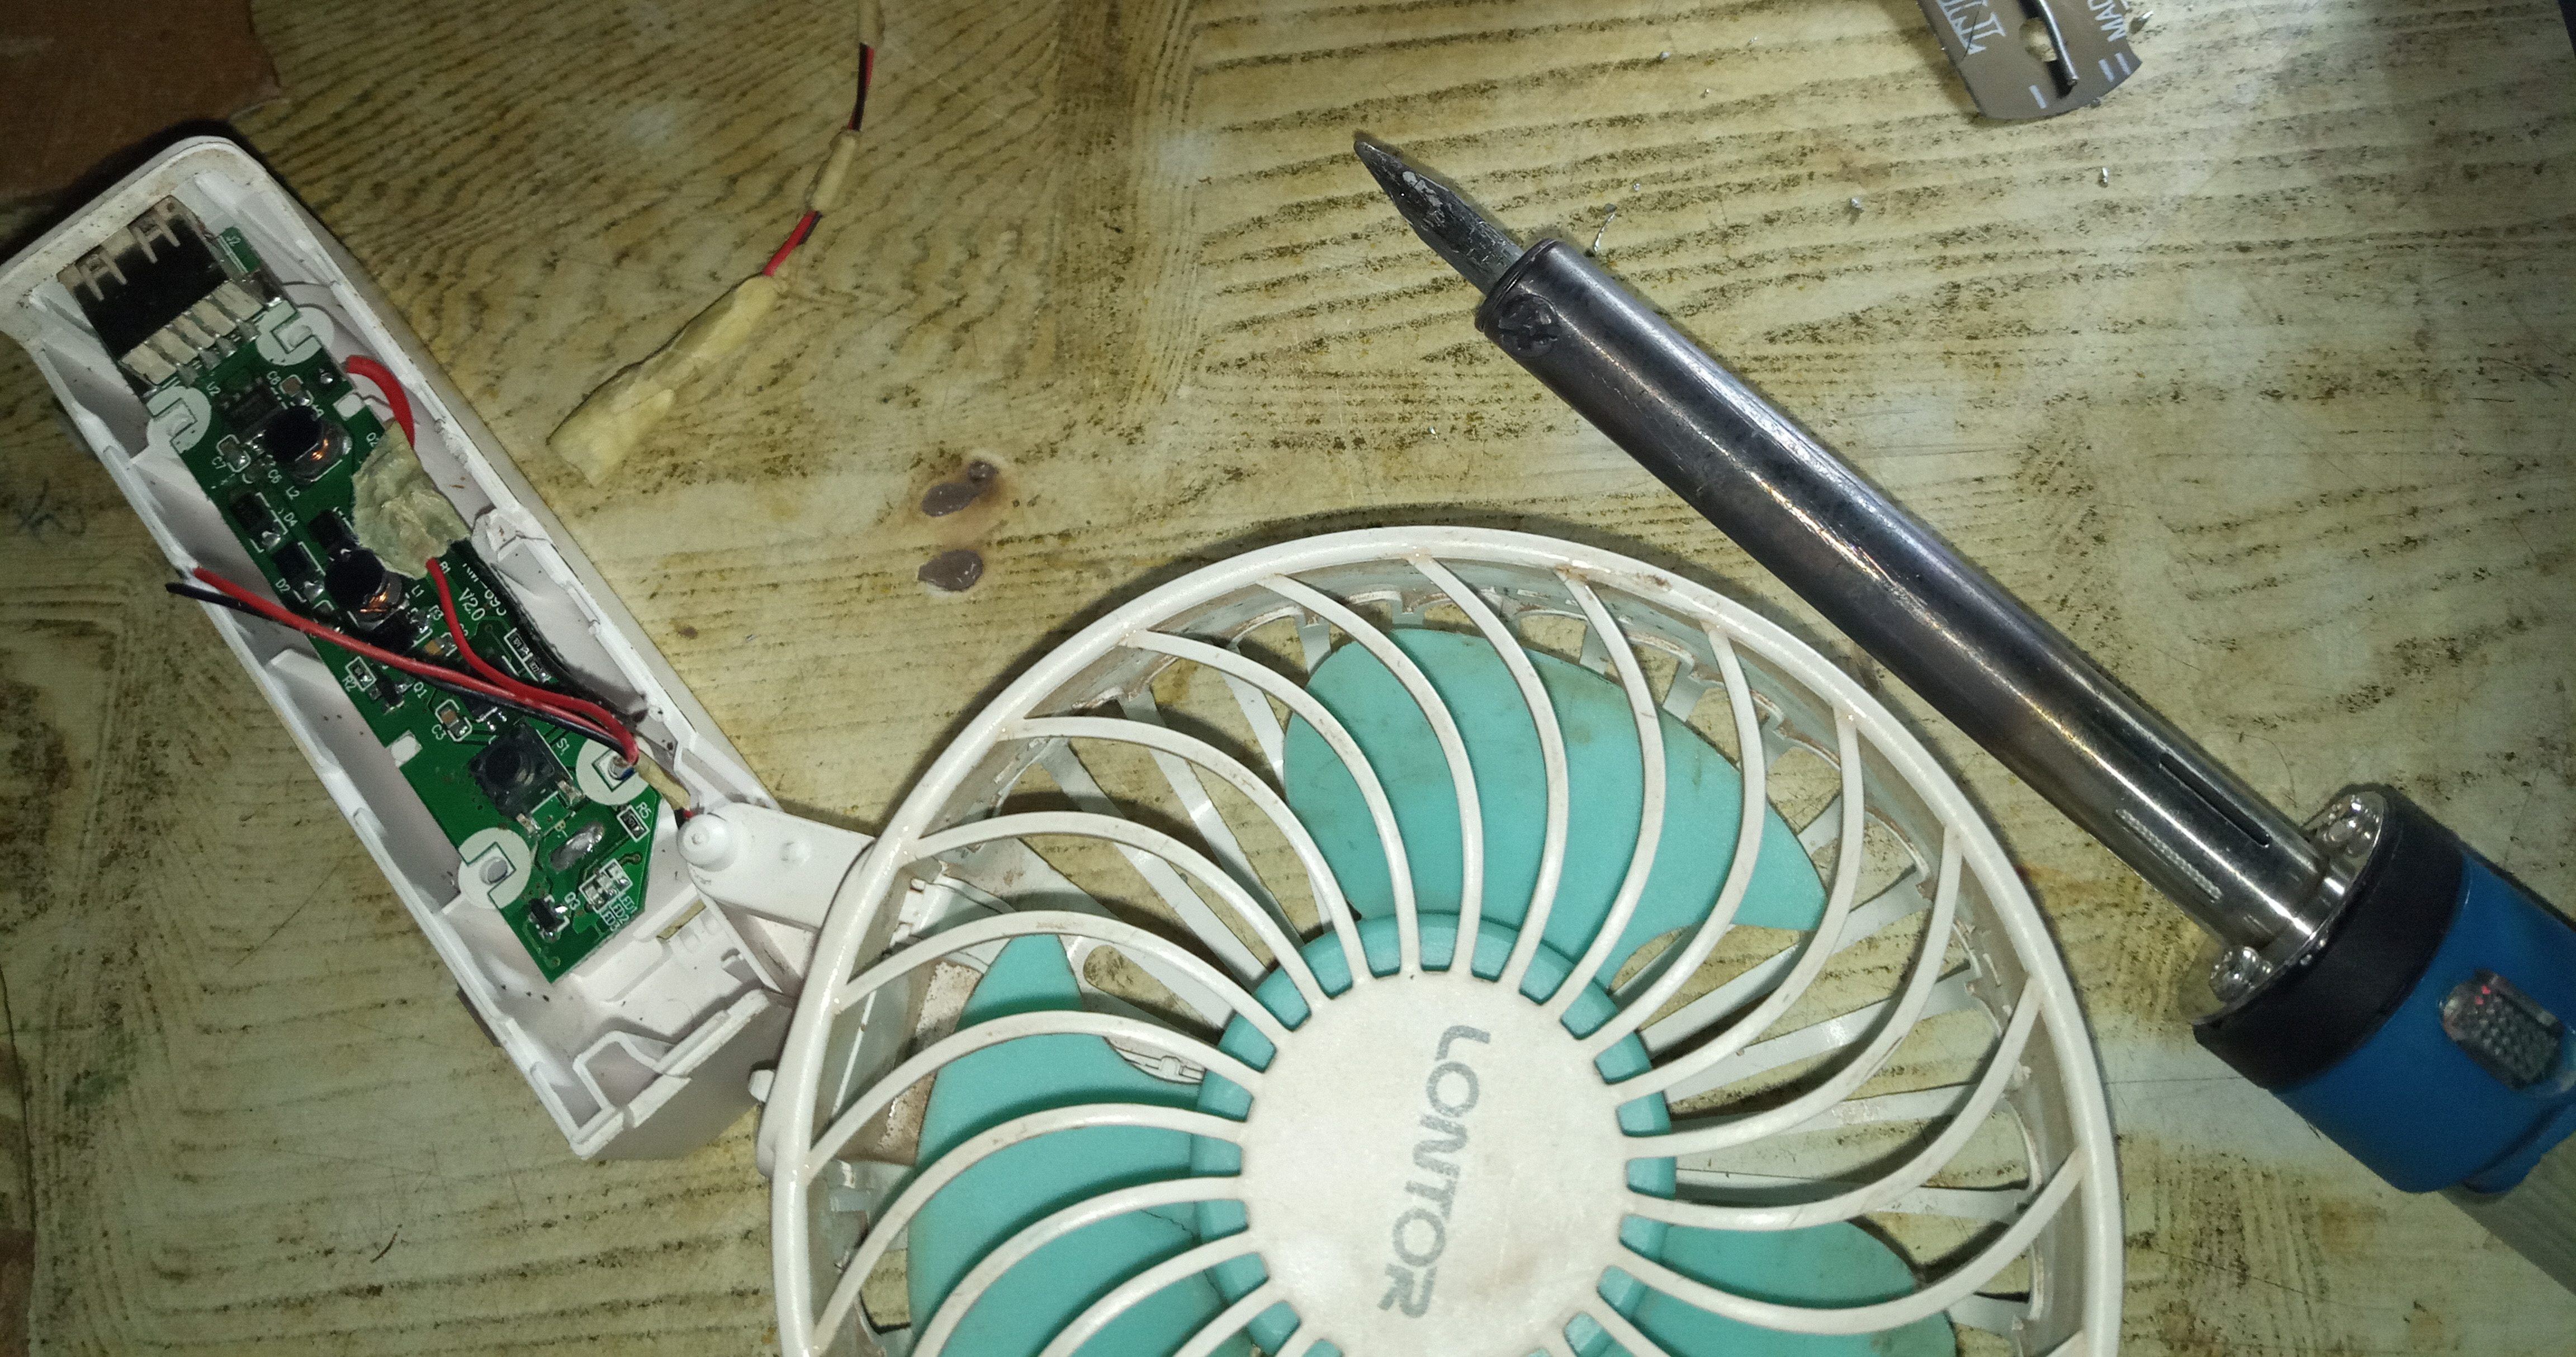
It was time to glue the DC motor that broke off back to its spot. I had to firstly do some scrape off. Reason because there were residue of glue from the previous time I worked on it. I initially had to forcefully dismount it by breaking it off its seat the last time I made some fixing on it, cause I needed to work on the PCB behind the DC motor and I glued it back. So, it's getting broken for the second time. And mind you, applying glue, over a previously dried glue, won't stick properly. So I had to scrape off the glue residue that was left from the one I applied the previous time before applying a new onto it surface. I also had to cut the wires connecting the DC motor to its power source in order to be able to have full control while gluing the DC motor and avoid any accident from happening to the power source.
 |  |
|---|
So, after scraping off the glue residue, I applied a new glue and I then carefully and properly stuck the DC motor back in place. I also pressed it down firmly to ensure there wasn't any form of gaps in between them.
 |  |
|---|
After firmly holding it for about ten (10) minutes, I then gently placed it under the sun for another thirty (30) minutes just to ensure the glue get completely dried and it holds the DC motor properly and firmly.
After thirty (30) minutes of sun drying it, I went to pick it up so I could proceed to the next step.
I fitted in the front cover back in place.
 |  |
|---|
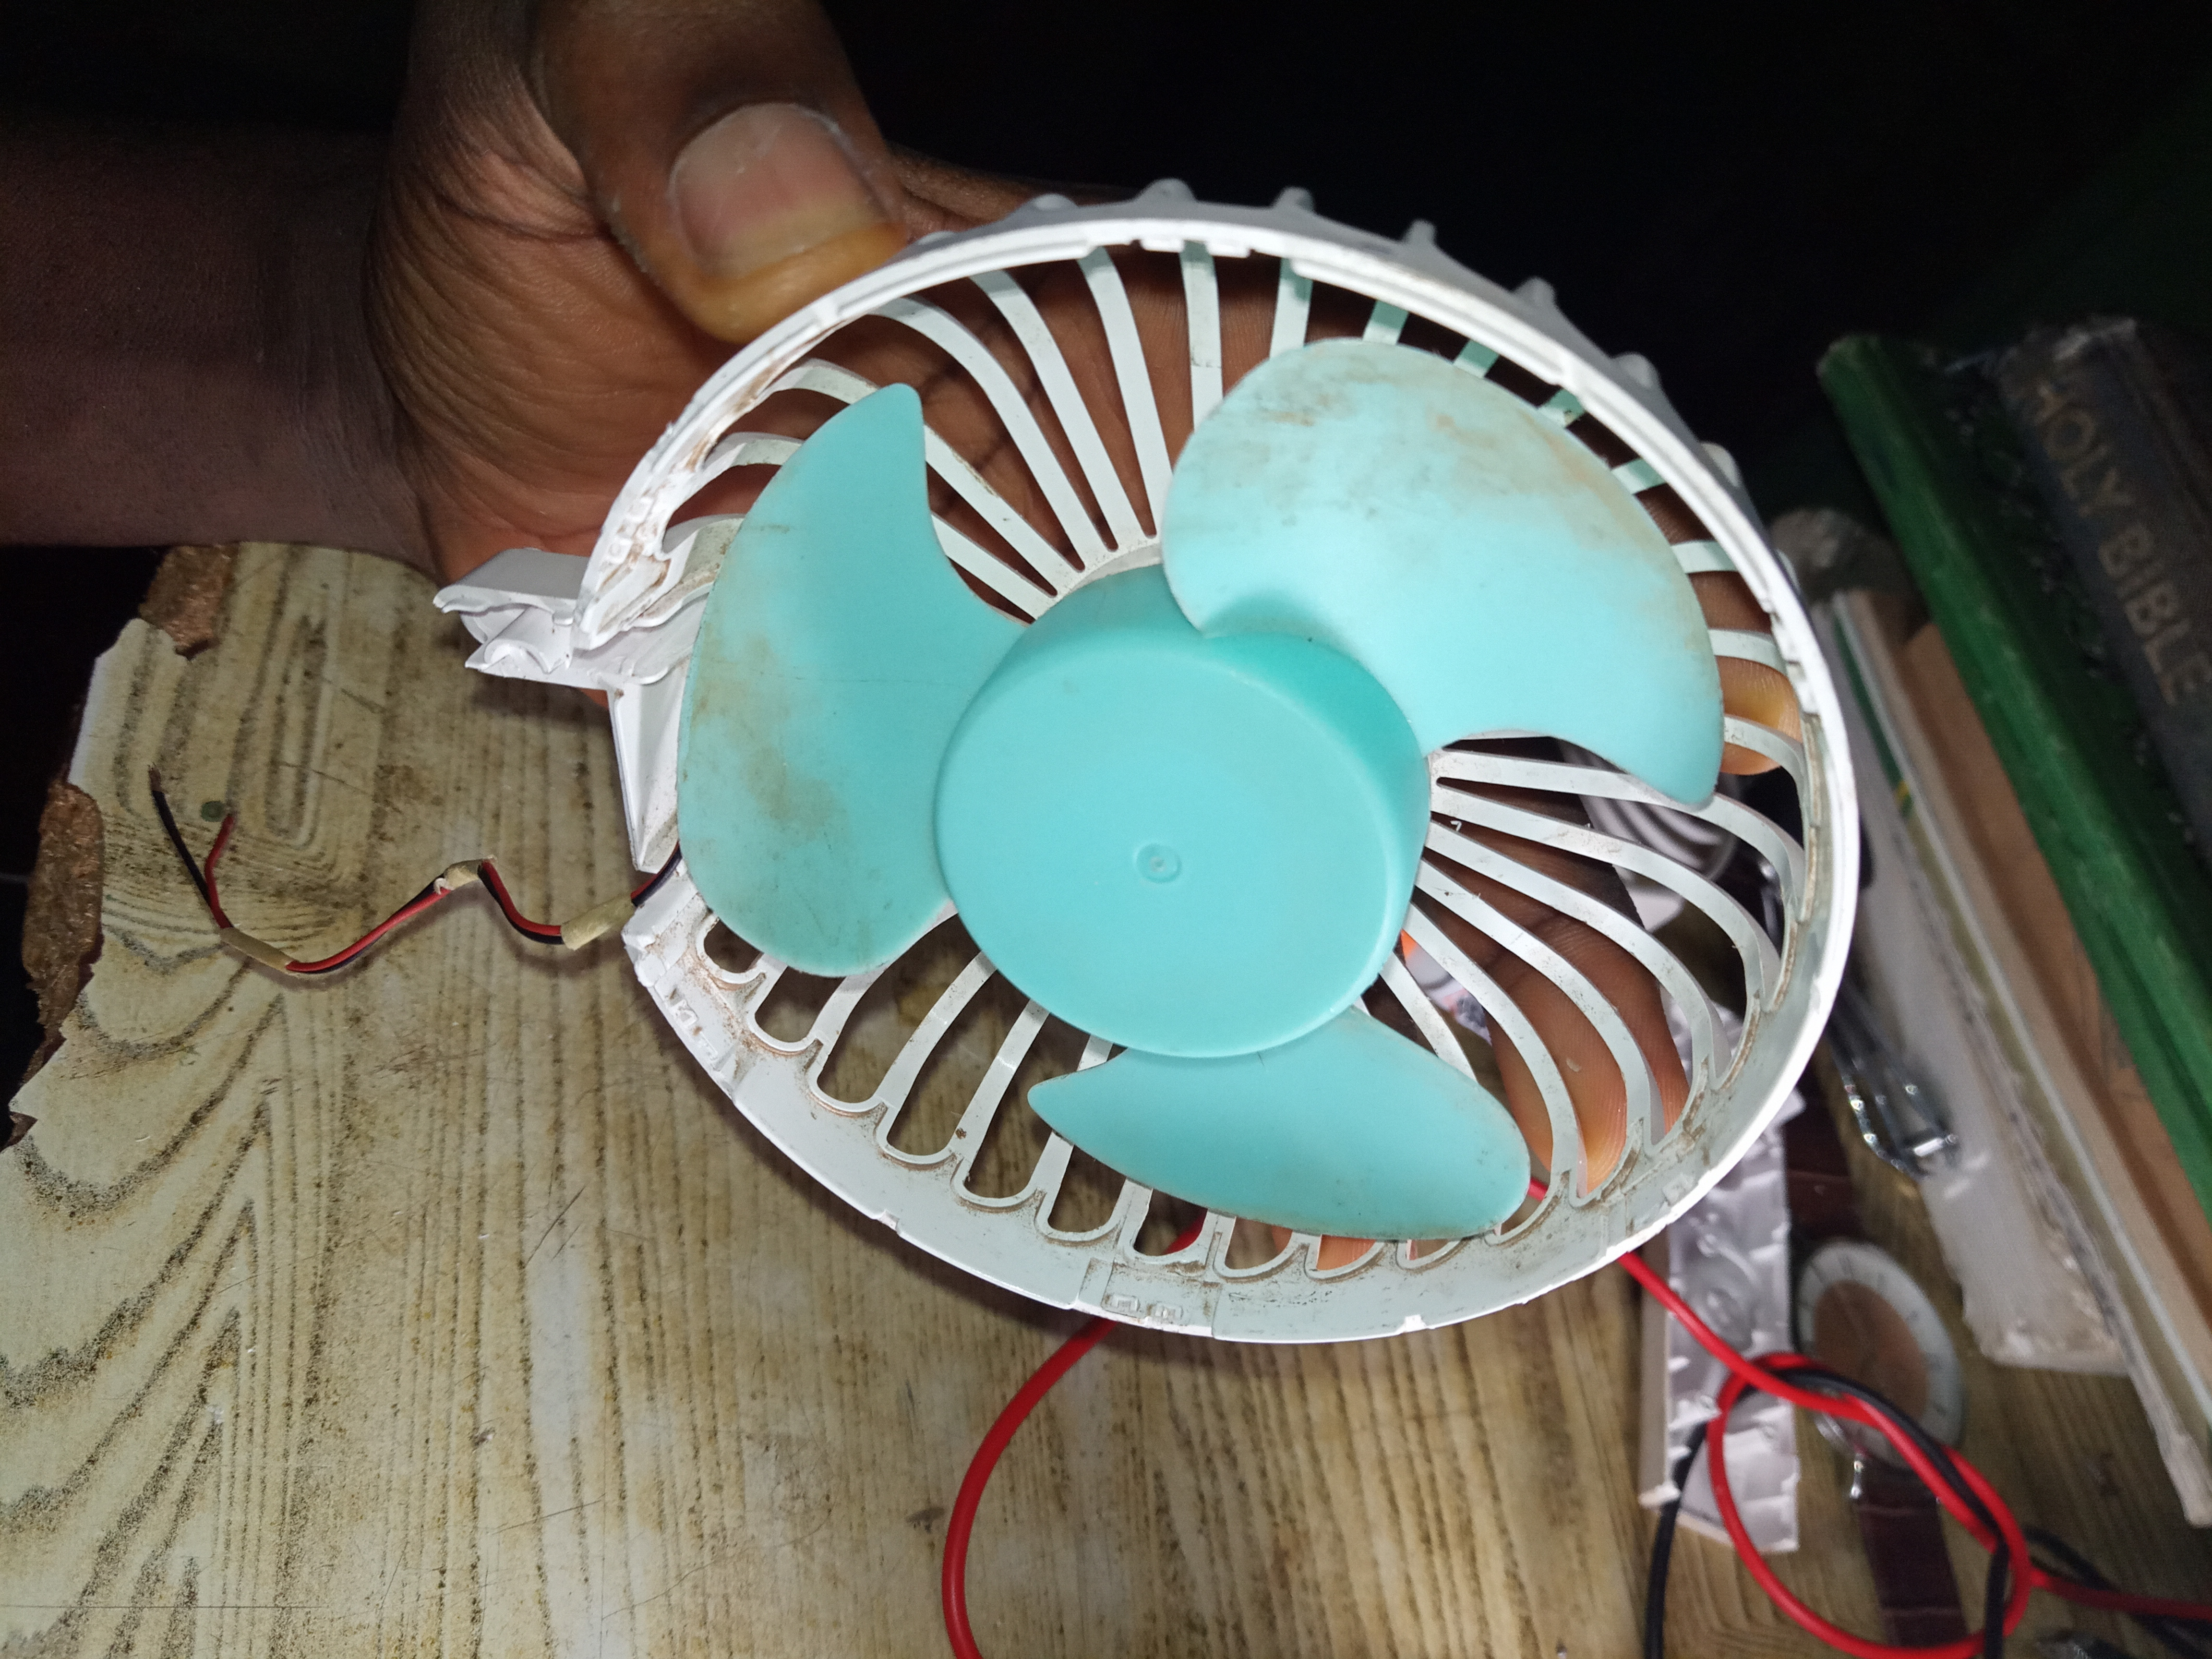
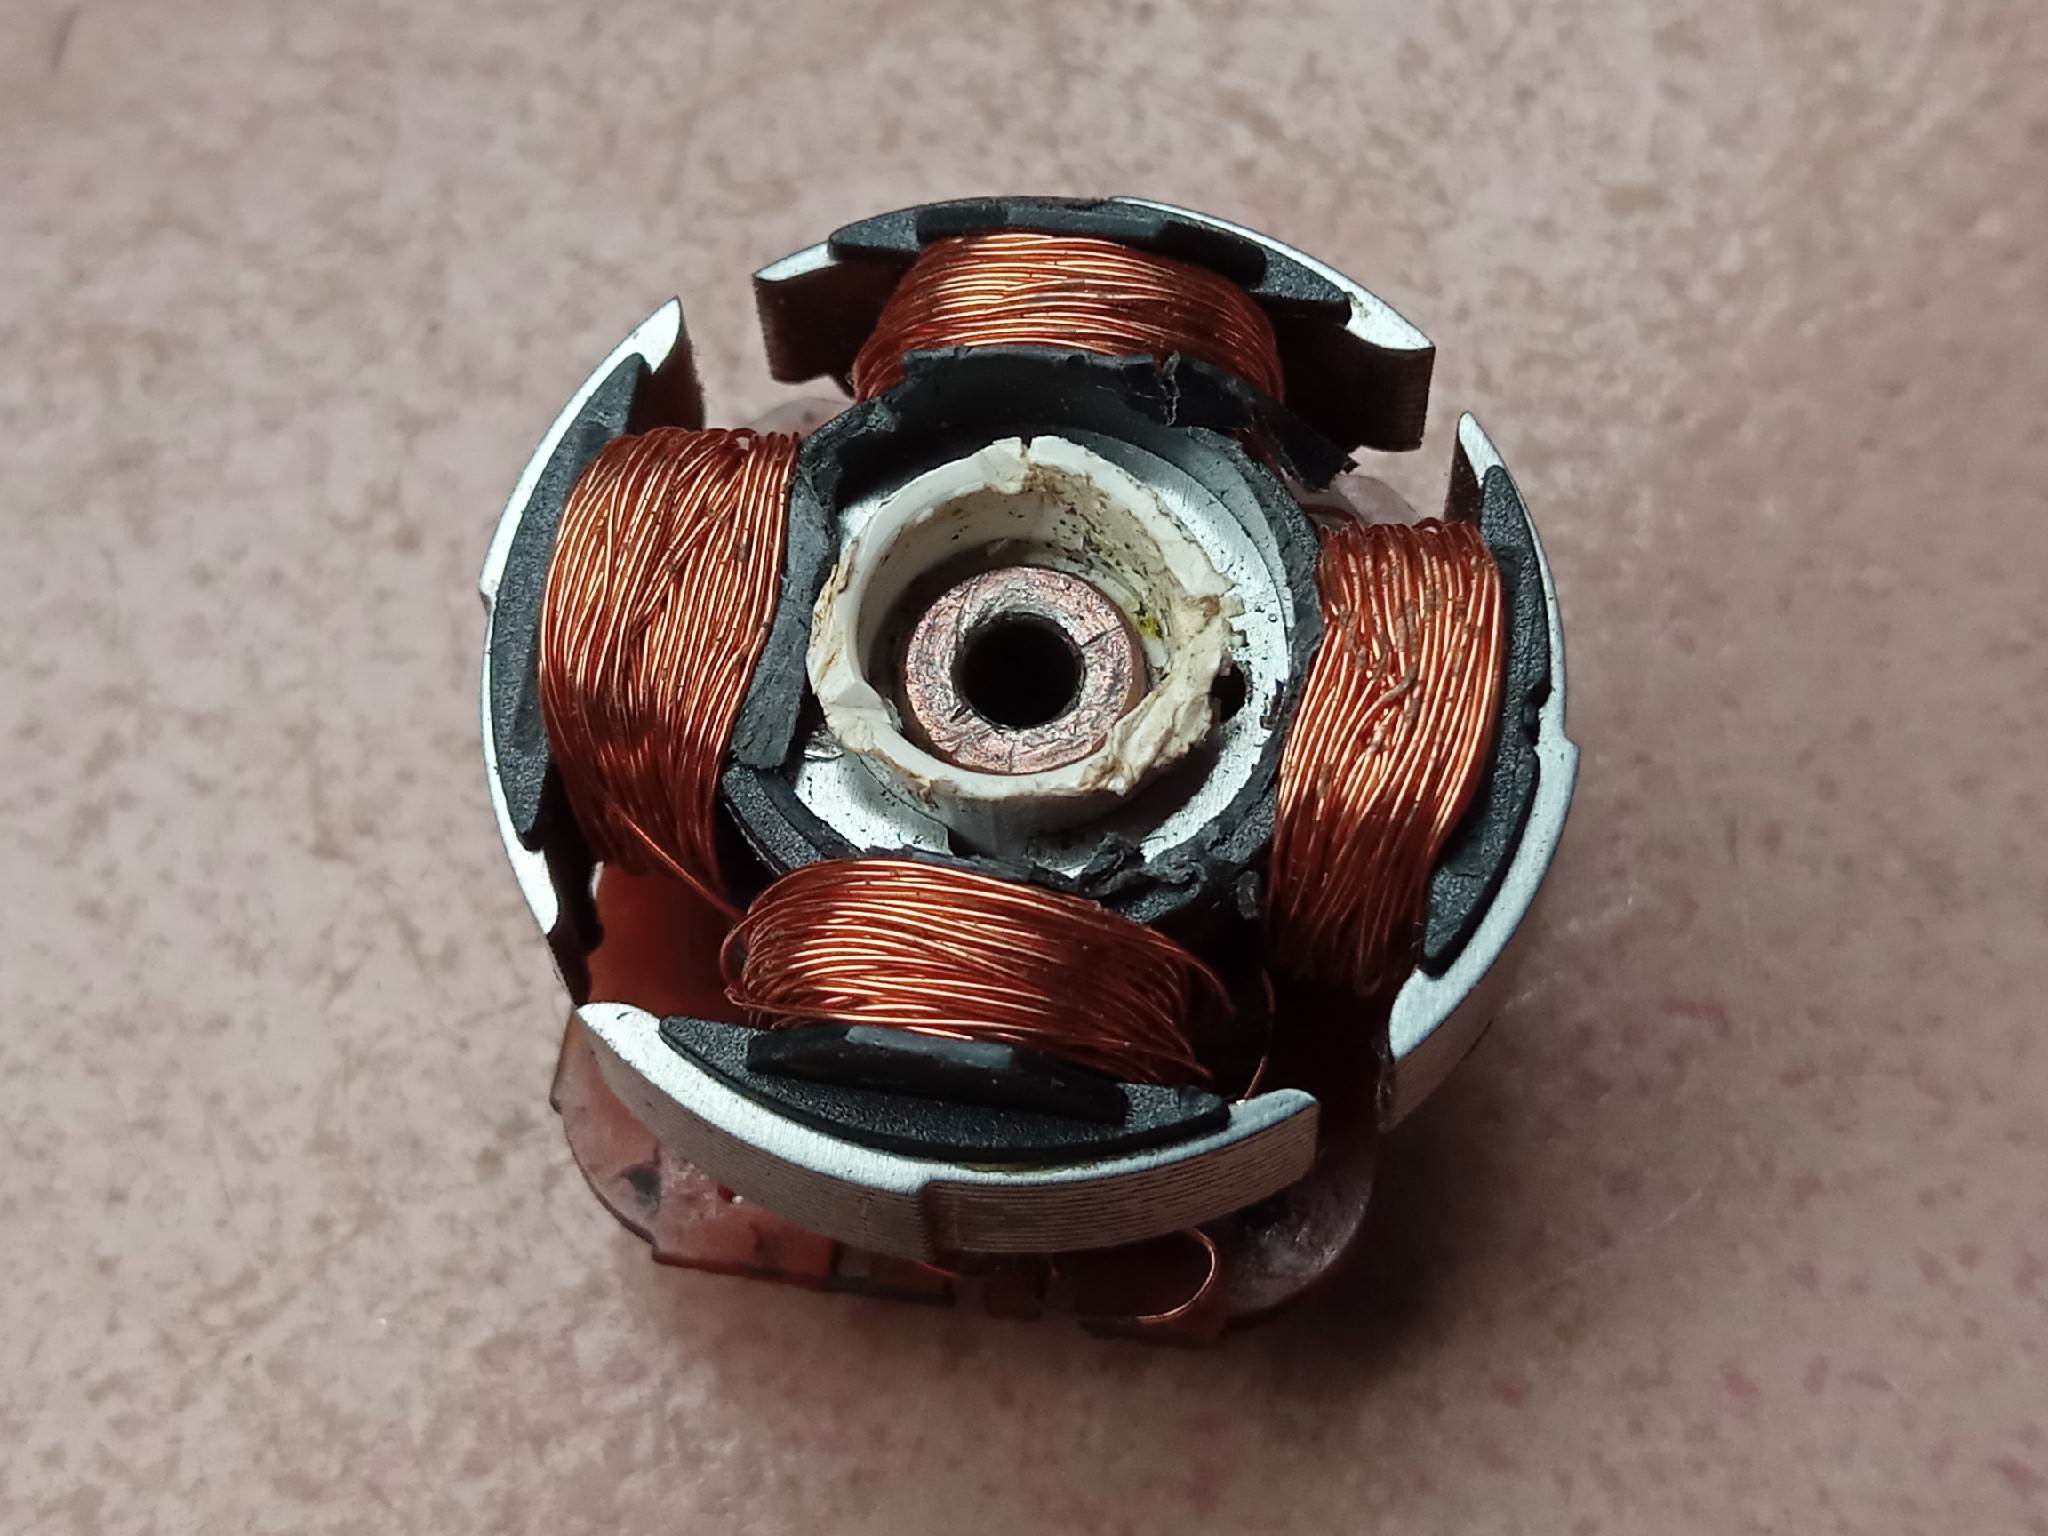
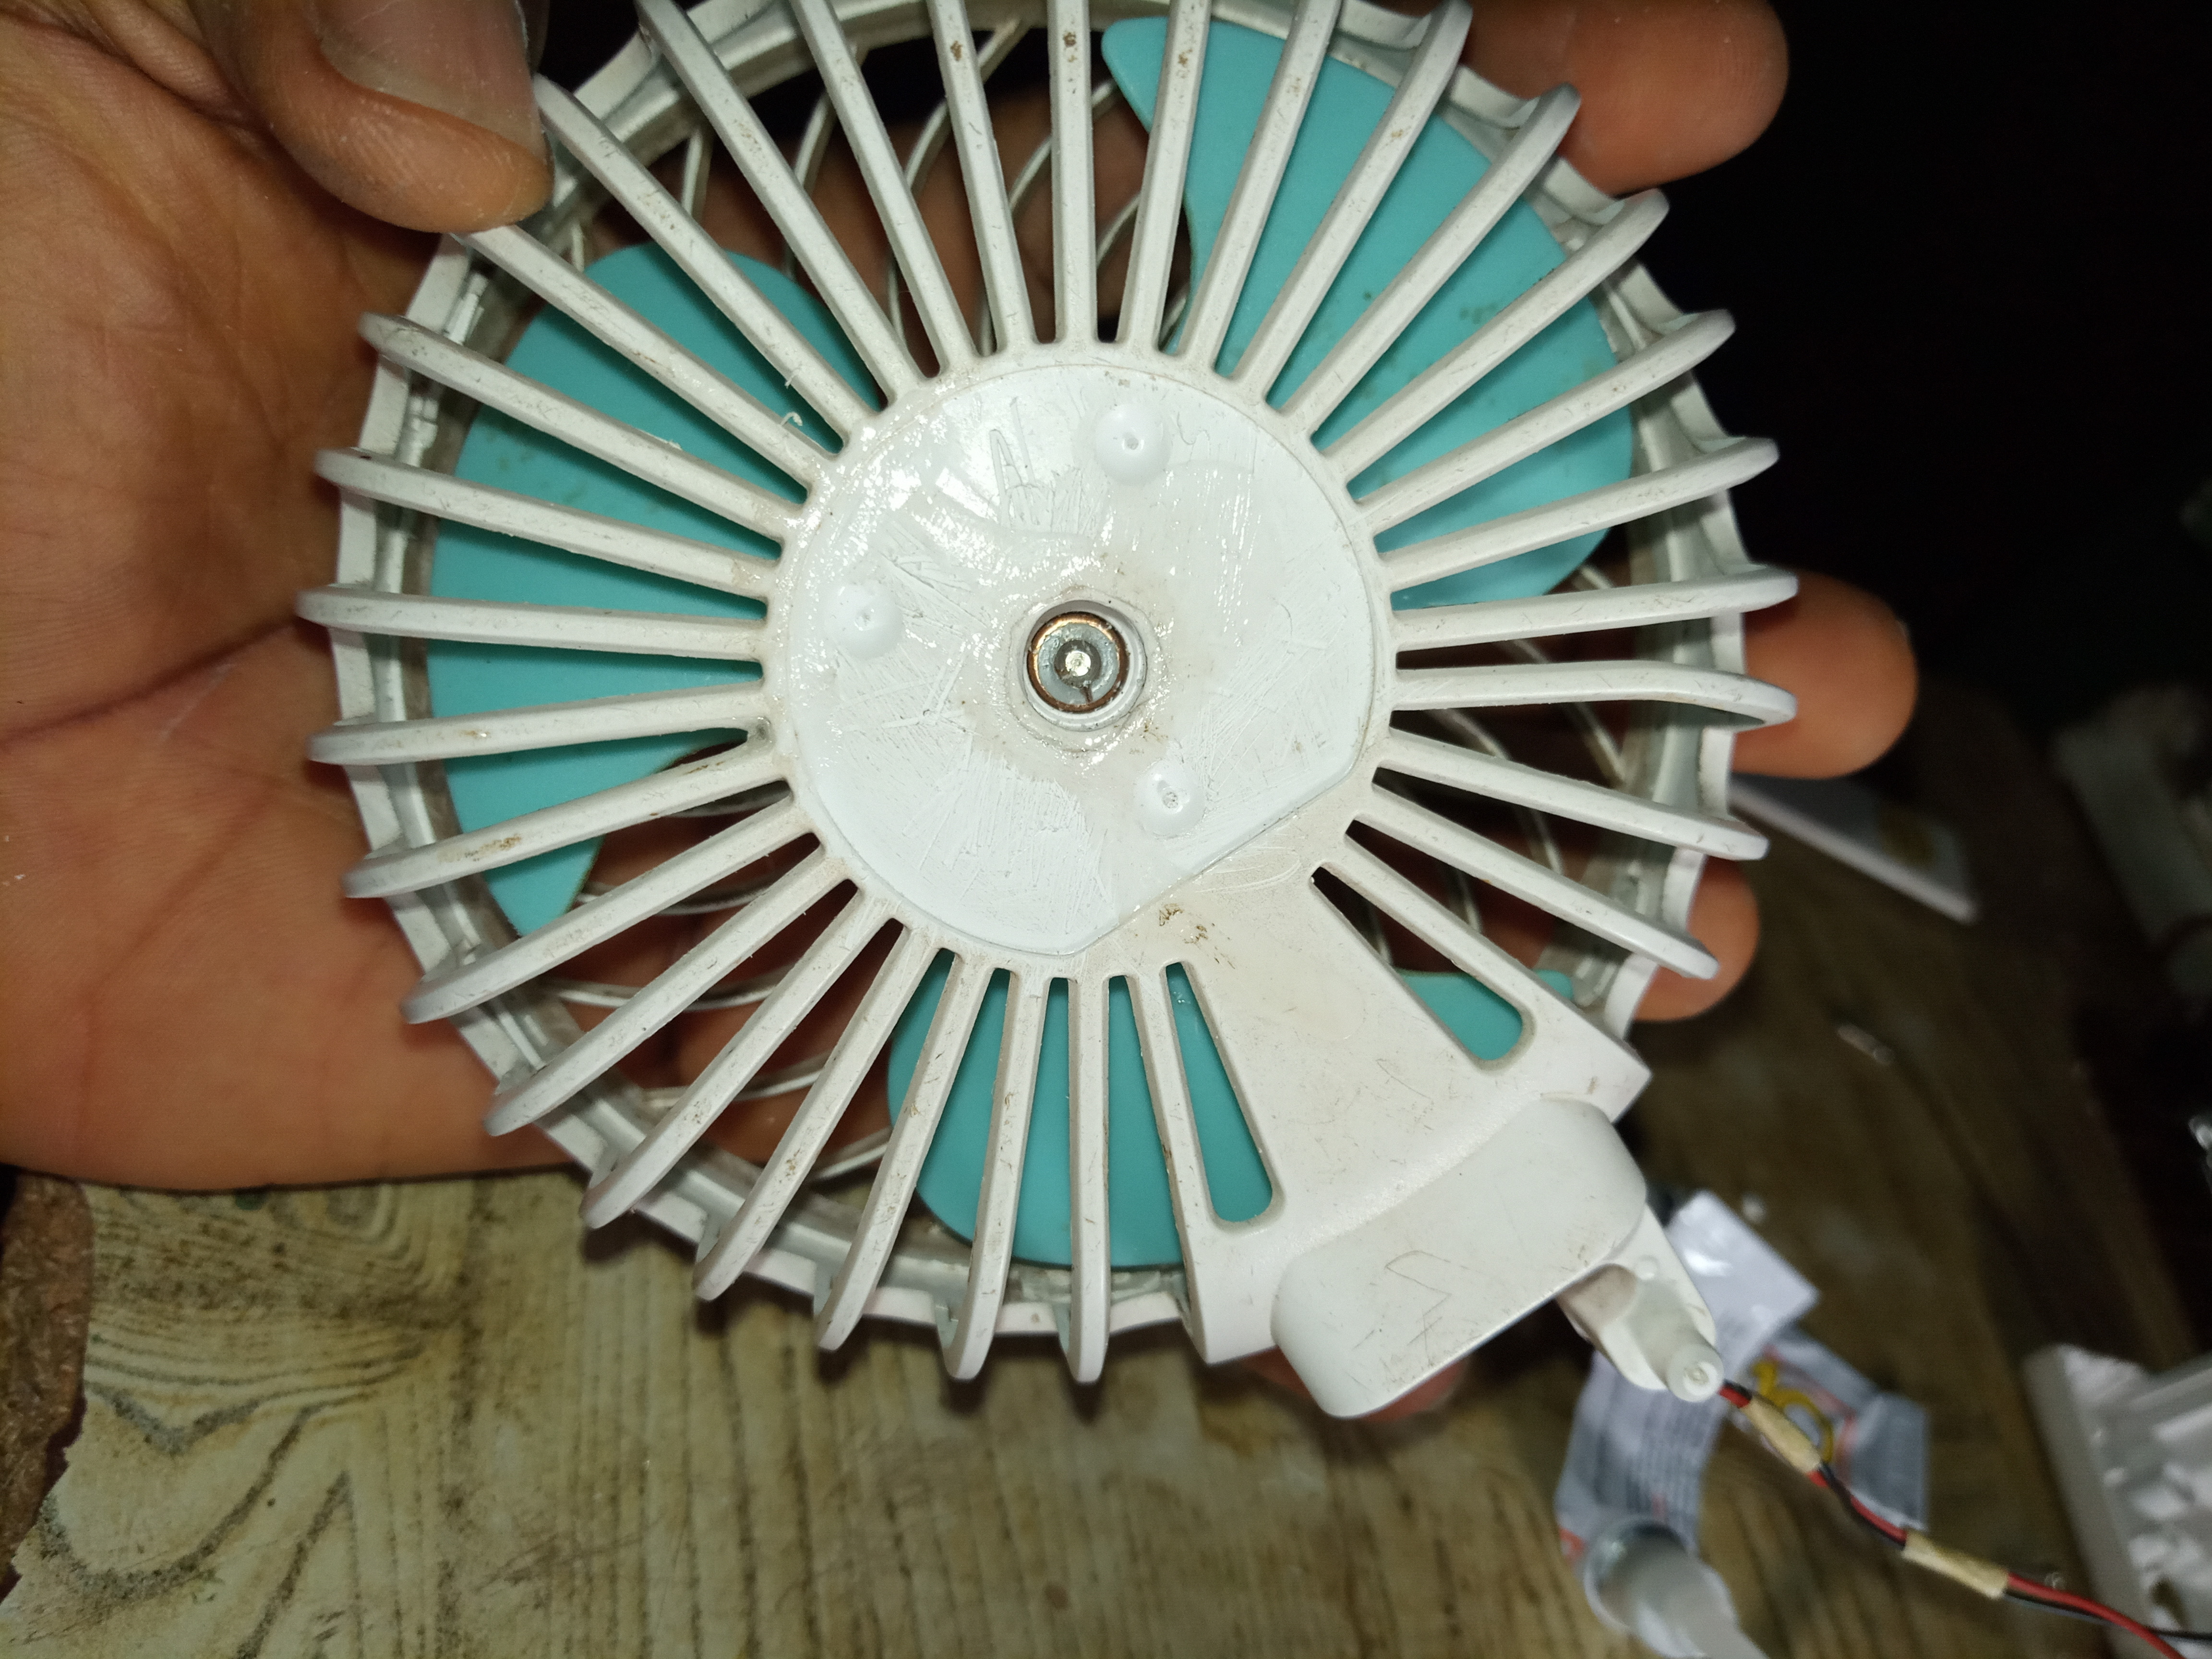
After fitting in the front cover, I also replaced the brand sticker which I peeled off from the back. You should see the rivet that was used to hold down the field coil (or, windings) in the image by the left hand side. I had to replace the brand sticker just to make the handy mini fan still keep its neat look.
See what the field coil looks like here or check post bottom.
 |  |
|---|
It was time to join back the connecting wires of the DC motor to the power source which I disconnected earlier on. I disconnected it initially so I could be able to glue the DC motor with ease.
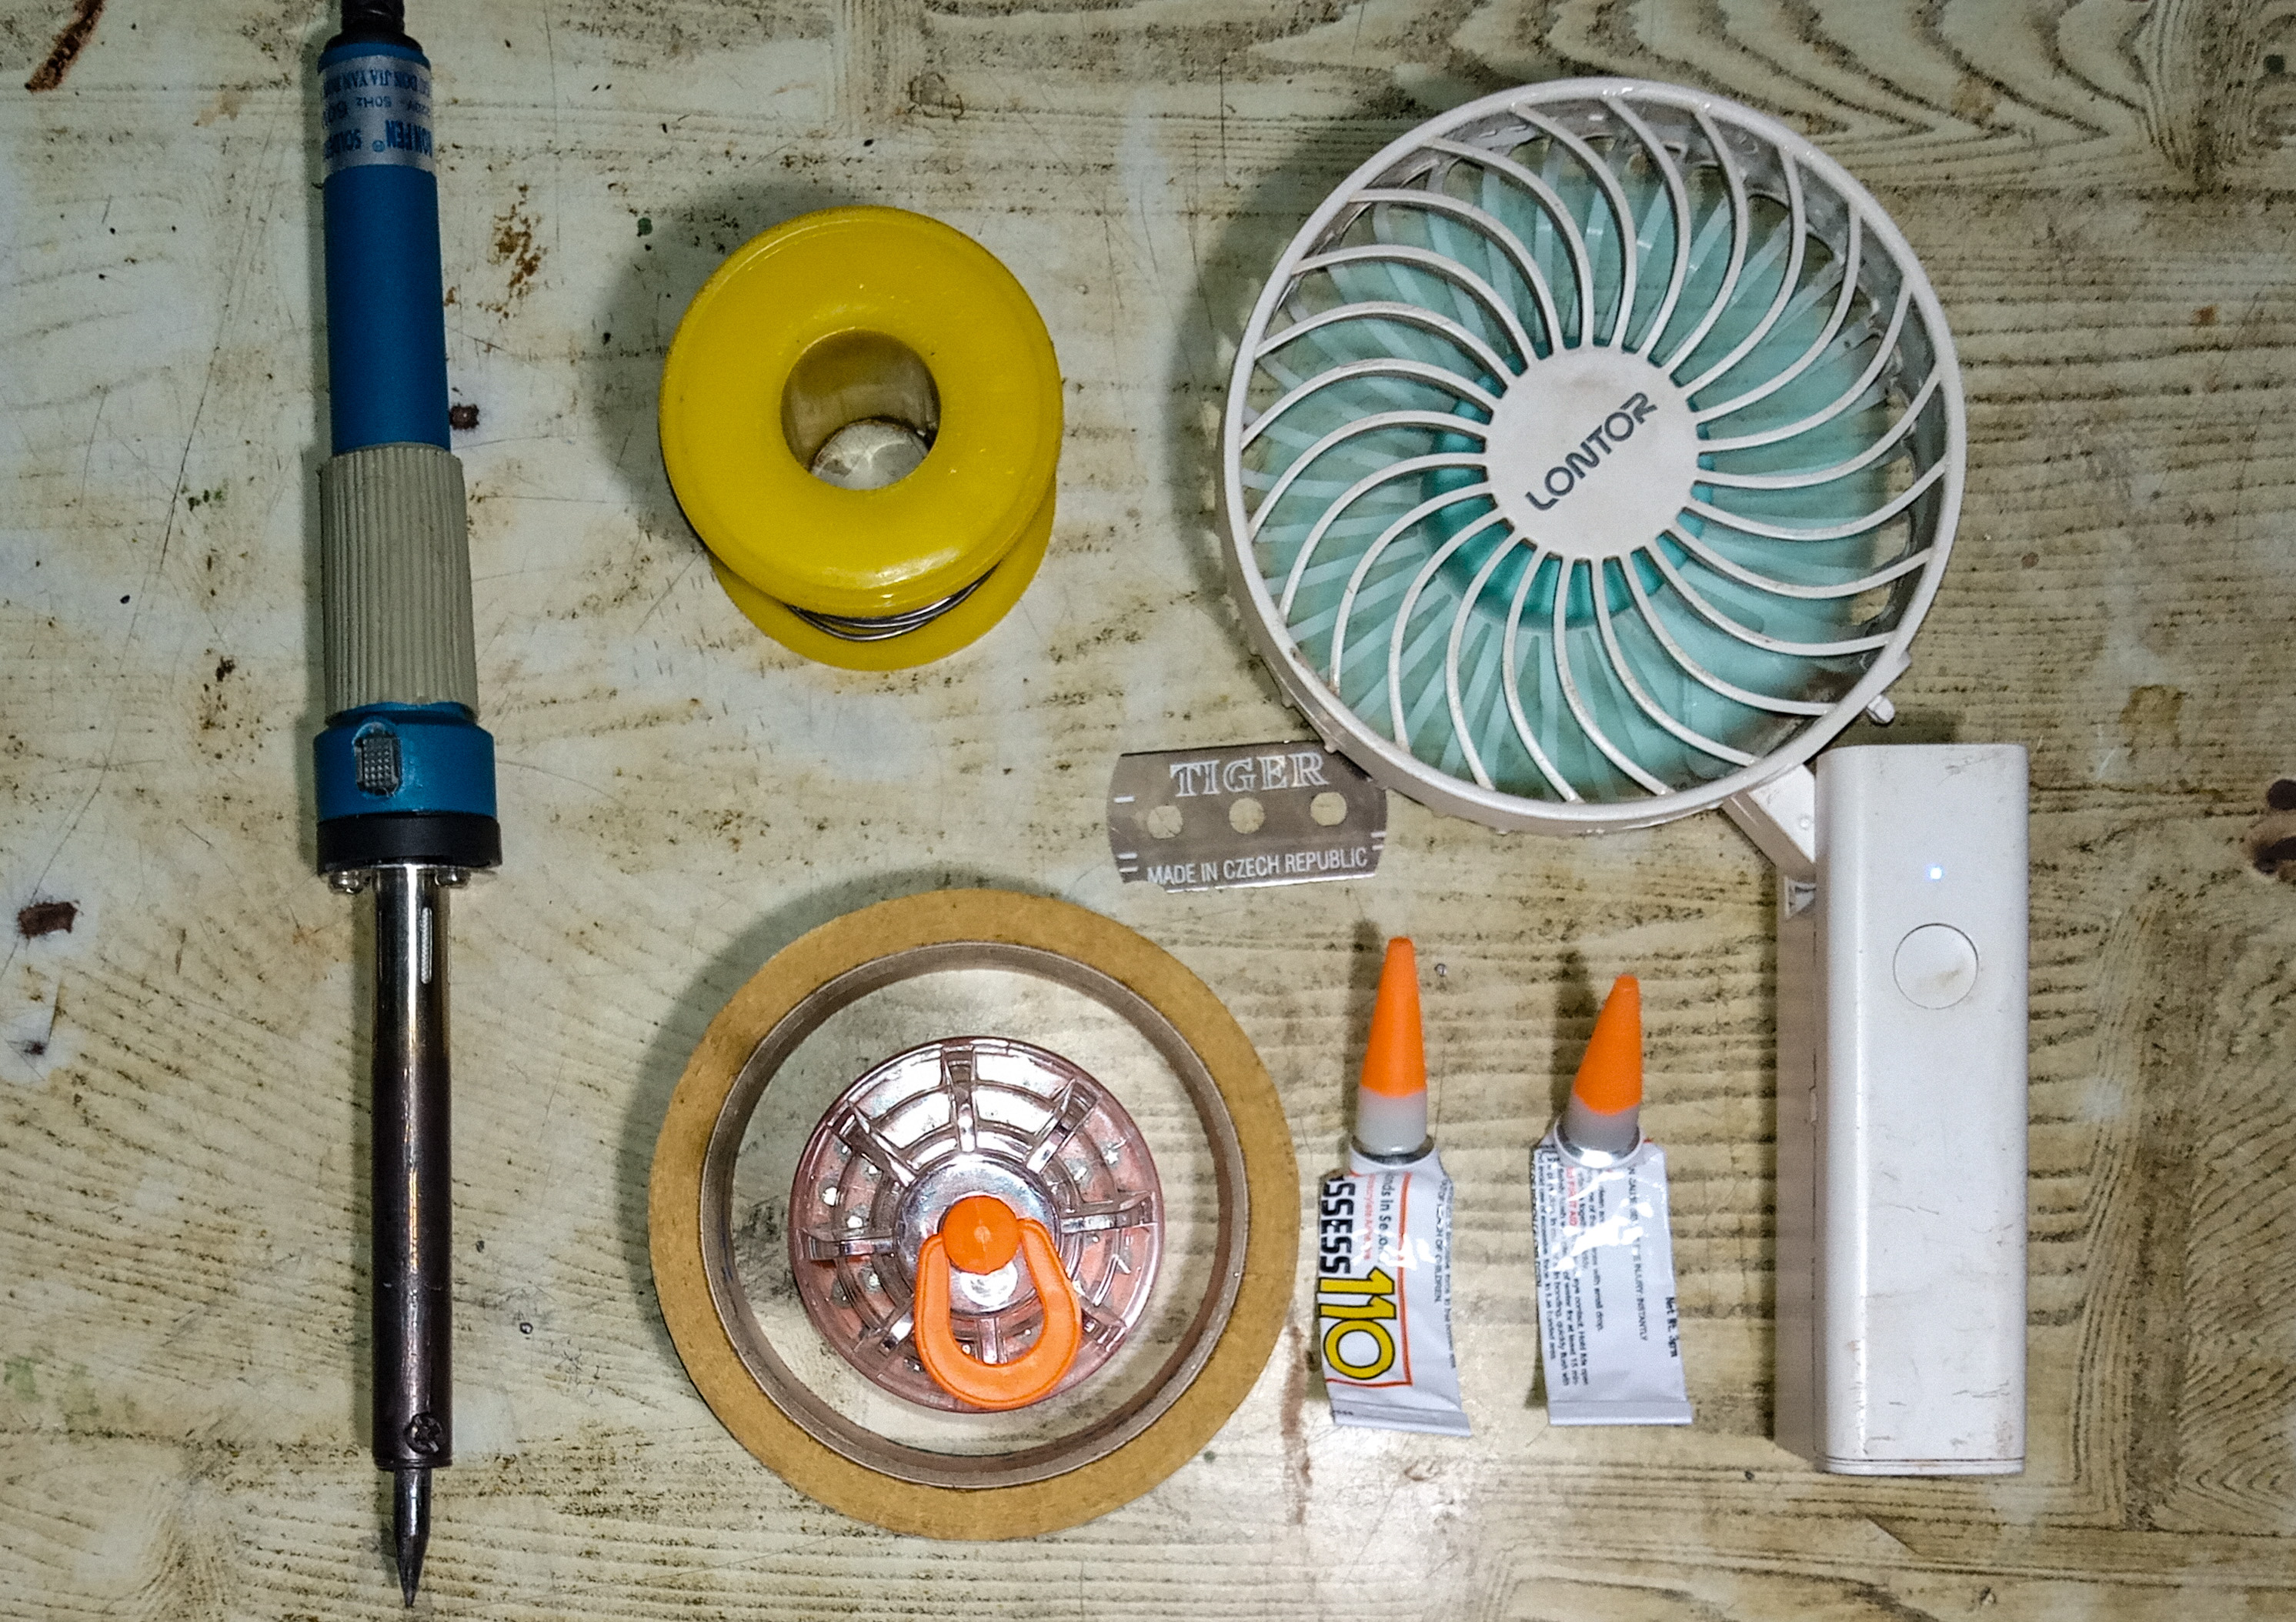
After joining back the connecting wires, it was now time to couple back the whole fan. I did that in less than two minutes, and that marked the last step. As you could see, I also displayed my set of screwdrivers in the image.
You could see the fan working perfectly fine already. You could also see all the tools I made use of. The soldering Iron and soldering lead, Super glues, A pair of blade, and my set of screwdriver. There you have it guys, how I fixed the hand mini fan. Thanks for reading till the end.
The field coil of the handy mini fan
...
BEST REGARDS
0
0
0.000
#posh twitter link - https://twitter.com/olowu_kayo/status/1277563683531567104?s=19
Thanks for your contribution to the STEMsocial community. Feel free to join us on discord to get to know the rest of us!
Please consider supporting our funding proposal, approving our witness (@stem.witness) or delegating to the @stemsocial account (for some ROI).
Please consider using the STEMsocial app app and including @stemsocial as a beneficiary to get a stronger support.
Thank you @steemstem
This is impressive I must say...mine has just been dirty for Long and I have been actually looking for a way to clean the blade.
I think I should be able to do that now without fear...lol
Thumbs up buddy..I really enjoyed reading this
Cleaning the blades are quite easy. You just need to be careful while opening the front cover. I'm glad you enjoyed reading my post. Thanks :D
Join the stemsocial community on discord to interact with other community members and stay informed or get any assistance you might probably need.
https://discord.gg/2fMnYj2
We hope to see more of your good works
Hopped in few days ago. Thanks