Home Automation System - Floorplan passo passo / Floorplan Step by step Pt1 ITA ENG
Forty-seventh chapter related to my migration from OpenHAB 2.5 to OpenHAB 3
In this video let's create a new floorplan page step by step on OpenHAB 3.
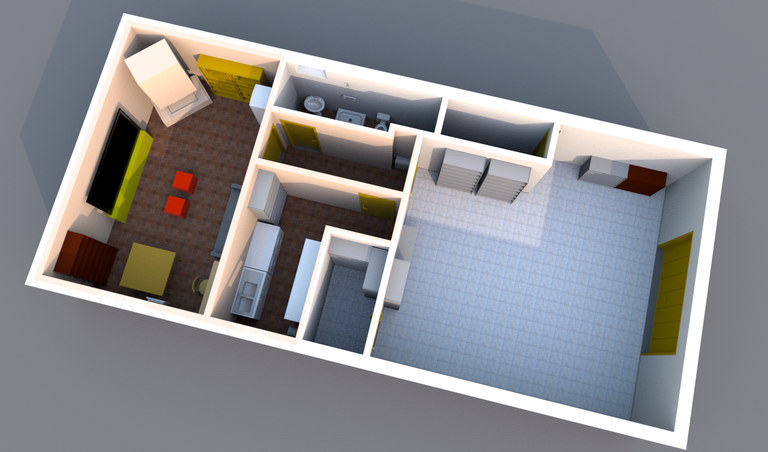
We already saw the floorplan page for ground floor in the previous video, now let's create the floorplan page for the basement, creating the background image and placing the markers for the lights.
In the next video we will complete the floorplan with temperature and humidity sensors and consumption monitoring.
This video does not presume to be a tutorial, but simply a step by step of what has been done to achieve the goal. I hope that it will help someone.
Enjoy your viewing
Quarantasettesimo capitolo relativo alla mia migrazione da OpenHAB 2.5 ad OpenHAB 3
In questo video vediamo insieme passo passo la creazione di una nuova pagina floorplan su OpenHAB 3.
Dopo aver visto, nel video precedente, il floorplan del piano terra, andiamo a creare il floorplan per il seminterrato, creando l'immagine di sfondo e posizionando i marker delle luci.
Nel prossimo video completeremo il floorplan con i sensori di temperatura ed umidità e il monitoraggio dei consumi.
Questo video non ha la presunzione di essere un tutorial, ma semplicemente uno step by step di quanto fatto per raggiungere l'obiettivo. La speranza è che possa essere d'aiuto a qualcuno.
Buona visione