Let's make a DNA molecule for the high school / Tutorial
Sometimes school assignments become a challenge to our creativity. It is an opportunity to be able to make wonderful things.
Today, I want to share how my son and I made a DNA molecule for his biology class. It turned out to be so cute!

Many years ago, when I studied in high school, I had to make a model of the DNA molecule. At that time there were not many materials to make crafts, so I had to do it with polystyrene balls
and toothpicks. The result was not very nice because the toothpicks came loose and did not gives stability to the structure.
However, time gave me the opportunity to guide my son in his project and look for materials that met two essential requirements to make a DNA molecule model: rigidity and flexibility at the same time. Quite a challenge!
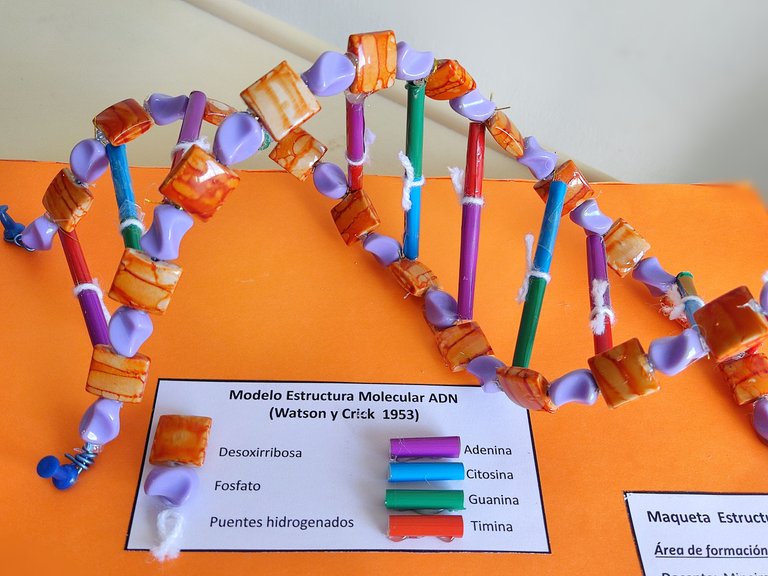
As this school project is based on the philosophy of learning by doing, to make a DNA molecule we had to take into account that it must represent the basic molecules that compose it, such as deoxyribose, the phosphate group, the pyrimidine bases (cytosine and thymine), the purine bases (adenine and guanine) and the hydrogen bonds. Therefore, each piece had to be found in order to make this project attractive and at the same time become an educational material.
Flexible wire
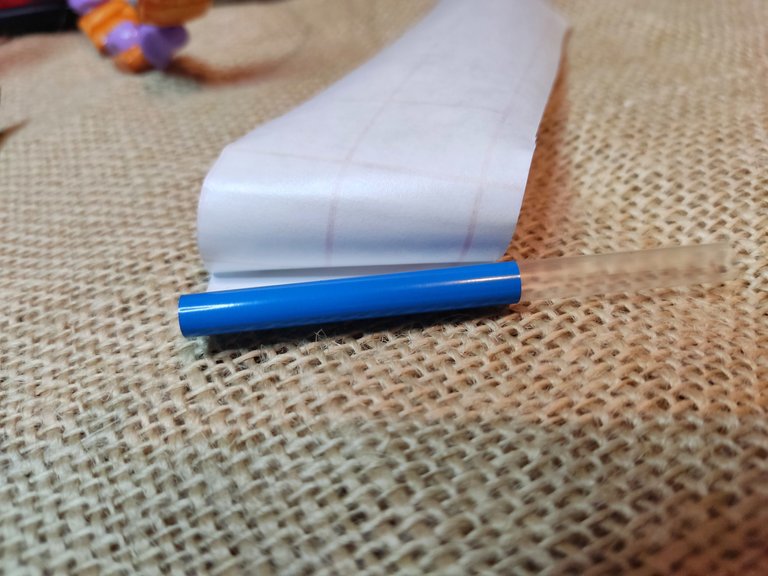
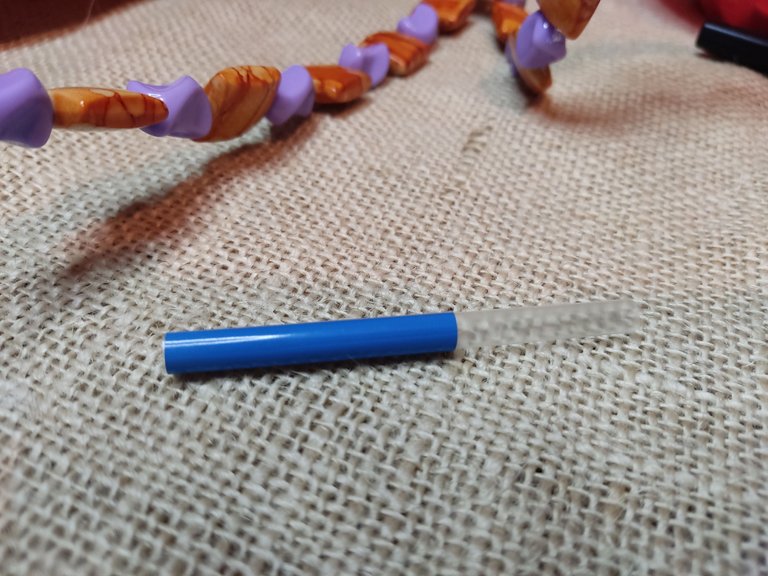
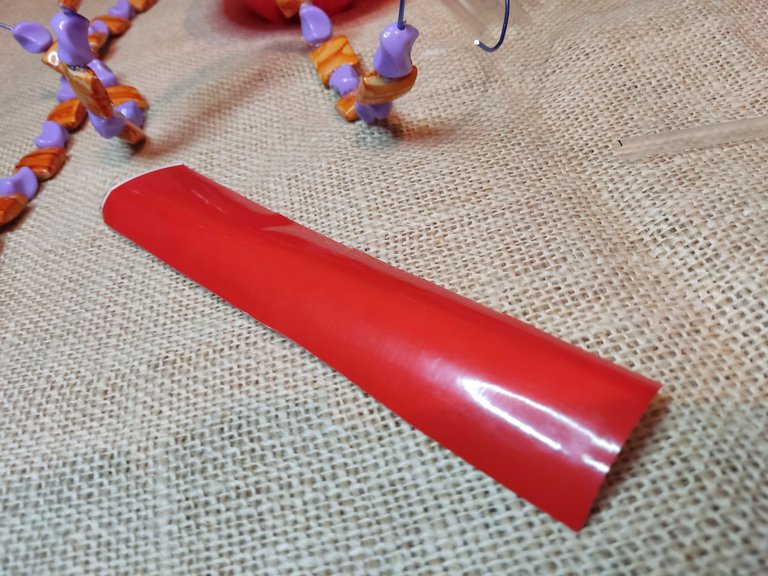
Colored adhesive paper
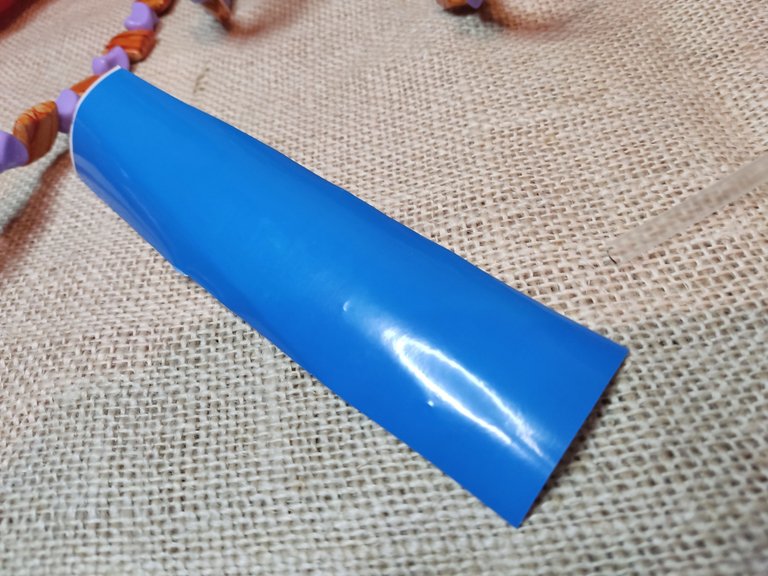
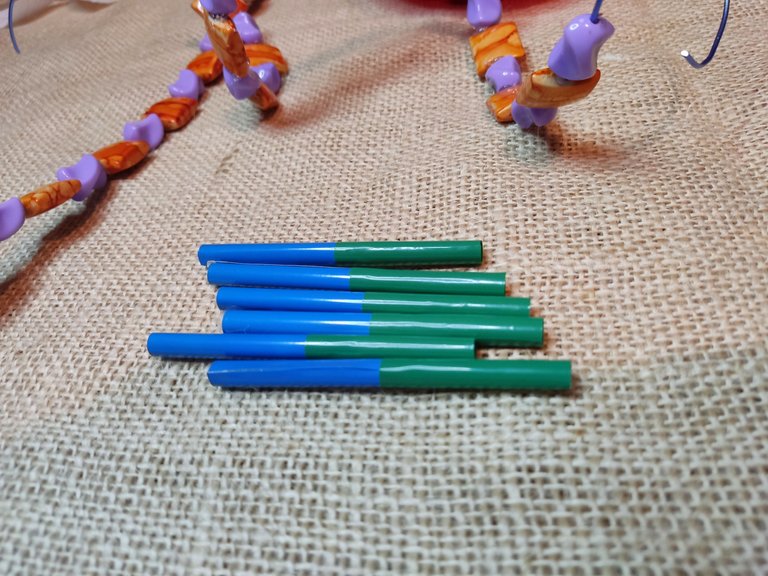
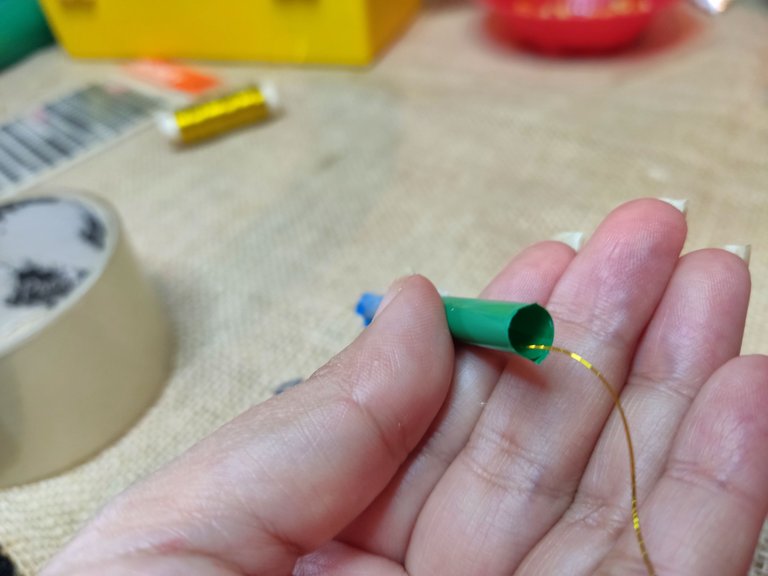
Drinking straw
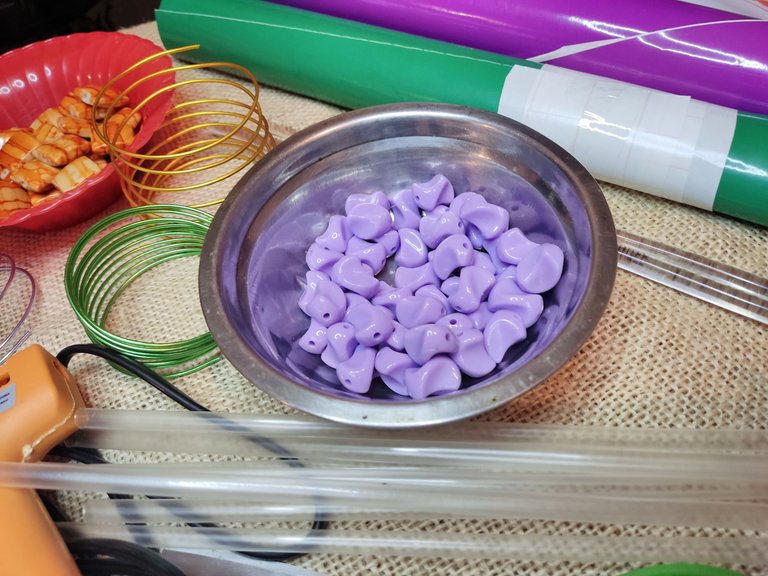
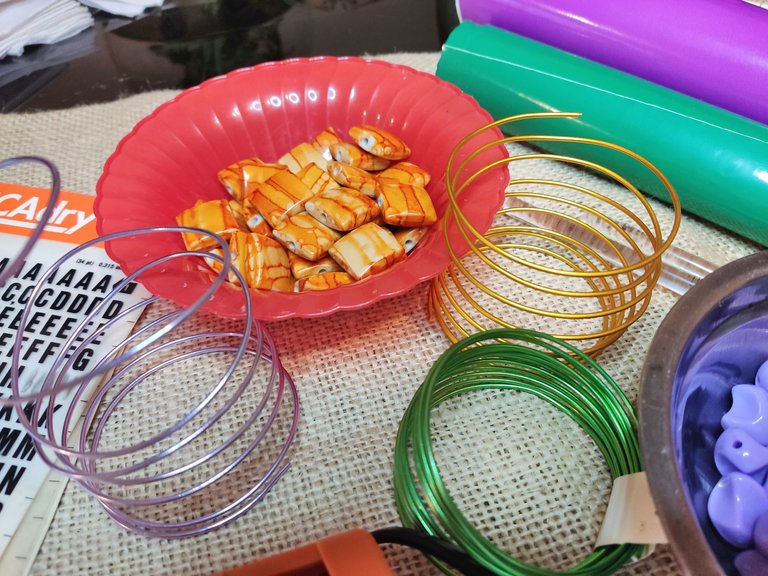
Bracelet beads
Silicone sticks
Silicone gun
wool
strong thread
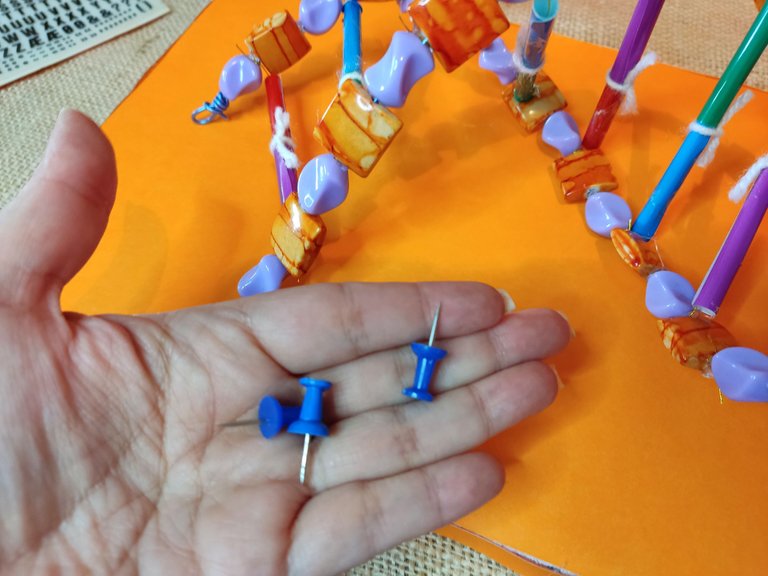
tacks
marker
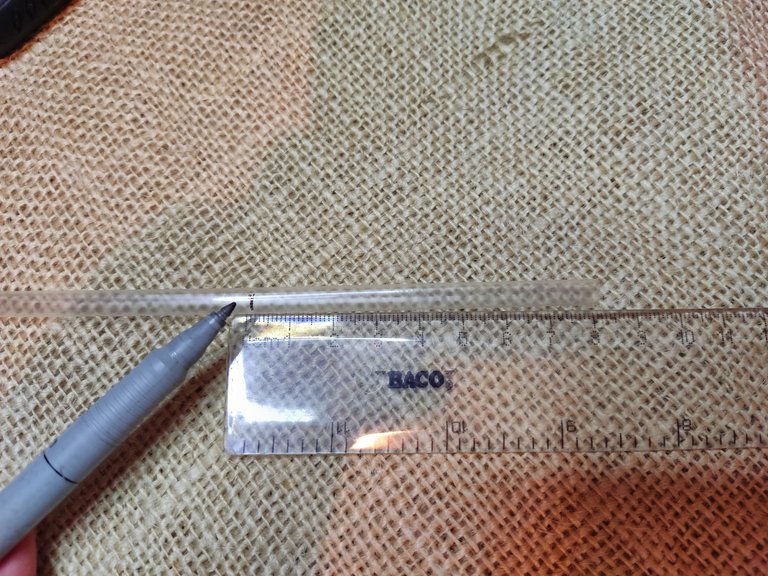
measuring ruler
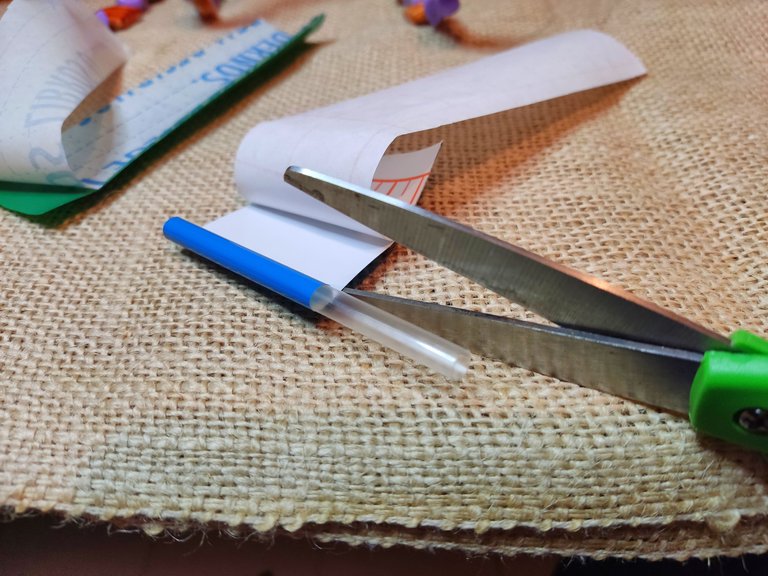
scissors
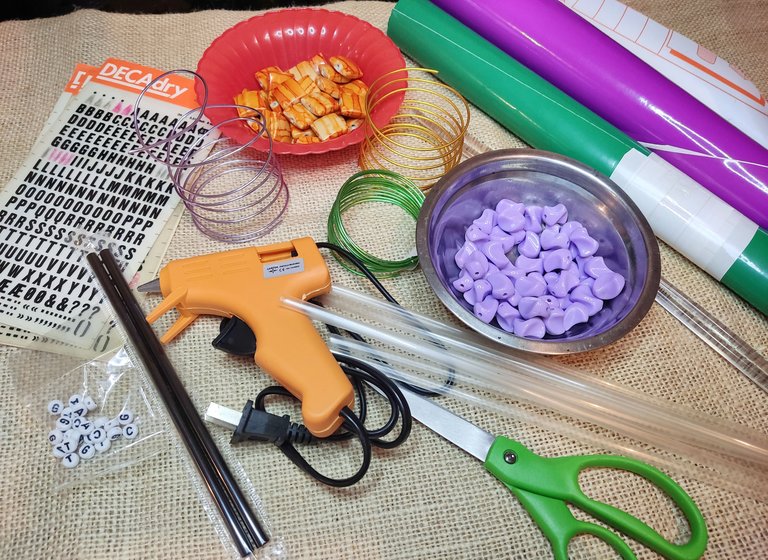
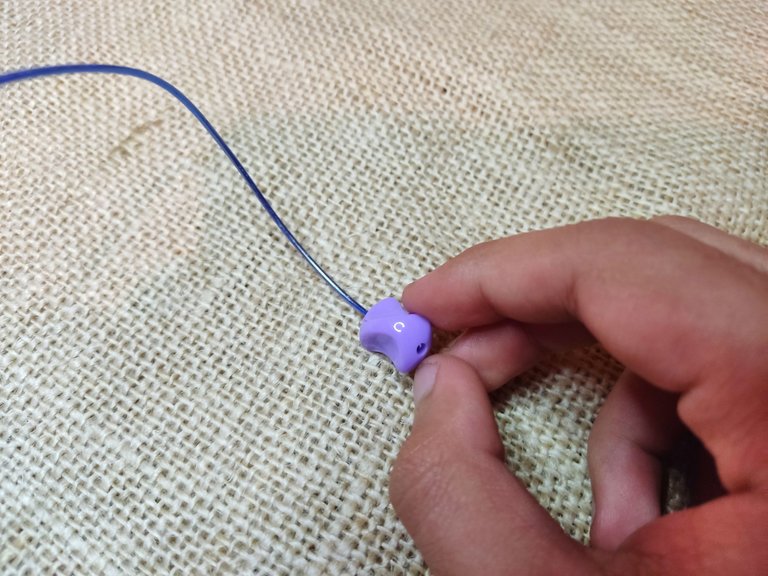
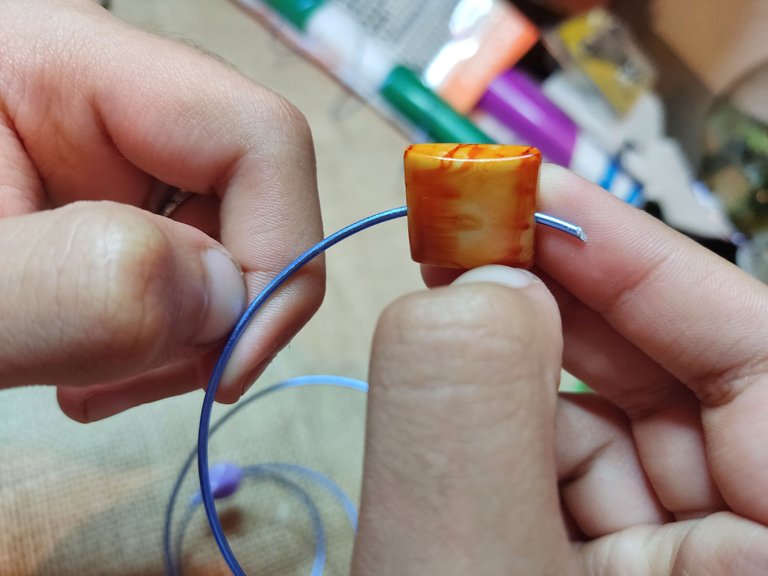
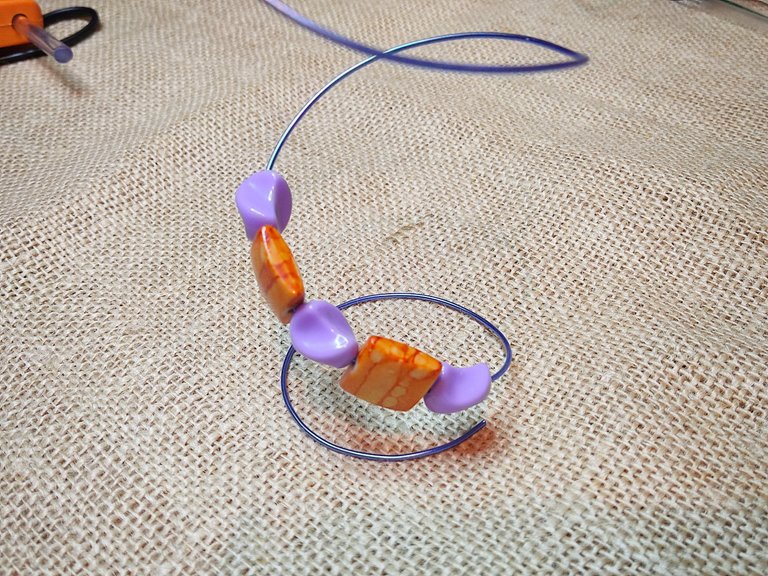
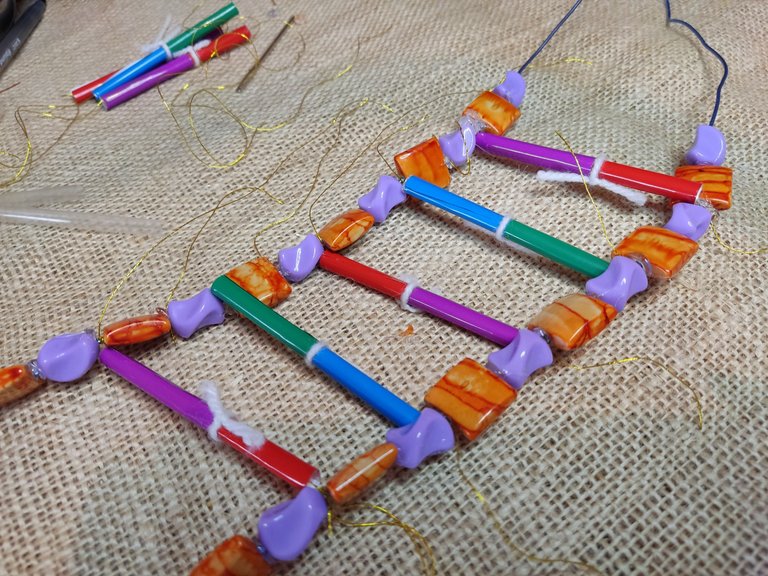
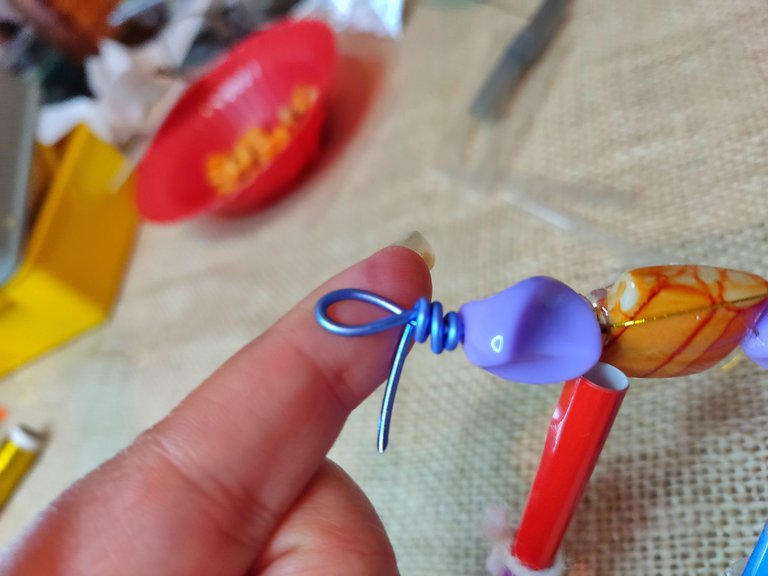
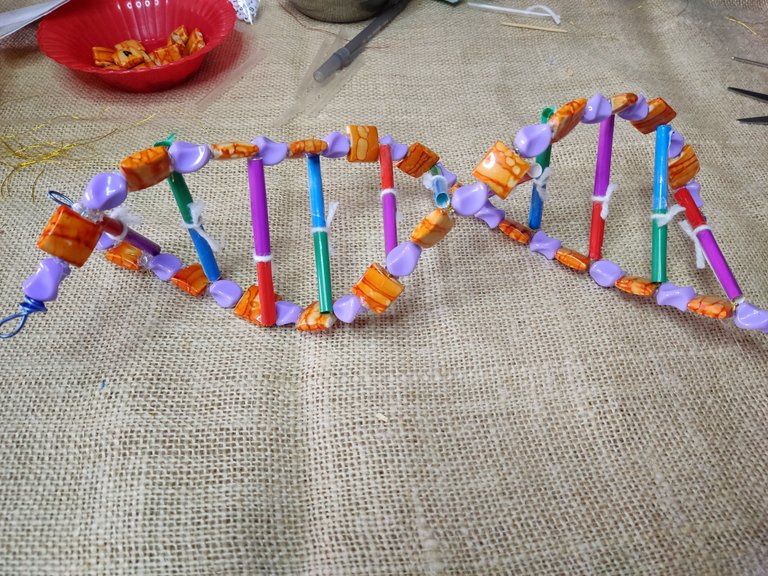
For making the DNA molecule, beads for bracelets are ideal because they have various shapes and come in many colors. They also have a hole that facilitates their insertion in a material that provides rigidity and stability to the molecule.
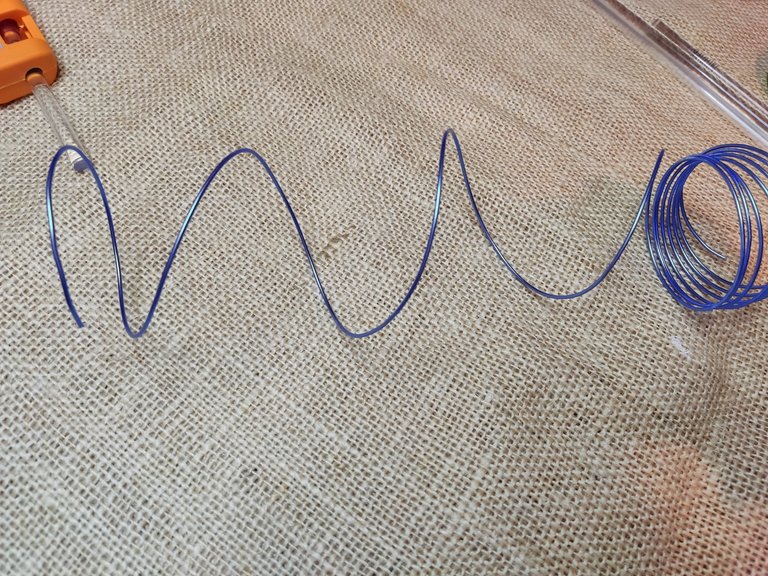
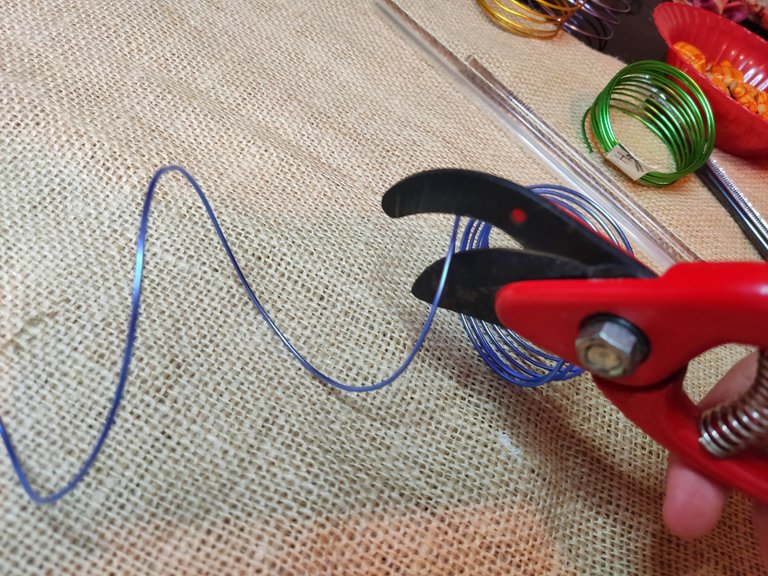
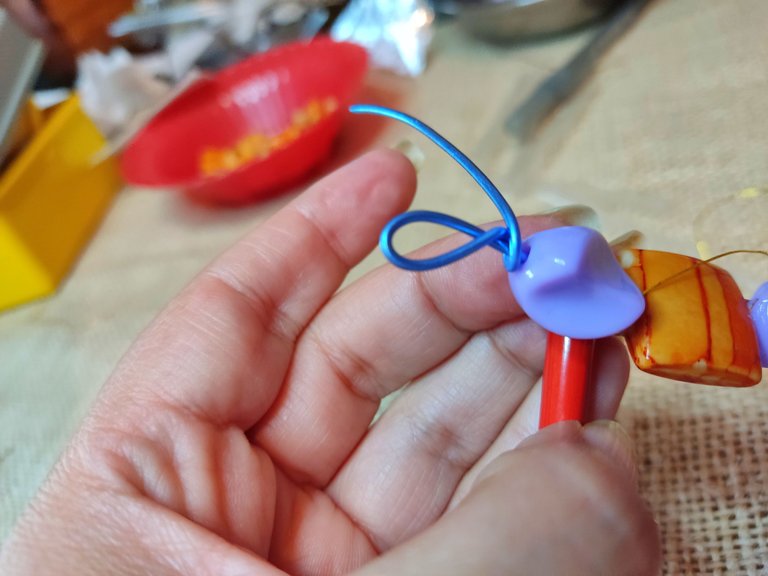
Another fundamental material is the wire. I recommend that you use a thick diameter wire (that goes through the hole of the bracelet beads) but flexible at the same time, that can be easily manipulated. In my country this type of wire is known as "memory". It comes in various colors. However, this does not matter much since the beads for bracelets will cover a large part of the wire.
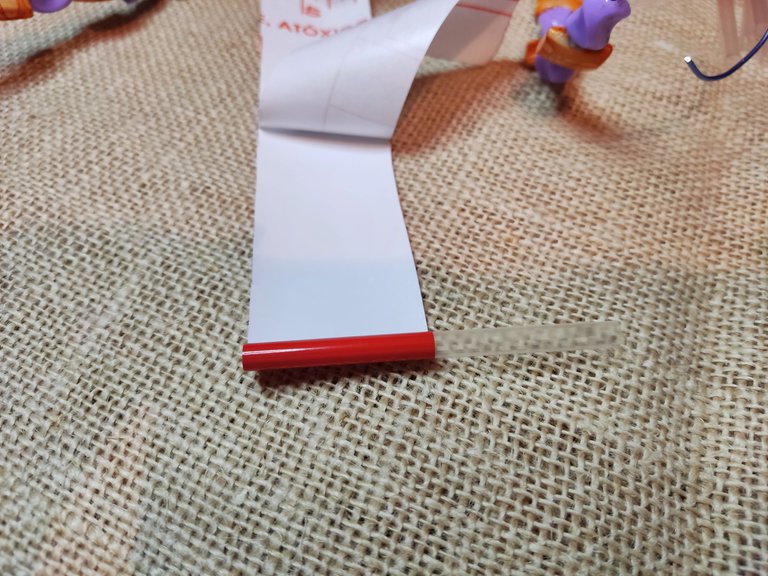
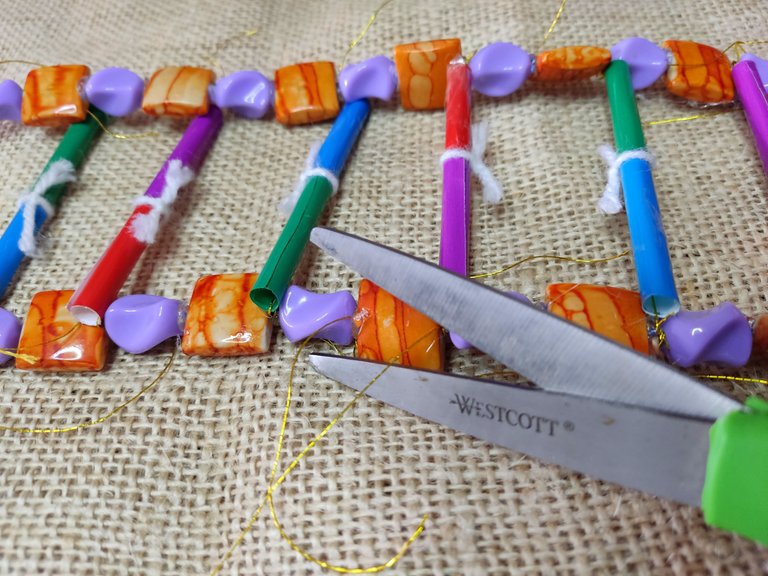
Cut off the excess adhesive paper using a pair of scissors.

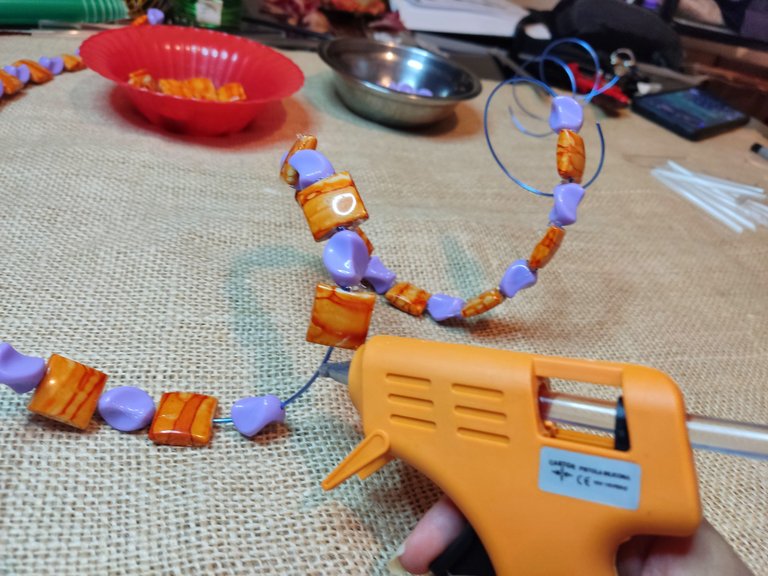
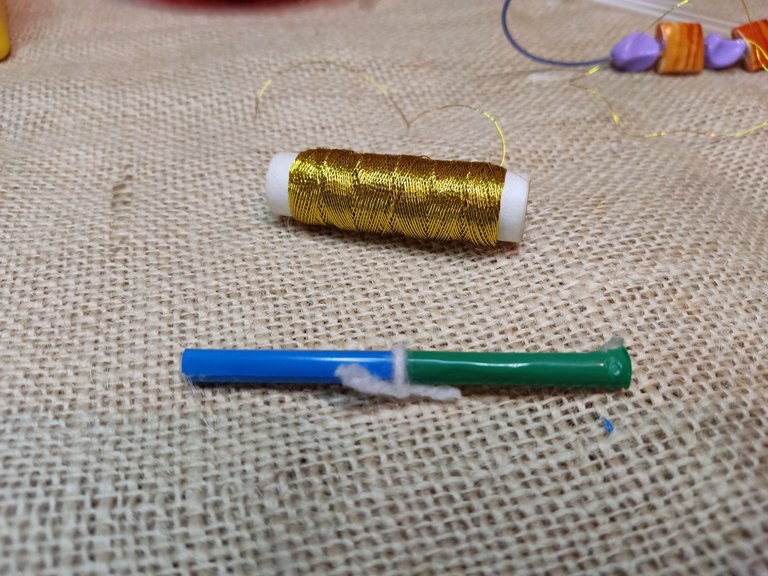
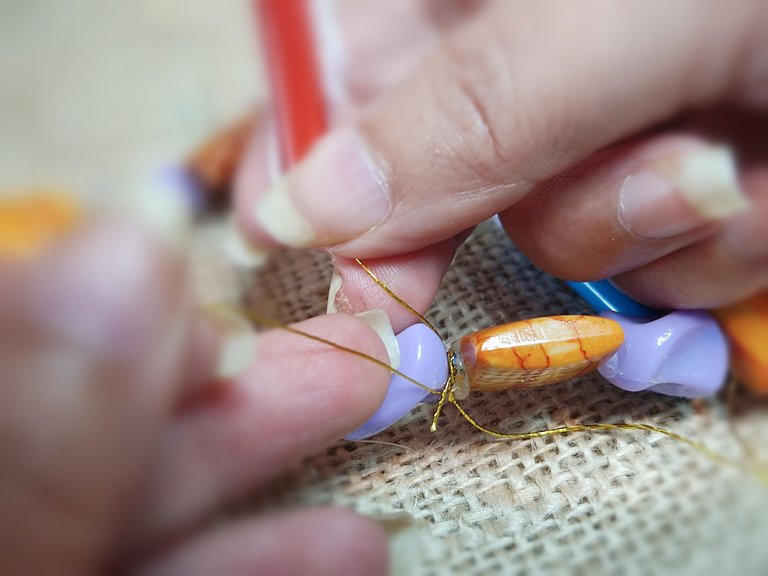
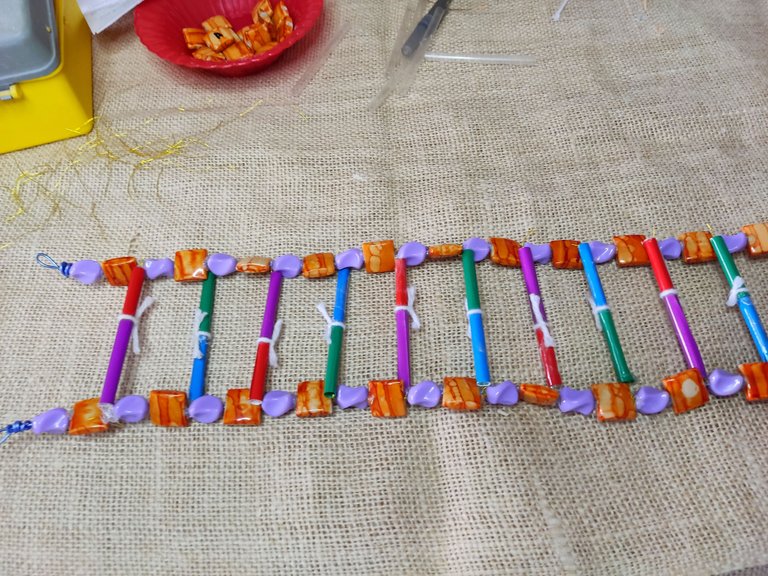
To connect the DNA bases to the wire we needed to hold them together without losing flexibility. At first, we tried to glue each base with silicone, but they came loose, so we decided to tie them with thread.
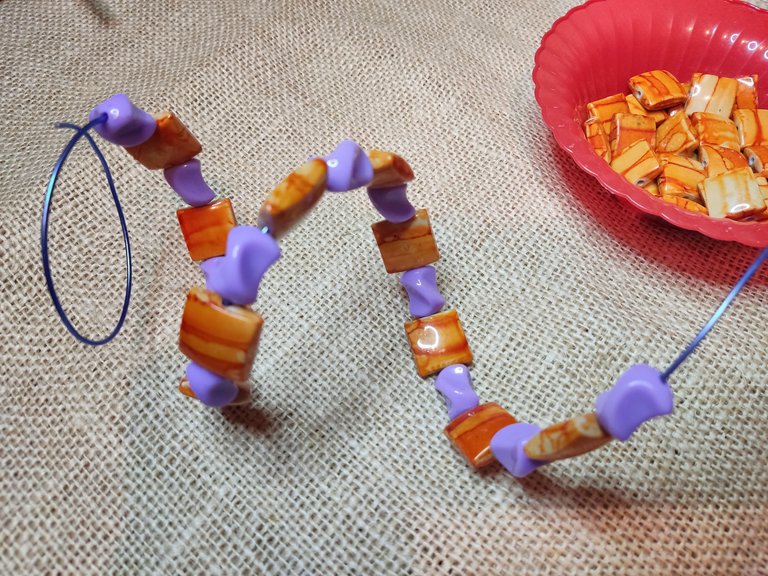
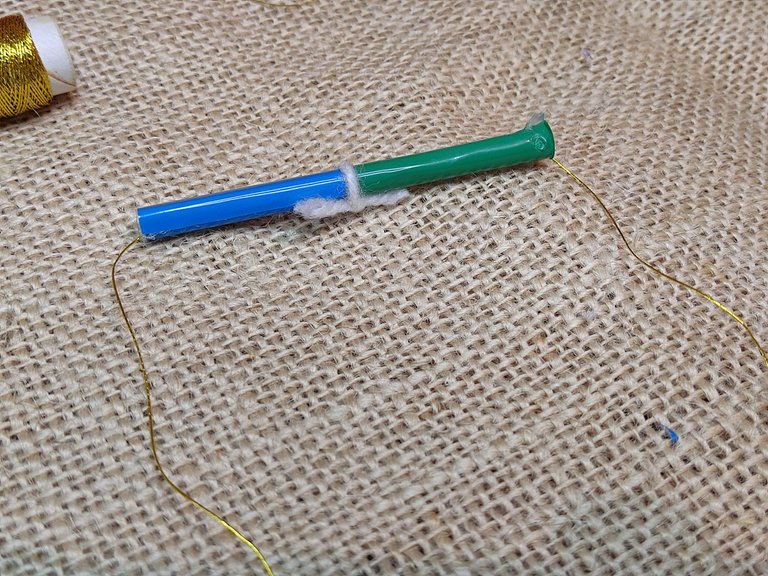
Before we continue, if you look closely at the pic, you will see that there is a piece of white wool tied in the center of the straw. Yes, this wool represents the hydrogen bridges responsible for the bonding between the two bases.
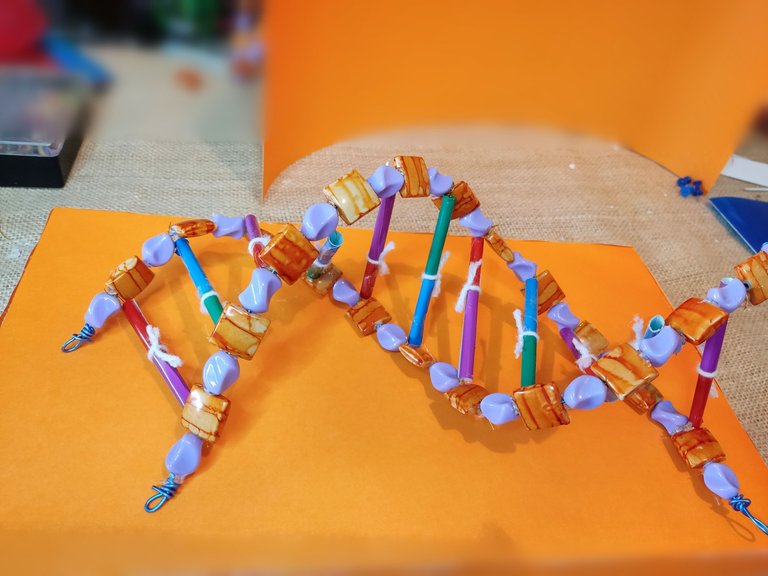
To exhibit our project, we place the DNA molecule on a smooth surface. The surface is a sheet of expanded polystyrene lined with orange paper. To fix the DNA molecule to the surface, we use long-tipped tacks.
For the final presentation, it is important to place the descriptive label on the model. It provides information about what each piece in the DNA molecule represents.
With this school project, my son and I accomplished a lot. My son learned the abstract concepts of DNA practically. As mother and son, we had a lot of fun and quality time despite doing a school assignment. We also put our creativity to work. That's why I wanted to share this experience with all of you!
All images are property of the author
(Camera cell phone: POCO X3 Pro, Xiaomi)

https://twitter.com/252821528/status/1620766842355871744
The rewards earned on this comment will go directly to the people( @chaodietas ) sharing the post on Twitter as long as they are registered with @poshtoken. Sign up at https://hiveposh.com.
Thank you for sharing this post in the DIYHUB Community!
Your content got selected by our fellow curator stevenson7 & you just received a little thank you upvote from us for your great work! Your post will be featured in one of our recurring compilations which are aiming to offer you a stage to widen your audience within the DIY scene of Hive. Stay creative & HIVE ON!
Please vote for our hive witness <3
Thank you @diyhub @stevenson7 very much for your support, I appreciate it.
❤️
😃
Nice, you done a great work with this beautiful outcome @chaodietas
Thank you 😃
Wooow! incredible!
I think we all go through that experience of not knowing what materials to make our DNA strand models with, this idea is completely genius! Great job!
Yes, the advantage today is that there is a great variety of materials. Thirty years ago we had to suffer with these school works. I confess that with this craft I was able to cure my 12 year old self since my molecule was a disaster 😂 😂😂
Thanks for your contribution to the STEMsocial community. Feel free to join us on discord to get to know the rest of us!
Please consider delegating to the @stemsocial account (85% of the curation rewards are returned).
You may also include @stemsocial as a beneficiary of the rewards of this post to get a stronger support.
Thank you for your support, I appreciate it!
!hiqvote
Thank you, you are very kind!
@danielhuhservice, the HiQ Smart Bot has recognized your request (6/5) but the daily limit has been reached or the mana is too low. Try again later.
As a consolation, @chaodietas gets !PIZZA from @hiq.redaktion.
For further questions, check out https://hiq-hive.com or join our Discord. And don't forget to vote HiQs fucking Witness! 😻