How to Crack Wall for Electrical Conduit Piping Tutorial
Whenever we are to wire our house, we must make sure that the electrical engineer or technician has the required skills to do the job. This is because if the electrician fails to wire the house properly, life and property may be lost in the future from the house he/she wired. Based on how important it’s for us to wire our house professionally to avoid damages in the future. I’ll be talking about how you can crack your wall before conduit piping.
You must understand that cracking of walls before an electrical conduit piping is very important. This is because the areas which will be cracked from the wall will determine where the conduit pipe will pass through. And the spaces after the cracking of the wall and piping will determine where the wire will pass through for electrical wiring and fittings. If the cracking of the wall was properly done, the electrical piping will be very easy to do and will give a positive result.
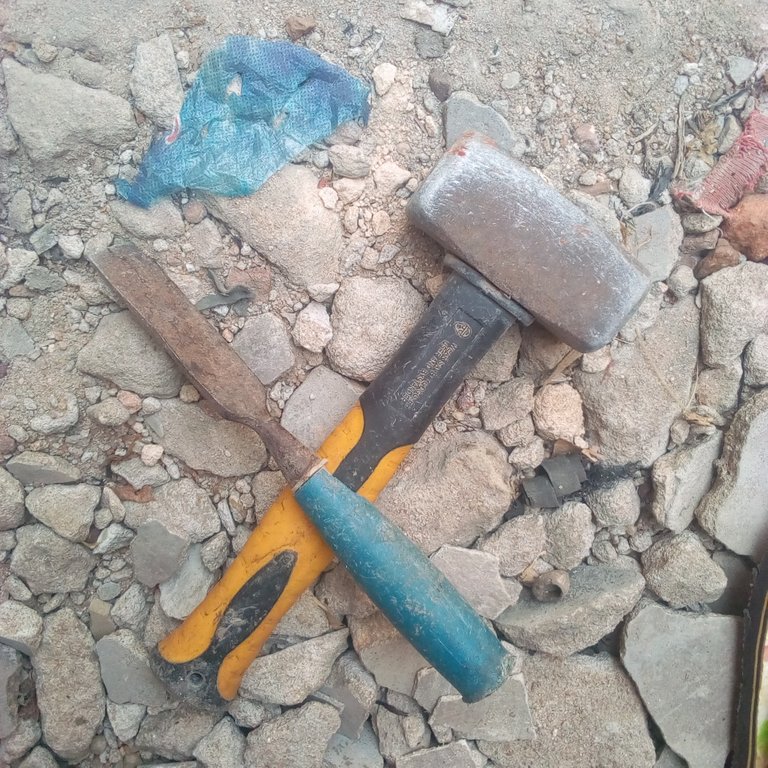
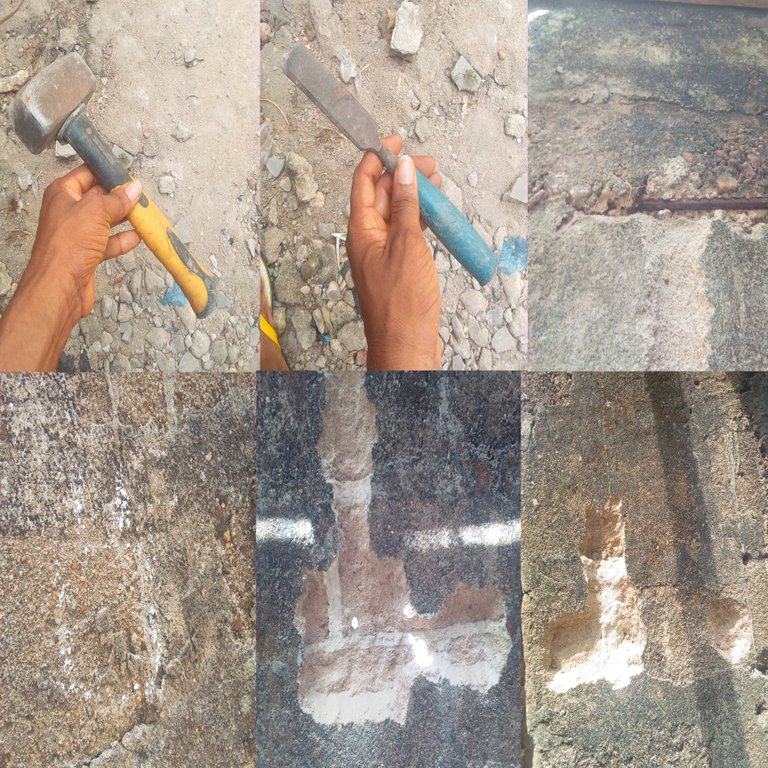
Materials that will be used for the cracking of the wall:
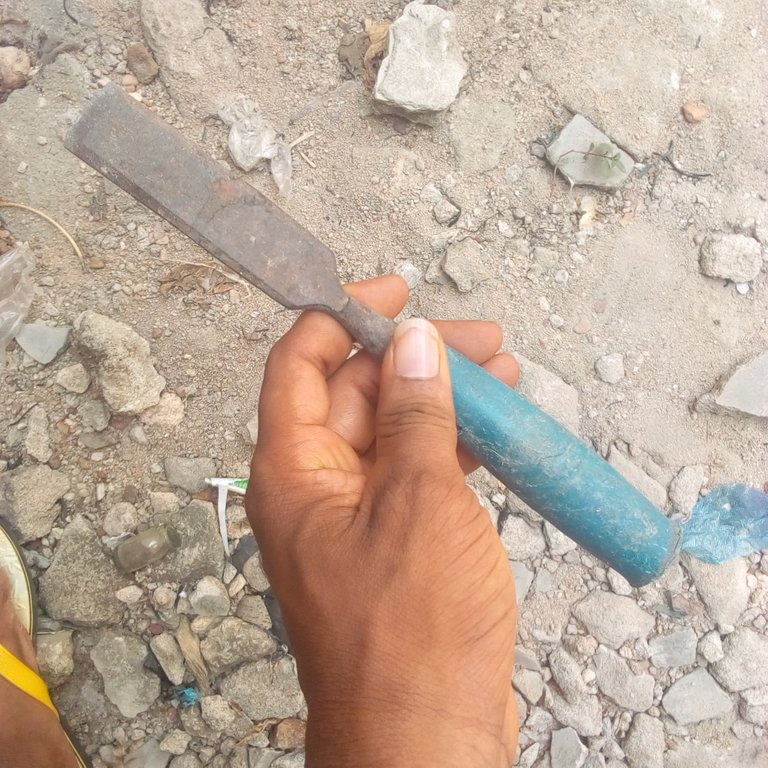
Chisel.
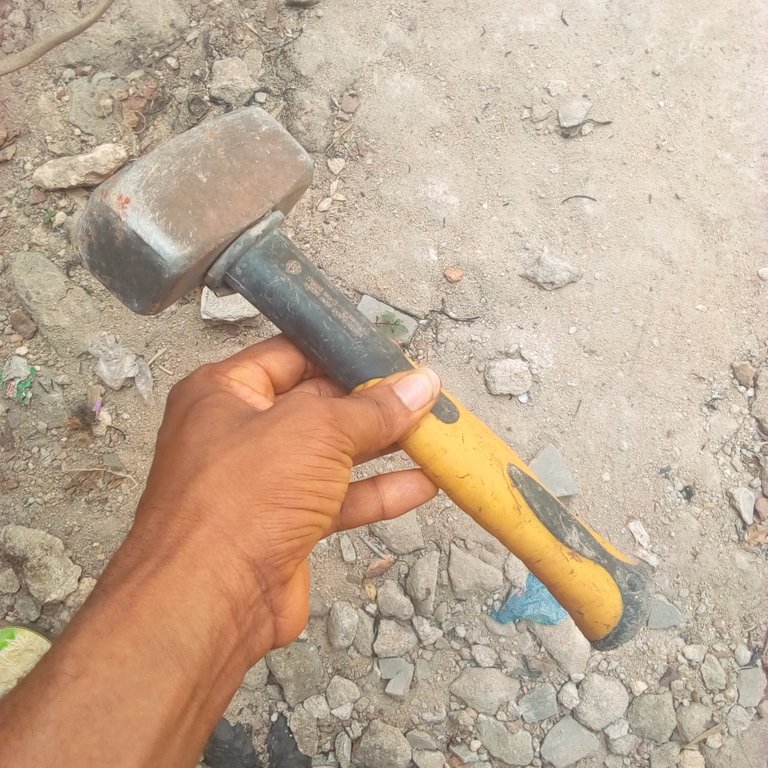
Hammer.
Procedures used in cracking the wall:
Step One:
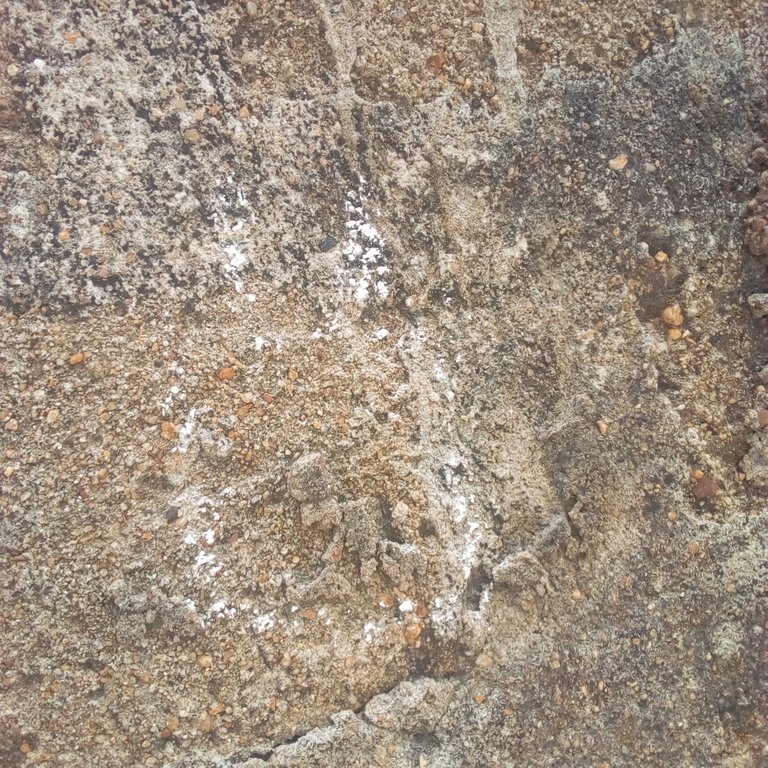
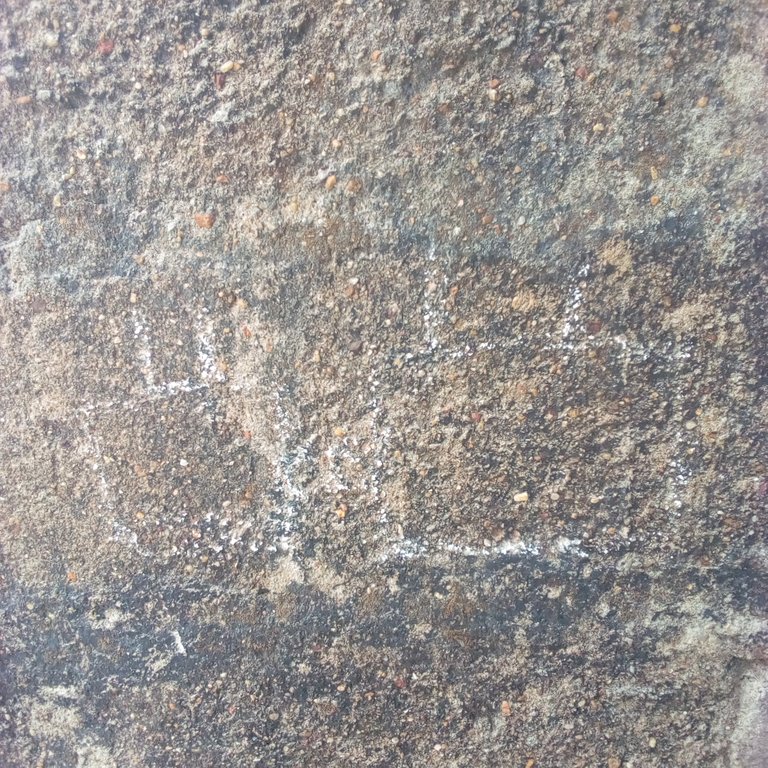
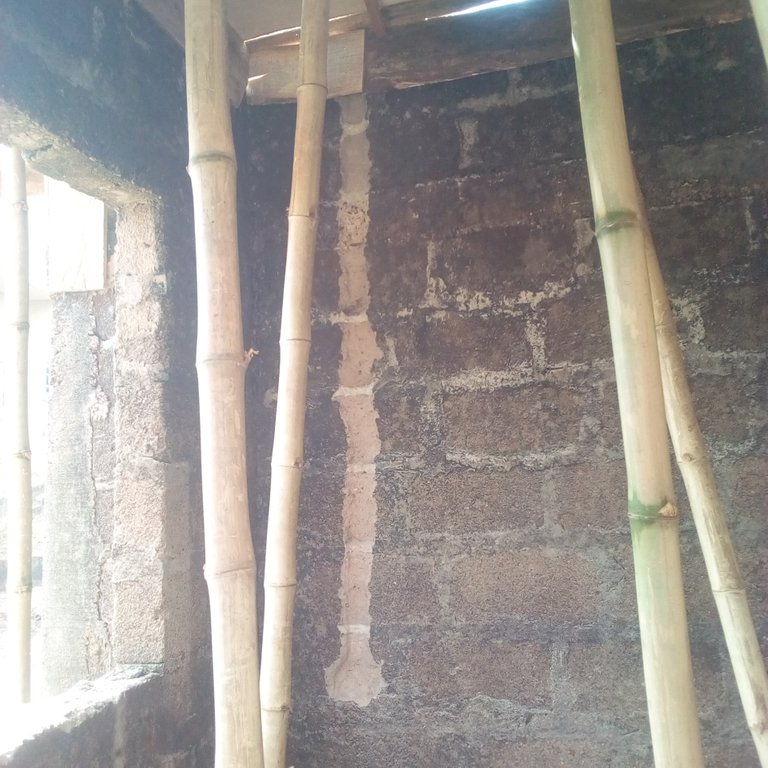
What you have to consider is sketching the wall. Here I used chalk to sketch the wall. Remember that whenever you’re sketching a wall for conduit electrical piping. You must make sure that the sketch matches the electrical piping plans. Wall electrical conduit sketching is regarded as the primary aspect of electrical conduit wiring through cracking of wall that must be followed accordingly in order to achieve a proper electrical conduit piping.
Step Two:
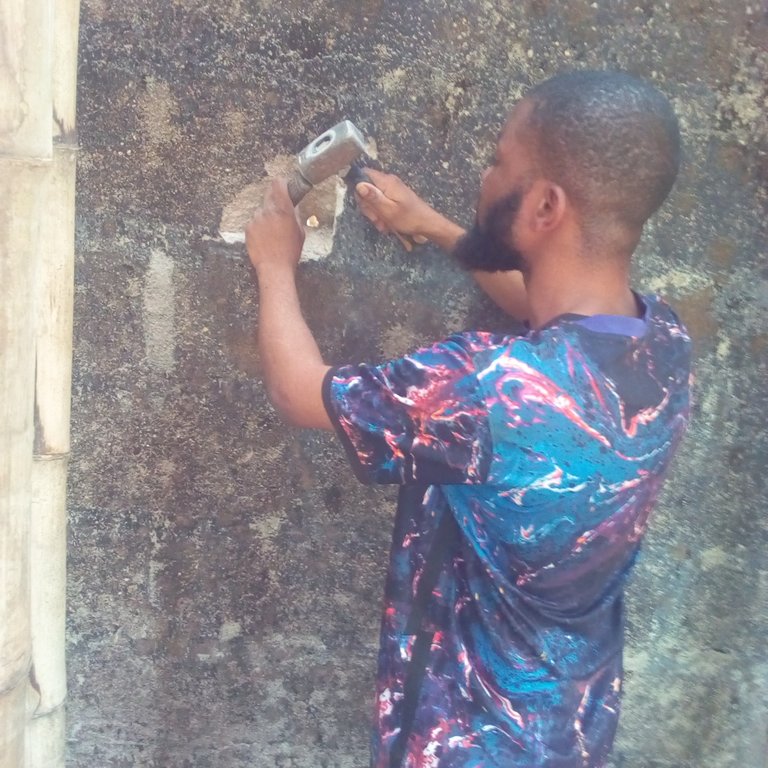
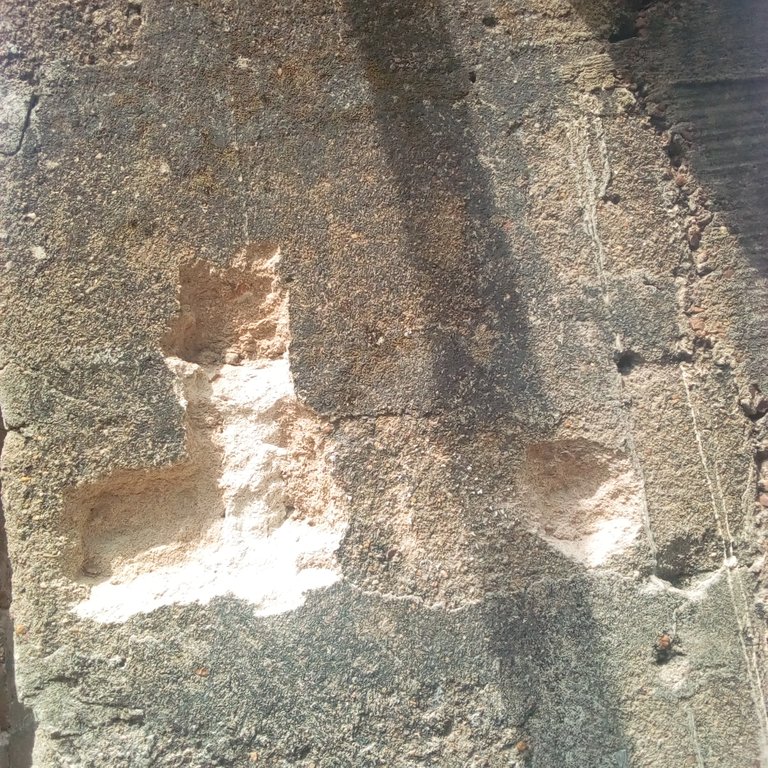
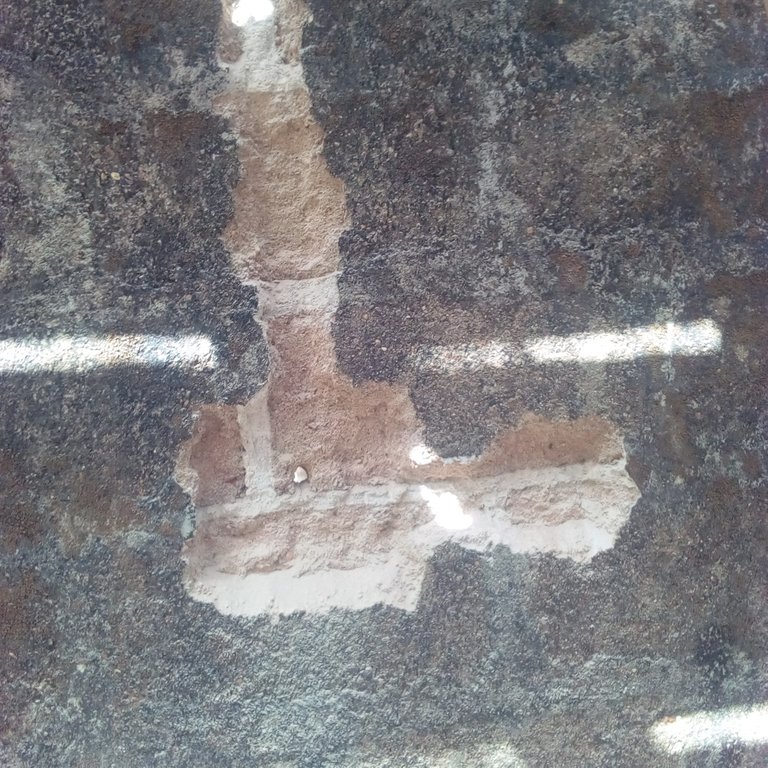
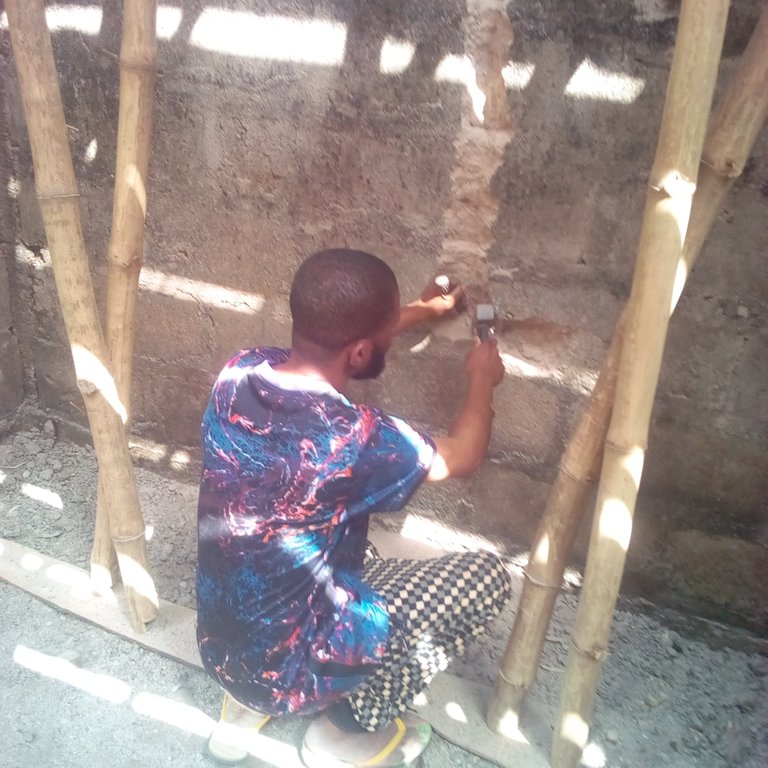
After sketching the wall with chalk, the next thing was to start cracking the wall based on the sketch plan. Now, I have to use the hammer and chisel to crack the walls. Whenever you want to crack a wall for electrical conduit piping, you have to start cracking the wall from the downside before you can use a ladder to crack the top side.
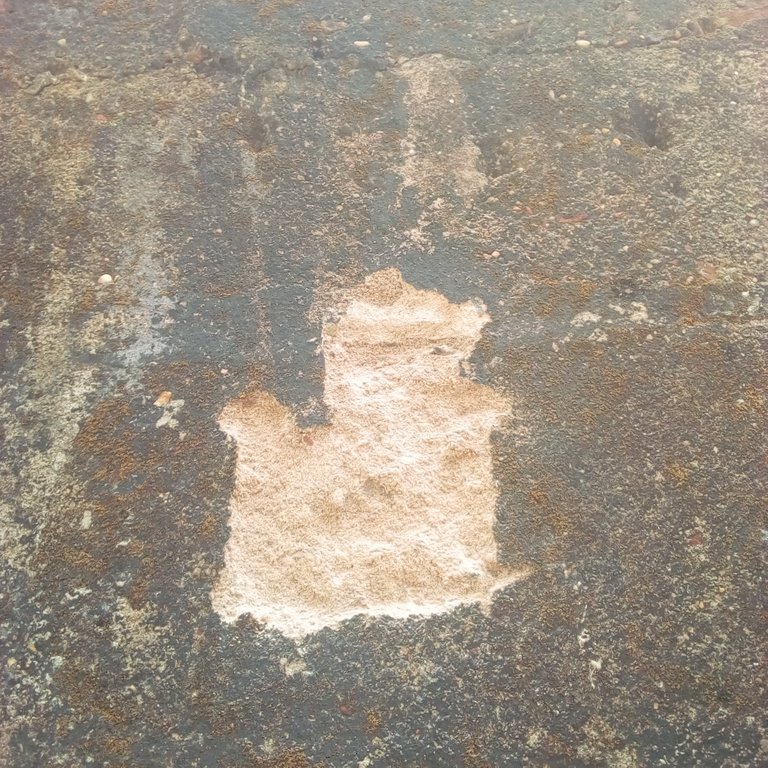
Here, I have to use the chisel and hammer to crack the spaces for a 3 by 6 and 3 by 3 knockout box for a socket, 3 by 3 and another wall gang for off and on of a light, the space for air conditioning 3 by 3 knockout box, cooker unit space in the kitchen, heater space in the bathroom, space for 2 ways distribution board, and again generator and electricity lopping spaces.
Step Three:
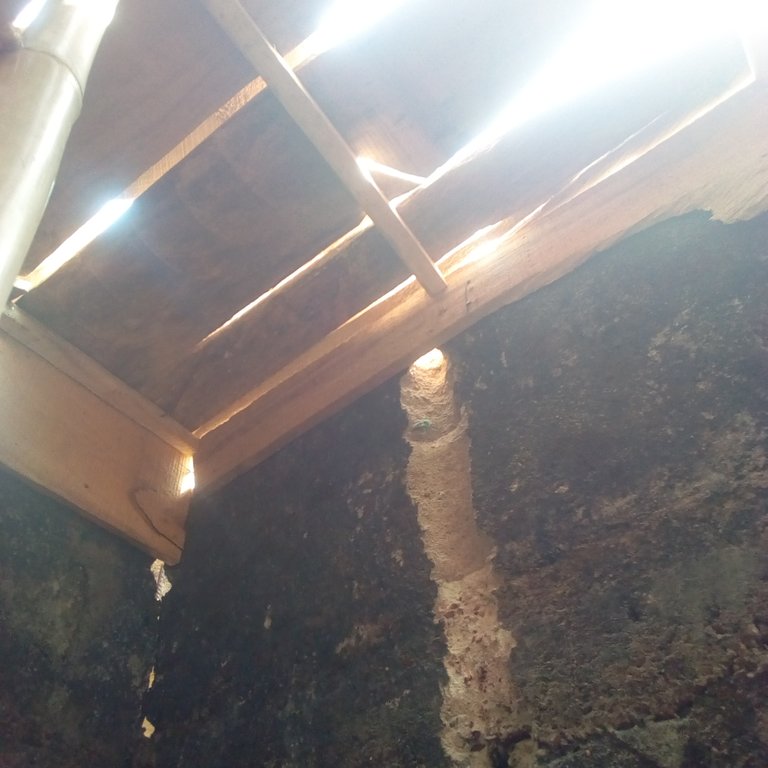
After cracking the wall from the downside, I now have to make sure that I place my ladder. The reason is that the ladder will help me crack the remaining wall which was sketched. I have to crack the wall to the decking level. The reason for cracking the wall till the decking level is that the conduit piping from the distributing board will have to pass through the decking before it could get to the socket, gang, and other areas in the house.
Step Four:
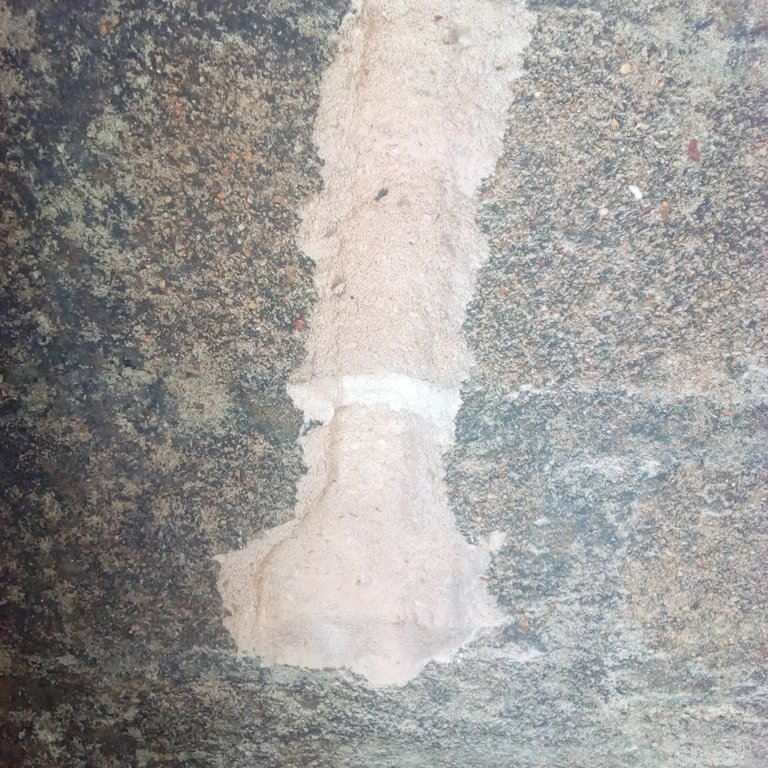
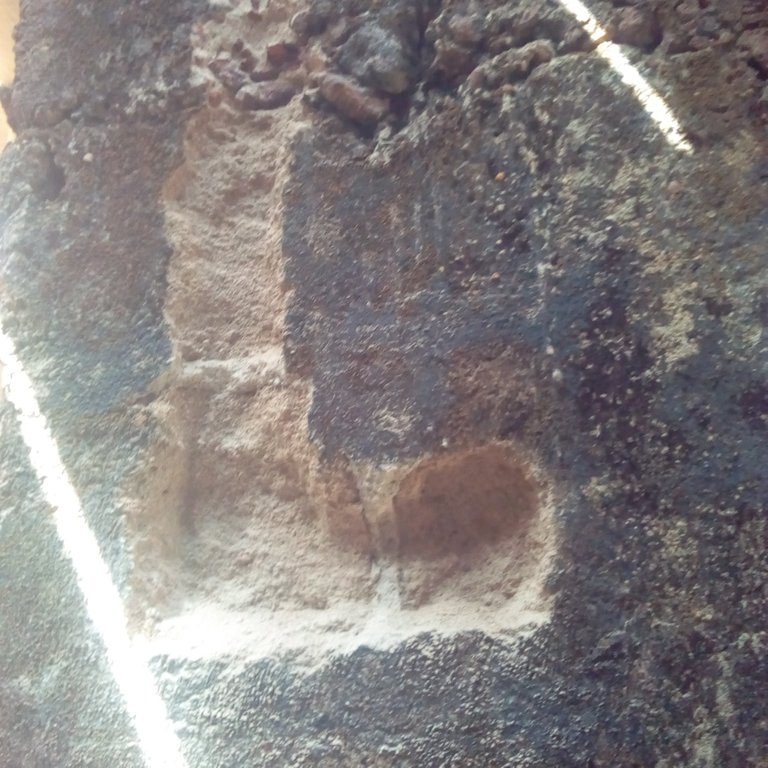
Any time you finish cracking your electrical conduit wall, make sure that you dress the line spaces where you cracked. Use the chisel and hammer to do just that. The areas at which knockout boxes, cooker units, distribution boards,s and others will enter must be neat. The reason why you must dress the cracked wall is to make the wall straight and clean so that when piping, it’ll be easy to do.
Thank you for sharing this post in the DIYHUB Community!
Your content got selected by our fellow curator ashikstd & you just received a little thank you upvote from us for your great work! Your post will be featured in one of our recurring compilations which are aiming to offer you a stage to widen your audience within the DIY scene of Hive. Stay creative & HIVE ON!
Please vote for our hive witness <3
Thank you, friend.
Yay! 🤗
Your content has been boosted with Ecency Points, by @apunawu.
Use Ecency daily to boost your growth on platform!
Support Ecency
Vote for new Proposal
Delegate HP and earn more
You have done a clean job by providing us with the tutorial on how to crack wall for electric conduit piping.
Congratulations @apunawu! You have completed the following achievement on the Hive blockchain And have been rewarded with New badge(s)
Your next payout target is 4000 HP.
The unit is Hive Power equivalent because post and comment rewards can be split into HP and HBD
You can view your badges on your board and compare yourself to others in the Ranking
If you no longer want to receive notifications, reply to this comment with the word
STOPCheck out our last posts: