Electrical Staircase Conduit Piping Tutorial
House electrical wiring is very important in our daily life. This is the more reason adequate measures have to be considered before wiring our house. The materials to be used for the wiring of our house have to be of quality. The electrical engineer or technician must have the required experience before we can consider hiring him/her to wire our house. Mind you that if a wrong electrician wires your house, there’s every tendency that your house may burn and when this happens, life and properties may be lost. Always go for the best when wiring your house.
After I considered the above statement, I decided to share with you an upstairs contract given to me by a close Building Engineer. I know that most people are not aware that I acquired a trade test certificate in electrical before I started University. My problem with electrical work is that it doesn’t come frequently like shoemaking and jewelry which gives me an income on daily bases. But whenever I see electrical work after months, I’ll still grab the opportunity.
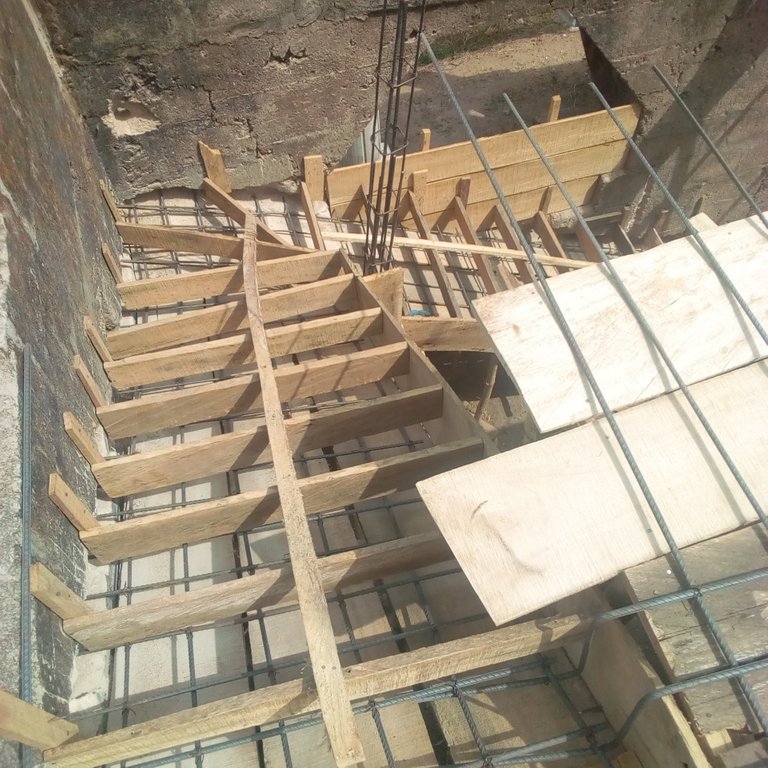
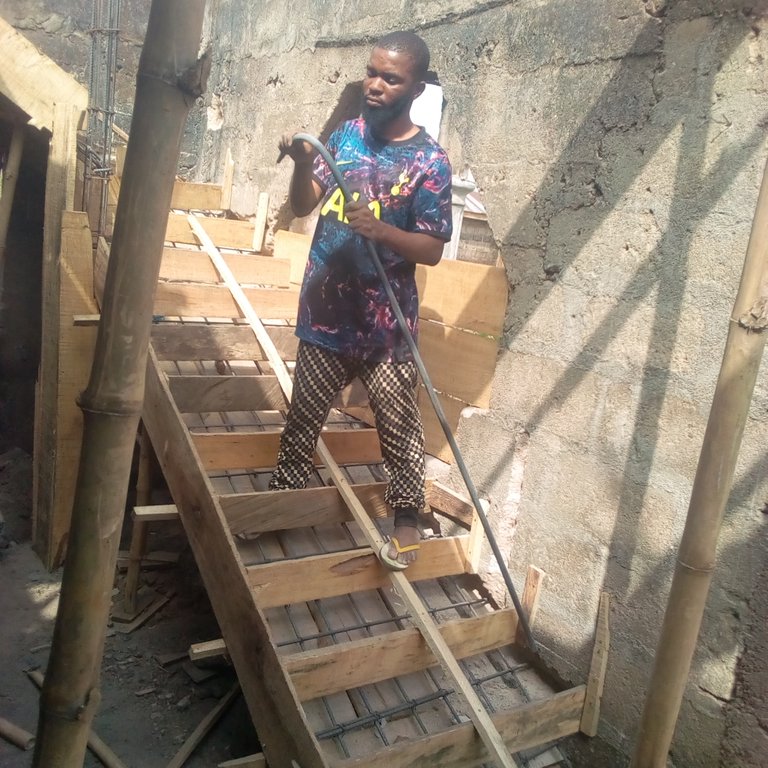
The building is still under work with carpenters trying to put wood at the top of the first floor before the rod for decking will be arranged by iron benders. But the building Engineer instructed that the carpenters and the iron benders first construct the staircase since that is where to match during the pouring of concretes during decking. This is why decided to show you how to pipe a staircase before it could be cast with cement.
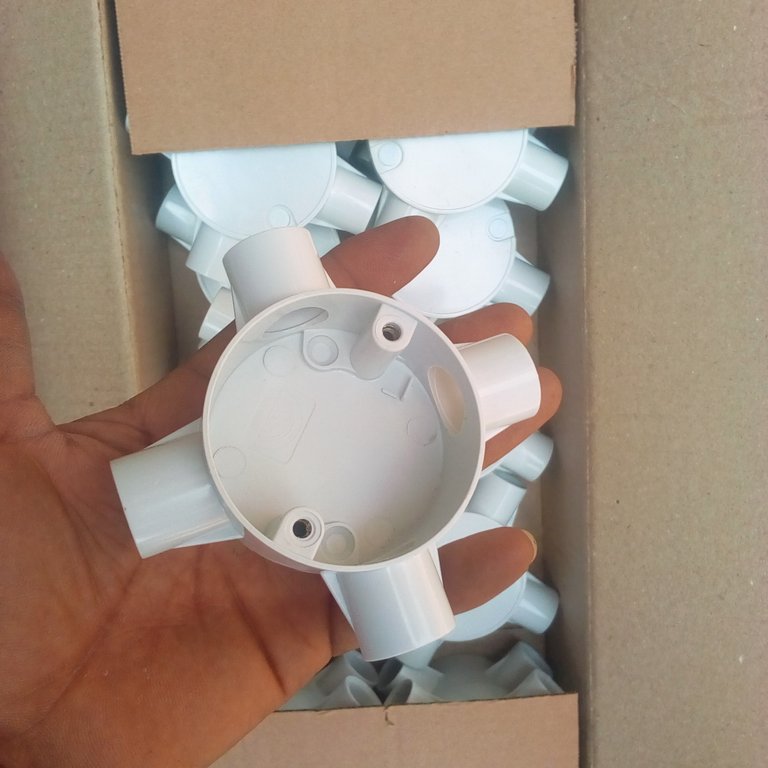
The reason for the conduit pippin of the staircase is to enable the staircase to have light after the building must be completed. During the electrical wiring before the fittings of the building, wires will have to pass through the 4 ways under the staircase which will be serving as the junction box, and the bulb holder for the light display.
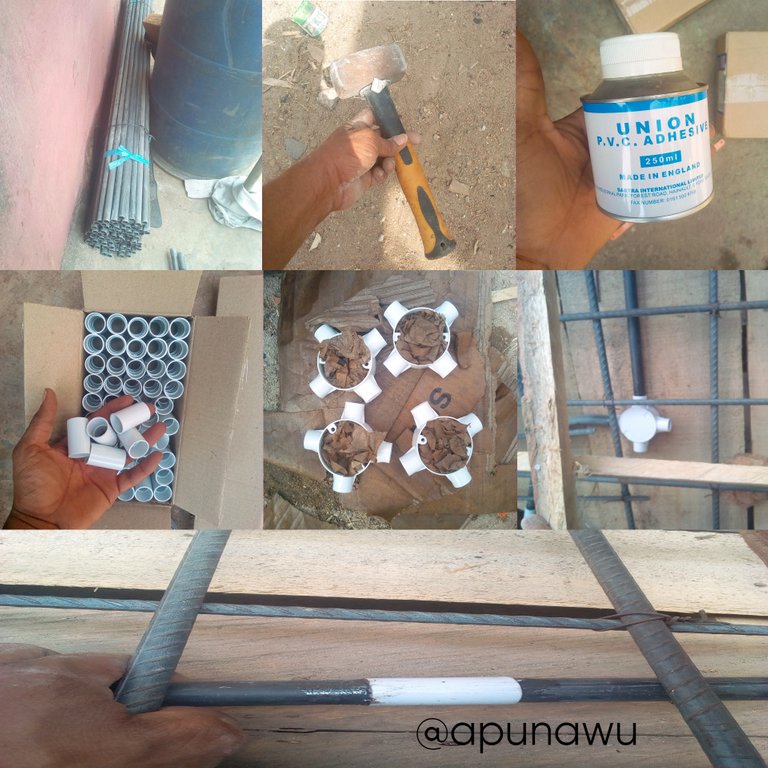
Materials that were used for the pippin of the staircase:
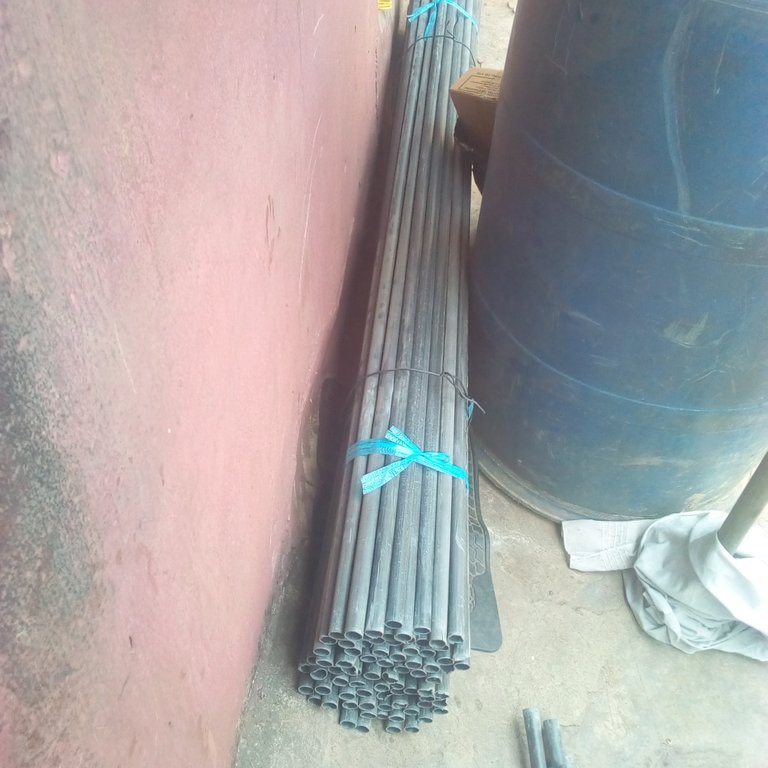
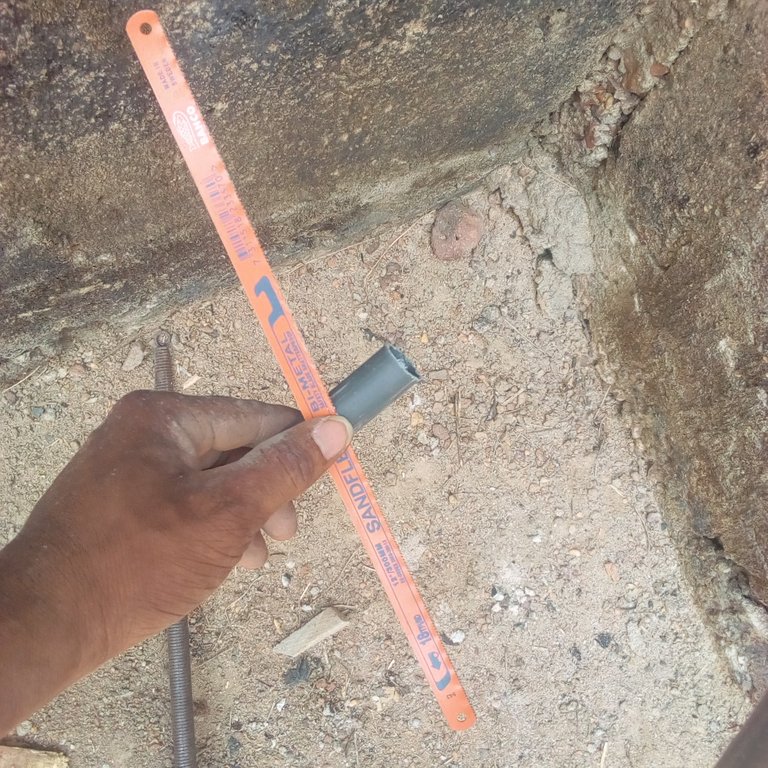
20mm pipe.
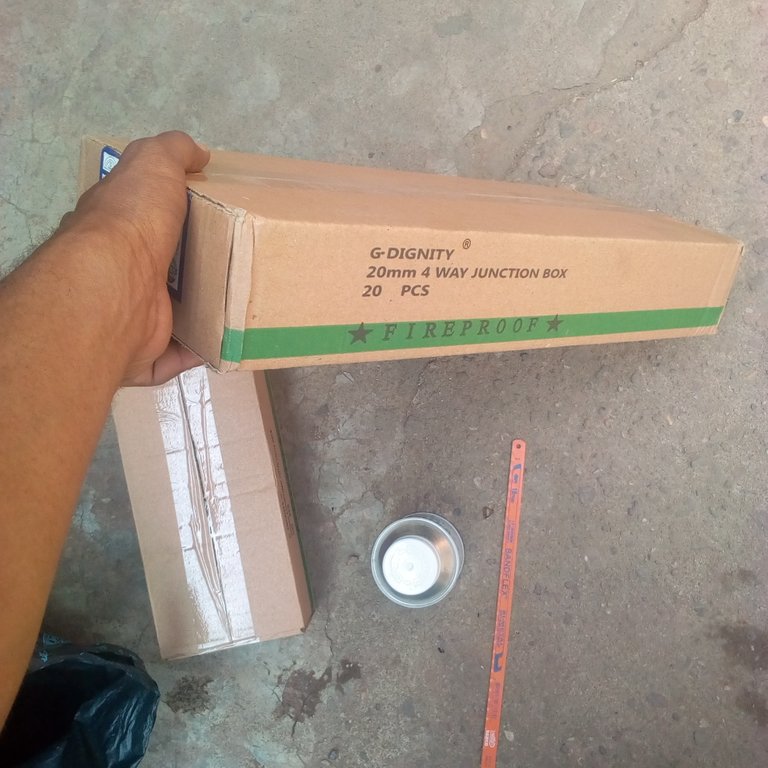
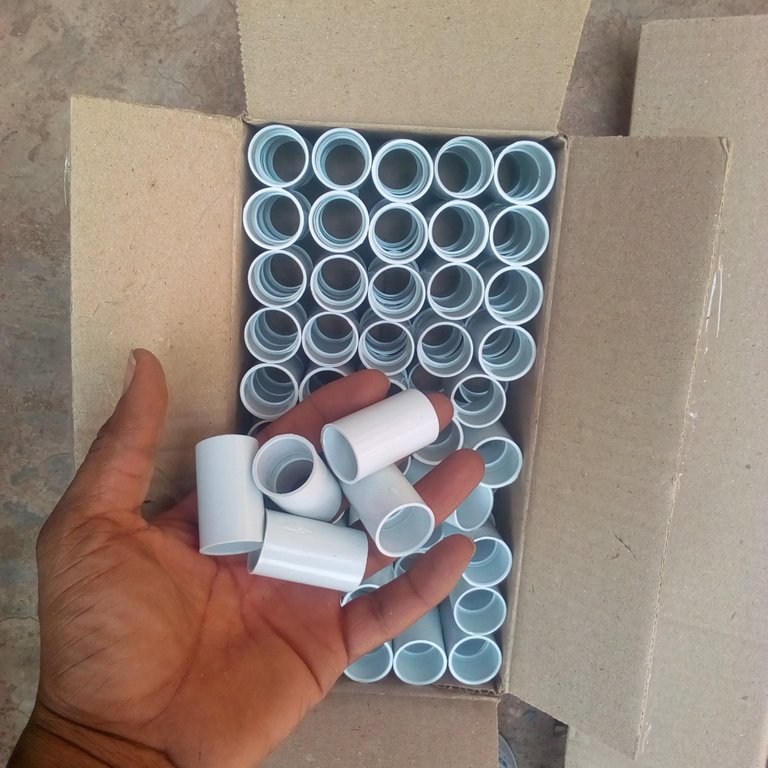
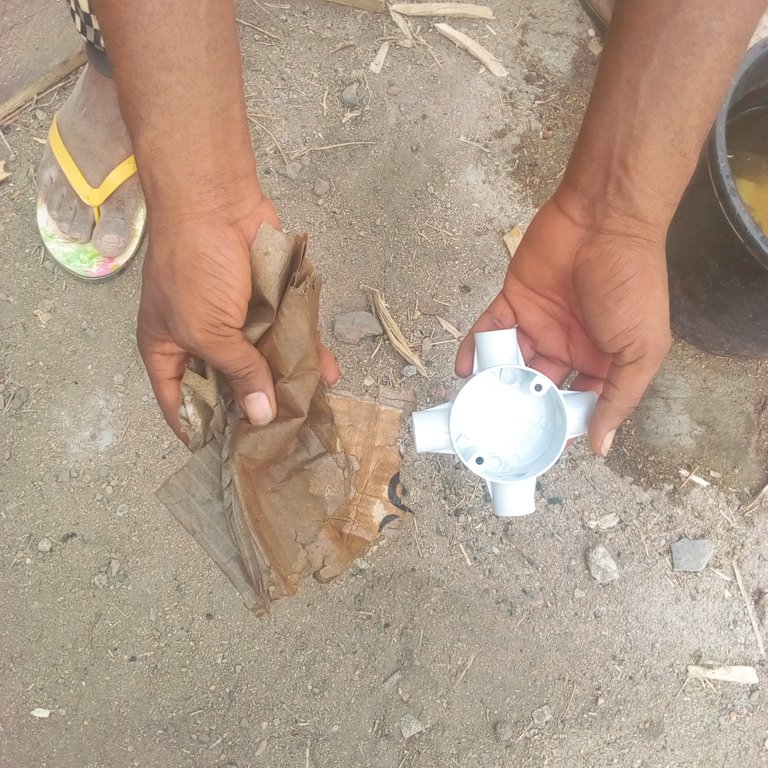
4 ways.
20mm coupling.
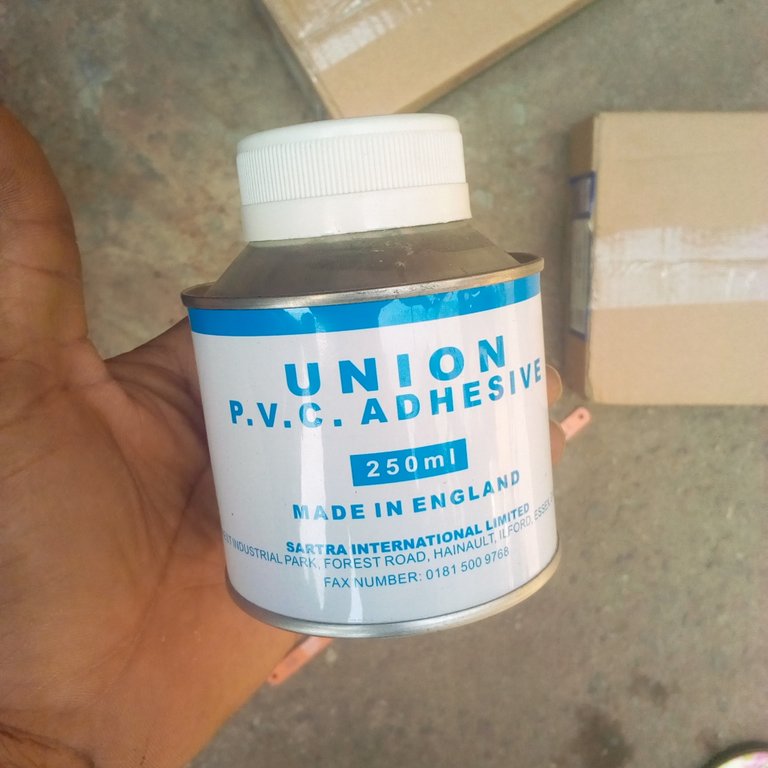
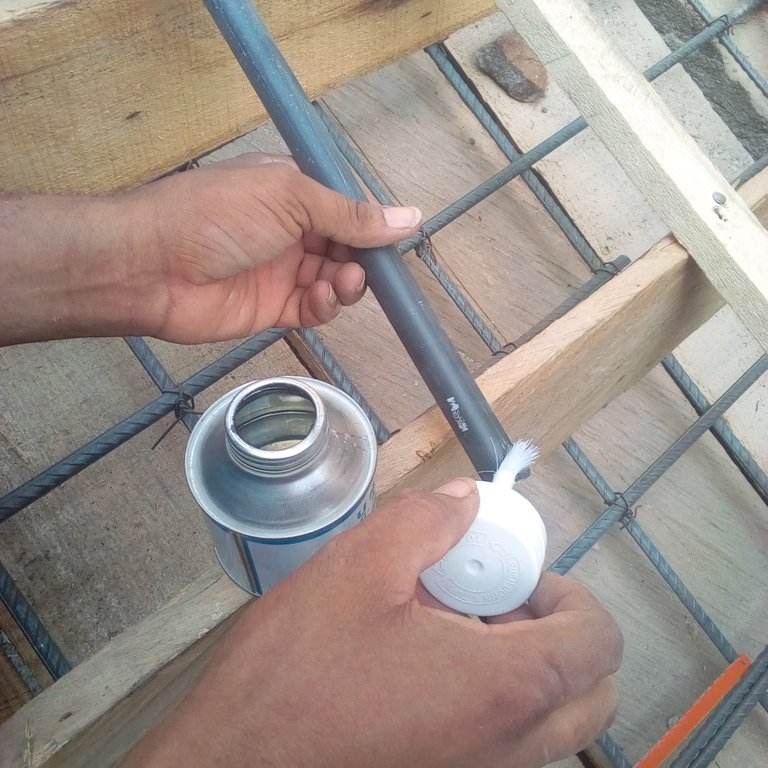
Pipe gum.
Blade.
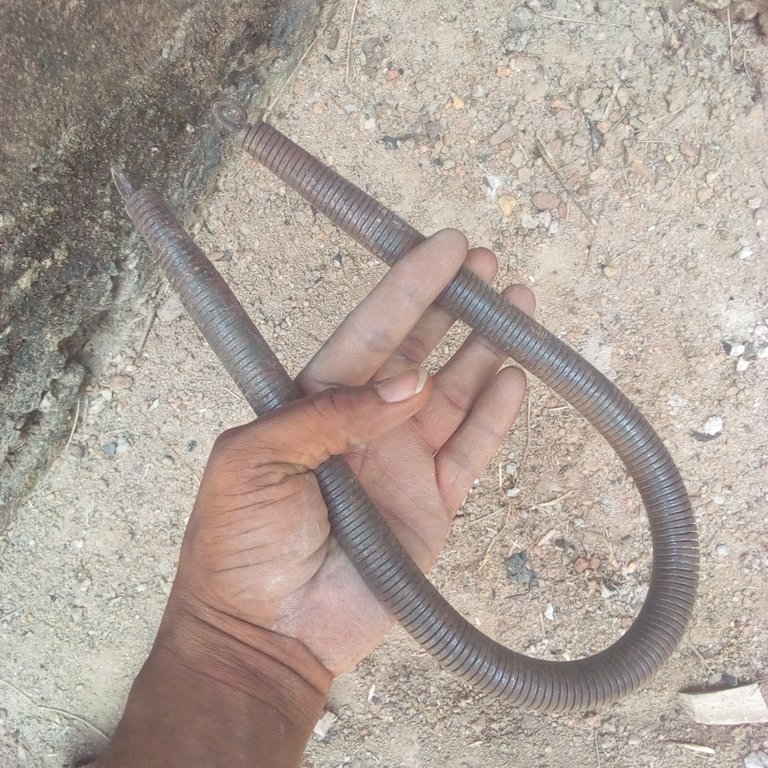
20mm pipe bending spring.
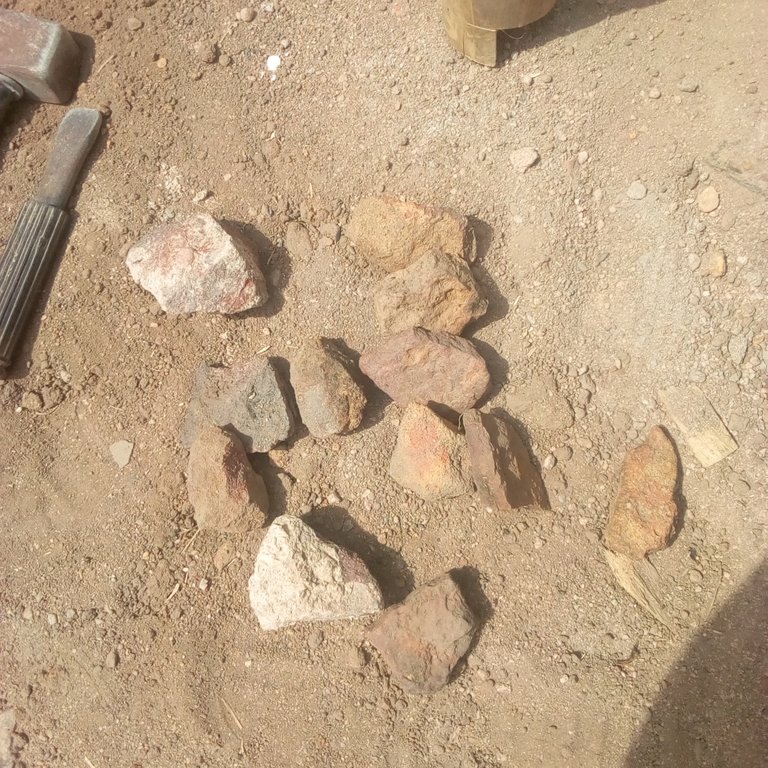
Breakable stones which technically regarded as biscuits.
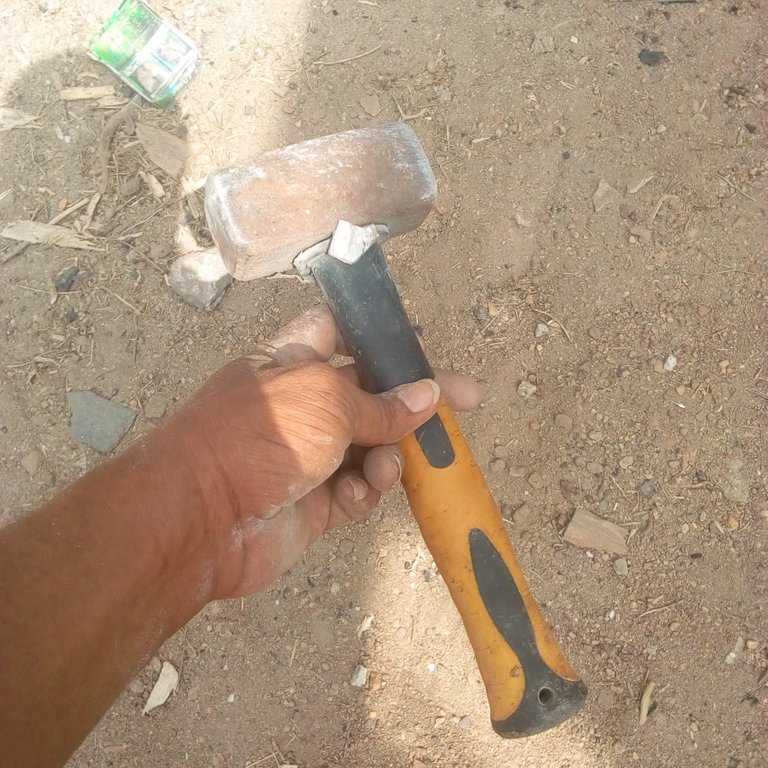
Hammer.
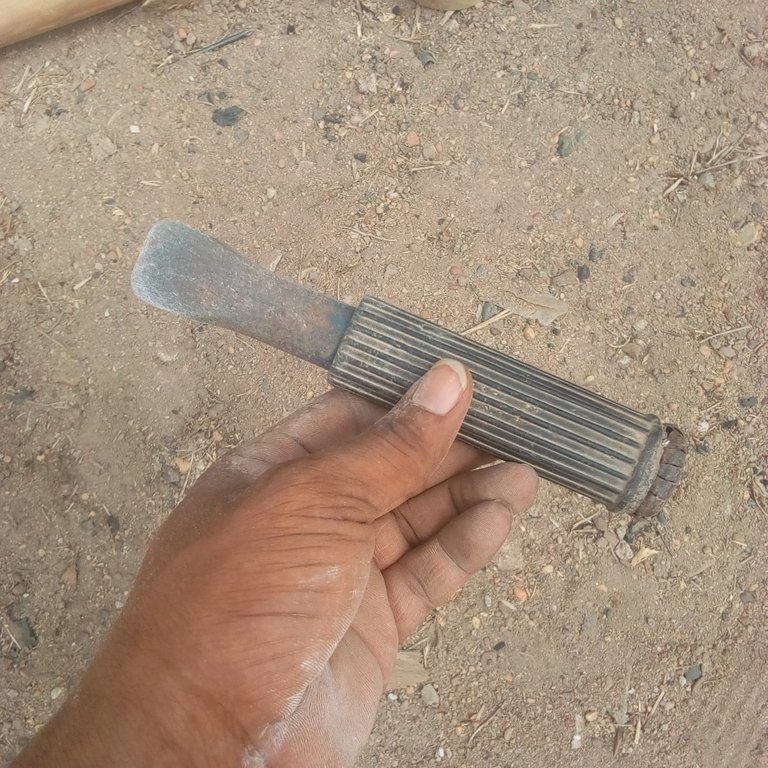
chisel.
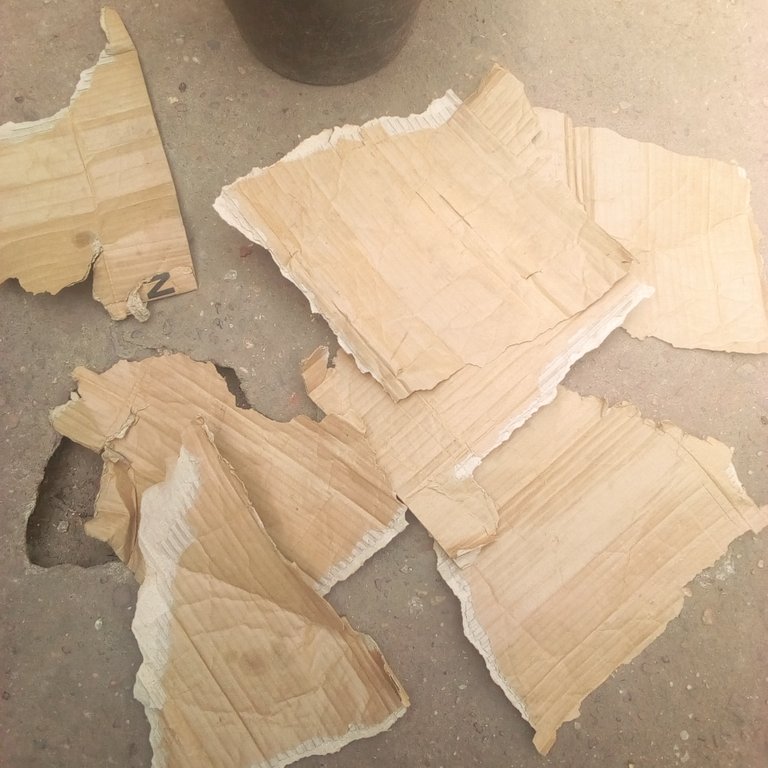
An empty piece of carton.
Steps that were used in pipes the pipes will be provided:
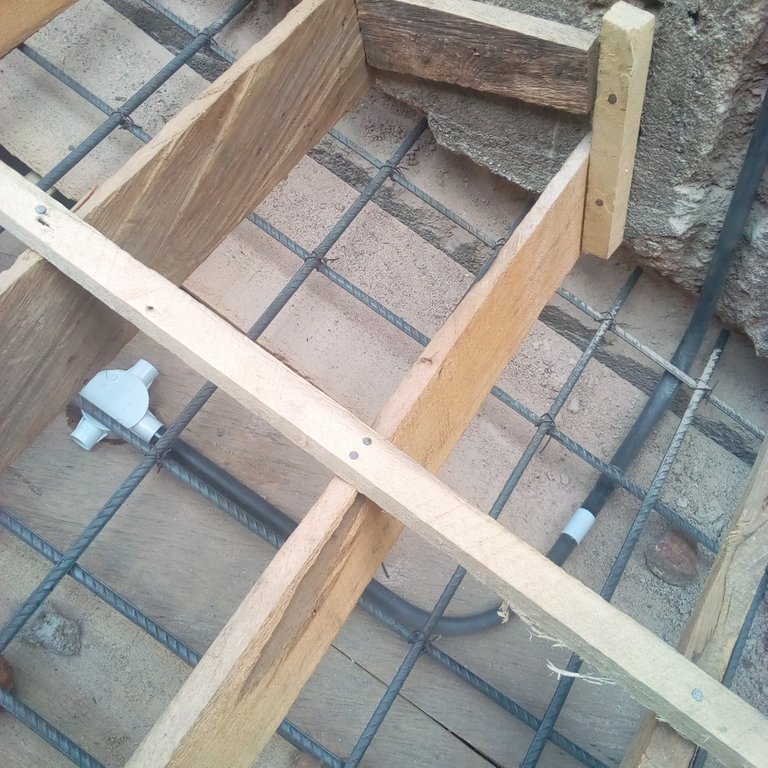
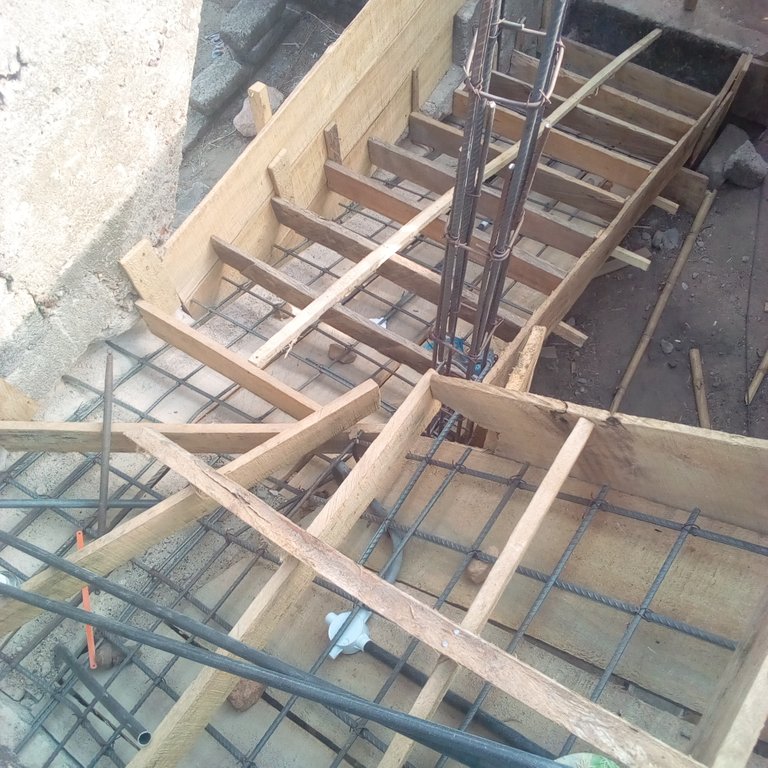
Note: Before you can pipe any building, a rod that is chained must have been mounted by iron benders. The rod will help to carry the building after it must have been cast. This is why I first considered the staircase to be mounted with adequate rods before the electrical piping. You must also understand that the electrical conduit pipe is expected to go under the rod while the wood for casting will hold it. After the casting of the staircase, the woods for the casting will be removed and once they are removed the 4 ways will now display at the bottom of the staircase where the wire will pass through.
Step One:
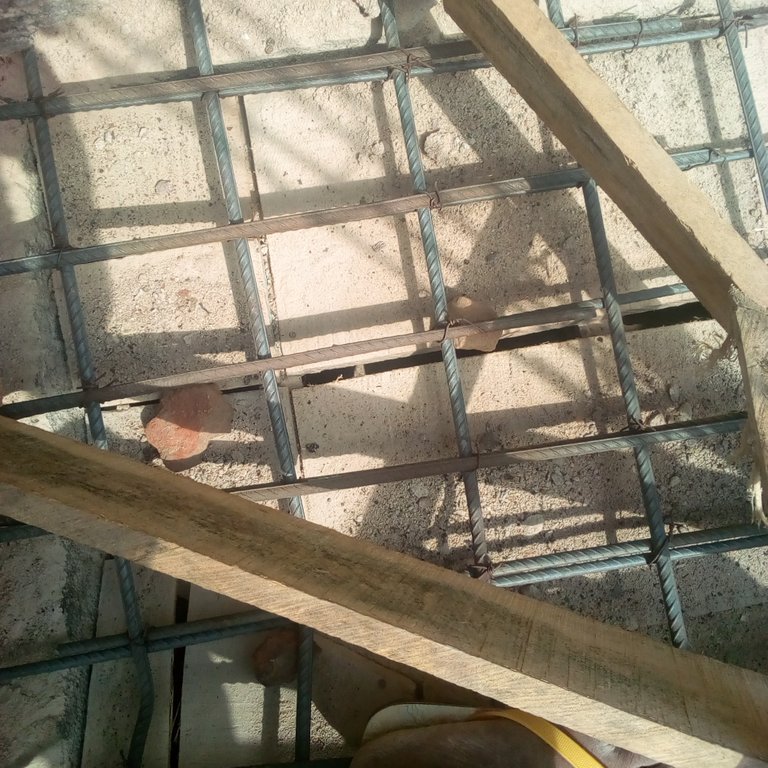
Allowing the staircase to be matted with rods by iron benders. This is because the pipe will have to go under and it will also protect the pipe from being damaged by workers that will be pouring concretes when casting the staircase.
Step Two:
I have to chisel the wall where the pipe that will supply current to the staircase will pass.

Step Three:
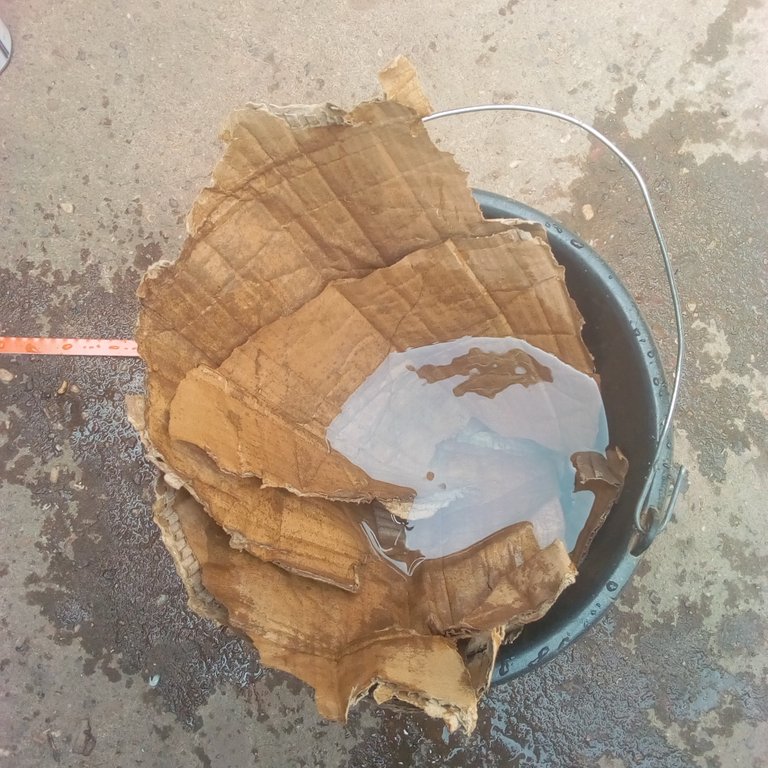
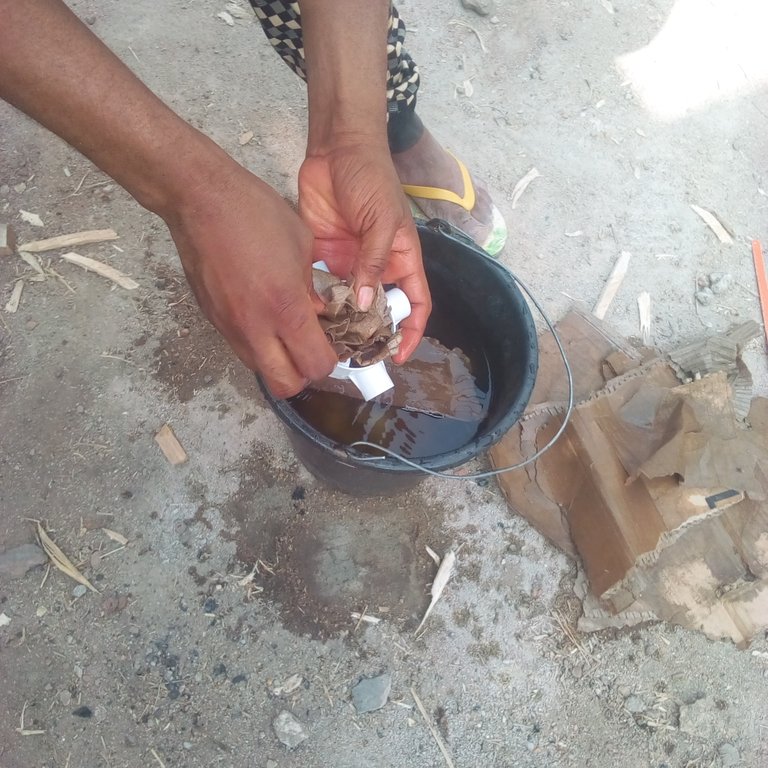
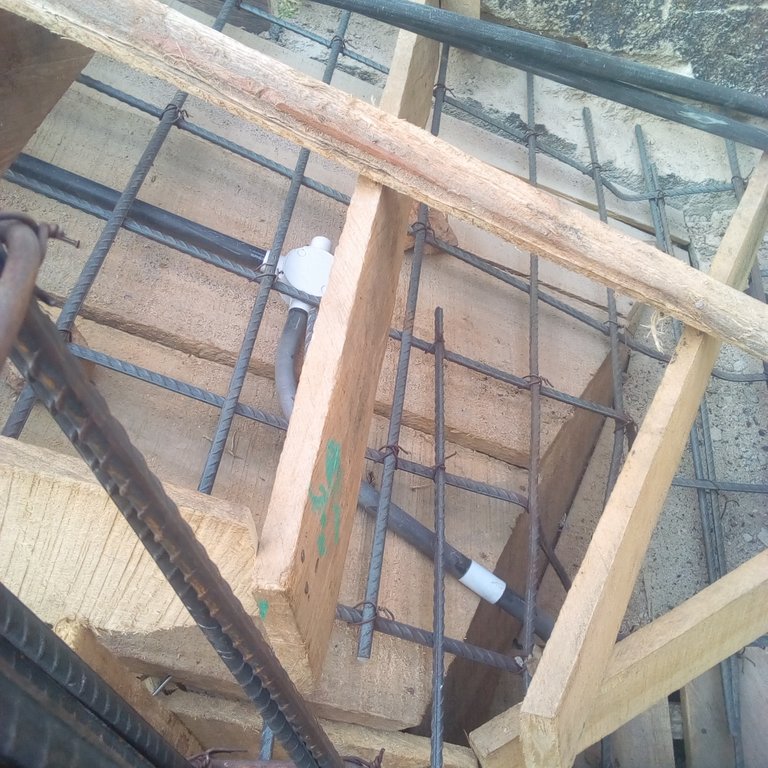
I have torn and soaked pieces of the carton in water. After the carton was properly soaked, I have fix them inside the pipe 4 ways. The carton is expected to cover the 4 mouths of the 4 ways so that cement during casting will not block the mouth because wire will pass through it during the wiring and fittings of the staircase.

Step Four:
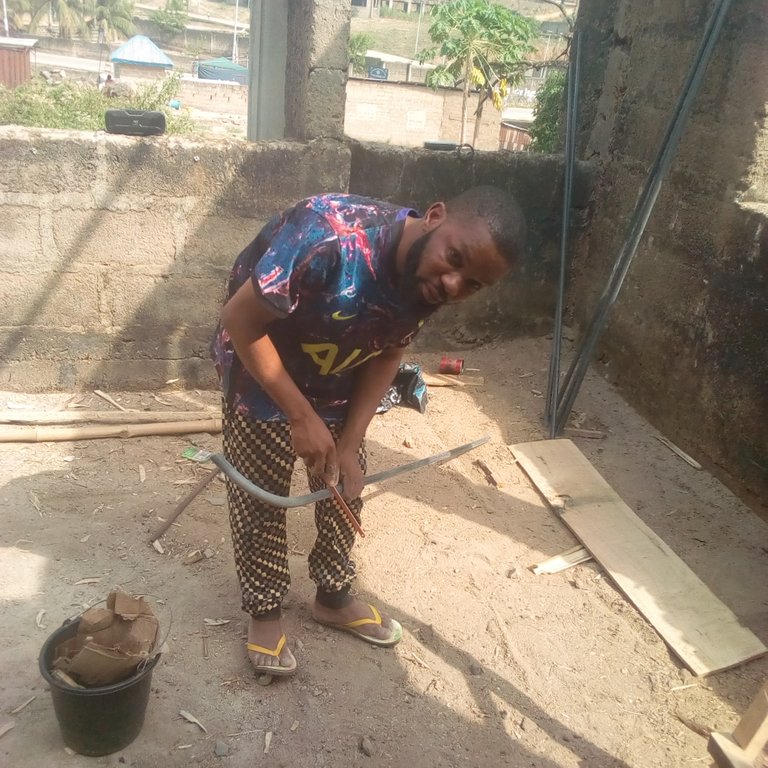
I now have to use the 20mm pipe bending spring to bend the 20mm pipe by forming an L shape. The L shape pipe I formed will be used to join pipes where the road is not straight but bent.

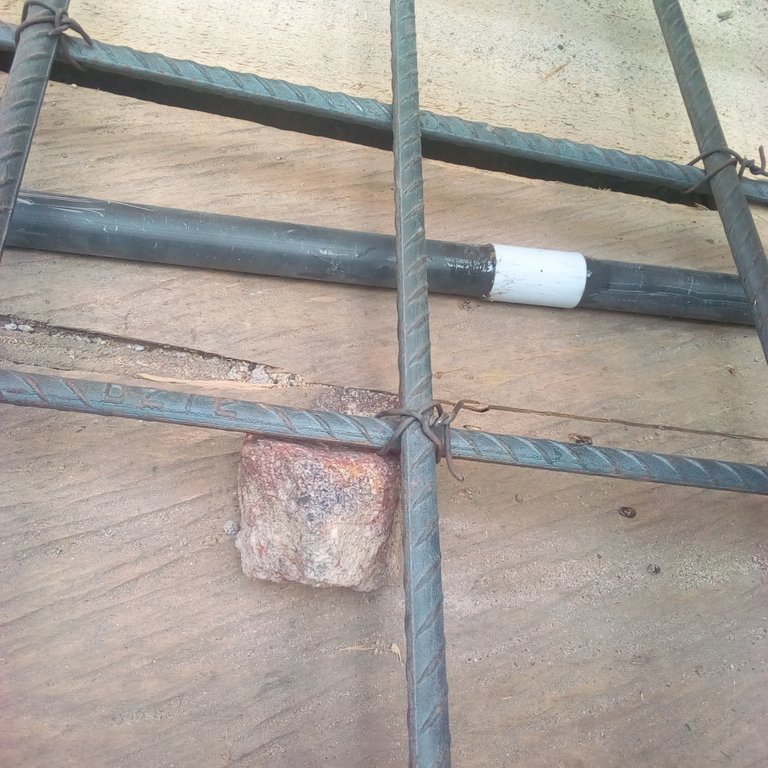
Step Five:
I now have to use pieces of stone which are technically regarded as biscuits to put under the mat rod placed on top of the staircase wood. The biscuit will help protect the conduit pipe from breaking during the casting of the staircase. If the pipe is allowed to break during casting, cement will block the pipes which will later result in wire not passing through the pipes during wiring and fittings.
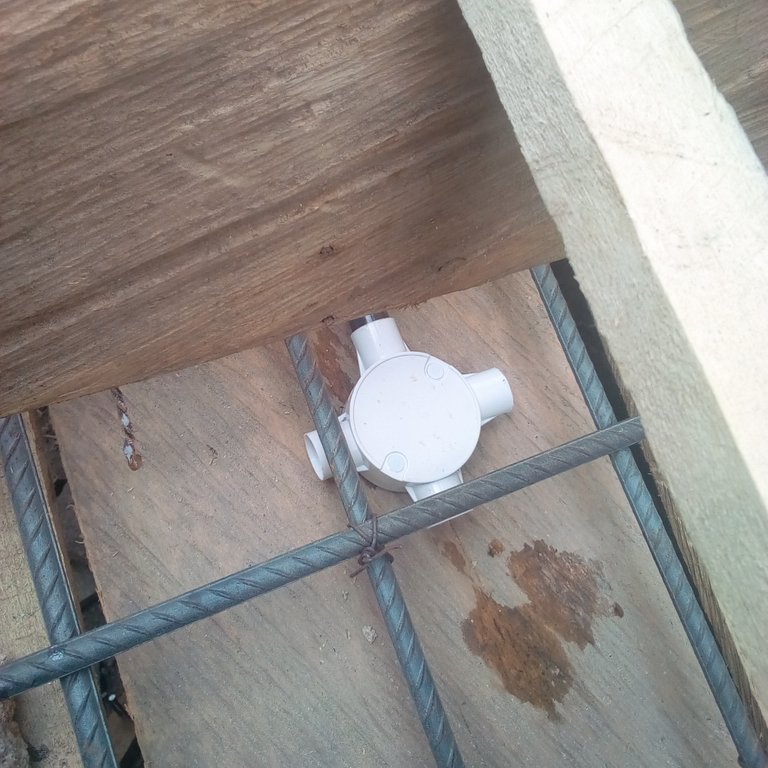
Step Six:
I now have to place 4 pieces of 4 ways under the rods that appeared at the staircase. After that, I now have to fix a pipe that will supply current to the 4 ways. But the current has to come from a wall gang.
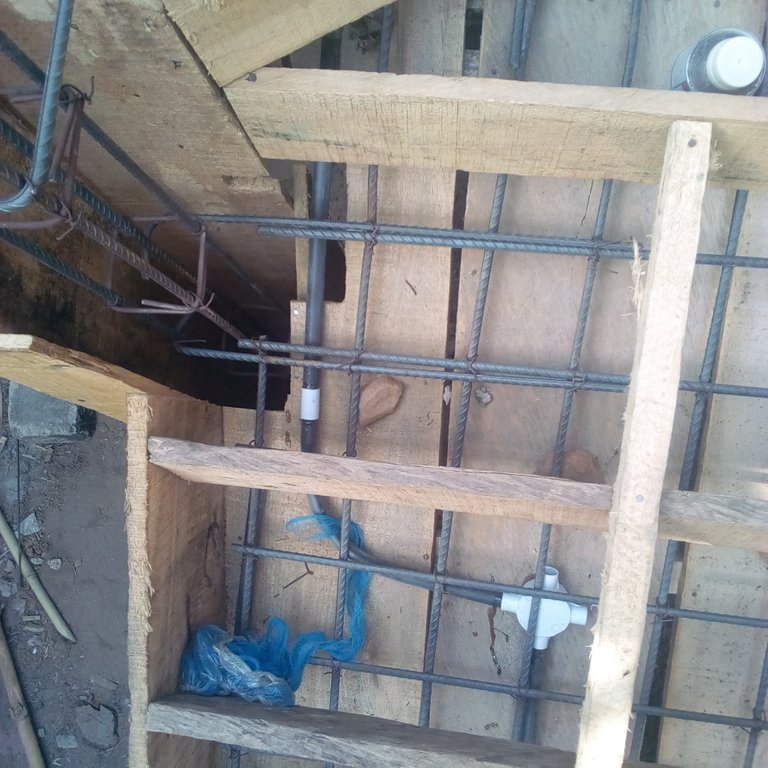
Step Seven:
I have to bend a small pipe using a bending spring and the pipe was used to fix the pipe that will be supplying current to the first 4 ways. Now I have to add another 20mm pipe to the first 4 ways after applying pipe gum that will be holding. Now I have to rob gum to the second 4 ways mouth and fix it in a piece of 20mm pipe. After that, I have to link it to the first 4 ways of supplying pipe. But since the two pipes didn’t hold despite meeting together, I have to use the 20mm coupling to join them after I have rob gum on them. Now I have to fix another 20mm pipe that will be linking from the second 4 ways to the third. But the problem here was that the pipe to will be holding them I formed it to look like Z. This is because the road in the staircase where the pipe passes through looks like Z and that is where the staircase rod holding everything was joined. Now I have to add another 20mm pipe that linked the third 4 ways to the fourth one. But along the road, 20mm coupling was used to hold the pipes holding each other.


Nice handiwork!
!discovery 47
Thank you, dear.
This post was shared and voted inside the discord by the curators team of discovery-it
Join our community! hive-193212
Discovery-it is also a Witness, vote for us here
Delegate to us for passive income. Check our 80% fee-back Program
Weldone boss, you are doing a great job keep it up
Thanks, brotherly. Happy Valentine!!!
Same to you
Thank you for sharing this post in the DIYHUB Community!
Your content got selected by our fellow curator desro & you just received a little thank you upvote from us for your great work! Your post will be featured in one of our recurring compilations which are aiming to offer you a stage to widen your audience within the DIY scene of Hive. Stay creative & HIVE ON!
Please vote for our hive witness <3
Thanks for your support. Happy Valentine.
Yay! 🤗
Your content has been boosted with Ecency Points, by @apunawu.
Use Ecency daily to boost your growth on platform!
Support Ecency
Vote for new Proposal
Delegate HP and earn more