TODAY'S DRILLING EXPERIENCE
Today got me here….drilling things…trying to tap water from its acquifer for home use…it was really fun and a nice experience…
“Drilling” that’s the key word for today…it actually involves the proper selection of equipment to an already geological studied site to drill a hole vertically through the soil horizon.
This drilling was carried out on a site located at Ikot Esin, Nsit Ubium Local government Area in Akwa Ibom State, Nigeria. In the course of this drilling operation, the manual drilling techniques of which is a very complicated process was applied.
Before starting the drilling operation, a good drilling site was selected, and as an experienced geologist, I suggested that there will be an adequate quantity of good quality groundwater from the point of my selection based on the result I got from the geophysical survey that was carried out on this site.
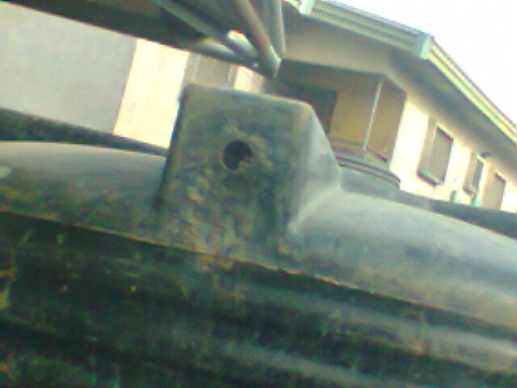
Here with me in the site are my colleagues and some drilling equipment/materials named as follows: Mud pumps, Water storage(GP) tanks, Drill bits and drill stems, Drilling chemicals and grease, Hose, Clamps, Water that was stored in the GP tank, etc.
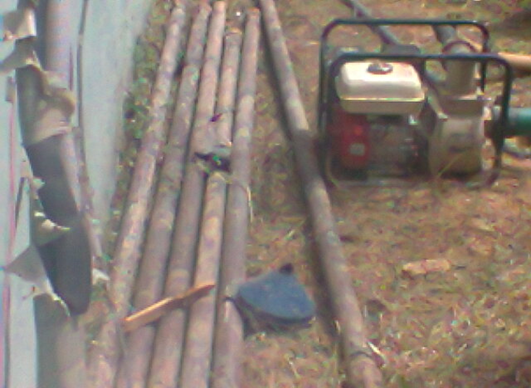
Before starting the drilling process, the site was prepared as shown below…that’s digging the mud pit and mud path for a proper circulation of water to the drilling bit.
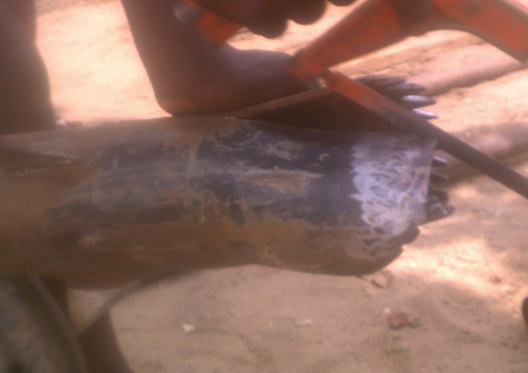
After preparing the site, I had to sharpen the drilling bit as shown below:
After sharpening the drilling bit, we went straight ahead for the drilling proper.
Here we go…
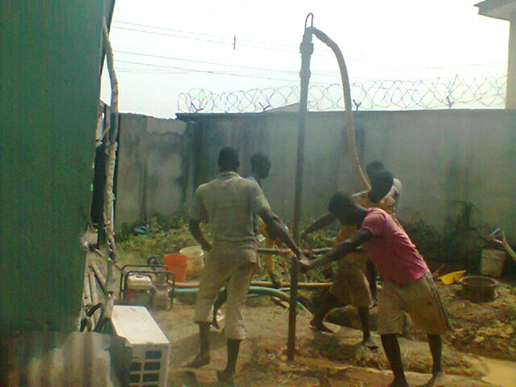
This drilling process involved the use of jetting technique of drilling which was operated by six men drilling team, inclusive of me as a site geologist; taking soil cutting samples for analysis.
During the process, the drill stem and drill bit was tightened to the chaka- chaka as shown and rotated in a clockwise manner to drill a hole. This process was aided by a circulating movement of water pumped by a mud pump from the mud pit which is connected through a hose in to the swivel head connected to the drill stem which in turn passes through the drill stem in to the drill bit softening the ground or soil for easy crushing or cutting of the soil.
As the drilling continues, water was extracted from the hole which pulls out running through the mud path into the mud pit.
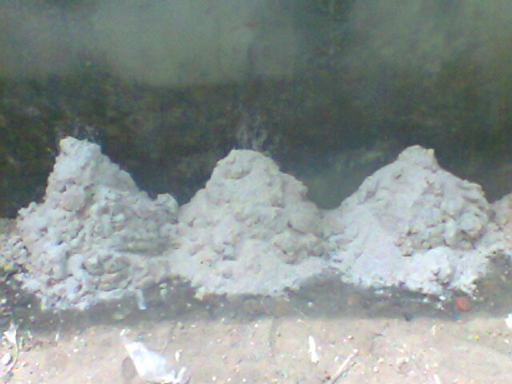
During this process, in every 10 feet drilled, as a geologist in the site, the first step in making a drilling log is to take representative samples of the soil (geological formations) encountered in drilling, so I collected the samples, rinsed thoroughly so as to analyse the sample so as to be able to determine a suitable acquifer to tap a clean water from.
The samples collected were put on a plastic sheet, away from the drilling activities. Then described and recorded on the drilling log with the depth at which the soil sample was taken.
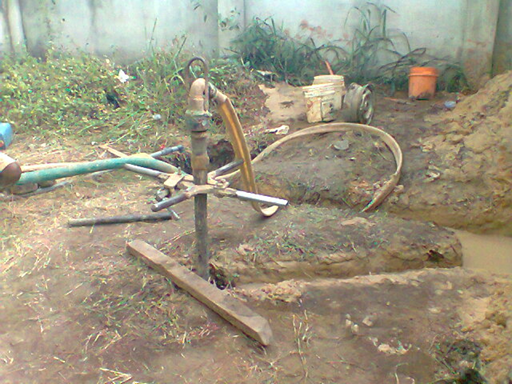
During the drilling process, the drill stems were connected to each other by rubbing grease on the screw mouth before attaching them to each other. The drilling process was carried out to variable depth were clean water could be extracted based on the sample cuttings I collected.
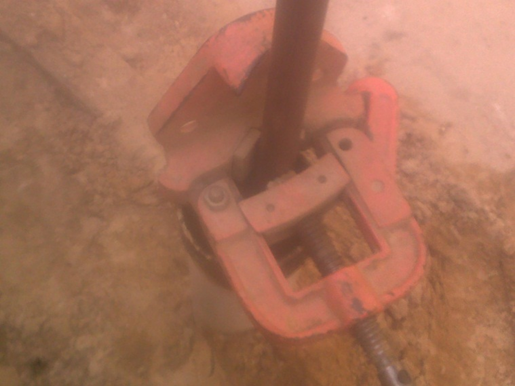
After the end of this drilling process, the drill stems were pulled out from the hole using clamps for a well construction (Post drilling practices) to be carried out.
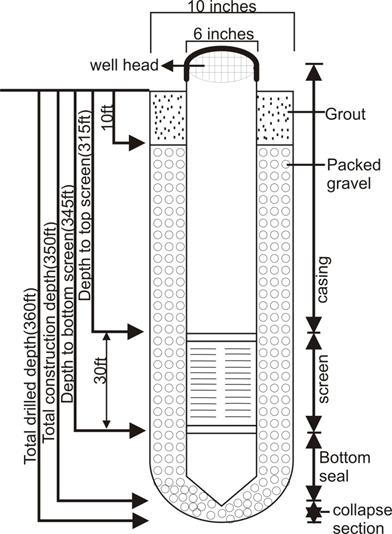
Using the drilling log I prepared, it was easy to achieve a good well design as shown below. From the drilling log, the exact depth and length of the well-screen and the depth and thickness of the gravel pack and sanitary seal was determined.
Here we go, ready for post drilling…
I was actually so very tired…just got to rest a little before continuing…as at this time
This was actually the schematic diagram I prepared for the well to be constructed
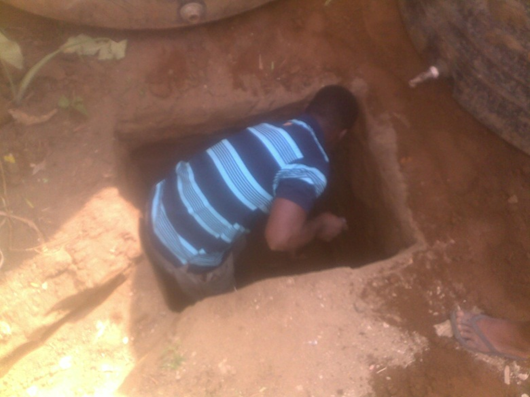
After constructing the drilled well…that was the end of the work for today…everyone is tired…on our way back home…..