[ENG/ESP] Repairing a LG FLATRON W1943SB LCD monitor with Power fail (Commonly) ~ by @alejandrop


Greetings #OCD community!
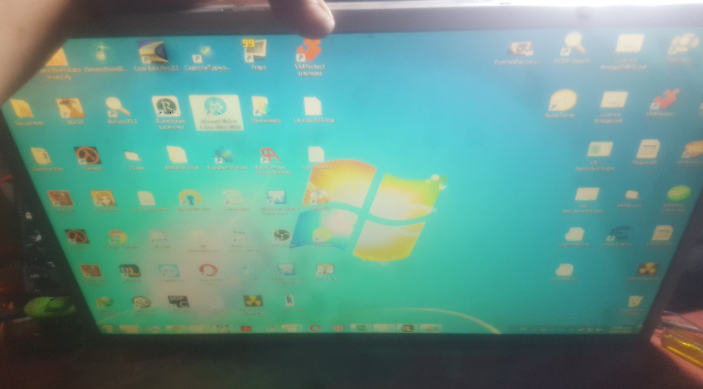
The fault diagnosis can be determined by the inability of the device to turn on and display any video signal, be it the internal one from the logo or the incoming VGA signal from a computer or device that emits it.
The common fault that occurs specifically in the power supply of the same, in one or more electrolytic capacitors on the circuit PCB, right now I show you.
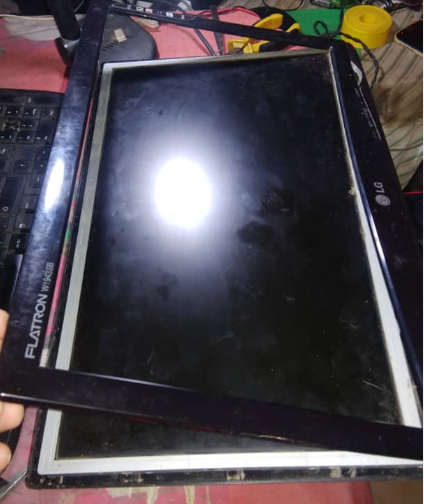
The first thing to do is remove the front cover, it snaps out, you have to be very careful not to break the locks because then you will not be able to close the cover again.
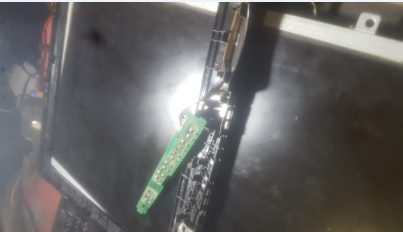
We carefully remove the front button control panel.
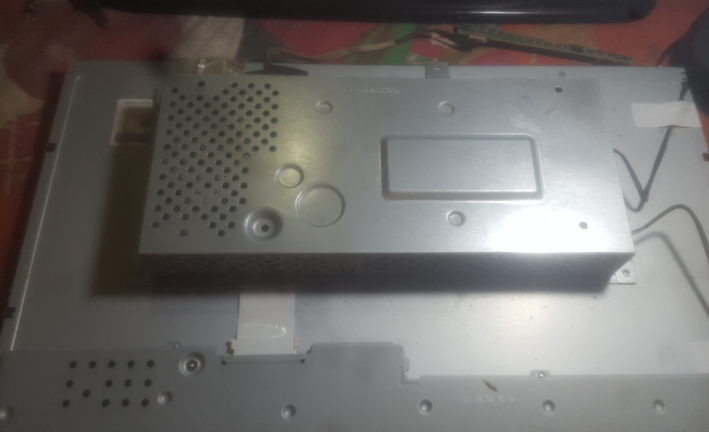
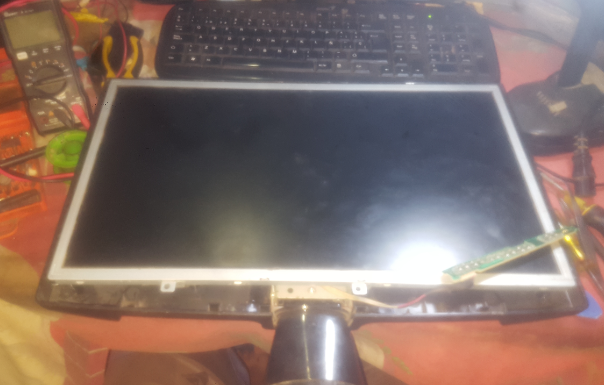
The back of the screen is never fixed to the iron chassis that protects the LCD so be careful when disassembling this part since there are several flexs placed around it. There, you will find the power supply necessary to operate the lamps and other functions of the monitor.
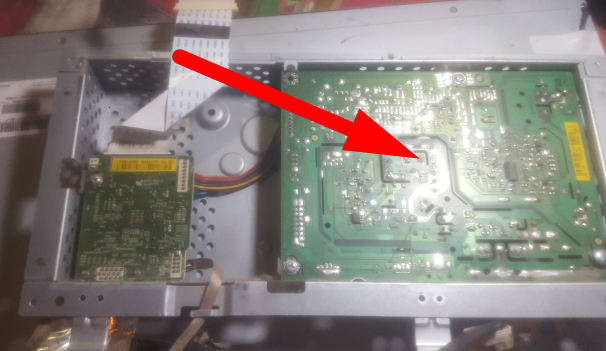
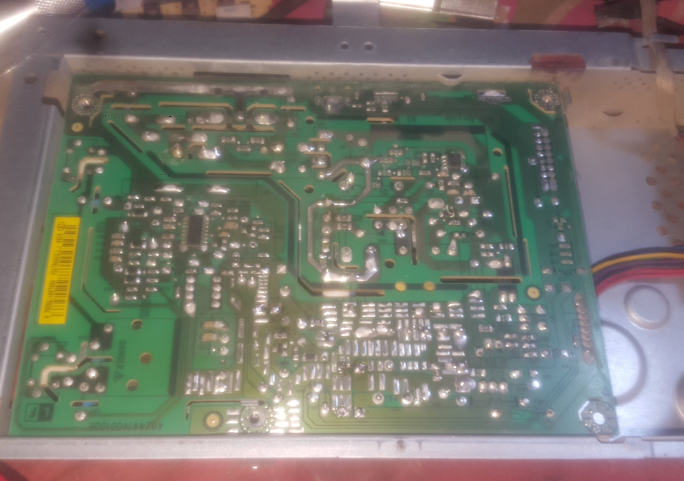
Finally we access the power card, which is where we will work and carry out the repair.
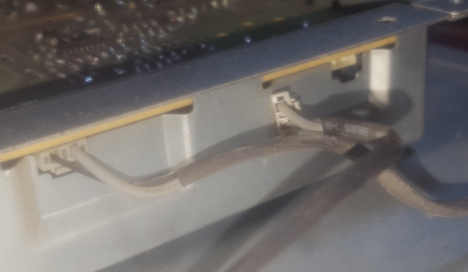
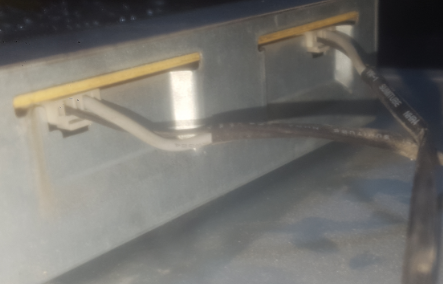
We remove the connectors that feed the lamps of the screen. Be careful not to confuse the connectors when assembling, so it is advisable to mark one of the cables so that you know its original position.
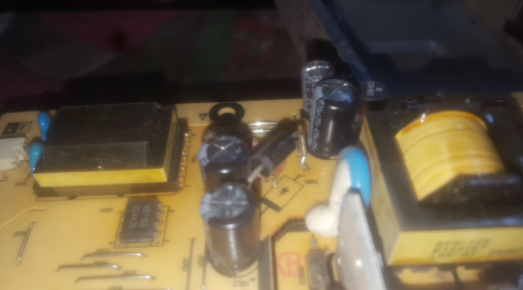
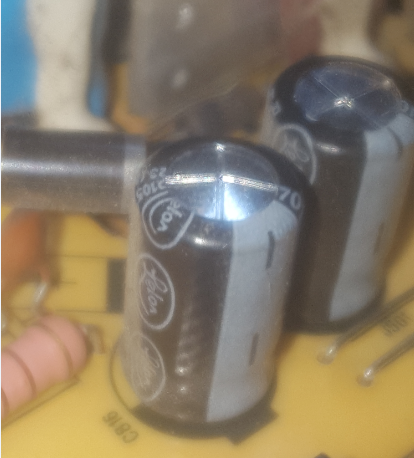
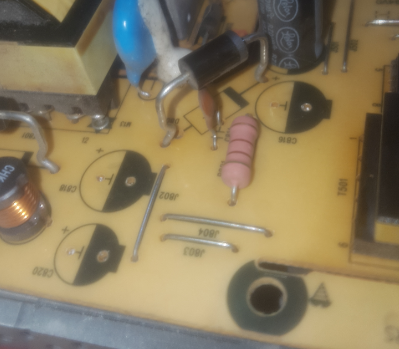
As we can see, some inflated capacitors are visible, which gives us to understand that we were right from the beginning of this post before disassembling.
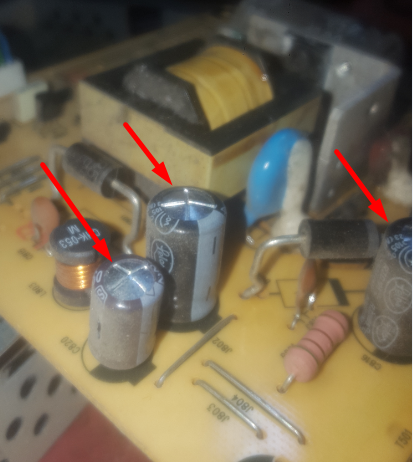
Here, we point out the 3 capacitors that we must look for and replace, since they are in very bad condition.
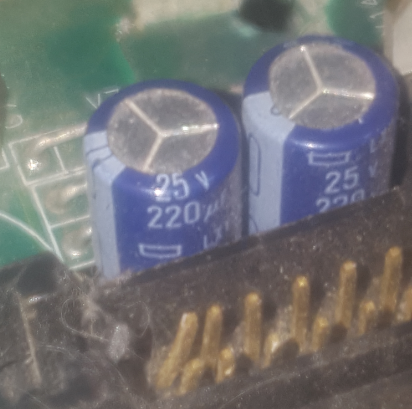
Here we take a closer look at one of the capacitors, and as you can see, it is inflated.

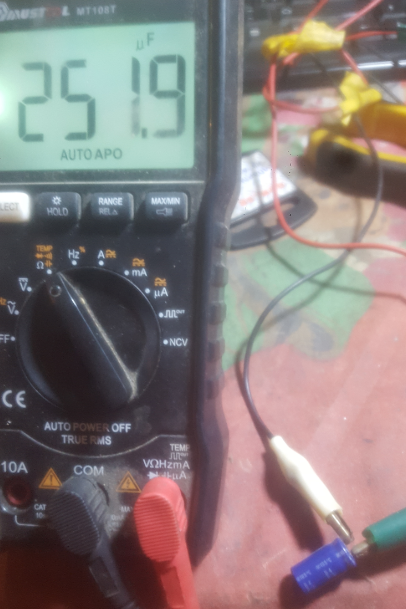
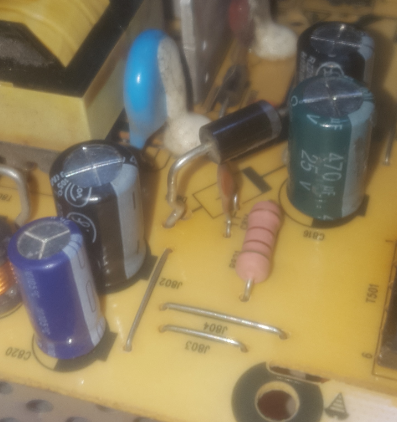
I take a quick measurement to verify that it is in perfect condition, and the measurement returns values within the correct parameters.
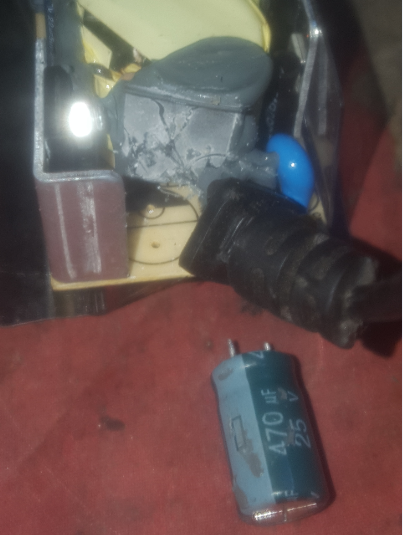
I also got the other one I needed that required replacement: 470uF25V. It was disassembled from a laptop charger with a damaged transformer coil.
We take apart the damaged components.
And we put the new components in.
We put the power card back in its original place.
And we also placed the LCD lamp feeders on the screen. DO NOT FORGET the order in which they were originally connected.

We place the flexor of the screen with great care not to damage it.
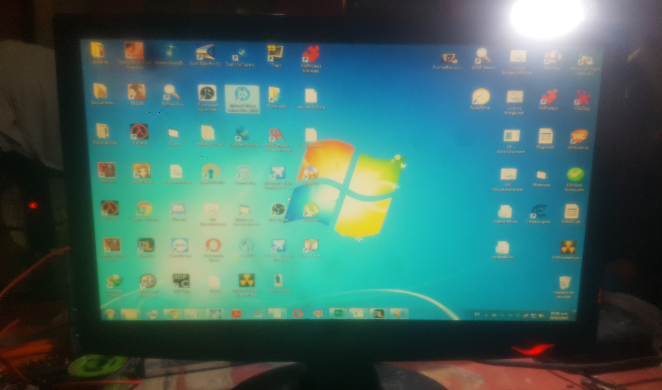
Perfect! Is working! The failure was fixed. Now, let’s reassemble everything.

Un saludo comunidad de #OCD
El diagnóstico de la falla se puede determinar por la incapacidad del aparato en encender y mostrar alguna señal de video, sea la interna del logo o bien la señal VGA entrante desde algún ordenador o aparato que la emita.
La falla común que se presenta específicamente en la fuente de alimentación de la misma, en uno o varios capacitores electrolítico en el PCB del circuito, ahora mismo les muestro.
Lo primero que se debe hacer es remover la cubierta frontal, ésta sale a presión hacia afuera, hay que tener mucho cuidado de no romper los seguros porque luego no podrás volver a cerrar la cubierta.
Removemos con mucho cuidado el panel del control frontal de botones.
La parte trasera de la pantalla nunca está fijada al chasis de hierro que protegue el LCD así que tengan cuidado al momento de desarmar esta parte ya que hay varios flexs colcados a su aldededor. Ahí, se encuentra la fuente de alimentación necesaria para hacer funcionar las lámparas y demás funciones del monitor.
Finalmente accedemos a la tarjeta de alimentación, la cual es donde trabajaremos y realizaremos la reparación.
Removemos los conectores que alimentan las lámparas de la pantalla. Ten cuidado de no confundir los conectores a la hora de armar, así que es recomendable marcar uno de los cables para que sepas su posición original.
Como podemos apreciar, se ven algunos capacitores inflados, lo que nos da a entender que tuvimos razón desde el principio de esta publicación antes de desarmar.
Aquí, señalamos los 3 capacitores que debemos buscar y reemplazar, ya que están en muy mal estado.
Aquí vemos uno de los capacitores más de cerca, y como se puede apreciar, está inflado.
Cuando hago reparaciones donde hay que reemplazar algún componente, siempre reviso en mis componentes viejos guardados para repuestos, del cual reciclo componentes como estos capacitores, siempre y cuando estén en buen estado. En este caso, conseguí uno de los capacitores dañados que necesito reemplazar: 200uF25V
Realizo una medición rápida para verificar que está en perfecto estado, y la medición devuelve valores dentro de los parámetros correctos.
También conseguí el otro que necesitaba que requeria reemplazo: 470uF25V. Fue desmontado de un cargador de laptop con bobina transformadora dañada.
Realizamos el desmontaje de los componentes dañados.
Y colocamos los nuevos componentes en su sitio.
Colocamos la tarjeta de alimentación nuevamente en su lugar original.
Y también colocamos los alimentadores de las lámparas de la pantalla LCD. NO OLVIDEN el orden en que estaban originalmente conectados.
Colocamos el flexor de la pantalla con mucho cuidado de no dañarlo.
¡Perfecto! ¡Está trabajando! Nuestra reparación fue un éxito. Ahora, reensamblemos todo.
Nuestra reparación ha llegado a su fin. Gracias por ver mi post y nos vemos en la próxima reparación.
Cualquier pregunta que tengan, no duden en hacerla, estaré encantado de atenderlos. Estoy aquí para ayudarlos.
Pictures and photographies taken by myself.


Tools used in this post:
- MUSTOOL MT108T digital multimeter
- 0.4mm tin with Non-clean feature and flux
- 30W TRUPER tin soldier
- ElMundo translator, for some sentences and lines. You can visit it here.


https://twitter.com/PunkH4xInd/status/1375970768471867395
that's some nice content for #proofofbrain #pob too
if you have time for another hive tribe check them out ;)
https://www.proofofbrain.io/
What's your HIVE community? I only publish here, thank you.
leofinance/peakd/proofofbrain
i use each one for different types of content