Building a Chat Application; [How to] Implement Video Call with Web RTC Simple Peer
Implementing Video calling with Simple peer is another thing. For one, it feels easy but that is how it is when most of the tutorials available do it the same way. I took two different resources, one from a year ago and another from few months ago and guess what? They work the same way. The logic is explained but then when you try to do things differently that's when things go south.
The way it was done, there is a page for video calls and once that page is opened, it loads your video stream then you can click a button to make the call to another user. On that same page, you wait and listen for incoming calls. But here I am, trying to implement it in a chat application where you don't need a separate page for video calling and I had to learn a lot of things the hard way.
I went through four days of hell; intense bug fixing, console logging every line of the code, trying to make the code clean whilst the trials and errors and almost memorising every bit of the tutorial.
Allow me to rant, I deserve it 😒
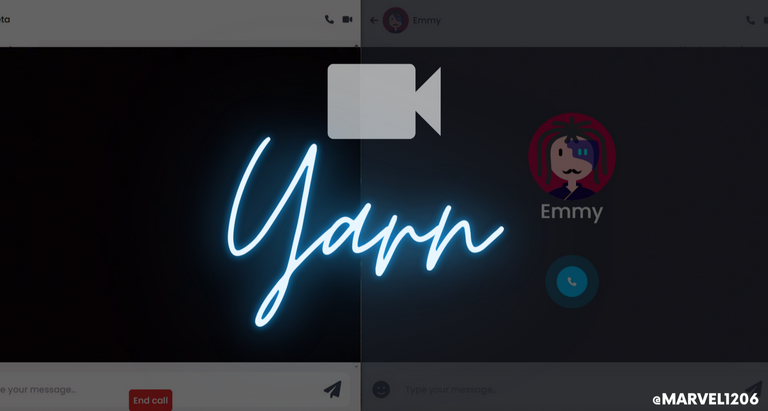
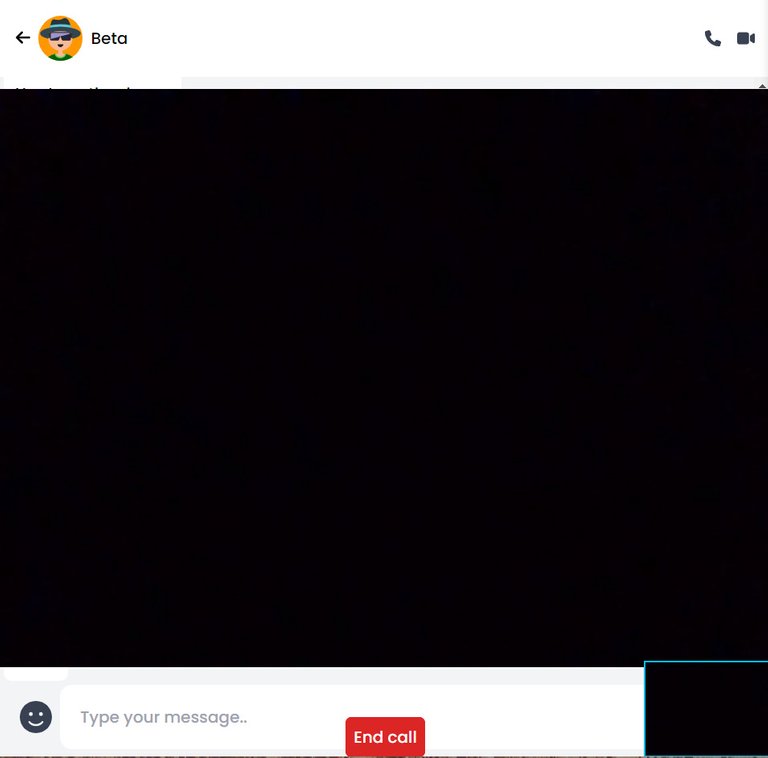
DEMO
Let's get to it, socket is a must so it definitely needs to be installed
Npm i socket.io
Simple peer utilizes the browser's WEBRTC( Web real time communication) in order to provide peer-peer connection. On the server,
This is a sequel to my last post where I Implemented Web Socket. I won't be repeating some codes from the previous post. But I would explain so you can get the hang of it.
SERVER
We have already established our basic socket connection and we have also created a global map for our onlineUsers. So all we need to do is listen to new socket events and subsequently emit responses.
First off, we need to listen to an event called "callUser" this event would be emitted when we try to place a video call to another user.
  socket.on("callUser", (data)=> {

             const sendUserSocket = onlineUsers.get(data.userToCall)
             if (sendUserSocket) {


                 socket.to(sendUserSocket).emit("callUser",

                 {

                     signal: data.signalData,
                     name:data.name,
                     avatar: data.avatar


                 })
             }

         })
The user the call is intended for is retrieved from the online users and then a socket called callUser is emitted to that user. With the signal, name, and avatar of the caller. The signal contains the video stream of the caller.
Another socket event is needed in order to know when the user accepts the call.
socket.on("answerCall", (data)=> {

             const sendUserSocket = onlineUsers.get(data.to)

             socket.to(sendUserSocket).emit("callAccepted", data.signal)
         })
THE CALLER'S PERSPECTIVE
The first socket calls another user and sends the caller signal along (caller video stream) then the second socket emits the call Accepted back to the caller with the receiver's signal.
THE RECEIVER'S PERSPECTIVE
It needs to listen to the callUser event for incoming calls and receives the caller details along with the signal, then emits the AnswerCall event that sends the receiver's video stream back to the caller.
One more socket to let both parties know that the session is ended.
socket.on("end-call", (data)=> {
             const sendUserSocket = onlineUsers.get(data.userToCall)
             socket.to(sendUserSocket).emit("endCall")
         })
There's actually no need to send any data back and forth for this one. That's all on the server. The server is always pretty simple for things like this anyways.
FRONTEND
Of course there is a call button on the chat page.
When that button is clicked that is when we want to fire all our functions. We want a video component to pop up and it will start rendering our stream on the page then it emits the call to the user. There is also an end call button that will destroy the session for both parties. There is a callUser function in a separate file to this effect.
The new file I named socket.js was created in a bid to make my chat page cleaner. Consequently, I am going to have to pass a lot of parameters in it.
Simple peer is installed with this command
Npm i simple peer
We need our useRef and useEffect hook. The former to hold reference to the video DOM element while the latter can be used to listen to socket events on our chat page where necessary.
import { useEffect, useRef } from 'react';

  const myVideo = useRef()
   const userVideo = useRef()
   const connectionRef = useRef()


    {       calling && <div className=' z-50 w-screen h-screen absolute >
                             <video className={`${callAccepted && !callEnded? 'absolute bottom-0 right-0  h-24 border-2 border-blue' : 'top-0 left-0 w-full h-full' }`} ref={myVideo} playsInline autoPlay/>

                             <div className='absolute bottom-0 flex w-full justify-center  h-fit ' >

                                  <div onClick={leaveCall} className='z-50 bg-red-600 w-fit text-white p-2 rounded-md'>End call</div>

                                 </div>
                                </div>

                      }
Pay attention to ref={myVideo}.. Playsinline and autoplay allows the video to start showing immediately but we only want to show this element if we start calling the user. So we have a state 'calling' that is initially set to false. It will be set to true when you start calling the other user. I use tailwind css for the styling and the logic you see in the class name is just so that your video becomes smaller when the call has been accepted.
   {callAccepted && !callEnded ?  <div className=' z-40 w-screen h-screen  absolute'>

                         <video className='h-full w-full' playsInline autoPlay ref={userVideo}/>

                       </div>
                       :null

                     }
This shows the userVideo when the call has been accepted.
There are two functions we need to actually make this work. The first one fires and immediately gets the caller(My) Video with an inbuilt javascript function.
<FontAwesomeIcon onClick={ ()=> makeCall(user, selectedUser, socket, connectionRef, userVideo, myVideo, stream, dispatch) } icon={faPhone}/>
This is the call icon that fires the call icon with all the necessary parameters. Then the first function goes thus;
 const makeCall = (user, selectedUser, socket, connectionRef, userVideo, myVideo, stream)=> {
         dispatch(setCalling())
         navigator.mediaDevices.getUserMedia({video:true, audio: true}).then((stream)=>{


             dispatch(setStream(stream))

                 myVideo.current.srcObject = stream


                 callUser(callAccepted, user, selectedUser, socket, connectionRef, userVideo, myVideo, stream, dispatch);

             })


     }
Since it is a promise, our next bit of logic goes in the 'then' function. When the promise is resolved, it sets the stream in our redux state and also passes the stream to our video element. That had earlier been referenced.
The important bit, the second function that will create our peer and emit our call user event also needs to be called in the 'then' function. Because JavaScript is synchronous, if you call it outside of that function, the second function(callUser) will fire first while your stream is still null.
HOW A CALL IS MADE
In new socket.js file, we can create the function
export const callUser =(callAccepted, user, selectedUser, socket, connectionRef, userVideo, myVideo, stream, dispatch)=> {


     const peer = new Peer ({
         initiator: true,
         trickle: false,
         stream: stream
     })


     peer.on("signal", (data)=> {
         socket.current?.emit("callUser", {
             userToCall: selectedUser._id,
             signalData: data,
             name: user.name,
             avatar: user.avatarImage

         })

     })

     peer.on("stream", (stream)=> {

         userVideo.current.srcObject = stream

     })

     socket.current?.on("callAccepted", (signal)=> {

         peer.signal(signal)
         dispatch(acceptCall())

     })

     connectionRef.current=peer

            socket.current.on("endCall",()=> {
                 dispatch(endCall())
              })


 }
CallUser Function Explanation
The first block of code initializes the peer with some properties. Initiator let's peer know that we are the initiator of this Peer instance, and the stream is passed to the stream object. The stream is one of the parameters coming from our redux state. Which had been earlier set in our 'then' function.
The second block emits the socket callUser once the peer receives signal. Note that all the properties we used on the server are passed here. The recipientId, the caller's name, and the caller's avatar Image too.
On the third block, when the peer receives a stream from the other user, the uservideo.current.srcobject which is our video DOM element in this case receives the stream.
The fourth block receives the peer signal once the call has been accepted and dispatch the acceptCall function - I'll let you in on my redux state
Then we set the connectionRef to the peer. It basically holds our connection. We also listen to the endCall event that dispatch the endCall function
MY REDUX STATE
import {createSlice, getDefaultMiddleware} from "@reduxjs/toolkit"

 const initialState = {
     stream: null,
     calling: false,
     receivingCall: false,
     callerSignal: null,
     callAccepted: false,
     callEnded: false,
     me: "",
     caller: "",
     name: "" ,
     callerPhoto:"",
     callScreen: false,
     myVideo: null,
     userVideo:  null

   }


 export const socketSlice  = createSlice({
     name: "socket",
     initialState,

     reducers: {
         incomingCall: (state, action)=> {
             state.callVideo= true
             state.receivingCall = true
             state.callerPhoto= action.payload.callerPhoto
             state.callerSignal = action.payload.callerSignal
             state.name = action.payload.name


         },
         showCallScreen: (state)=> {
             state.callScreen = true
         },
         setCalling: (state)=> {
             state.calling = true
         },
         endCall: (state)=> {
             state.callVideo = false
             state.calling = false
             state.callScreen = false
             state.receivingCall = false
             state.callEnded = true
             state.callAccepted =false

         },
         setStream: (state, action)=> {

             state.stream = action.payload
         },

         acceptCall: (state)=> {
            state.callAccepted = true
             state.receivingCall = false
         },

         answer: (state)=> {
             state.callAccepted = true
             state.receivingCall = false
             state.callScreen = true
         }


     }

 })


 export const {incomingCall, setCalling, showCallScreen, endCall, setStream, acceptCall, answer} = socketSlice.actions
 export default socketSlice.reducer
This contains the states related to socket and how I manage them with functions. Hopefully those earlier dispatch make more sense now.
HOW A CALL IS RECEIVED
This place gets a little bit different. I created a call notification that pops on the page with an answer call button. On the chat page, there is a socket that listens to the call User event in the useEffect hook
useEffect(()=>{
                  socket.current?.on("callUser", (data)=> {

                 navigator.mediaDevices.getUserMedia({video:true, audio: true}).then((stream)=>{


                     dispatch(setStream(stream))

                         myVideo.current.srcObject = stream

                     })


                 const payload = {  name: data.name, callerPhoto: data.avatar,
                     callerSignal: data.signal }


                   dispatch(incomingCall (payload))

                   socket.current?.on("callAccepted", ()=> {

                     dispatch(acceptCall())

                 })
                socket.current?.on("endCall", ()=> {

                     dispatch(endCall())

                 })


}, [] )
In comparison to when we try to call a user; when a call is made, it gets the caller video and sets the stream while for this one, once there is an incoming call before a call is accepted , the recipient's video is gotten it is saved to the myVideo Ref. So the recipient has his video already displaying before the call is accepted - the stream has to be also ready so as to avoid any bottleneck.
 { callVideo && <div className=' z-50  absolute w-screen h-screen'>
                             <video className={`${callAccepted && !callEnded? 'absolute bottom-0 right-0  h-24 border-2 border-blue' : 'top-0 left-0 w-full h-full' }`} playsInline autoPlay ref={myVideo}/>
                                </div>  }
This is the ref to the recipient's video which will start displaying.
The incoming call function coming from our redux state sets the necessary states we need. It also listens to know when the call is accepted, and when it is ended.
One of the states in the incoming call is the ReceivingCall that is set to true, our notification displays conditionally with that.
{
                   receivingCall && !callAccepted && <div className=' z-50  absolute w-screen h-screen'>

                   <ReceivingCall socket={socket} userVideo={userVideo} connectionRef={connectionRef} stream={stream}/>

                 </div>
             }
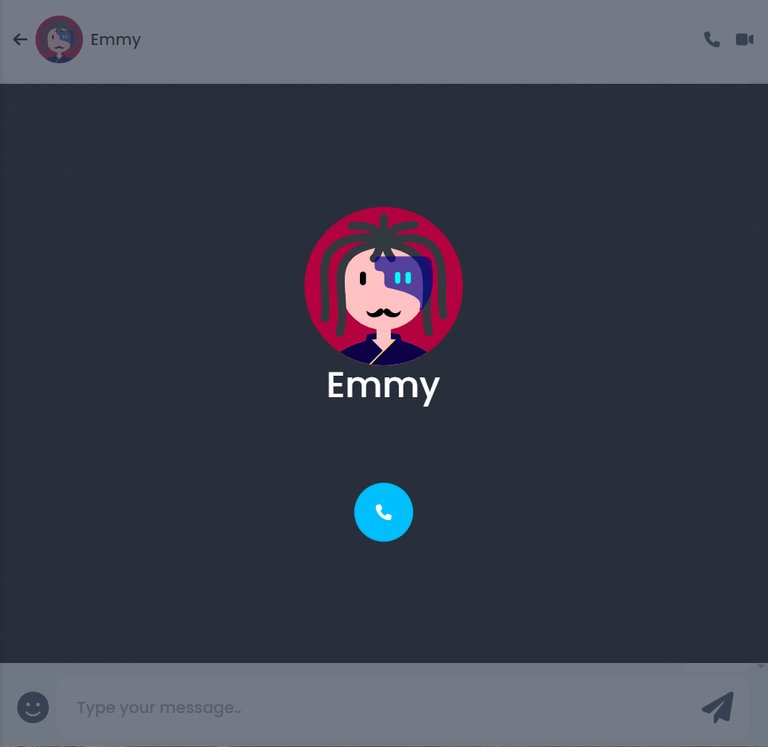
Here's how our Receiving Call (Call Notification) component looks like
export default function ({stream, socket,  connectionRef, userVideo}) {
    const {callerPhoto, name, caller, callerSignal} = useSelector((state)=> state.socket)

    let dispatch = useDispatch()
    const accept = ( userVideo, connectionRef, socket, caller, callerSignal, stream)=> {

          dispatch(answer())
          console.log("before dispatch"+stream)
          answerCall(userVideo, connectionRef, socket, caller, callerSignal, stream);
   }


   return (
     <div className='flex  justify-center  items-center z-50 p-0 m-0 absolute w-screen h-screen bg-gray-700/70  top-0 left-0'>
        <div className='flex flex-col gap-20 '>
        <div>
        <img alt="Image"  className="h-40 " src={`data: image/svg+xml;base64, ${callerPhoto}`}/>
         <div className='text-center text-white text-4xl'>{name}</div>
         </div>

         <div className=' relative flex justify-center'>
             <FontAwesomeIcon onClick={()=>accept(userVideo, connectionRef, socket, caller, callerSignal, stream)} className='z-10 bg-blue text-white p-5 rounded-full' icon={faPhone}/>
            <div className='animate-ping absolute w-14 bg-blue h-14 rounded-full'/>
         </div>
            </div>
         </div>
   )
 }
As you can see, the caller Photo, name is displayed. With a button with the accept function and a lot of parameters.
const accept = ( userVideo, connectionRef, socket, caller, callerSignal, stream)=> {

          dispatch(answer())
          answerCall(userVideo, connectionRef, socket, caller, callerSignal, stream);
   }
The accept function sets some states and fires an answer call function in our socket Js with the parameters. This is the main function.
export const answerCall = ( userVideo, connectionRef, socket, caller, callerSignal, stream)=> {

     const peer = new Peer({
         initiator: false,
         trickle:false,
         stream: stream
     })

     peer.on("signal", (data)=> {


         socket.current?.emit("answerCall", {
             signal: data,
             to: caller,

         })
     })
     peer.on("stream", (stream)=> {

         userVideo.current.srcObject = stream
     })


     peer.signal(callerSignal)

     connectionRef.current=peer


   }
As you can see from the first block, the first property is the opposite if the call User function. Since we are not the initiator of the peer, it is set to false.
The second block emits the answerCall which goes to our backend and emit the callAccepted back to the caller.
The third block receives the caller's stream and set it to the user Video ref. The signal (which has been set earlier when we dispatch incoming call) is then set to peer.signal and of course, we have our connection ref.
And that's it. Everything should work as intended. In summary the steps are:
To Call
- Get your stream ready and emit a call with your signal
- Listen if call has been accepted and get the user's Video
- Listen to the end Call event
To Receive
- Your stream is ready before you accept the call
- Accept the call and let the caller know it has been accepted
- Listen to the end call event
I have some more ideas already and I'll improve on this
Cover designed on Canva
https://twitter.com/991608002913472512/status/1581028734550757376
The rewards earned on this comment will go directly to the people sharing the post on Twitter as long as they are registered with @poshtoken. Sign up at https://hiveposh.com.
Thanks for the lesson! Very important codes to build a chat
!1UP
You have received a 1UP from @gwajnberg!
@stem-curator, @vyb-curator, @pob-curator
And they will bring !PIZZA 🍕.
Learn more about our delegation service to earn daily rewards. Join the Cartel on Discord.
PIZZA Holders sent $PIZZA tips in this post's comments:
@curation-cartel(11/20) tipped @marvel1206 (x1)
Learn more at https://hive.pizza.
Wow! It's really good to know that everything is coming together just great!
Your posts are truly inspiring and I really hope I'd be able to do something like this someday.
Thanks for sharing!
Congratulations @marvel1206! You received a personal badge!
You can view your badges on your board and compare yourself to others in the Ranking
Support the HiveBuzz project. Vote for our proposal!
Thank you for sharing this post on HIVE!
Your content got selected by our fellow curator tibfox & you received a little thank you upvote from our non-profit curation initiative. Your post will be featured in one of our recurring curation compilations which is aiming to offer you a stage to widen your audience within the DIY scene of Hive.
Next time make sure to post / cross-post your creation within the DIYHub community on HIVE and you will receive a higher upvote!
Stay creative & hive on!