BUILDING E-COMMERCE WEBSITE USING DJANGO PYTHON: REFACTORING CODE AND WORKING WITH LOGIN FUNCTIONALITY(PART-05)
Hello everyone. Welcome to the fifth part on the series "Building E-Commerce Website Using Django Python". In the last tutorial, we focused on Signup form and added our custom validation to it. In this tutorial, we will be focusing on Login functionality and we will be adding our own simple validation when login attempt failed with wrong credentials. This tutorial is going to be very short than the previous tutorials because we don't have to write much code for login and refactoring simply means moving long code to a new function and returning that function from the original one. But, at the end we will do cool stuff with the admin panel like changing the Dashboard name, title that by default shows Django everywhere. The code for this is very pretty simple and understandable.
You can find the tutorial and source code of each tutorial in the following link.
First Part: Getting Started
Second Part: Admin, Models and Data Rendering
Third Part: Template Inheritance, Bootstrap and Static Files
Fourth Part: Signup Form Validation
What is Code Refactoring?
In programming, code refactoring means improving the code structure making it more efficient, clean, readable without ever changing the behavior or functionality of the code. In our previous project, you can see our signup views have so many code as we have to logic for validation along with the error message.
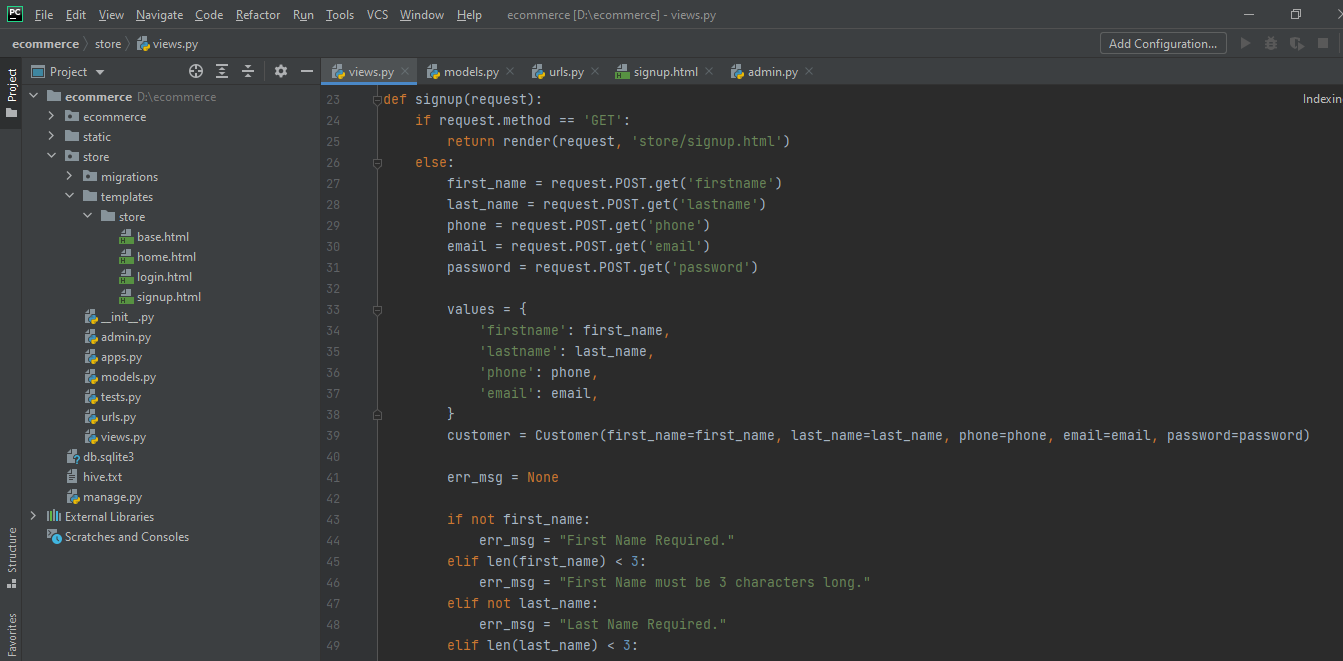
How we can refactor the code in this view. So, first we will create a separate function that will take care of validation logic and second, we will create another function that will handle the POST request method for signup. We aren't doing anything. Just transferring the code of each to a new function. This will be our code in views.py:
from django.shortcuts import render, redirect
from django.http import HttpResponse
from django.contrib.auth.hashers import make_password, check_password
from .models import *


def homePage(request):
    products = None
    categories = Category.objects.all()
    category_id = request.GET.get('category')
    if category_id:
        products = Product.objects.filter(category=category_id)
    else:
        products = Product.objects.filter(category=1)
    context = {'products': products, 'categories': categories}
    return render(request, 'store/home.html', context)


def login(request):
    return render(request, 'store/login.html')


def validateCustomer(customer):
    err_msg = None
    if not customer.first_name:
        err_msg = "First Name Required."
    elif len(customer.first_name) < 3:
        err_msg = "First Name must be 3 characters long."
    elif not customer.last_name:
        err_msg = "Last Name Required."
    elif len(customer.last_name) < 3:
        err_msg = "Last Name must be 3 characters long."
    elif not customer.phone:
        err_msg = "Phone is Required."
    elif len(customer.phone) < 10:
        err_msg = "Phone Number must be 10 characters long."
    elif not customer.email:
        err_msg = "Email is Required."
    elif customer.does_exits():
        err_msg = "User with this email address already registered."
    return err_msg


def registerCustomer(request):
    first_name = request.POST.get('firstname')
    last_name = request.POST.get('lastname')
    phone = request.POST.get('phone')
    email = request.POST.get('email')
    password = request.POST.get('password')

    values = {
        'firstname': first_name,
        'lastname': last_name,
        'phone': phone,
        'email': email,
    }
    customer = Customer(first_name=first_name, last_name=last_name, phone=phone, email=email, password=password)

    err_msg = None
    err_msg = validateCustomer(customer)

    if not err_msg:
        customer.password = make_password(customer.password)
        customer.save()
        return redirect('home')
    else:
        return render(request, 'store/signup.html', {'error_msg': err_msg, 'values': values})


def signup(request):
    if request.method == 'GET':
        return render(request, 'store/signup.html')
    else:
        return registerCustomer(request)
validateCustomer(customer) will handle the code for validation logic and return the error message. registerCustomer(request) will handle the code for POST request method for signup. When we created the customer object in this function, we will use validateCustomer(customer) to check validation for all the input fields. You can see the signup view has now so clean and efficient code. If request method is GET, we will simply render the signup page and if the method is POST, it will return registerCustomer(request) which in turns check the validation and returns result correctly. If you check the demo, it should be working as it was previously. Let me show you two demos here:
1. Putting valid data to see if that data is inserted into database.
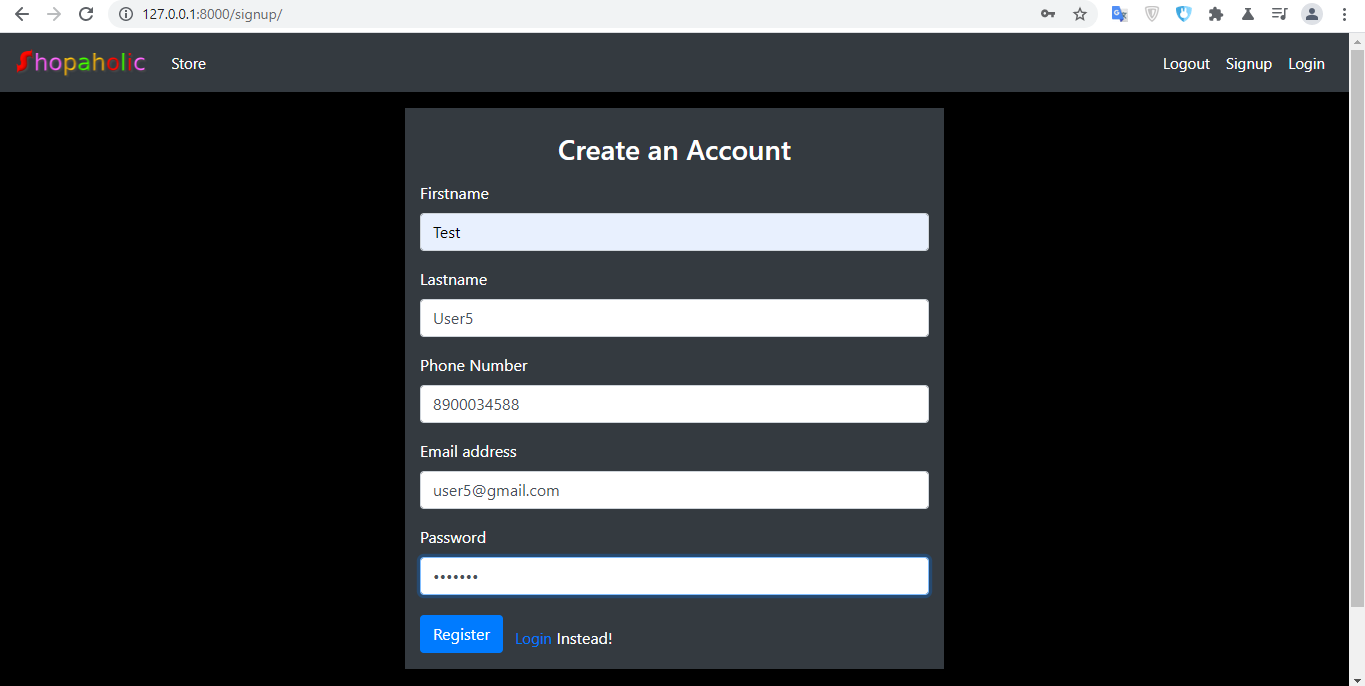
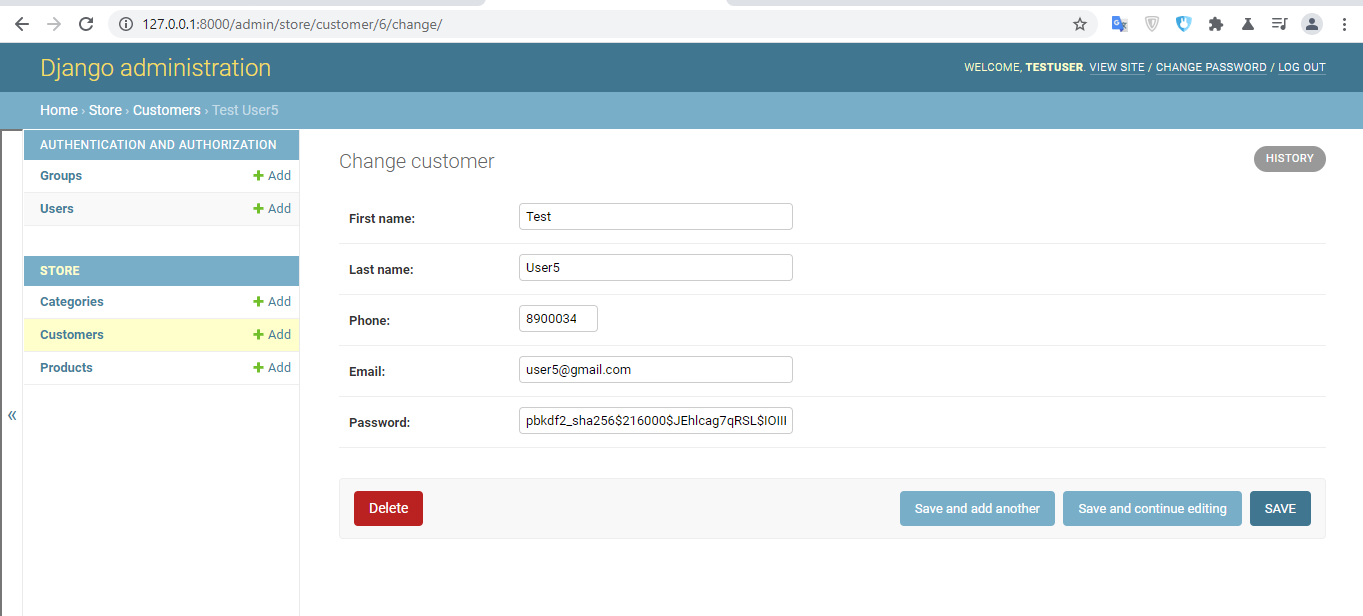
It will return home page accordingly as we have defined. Now checking in admin dashboard if the customer has been added to the database.
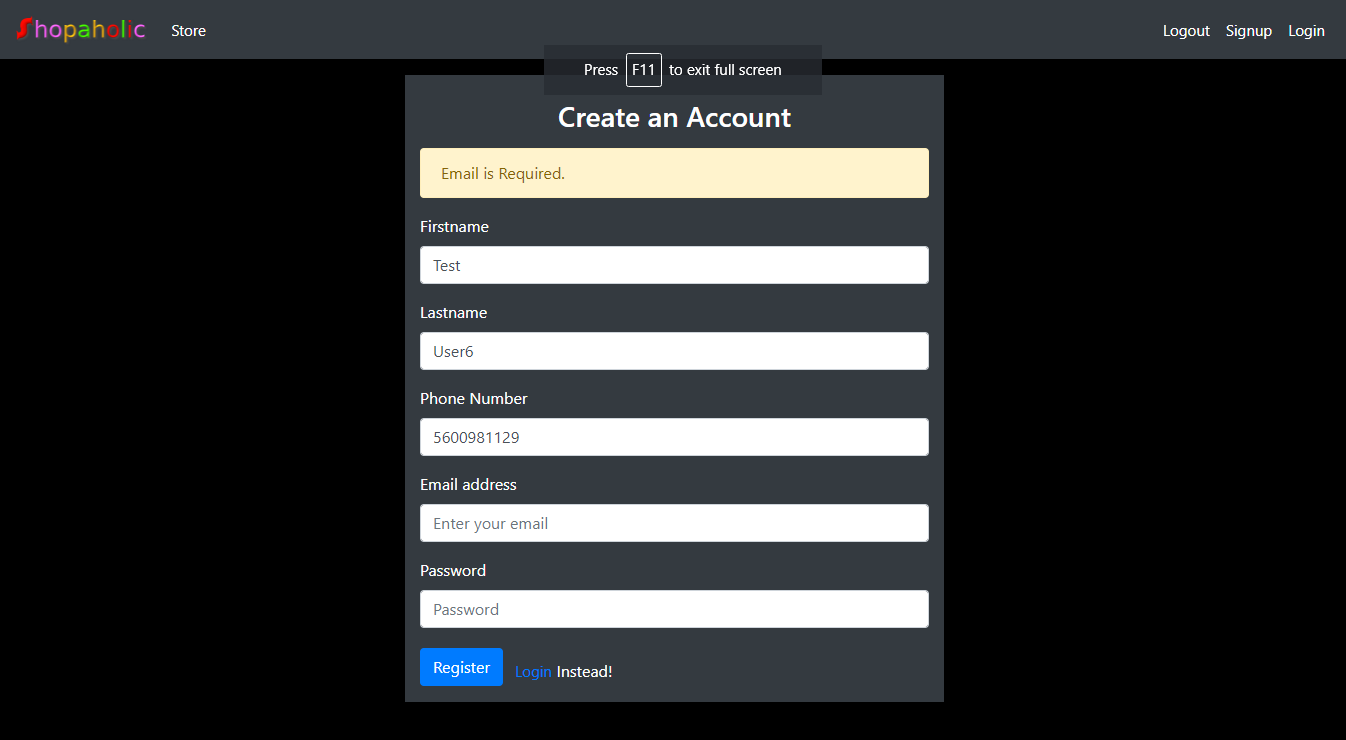
2. Entering any of the field empty.
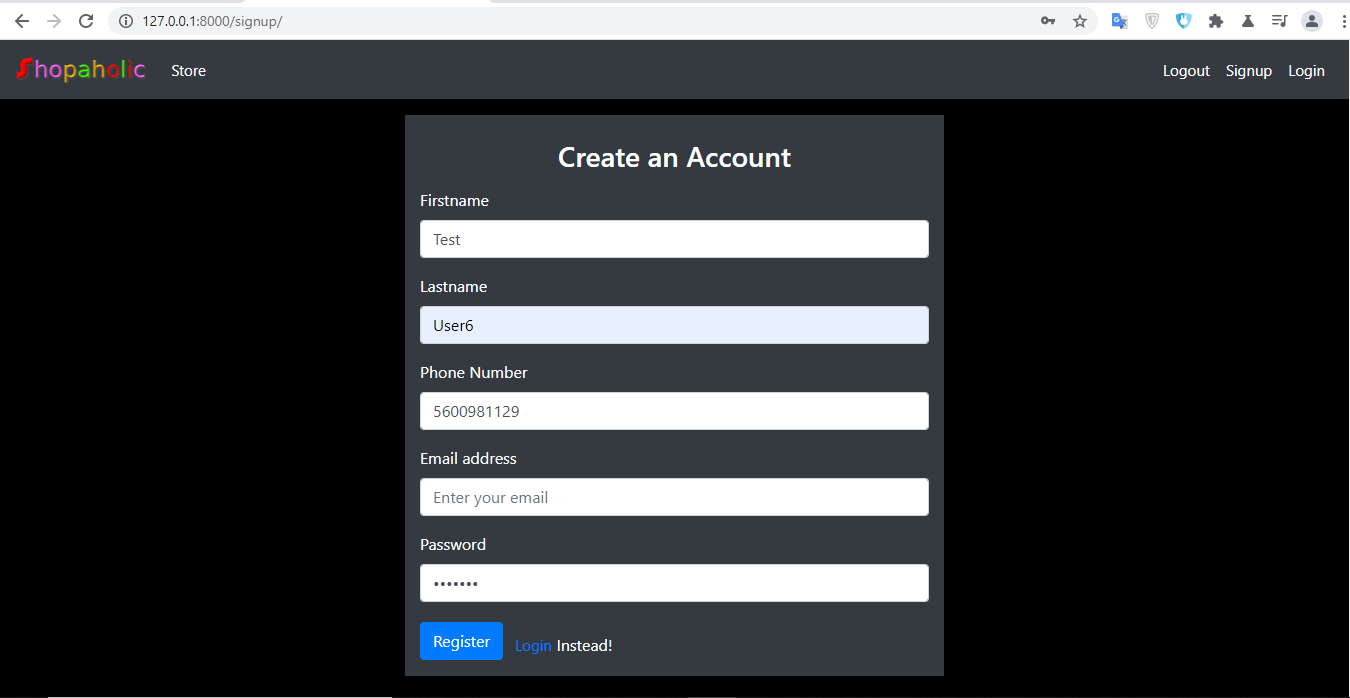
We have left the email field already. It should return "Email is required."
Now, lets start working with login. We already have login page designed in third part of our tutorial. This is the algorithm we will be using to build login functionality:
- First, we will get a data inside our post request which includes email and password and hold this value in a new variable (say email and password)
- We will create a method that inside our Customer model that will return customer that has email equal to the above email.
- If email is not found, we will return error message.
- Else, we will check the decode the password using Django
check_password. It will simply returns true or fals value. - If false value is returned, we will return an error message.
- Else, we will serve the home page.
Lets create a function inside Customer model that returns customer with the email entered in the login field. And we will create this function inside models.py.
    def get_customer_by_email(email):
        try:
            return Customer.objects.get(email=email)
        except:
            return False
models.py upto this point has this code:
from django.db import models


class Category(models.Model):
    class Meta:
        verbose_name_plural = "Categories"

    name = models.CharField(max_length=200, blank=False)

    def __str__(self):
        return self.name


class Product(models.Model):
    name = models.CharField(max_length=200, blank=False)
    price = models.IntegerField(default=0, blank=False)
    category = models.ForeignKey(Category, on_delete=models.CASCADE)
    description = models.TextField(max_length=600, blank=False)
    image = models.ImageField(null=True)

    def __str__(self):
        return self.name


class Customer(models.Model):
    first_name = models.CharField(max_length=100)
    last_name = models.CharField(max_length=100)
    phone = models.IntegerField()
    email = models.EmailField()
    password = models.CharField(max_length=50)

    def __str__(self):
        return self.first_name + " " + self.last_name

    def get_customer_by_email(email):
        try:
            return Customer.objects.get(email=email)
        except:
            return False

    def does_exits(self):
        return Customer.objects.filter(email=self.email)
Also we need to add {% csrf_token %} in login.html just after <form> tag as we are handling POST data. Now lets write logic for our login page according to the algorithm we just mentioned above. In the views.py lets add this code:
def login(request):
    if request.method == "GET":
        return render(request, 'store/login.html')
    else:
        email = request.POST.get('email')
        password = request.POST.get('password')
        customer = Customer.get_customer_by_email(email)
        error_msg = None
        if customer:
            flag = check_password(password, customer.password)
            if flag:
                return redirect("home")
            else:
                error_msg = "Email or Password is incorrect."
        else:
            error_msg = "Email or Password is incorrect."
        return render(request, 'store/login.html', {'error_msg': error_msg})
We will return the error message in our login page. This is what goes inside our login.html.
{% extends 'store/base.html' %}

{% block content %}

<div class="container text-white pt-5">
    <div class="p-5 m-5">
        <div class="col-md-6 mx-auto pt-4 bg-dark">
            <h3 class="text-white text-center pb-2">Login to your account</h3>
            <form action="" method="post" class="bg-dark">
                {% csrf_token %}
                {% if error_msg %}
                <div class="alert alert-warning">
                    {{error_msg}}
                </div>
                {% endif %}
                <div class="form-group">
                    <label for="email">Email address</label>
                    <input type="email" name="email" class="form-control" placeholder="Enter your email">
                </div>
                <div class="form-group">
                    <label for="password1">Password</label>
                    <input type="password" name="password" class="form-control" placeholder="Password">
                </div>
                <div class="form-group">
                    <input type="submit" value="Login" class="btn btn-primary mt-1 mr-2 mb-3">
                    <a href="{% url 'signup' %}">Signup</a> Instead!
                </div>
            </form>
        </div>
    </div>
</div>

{% endblock %}
Now time to test our code:
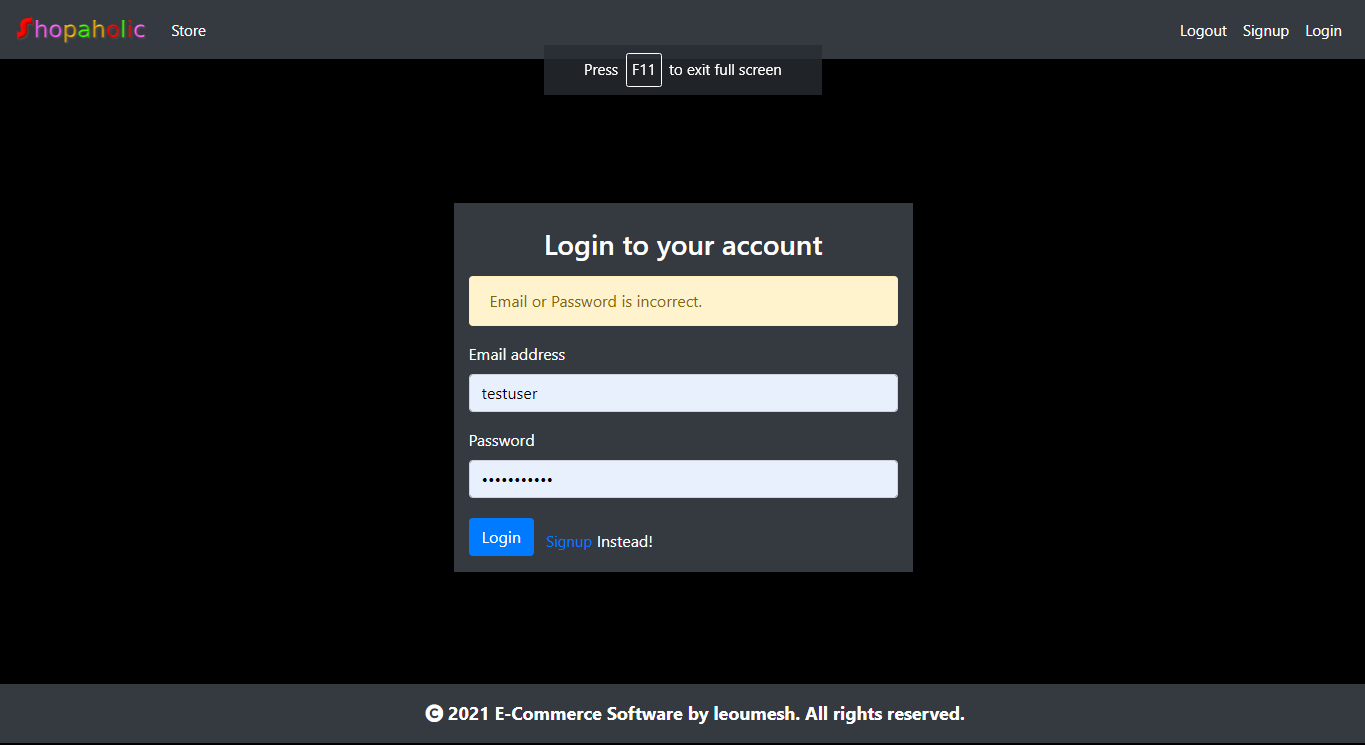
1. Logging in with incorrect credentials:
We have used password: demo123 for [email protected] email while registering. I will enter correct email but wrong random password.
After clicking login, we will get this error.
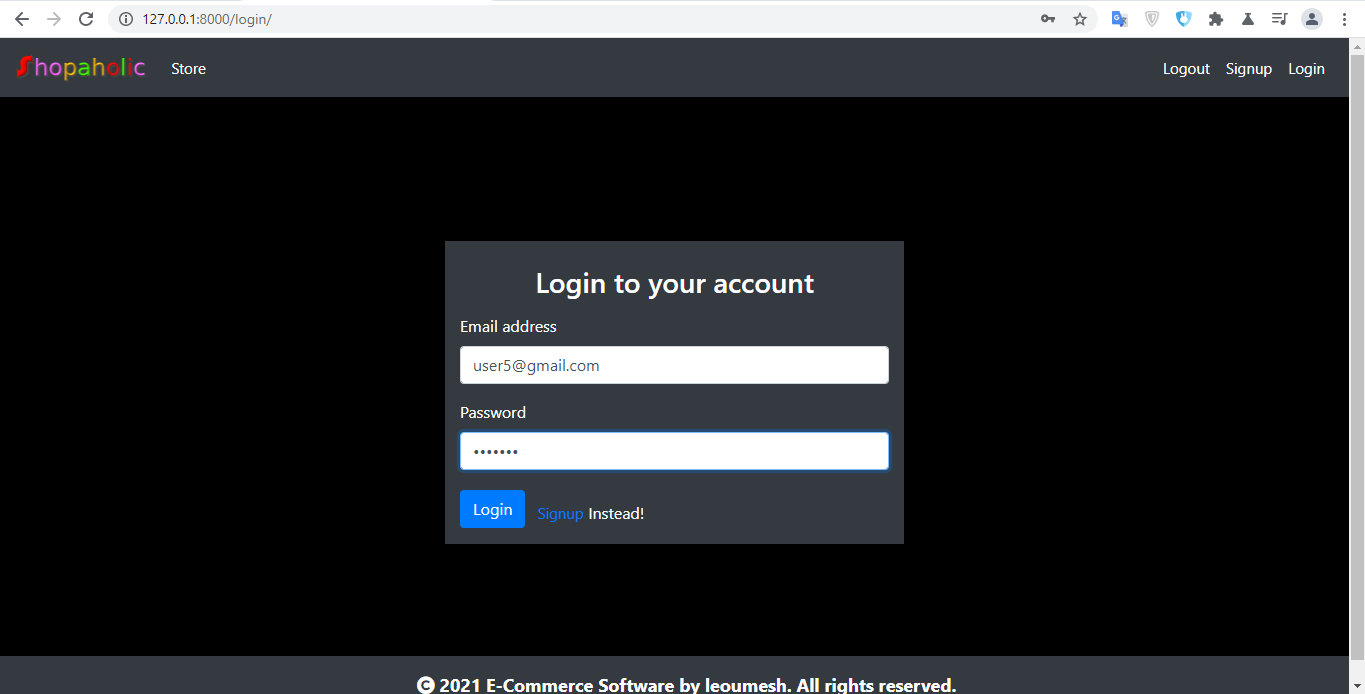
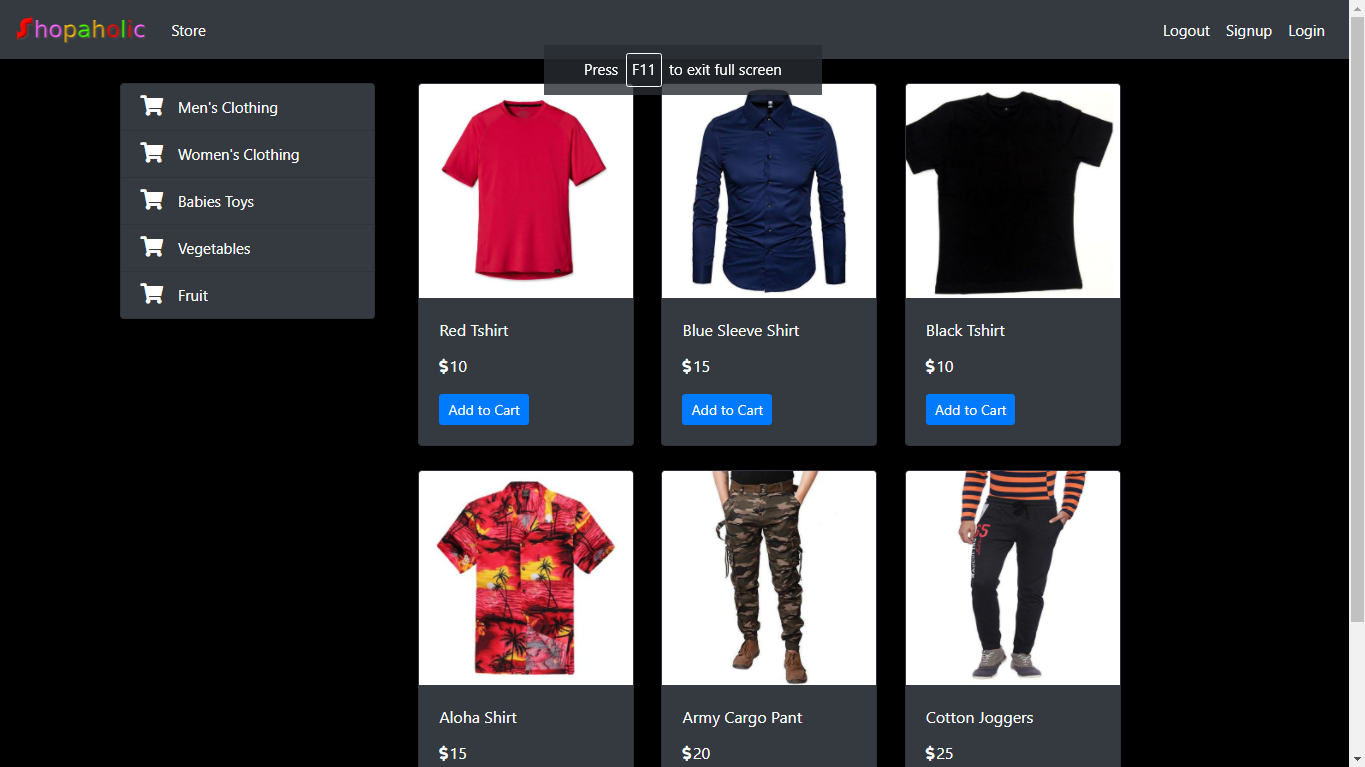
2. Logging in with correct credentials to see if home page is served.
Now lets use the correct password for the same user. You can see home page is being shown to the user.
Now, as told lets try to do cool things with Django Admin Customization. For this open store/admin.py. Lets add this line of code:
admin.site.site_header = "Shopaholic Dashboard"
admin.site.site_title = "Shopaholic"
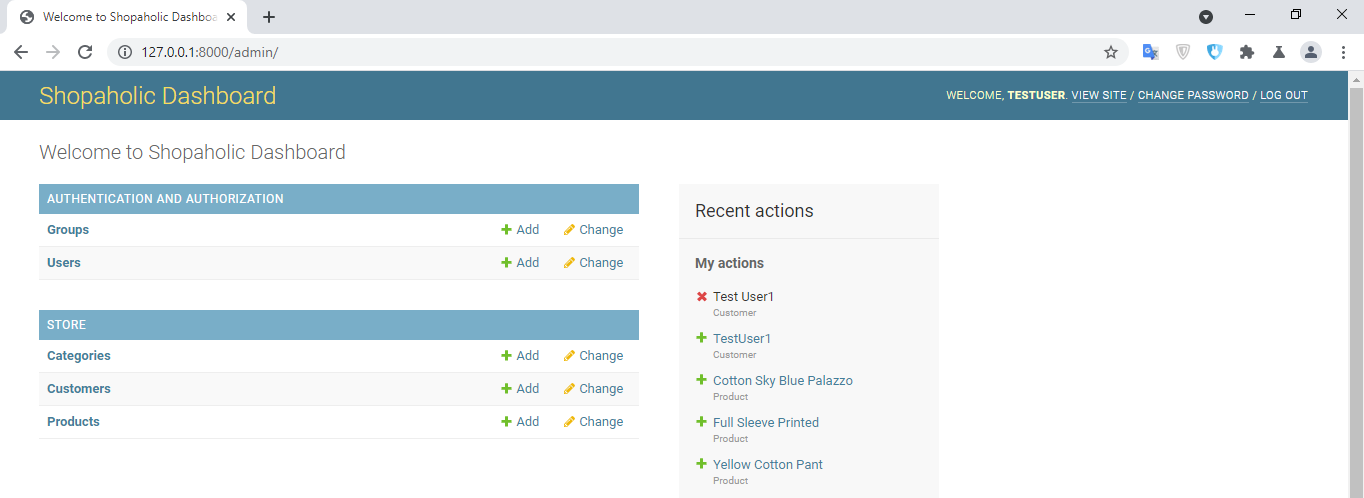
admin.site.index_title = "Welcome to Shopaholic Dashboard"
I don't have to explain what the above first two code does. You can simply notice the change in the dashboard.
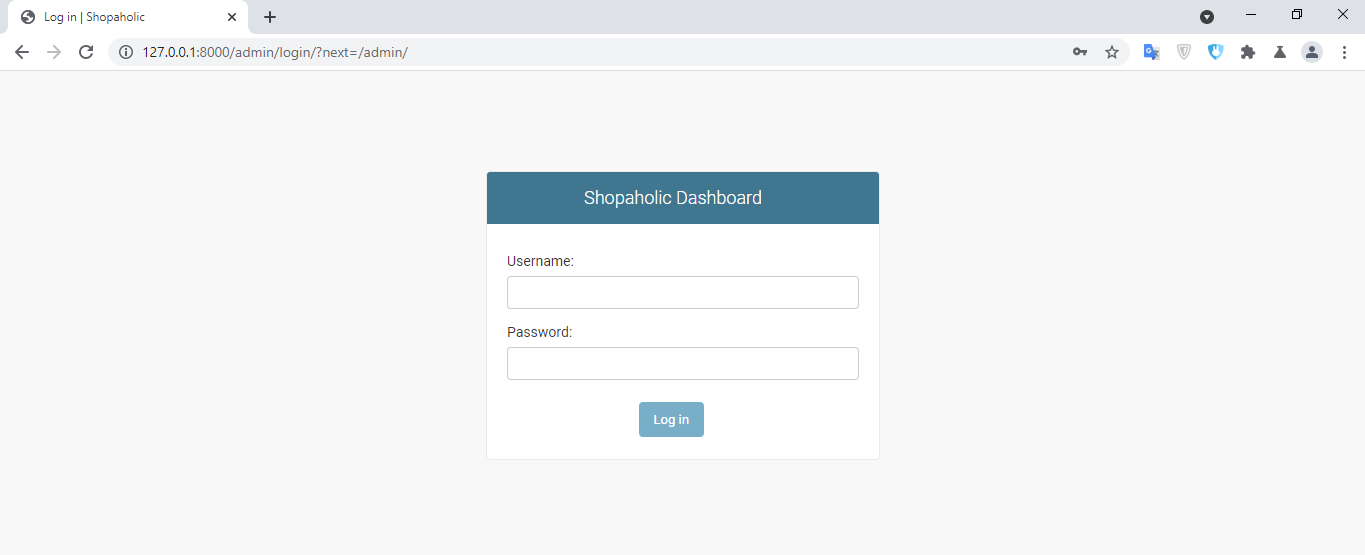
Lets login and see what the third code does. You can notice with your vigilante eyes.
If you see your admin.py, you can notice ProductAdmin class that we have created that modifies how image is previewed in the dashboard. Actually, we can use extra code there like searching the product and filtering the product. To do that simply add this code inside the same class.
    search_fields = ['name']
    list_filter = ['name']
Let's see how this looks like in our dashboard:

Boom, you can see a search field where you can search any product with name and in the right side, filter tab has appeared too. You can do with any of your other model using the same convention as we did for product. That's why Django dashboard is so powerful as it lets you do many cool stuffs with it.
The final code in admin.py is:
from django.contrib import admin
from .models import *
from django.utils.html import format_html


class ProductAdmin(admin.ModelAdmin):
    list_display = ['name', 'price', 'category']
    search_fields = ['name']
    list_filter = ['name']

    def image_tag(self, obj):
        return format_html('<img src="{}" width="auto" height="200px" />'.format(obj.image.url))

    image_tag.short_description = 'Product Image Preview'
    readonly_fields = ['image_tag']


admin.site.register(Category)
admin.site.register(Product, ProductAdmin)
admin.site.register(Customer)

admin.site.site_header = "Shopaholic Dashboard"
admin.site.site_title = "Shopaholic"
admin.site.index_title = "Welcome to Shopaholic Dashboard"
Find the fourth part tutorial's source code here.
Find the sample product images here.
Getting Started
Admin Dashboard link: http://127.0.0.1:8000/admin/
Username: testuser
Password: testuser321