How to SSD boot on the Raspberrpy Pi 4
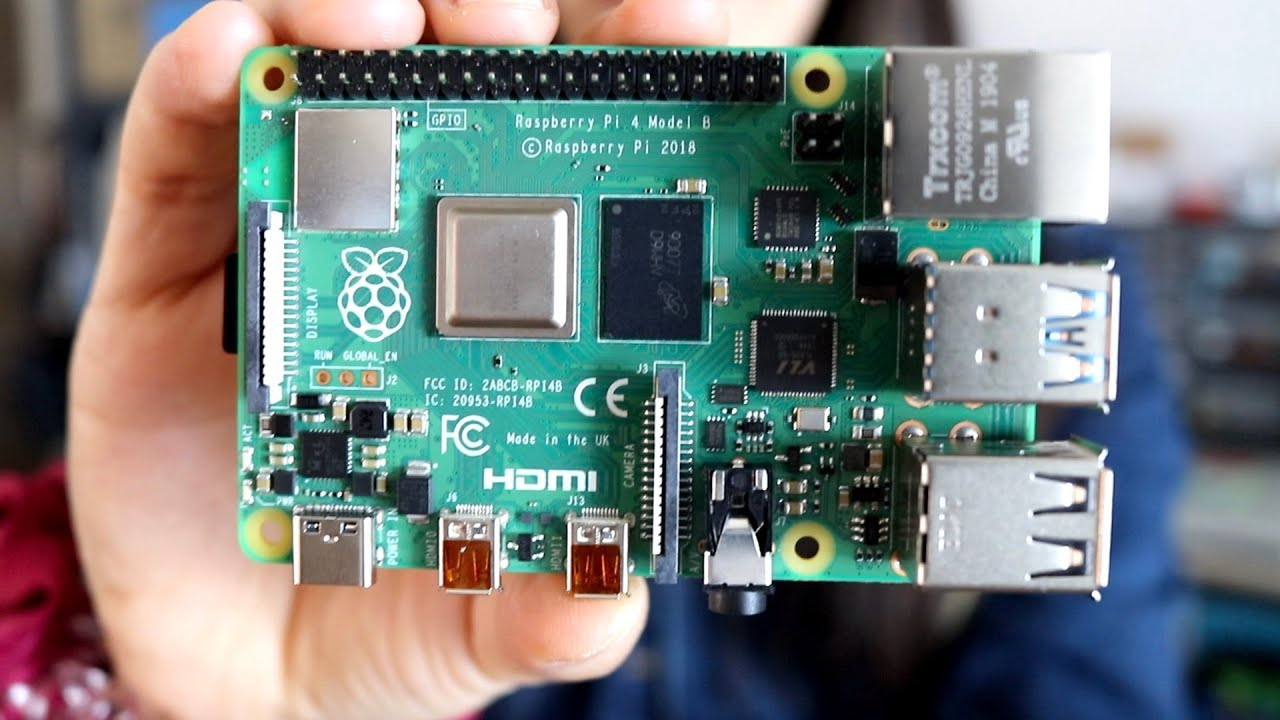
If you haven't checked out my post yesterday about the performance advantages of using an SSD drive on the Raspberry Pi 4, I highly recommend you check it out. Booting off an SSD drive on the Raspberry Pi can see as much as a 50x speed improvement over an SD card.
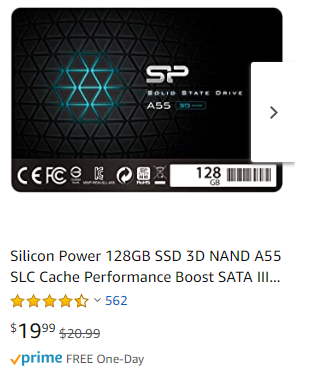
When you can get a 128 GB SSD for only $20 shipped, it is a viable alternative to a slow SD Card.
(You do need a $9 SSD to USB cable)
This post I will show you how to enable SSD boot for the Raspberry Pi 4, instructions for the Pi 3+ would be a little different but performance is not as impressive on the Pi 3+ as it is with the Pi 4.
Enabling SSD boot on the Pi 4
Obtain SATA to USB Cable
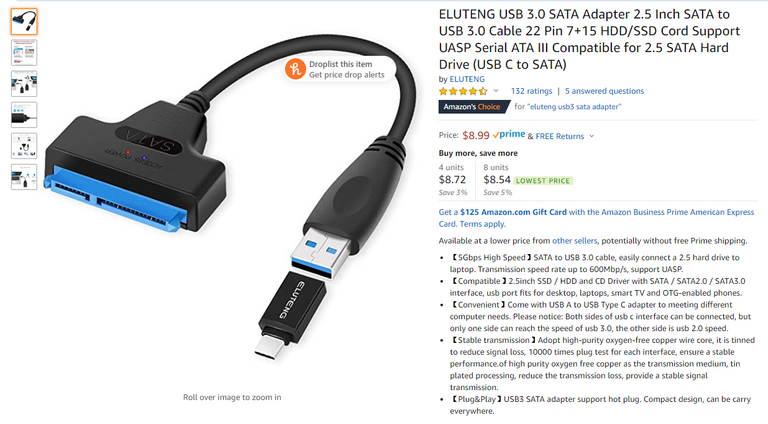
You will need a SATA to USB 3 cable. All cables are not the same and some may even advertise USB 3 but will not be a good option.
The above cable is what I recommend using, it is proven to work with USB 3 and supports UASP it also includes a USB-C adapter which may be handy in the future.
Having a cable that supports UASP is critical as performance will improve more than 50%.
UASP is a newer USB block storage protocol that replaces BAT that was developed back when USB released 1.0. BAT is limited to large sequential transfer of data which is inefficient with high-speed USB.
You can verify if your cable runs in UASP mode by running lsusb -t on your Pi with an SSD drive connected to the cable.
/: Bus 02.Port 1: Dev 1, Class=root_hub, Driver=xhci_hcd/4p, 5000M
|__ Port 2: Dev 2, If 0, Class=Mass Storage, Driver=uas, 5000M
You are looking for the "Driver" section where it will specify uas or usb-storage. If you see uas you are in good shape and should experience maximum performance currently available.
Not all cables that advertise UASP will work properly. For example, I purchased this cable that supports USB 3 & UASP but it only works when plugged into a USB 2.0 port on the Raspberry Pi 4. This is a known issue other users have experienced.
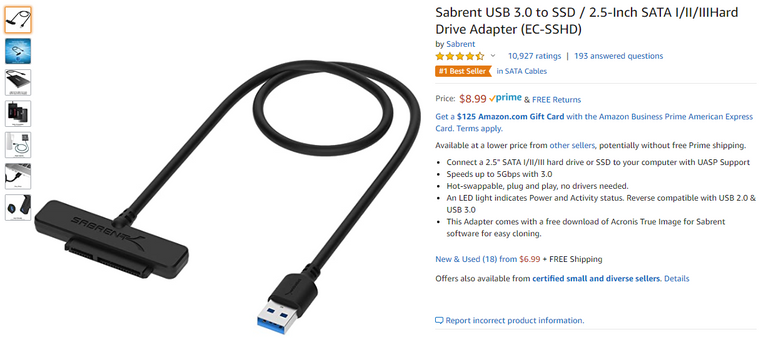
While the cable works well on a PC and Windows, it doesn't work with USB 3.0 ports on the Raspberry Pi 4.
You want to make sure you plug the SSD drive into the blue USB 3.0 ports on the Raspberry Pi 4. The standard USB 2.0 ports will drastically reduce the speed of your SSD drive.
Update your Pi 4
You will want to fully update the software on your Raspberry Pi 4 before doing anything. You can accomplish that using the following command.
sudo apt update && sudo apt full-upgrade
Update eeprom
You will need to change your release from critical to stable.
Edit the following file /etc/default/rpi-eeprom-update using vim, nano, or whatever your favorite editor is.
Change the release from critical to stable
FIRMWARE_RELEASE_STATUS="stable"
Install the latest firmware
sudo rpi-eeprom-update -d -a
This command will update the firmware for the Raspberry Pi 4, you will need to do a reboot using sudo reboot when it is complete.
Verify firmware
Use the following command to verify you are running firmware dated June 15th, 2020, or newer.
vcgencmd bootloader_version
Install or copy OS to SSD
At this point, you have two options. You can use the official Raspberry Pi imager to install Raspberry OS on your SSD drive or you can copy the SD card directly to your SSD.
Using the Raspberry Pi Imager is really easy and awesome, you can follow my [instructions] to install Ubuntu but install the official Raspberry Pi OS instead. You can also choose other operation system choices from the Raspberry Pi Imager.
If you are using a new image, you will need to update all .dat and .elf files in the /boot folder. You can copy these files off the SD card /boot folder after you do a full upgrade or you can download the official Pi firmware repo and grab them from there.
If you choose to clone your SD card you can use imaging software like Win32 Imager or the SD Card Copier built into X Windows that comes with Raspberry Pi OS. You can find this by booting into X Windows on your SD card.
Reboot off the SSD
That's all you have to do, you can remove the SD card now and boot off the SSD card.
Check out other posts in my Raspberry Pi Series
- Setting up a Raspberry Pi headless (without monitor or keyboard)
- Raspberry Pi 4 Heat & Enclosure Issues
- Install Ubuntu 20.04 64 Bit on a Raspberry Pi
- High-Speed Raspberry Pi GPU Driver released
- Unboxing the Raspberry Pi 4 and accessories
- Does cooling matter on the Raspberry Pi 4
- Testing third-party power over ethernet HAT /w Raspberry Pi 4
- Overclocking the Raspberry Pi 4 to 2.147 GHz
- How to stress test your Raspberry Pi
- Is this the best Raspberry Pi 4 case ever designed?
- Maximum performance out of the Raspberry Pi 4 with an SSD drive
- Five really cool Raspberry Pi projects

#posh
Thank you very much for the informative publication. I enjoy reading articles on technical capabilities because progress is moving forward. In a word, developing in this regard is very cool. I wish you success. Waiting for your updates.
Does editing eeprom and updating/verifying the firmware work the same way on ubuntu?
Right now Ubuntu doesn't have the Raspi tools so you need to use a Raspberry Pi OS boot to do that sort of thing
Are you missing a link to your instructions for installing Ubuntu?