Solar powered landscape lights project - Making connections
With the landscape lights in place, it is now time to connect the battery, solar panels and lights into the junction box. This will allow easy connection and disconnection of wires. Also if someone tripped on a wire or it got pulled some how it will not damage the charge controller. So using a junction box is nice to have when dealing with alot of wires.
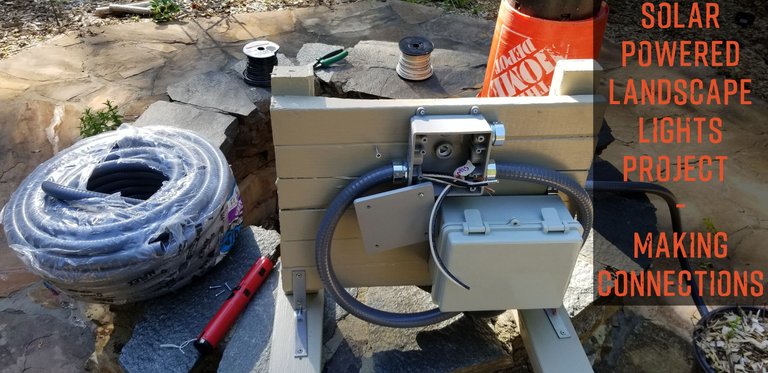
This is the first time I have used a junction box, in the past I have used terminal blocks inside of the main enclosure. But this time around I wanted to try something new. So I found a small plastic waterproof box to run all my wires into. And the conduit connects directly to some flanges that screw into it making everything sealed. We get heavy sideways rains here in Georgia so any electrical systems outside must be properly managed to keep water out of them.
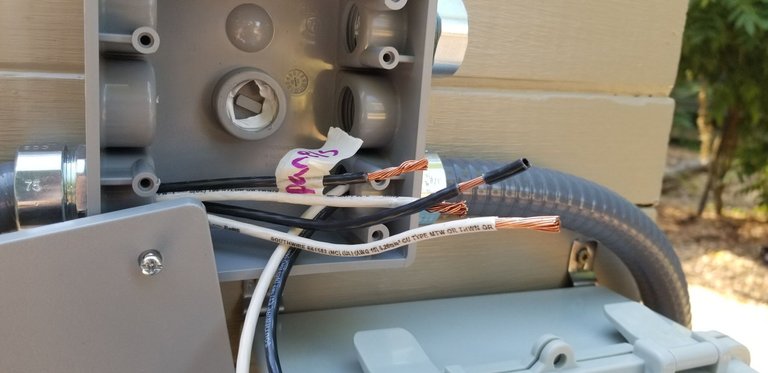
Since I am using only two colors, black for positive and white for negative I labeled the wires as they came into the box. That way I know exactly what is what in there. Some masking tape and a sharpie labeled the wires for the panels and battery. The light wires were easily IDed as only the positive came into the junction box and it was a 12 gauge wire compared to 10 gauge I used for my panels and battery.
Connecting the wires I used wire nuts with a die-electric gel to help protect them from the rain. Another step in making this a long term system. I also add some electrical tape for safe measure.
The 100 amp hour battery was placed in the center of my fire pit. I can no longer use it, so its nice to make it my battery box. Theres room for at least a second battery or more if I need to expand.
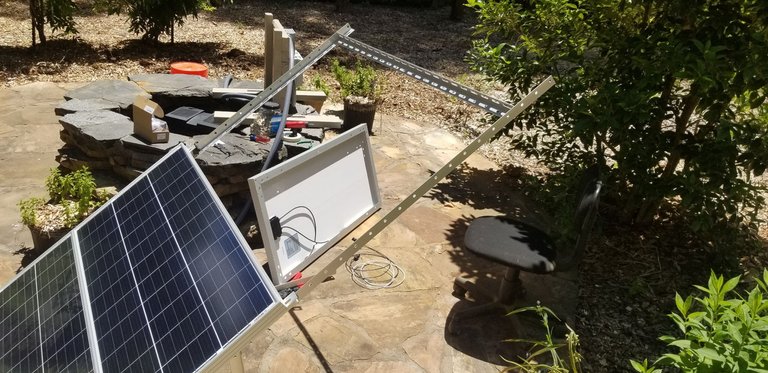
Setting up the solar panels I am using 100w renogy panels. They are quite basic but should do the job. My charge controller cannot handle more than 3x 100w panels so if I wanted better ones id have to upgrade my PWM charge controller. In the future I may do that if I have trouble recovering a charge during the day.
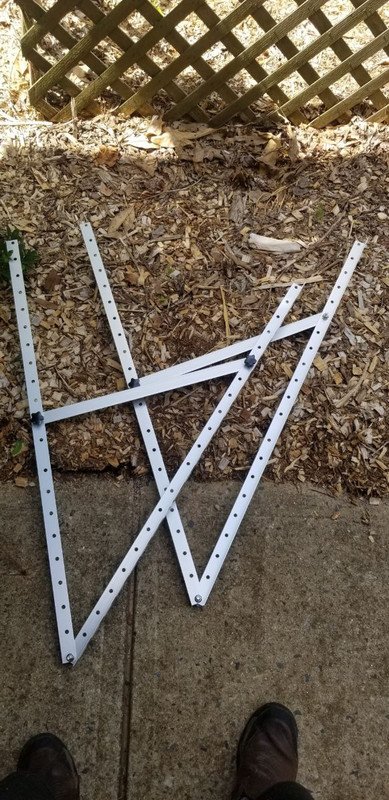
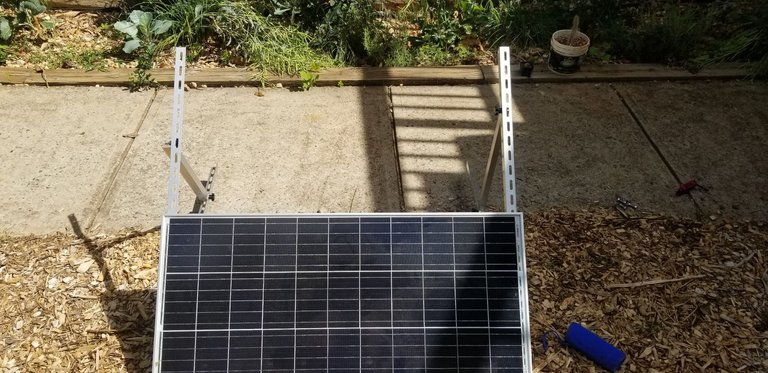
The solar panel stands came in a kit, they have aluminum supports and came with most of the bolts. I say most as they only included enough screws to attach one panel. Its okay I used zipties to attach the rest, and I had a second frame I took more bolts from.
Attaching the first panel I made sure it all fit right, and got the angle I wanted set up. Not sure if its the perfect angle, since these panels do not move as the sun does I guess there will just be a peak time when these panels are pulling in the most power.
Putting the second panel on they fit flush against each other. There is almost room for a third, so I consider how I can get one more on this stand. It looks quite sturdy so should be able to handle one more hopefully.
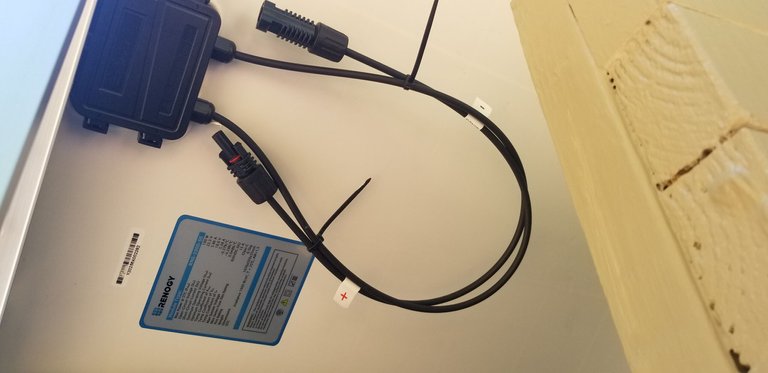
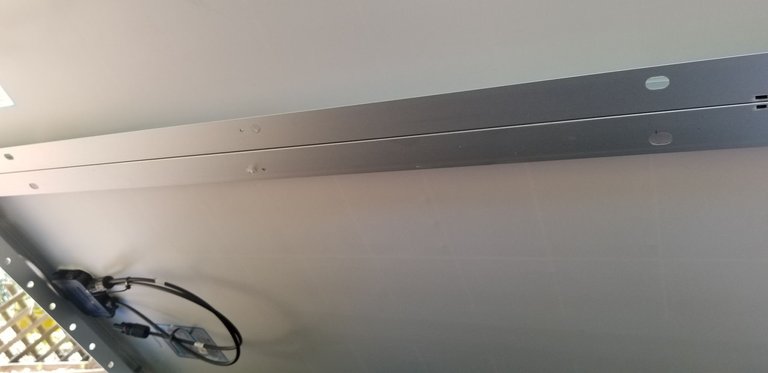
The backside of the panels have the connections, they were zip tied tight from the factory. So I had to be very careful not to cut the wires once getting rid of the zip ties.
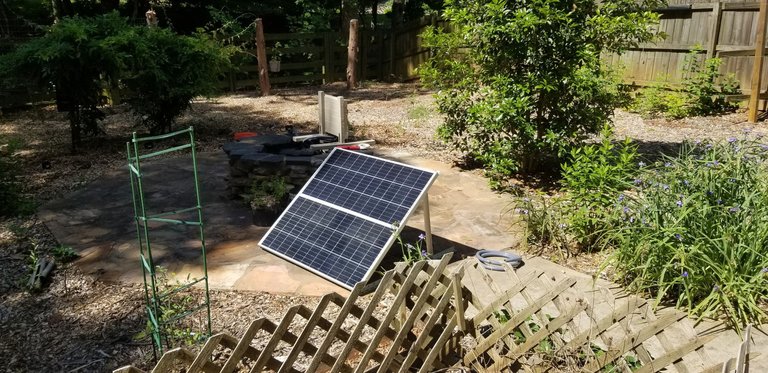
Got the 2 panels set up and looks pretty nice. Though I think I can do more here, looking at the hardware left from the second panel kit I am going to find a way to extend it.
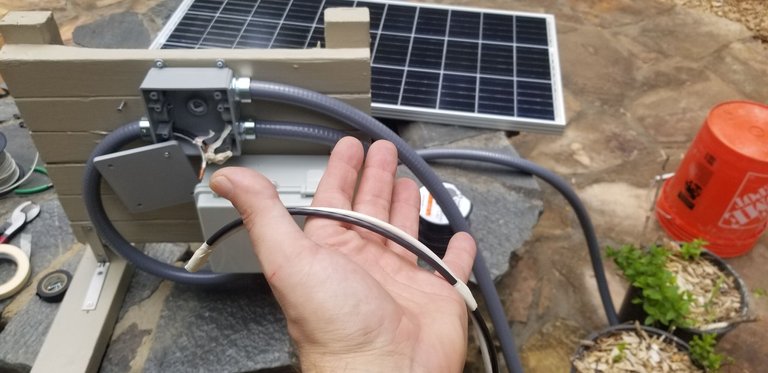
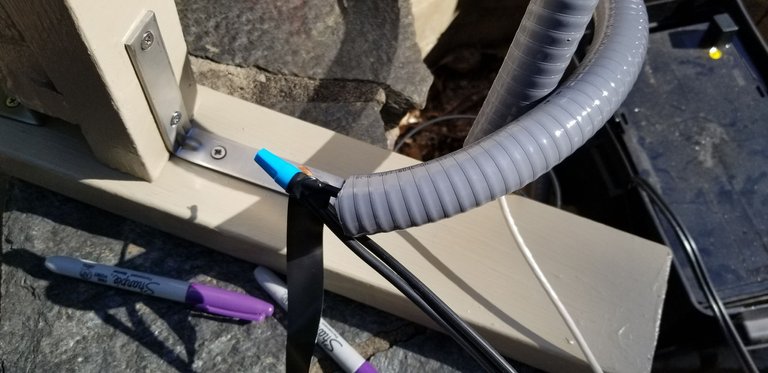
Running the wire through the conduit was the most frustrating part of the process. So I tried to make this easier by taping the two wires together to make them more stiff to help get through the tubing. I could only get about 10' through before it would not budge anymore.
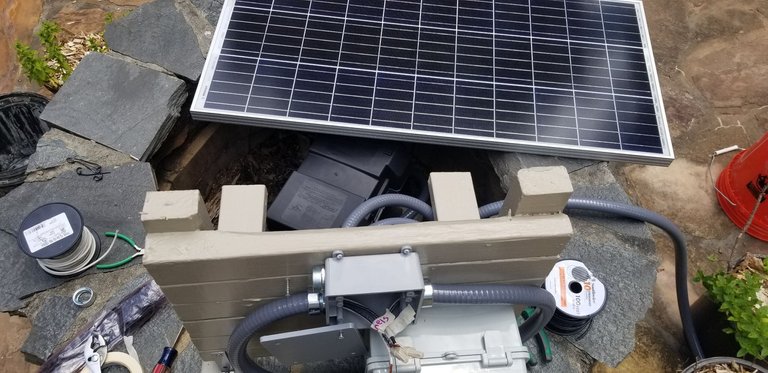
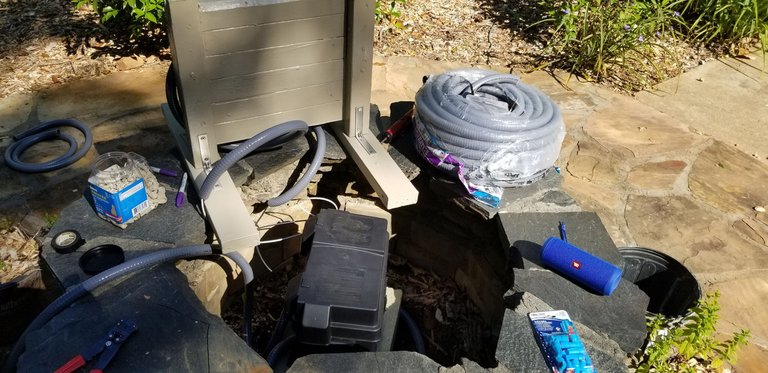
Things are coming into place now. About half way through the day I had the battery wired in, the panels mostly set up and only had a few more connections to make.
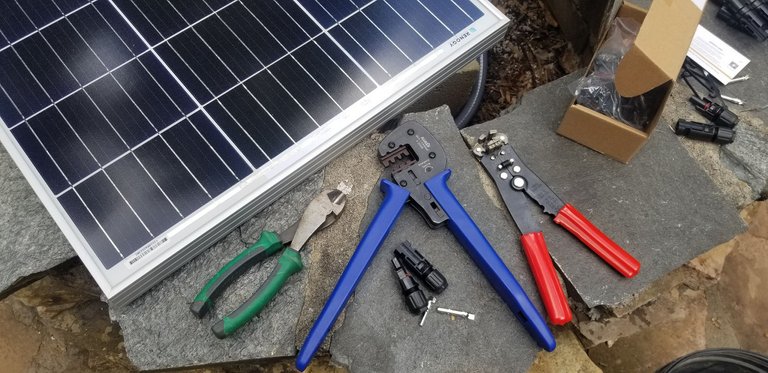
These three tools is mostly what I used, dikes, a stripper and the mc4 crimper. Between these it was mostly what I worked with on the solar setup. The mc4 connectors can be seen as well below the tools and to the right of them.

I wired my panels up in parallel, meaning the amperage would increase but not the voltage. If I go with a better charge controller I may change this and wire them in series to get more voltage. But for now going in parallel I can get the most of my little PWM charge controller.
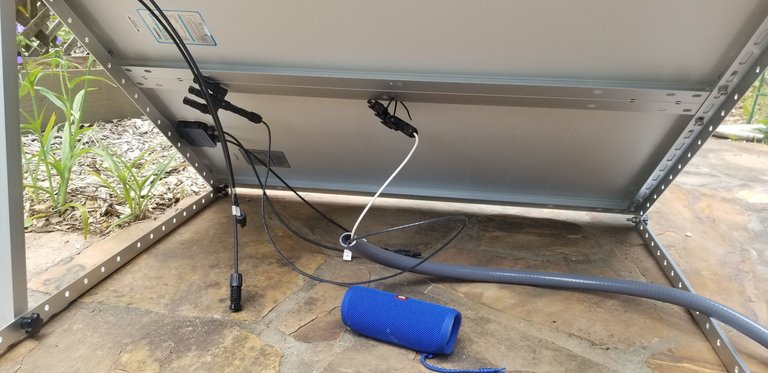
Nice hanging out under the panels wiring everything up. I listened to some music while wiring and it was nice laying down. Glad no ants bit me, laying on the ground outside this time of year your just asking to get bugs on you..lol
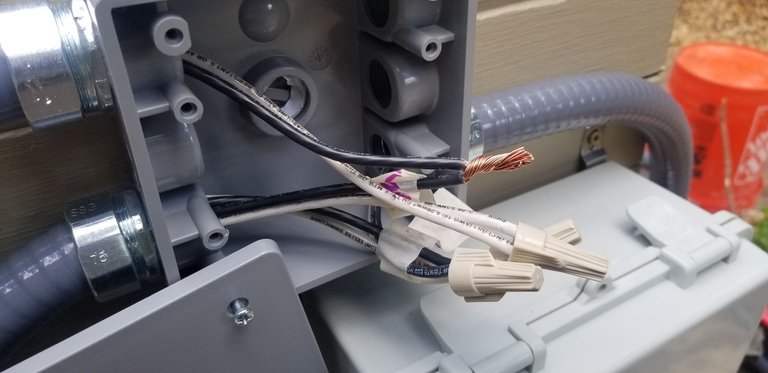
The junction box is getting pretty full, as I connect I use some non-water resistant wire nuts. Since they will be in this sealed junction box they do not need more than that.
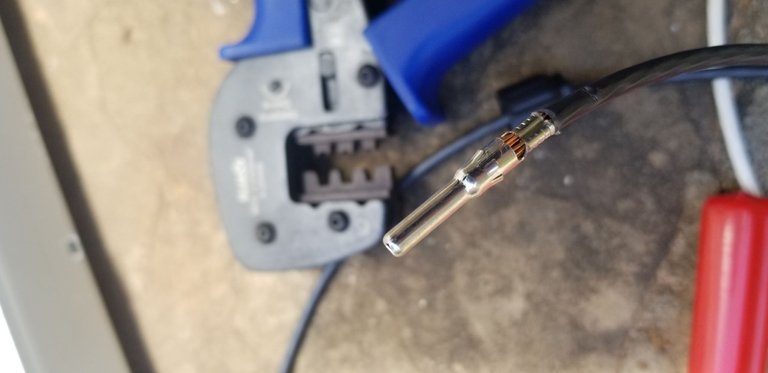
Making my mc4 connectors has been a learning experience. Honestly I messed up on a couple by leaving the connector on the wire when crimping. So I had to cut them off and try again.
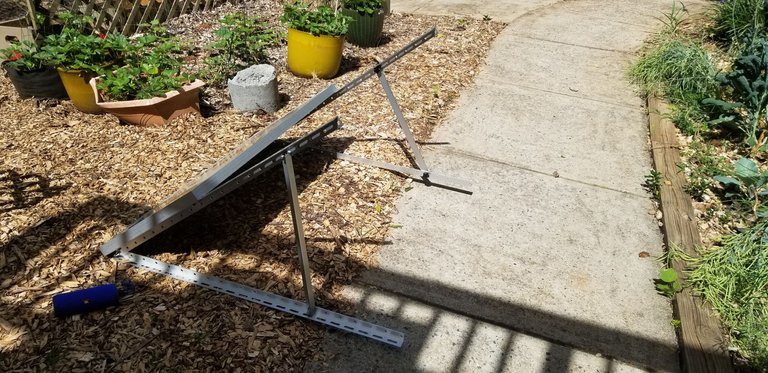
I decided to work more on the solar panel rack and used some of the discarded frame from the second kit to extend the first one. Hope it holds up, was not designed for this.
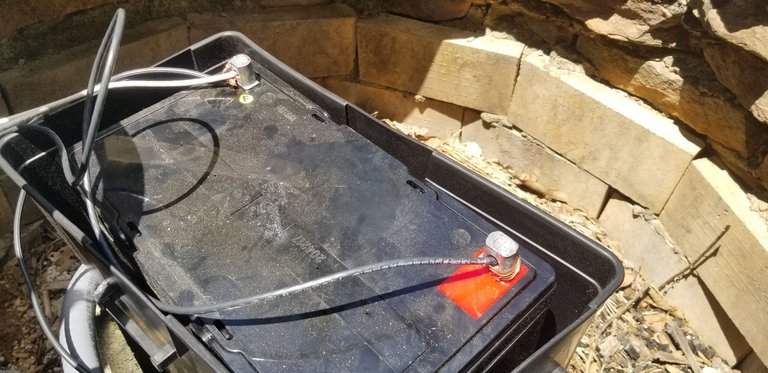
Wiring the the battery was very basic. Until I know if I need a second battery I just stripped extra wire and wrapped it around the holes in the posts. This is temporary and will put proper terminals on it once I review this rigs capacity.
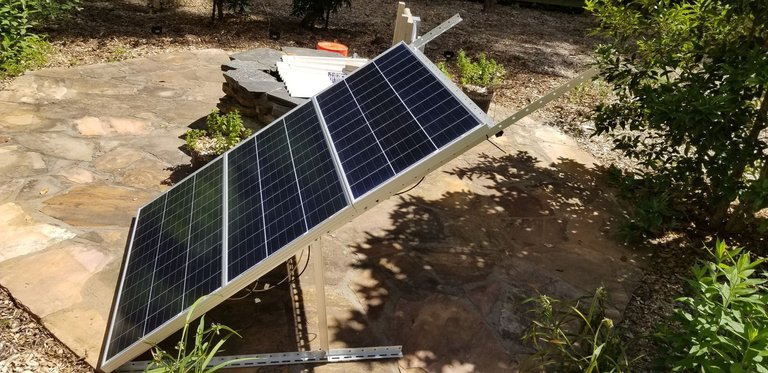
I was lucky to get the third panel mounted, using more zipties it all came together. We shall see when its windy or snow buildup makes this collapse. But for now its holding up well.
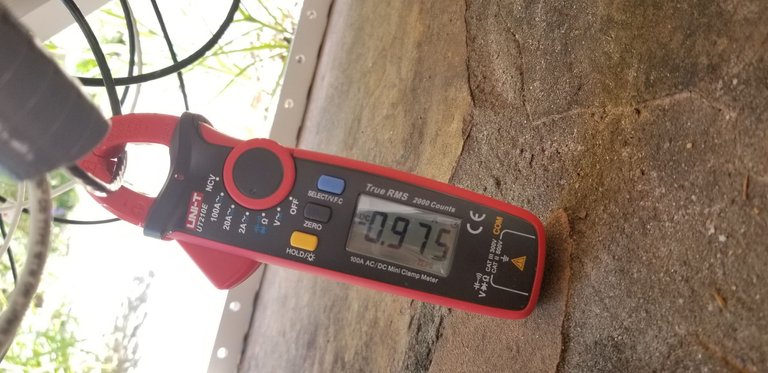
Checked the amp flow from the panels, there is indeed power going to it. I took this reading in the late afternoon so the panels were not directly into the sun. They get alot more amps in the late morning and around noon. But since I finished this project by the late afternoon the readings from the panels were low.
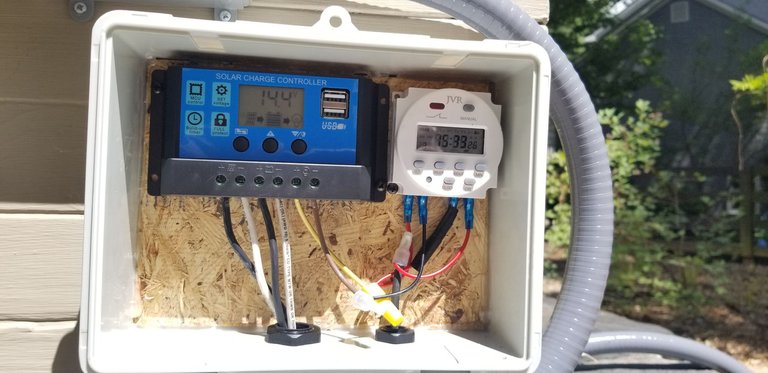
Checking the solar charge controller it shows it has charged the battery. It was already trickle charged before I brought it out here so did not take long to get it fully charged.
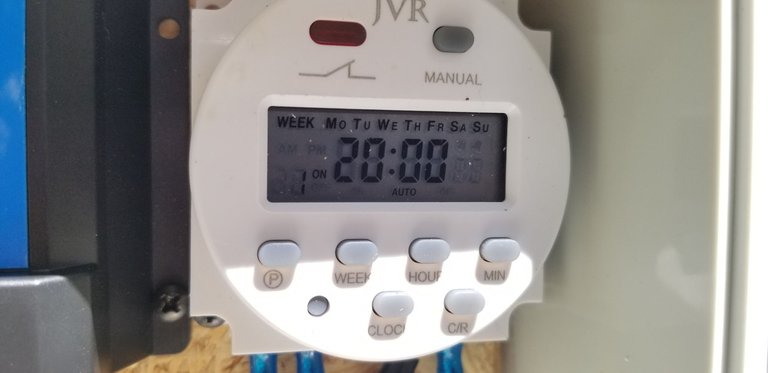
I also included a digital timer, this will control the lights coming on and off. It can be customized with a bunch of presets, I only used two. One to turn on the lights around 9pm and then to turn them off around 6:30am. As the seasons change I will need to adjust it as the sunrise and sunset changes.
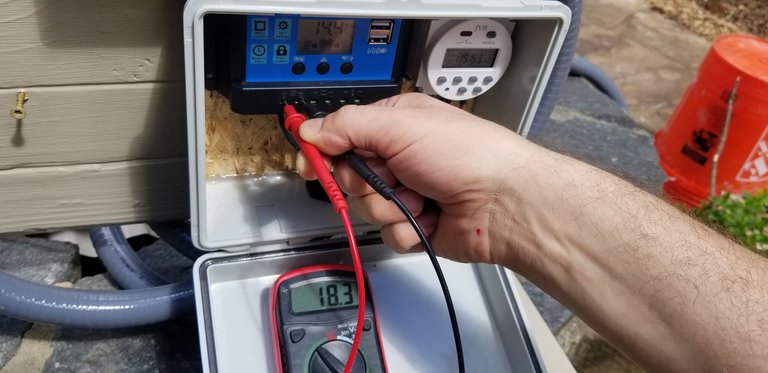
Checking the voltage coming off the panels its showing 18v which is what I was looking for. If I ran these in series my voltage would be close to 60v but my PWM charge controller cannot handle such high voltages. So that is why I ran these in parallel.
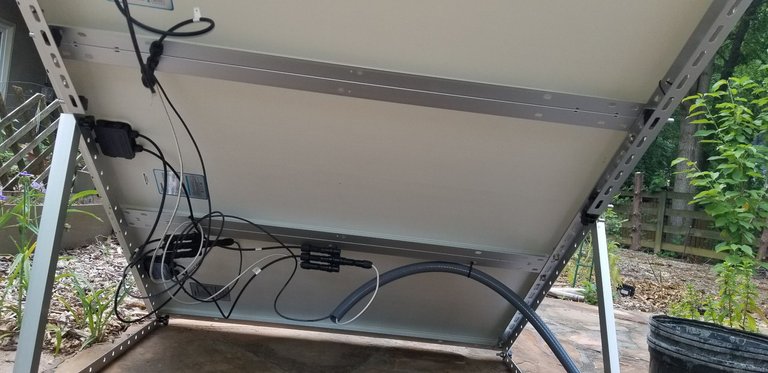
After all was setup and running. I did a little clean up and used more zipties to take the loose wires from the panel and tied them up. Not my best cable management job honestly but it works.
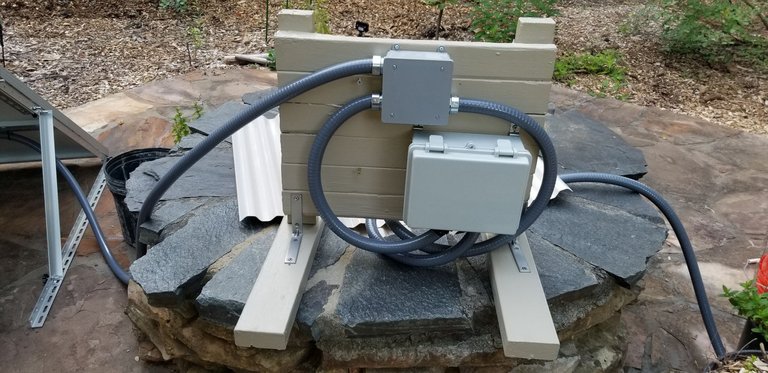
Closing up the junction box and charge controller enclosure its good to go! The conduit should protect the wires from the UV and other harsh weather, or some naughty wild life gnawing on the wires.
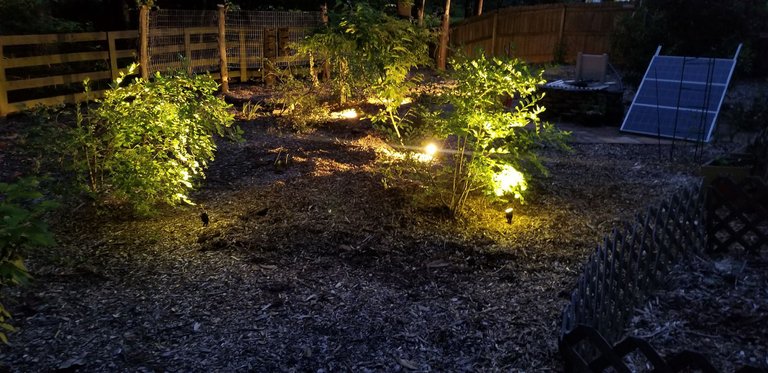
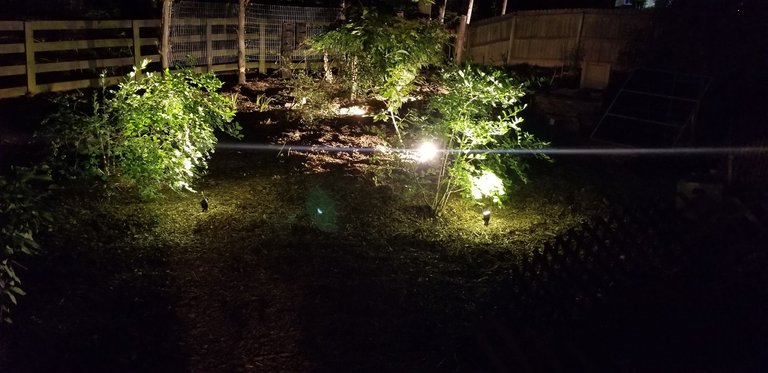
As the sun went down that day I was excited to try out my new rig, above is a picture with the 2 spot lights on the Blueberry bushes and the 4 flood lights shining along our fence.
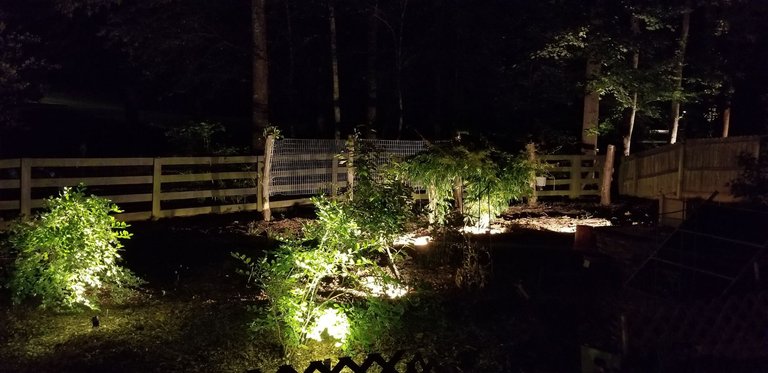
I got up early the next morning to take some pictures before sunrise. I really like how the bushes are lit up, and now we can see the entire fence line. The backyard used to be quite dark and creepy but now its all lit up and seems much more peaceful.
Over the next few days I will keep an eye on the voltage to see how much it drops. And consider adding a battery and or a better charge controller. It can certainly do one night, but having it run every night may be hard when we get rainy weather and cloud cover. So we shall see in reality how well this system really works. And I am also glad I now have a second solar rig in the case we lose power from the utility company. This tends to happen during severe storms and I would not be surprised if I am in need of it soon enough, hurricane season is right around the corner and you never know when a bunch of trees will take out power lines and leave you in the dark.
Link to Part 1 in this series:
https://peakd.com/hive-129017/@solominer/solar-powered-landscape-lights-project-digging-the-trenches
Hi, @solominer excellent explanation of the assembly of the solar power system. Important, in situations where the electrical supply service may have setbacks. Besides, the satisfaction it brings to make for better living. Thank you.
Hey there, thanks alot and glad you found my post well written.
Yes so true, more and more it seems the utility companies are letting down residents so glad to have a backup option to use.
That's looking good.
thanks alot, its been quite the project putting it all together but glad it all came out good.