Raspberry Pi Home Automation Part II
In my previous post, I showed the entire Raspberry Pi circuit, including the power supply, Pi, MOSFET Switch Board & the Relay board.
Today I'll show close up pics of the Power Supply and the Pi. I'm in the process of drawing up a schematic diagram of the MOSFET Switch Board that I'll post tomorrow.

I ordered these adapter boards from ebay.ca and they work great to allow you to plug in an old PC power supply and protect the outputs with fuses. I took the cover off the power supply and drilled 4 holes to mount the board securely, making sure to mount it high enough from the metal cover of the power supply so that nothing will short out. While I had the cover off, I also removed the additional wires that originally fed the hard drives and other peripherals in the computer. I downsized the fuse for the 5V supply to 3A since it only feeds the Pi and the relay board. I left the 5A fuse in the +12V supply and as you can see am not using the 3.3V or -12V outputs.
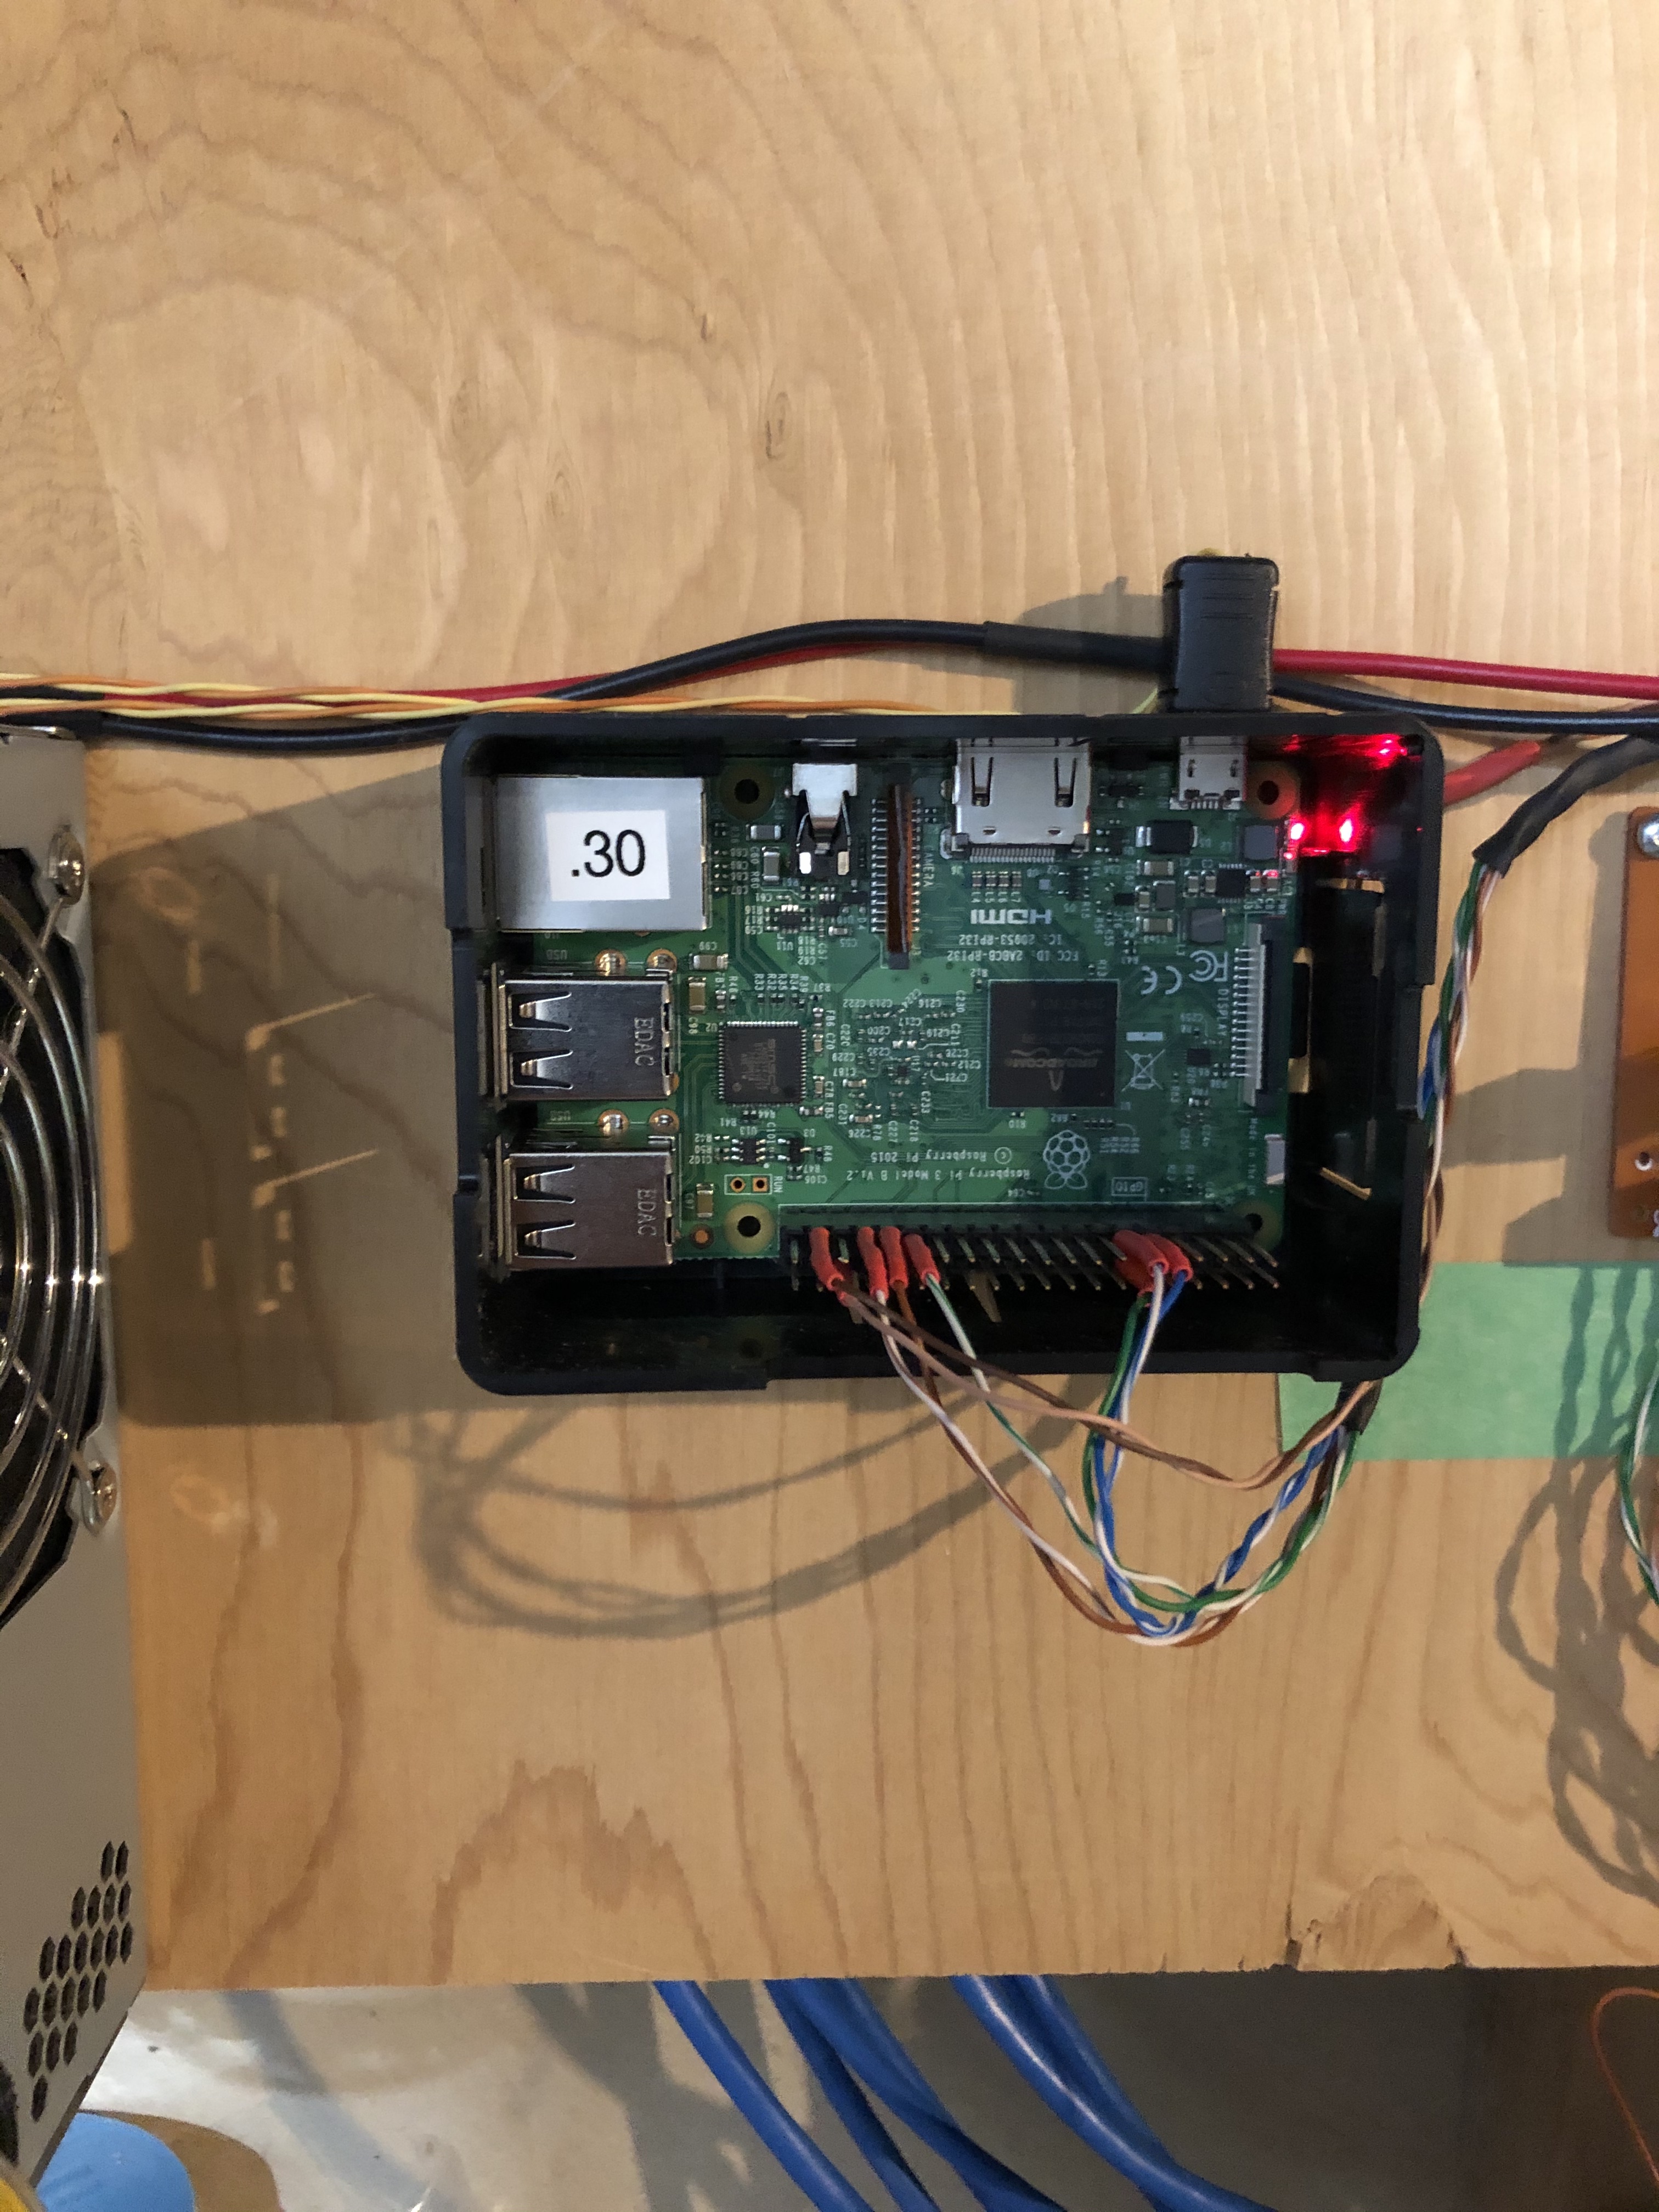
I purchase my Pi's from the Canadian Distributor (https://buyapi.ca) and they have a great case that can be mounted easily and the pi clips in and out very quickly. It is also high enough for me to use the GPIO plug and still put the cover on. As you can see, I'm a "Thrifty" (read cheap!) builder and use a lot of recycled CAT5 cable as my wiring method in many of my projects. The 24Gauge solid core cables can be a little tricky to work with, but as long as there isn't much flexing involved, or high current demands, they work great!
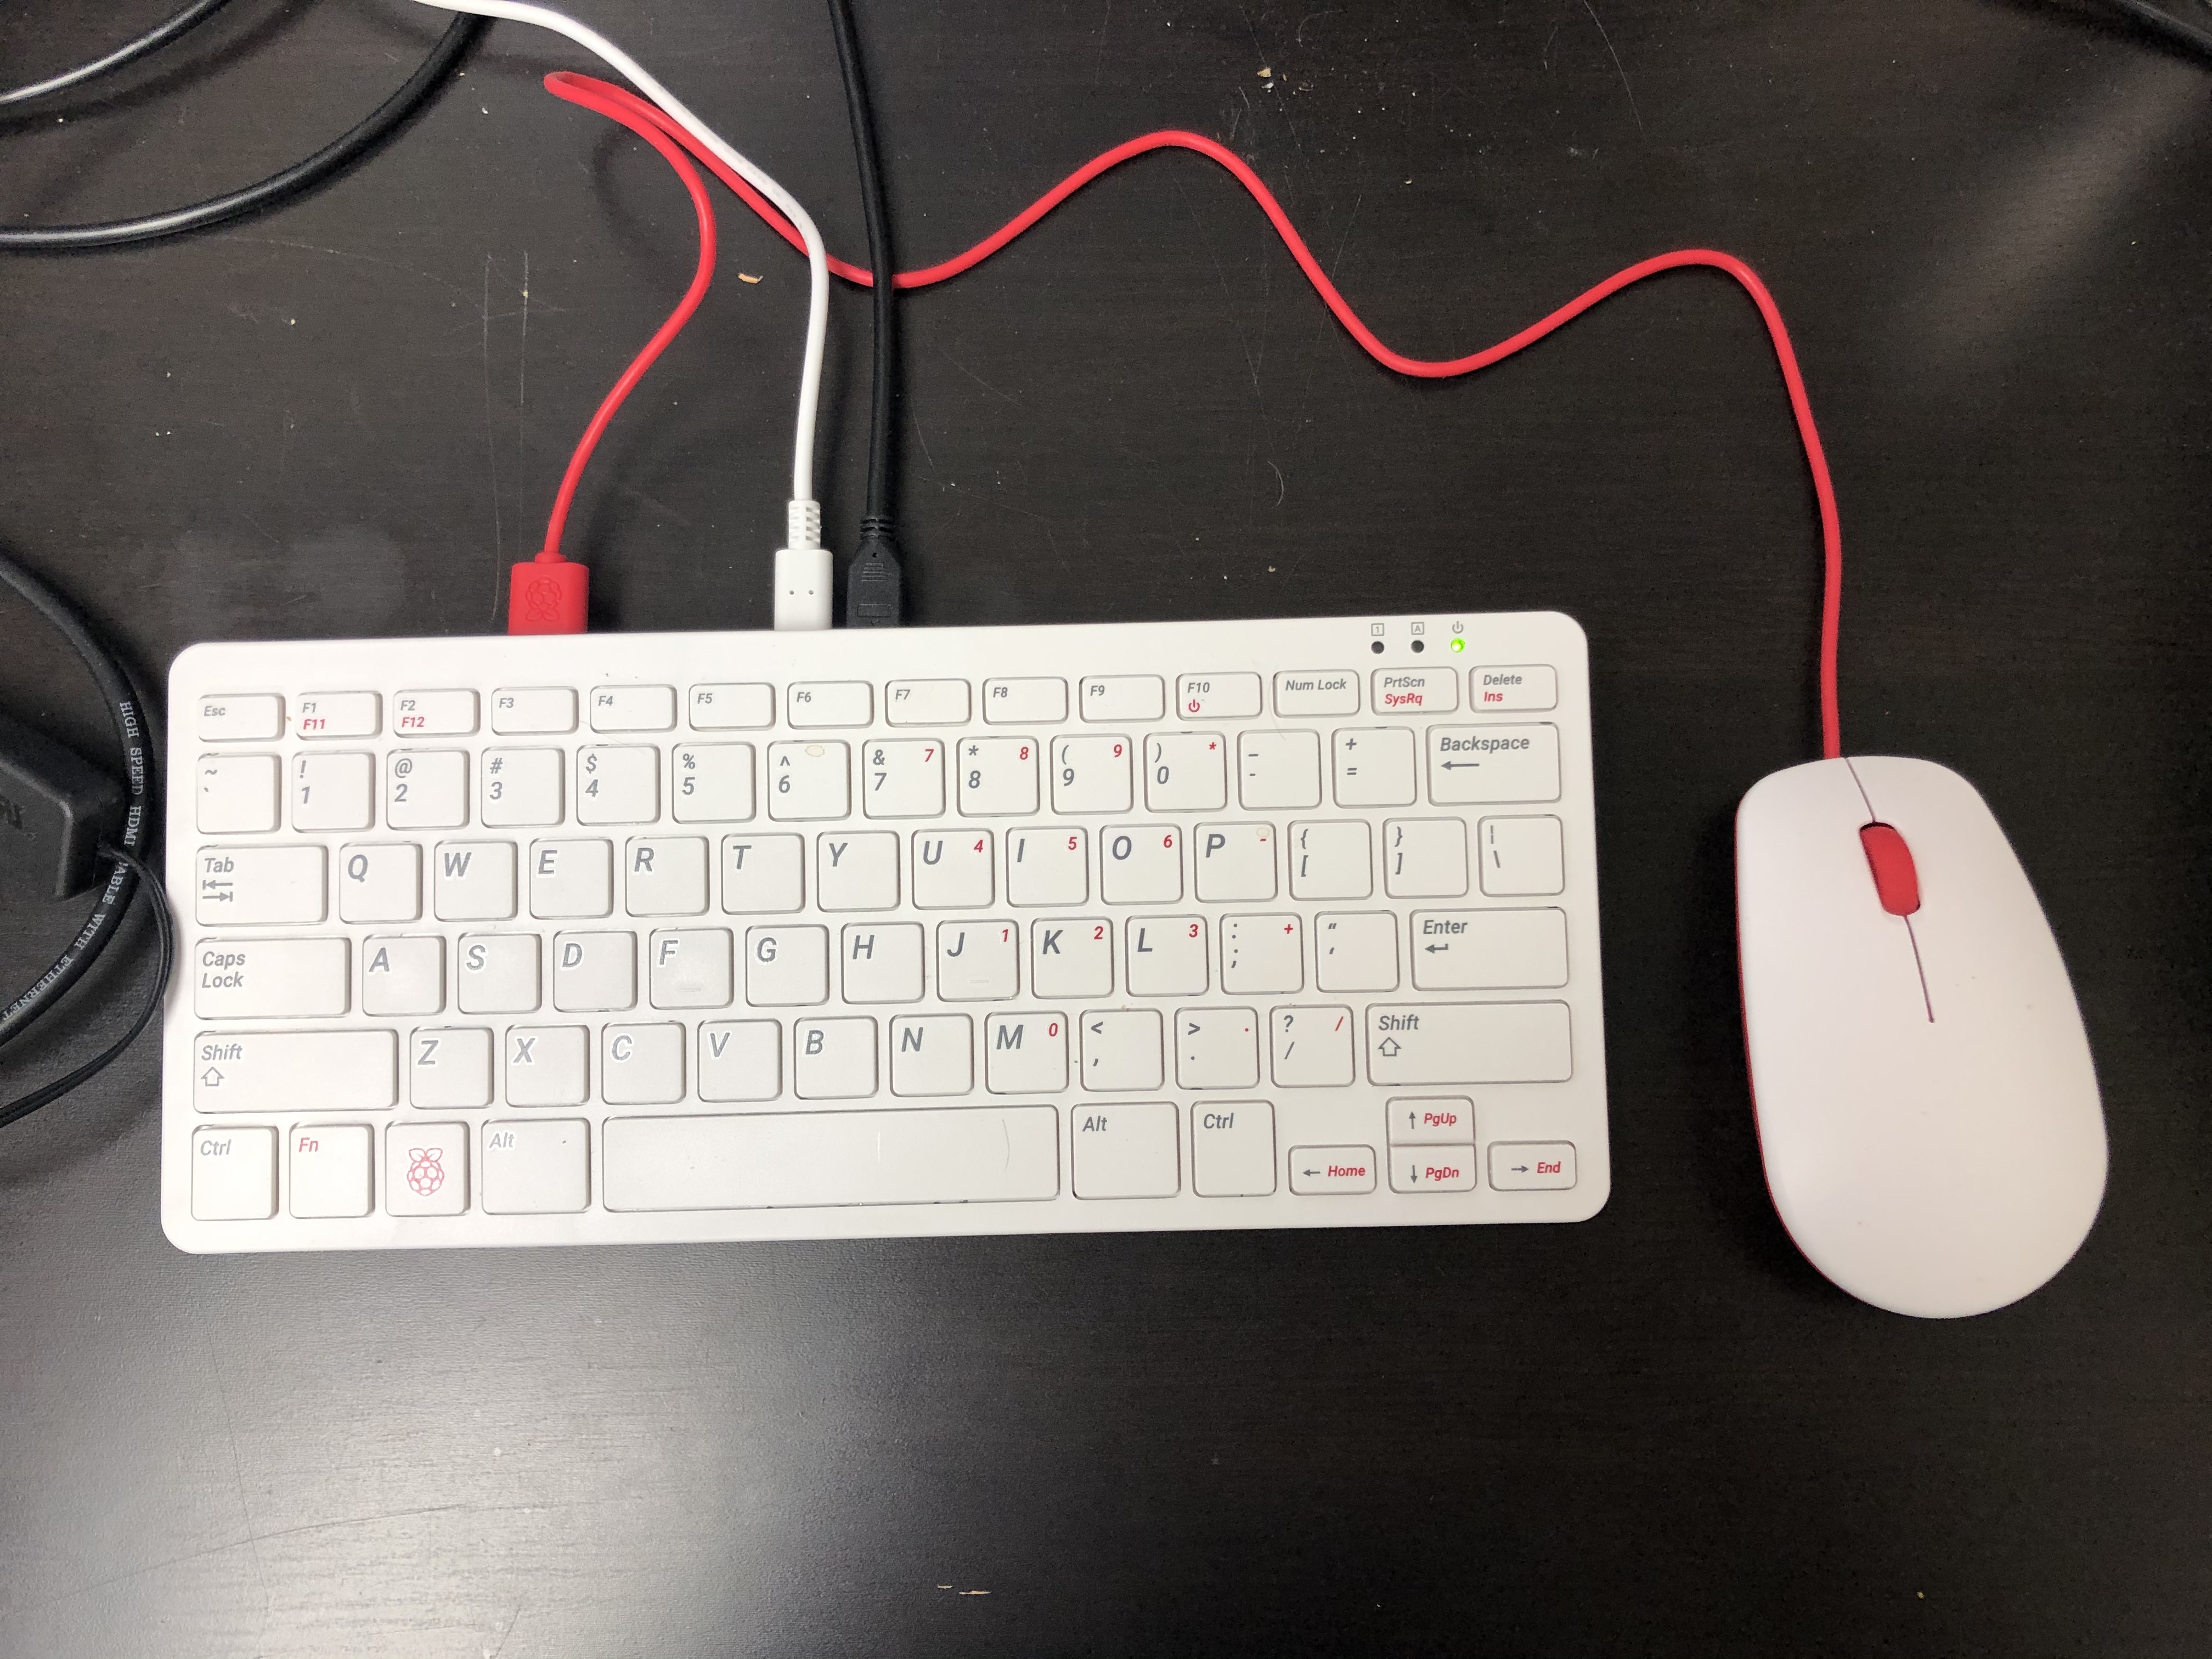
Here is a pic of my Pi400 that I gave myself for Christmas (grin)! I was planning on using it to make all of these posts, but I am having issue with uploading my jpegs to the StemGeeks site. I get a "Image Upload: Error: 400" error when using the Pi400 (Raspbian O/S, using native chrome browser with Hive Keychain plugin). Using the same method on my iMac works great. So if anyone can point me in the right direction to troubleshoot the error message, I'd love to use the Pi400 for all of my posting!
Thanks for viewing,
Robin
Posted with STEMGeeks
Congratulations @robingreig! You have completed the following achievement on the Hive blockchain and have been rewarded with new badge(s) :
You can view your badges on your board and compare yourself to others in the Ranking
If you no longer want to receive notifications, reply to this comment with the word
STOPDo not miss the last post from @hivebuzz:
More Raspberry Pi stuff is always nice! Just a quick suggestion, though. Link to your previous post when you mention it in your first sentence using markdown code as follows:
It will look like this: In my previous post,
That way, people will be able to more easily follow the process from start to finish!
Thanks for the great suggestion! Lost of learning for this newb! Can I edit a post once it is 'posted', so that I could fix this?
Grin, ignore that last question, just have to press the 'Edit' button.....
Yes. It will consume some resource credits, so as a new user, it may not allow frequent editing/posting/commenting. Also, while you can edit a post title, the URL will remain the same. All tags except the first can also be edited, or you can add more, too.
I'll delegate some Hive Power so you won't be likely to run short of credits while you get started. Also, your upvotes will start to carry some weight!
Thanks for the delegation as well @jacobtothe!
It looks like you're here to create good content, and that's the sort of thing I want to encourage! I'll remove the delegation eventually, but I hope it helps you get some traction for now! Meanwhile, take a look at some of my older posts from my Hive Pope account. There, I cover some formatting tricks, briefly explain keys, and warn against some common pitfalls.
Thanks, I will check out those posts!
Check out https://peakd.com/hive-163521/@stemgeeks/potential-fix-if-you-cannot-upload-images-on-stemgeeks-net
Where did you get the usb plug?
The USB plug(s) came from ebay.ca ( I searched for 10PCS Micro USB Male Connector Male Micro USB Jack 2.0 5PIN Plug, and several choices come up) and you have to be very careful when you solder the 2 x 24Ga. CAT5 wires onto them, because the solder tabs on the USB plug are very delicate. So once I soldered them on, I put a big drop of Nail Polish on the soldered connection ('borrowed' from my wife.....) and once it dries provides good support for the connections. The plastic housing can go on the USB connector to provide additional stress support. Just soldering them on with the solid wire is OK, but it doesn't take many insertions/removals before the solder tabs want to tear off.
Thanks for the link for the potential fix, that was it. Had to clear my browser cache and had no problem uploading from my Pi400. I'm going to try to use that platform as my primary blogging / Raspberry Pi experimenting platform!
Sounds great, I wondered if KeyChain would work with chromium. I bought a RPi 4 4G to connect to my http://nexdock.com to make a RPi laptop.
Wow, that nexdock looks very cool! Having a keyboard, trackpad and display would make for a truly portable unit!!! Please let me know how well it connects with the Pi 4? This may be a great device for troubleshooting devices already installed?
It works great, I would take it to kit building for access to internet and building pdfs.