[ESP-ENG] Frotis de Sangre periférica: Así se ve tu sangre bajo el microscopio🩸💉//Peripheral Blood Smear: How your blood looks under the microscope🩸💉
Hola a todos, hoy quiero compartirles un poco más sobre cómo hacer un frotis de sangre periférica. Sé que al principio puede ser un reto, pero con estos consejos lograrás una mejor técnica y una coloración óptima.
Hello everyone, today I want to share with you a little more about how to do a peripheral blood smear. I know it can be challenging at first, but with these tips you will achieve a better technique and optimal staining.
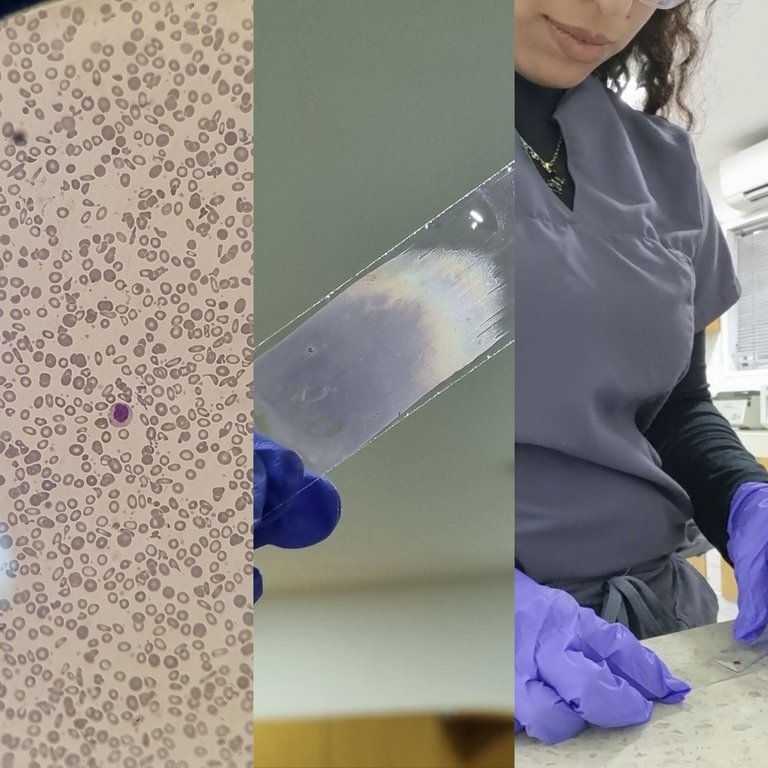

Si no eres del área de la salud, te explico: un frotis de sangre periférica es una técnica en la que se extiende una pequeña gota de sangre sobre un portaobjetos para luego analizarla al microscopio. A través de este procedimiento, podemos observar las células sanguíneas, como los famosos glóbulos rojos y glóbulos blancos, lo que permite identificar alteraciones en la sangre.
If you are not in the health field, let me explain: a peripheral blood smear is a technique in which a small drop of blood is spread on a slide and then analyzed under a microscope. Through this procedure, we can observe blood cells, such as the famous red blood cells and white blood cells, which allows us to identify alterations in the blood.
Paso a paso para un frotis exitoso
Step-by-step for a successful smear test
1️⃣ Colocación de la gota de sangre
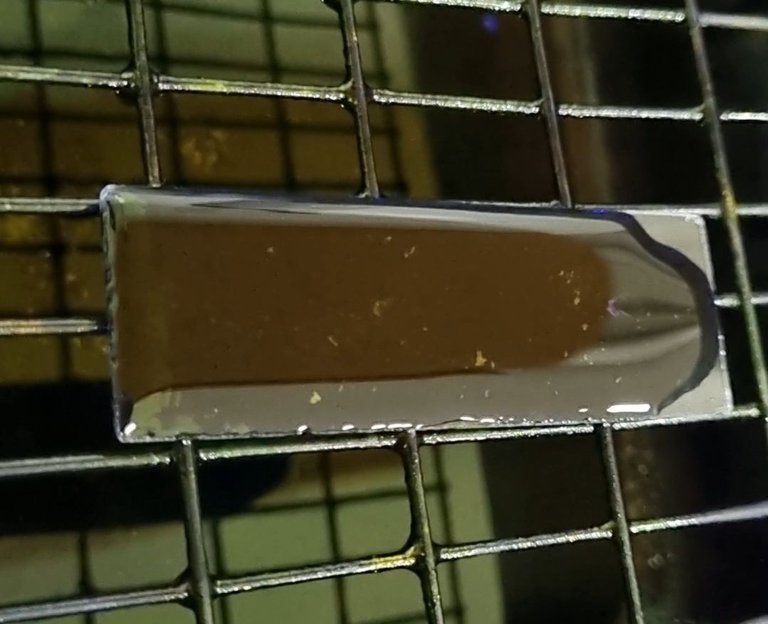
- Aplica una pequeña gota en un extremo del portaobjetos.
- La cantidad de sangre influye en la calidad del frotis. Si hay un alto paquete globular, usa una gota más pequeña; si hay poco paquete globular, usa una gota un poco más grande.
1️⃣ Blood drop placement
- Apply a small drop to one end of the slide.
- The amount of blood influences the quality of the smear. If there is a high globular packet, use a smaller drop; if there is little globular packet, use a slightly larger drop.
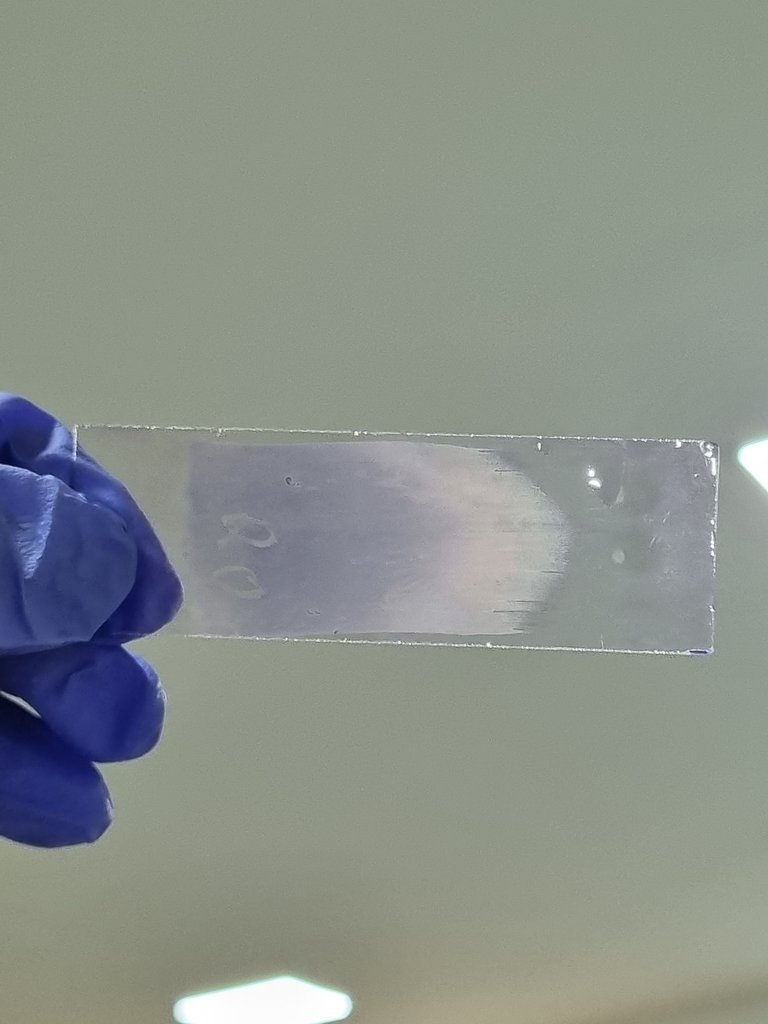
2️⃣ Extensión de la muestra
- Toma otra lámina limpia y colócala delante de la gota con un ángulo aproximado de 30-45°.
- Desliza suavemente hacia atrás para que la sangre se disperse y luego muévete con un deslizamiento firme y continuo hacia el otro extremo.
- Evita movimientos bruscos o demasiado rápidos para lograr una extensión uniforme.
1️⃣ Blood drop placement
- Apply a small drop to one end of the slide.
- The amount of blood influences the quality of the smear. If there is a high globular packet, use a smaller drop; if there is little globular packet, use a slightly larger drop.

3️⃣ Puntos clave para un buen frotis
✅ Ángulo correcto: Si la lámina está demasiado inclinada, el frotis quedará corto; si está demasiado acostada, será muy largo.
✅ Láminas limpias: Usa portaobjetos nuevos, sin grasa ni polvo, y asegúrate de que el borde del extensor esté liso.
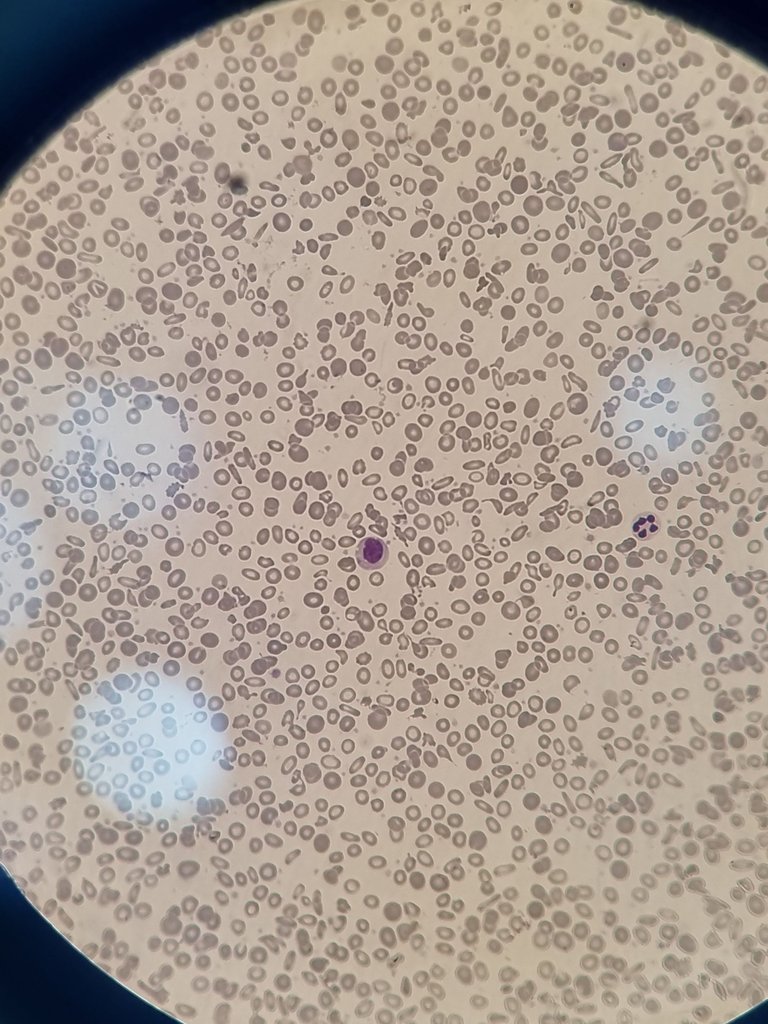
✅ Zona de observación: La mejor área para analizar los glóbulos rojos es donde están bien distribuidos, sin amontonamiento ni zonas demasiado claras.
3️⃣ Key points for a good smear
✅ Correct angle: If the slide is too slanted, the smear will be too short; if it is too flat, it will be too long.
✅ Clean slides: Use new slides, free of grease and dust, and make sure the edge of the extender is smooth.
✅ Observation area: The best area for analyzing red blood cells is where they are well distributed, with no crowding or areas that are too light.
Con estos consejos, mejorarás tu técnica y obtendrás frotis de calidad para un buen diagnóstico. ¡Espero que te haya sido útil!
With these tips, you will improve your technique and obtain quality smears for a good diagnosis. I hope you found them useful!
¿Cómo se realiza la coloración?
El método más utilizado es la tinción de Wright o Wright-Giemsa, que emplea colorantes como la eosina y el azul de metileno para resaltar las células de la sangre:
How is staining performed?
The most commonly used method is Wright or Wright-Giemsa staining, which uses dyes such as eosin and methylene blue to highlight blood cells:
- Fijación: Se deja secar el frotis al aire. Y en el caso de Giemsa fijar con metanol. En caso de Wright aplicar directamente el colorante.
- Fixation: Allow the smear to air dry. And in the case of Giemsa fix with methanol. In case of Wright directly apply the dye.
- Aplicación del colorante: Se cubre la lámina con el reactivo durante 1-3 minutos. El reactivo de Wright, esta listo para su uso; sin embargo el reactivo de Giemsa debe preparse con su buffer. Una vez pasado el tiempo se pasa al lavado.
- Application of the dye: Cover the slide with the reagent for 1-3 minutes. Wright's reagent is ready for use; however, Giemsa's reagent must be prepared with its buffer. Once the time has elapsed, it is washed.
- Lavado: Se enjuaga suavemente con agua destilada.
- Washing: Rinse gently with distilled water.
- Secado y observación: Se deja secar al aire y se examina al microscopio.
- Drying and observation: Allow to air dry and examine under the microscope.
¿Ya has intentado hacer un frotis? Cuéntame tu experiencia en los comentarios.
Have you tried smearing yet? Tell me about your experience in the comments.

Creditos: foto de portada hecha en picsart con fotos de mi propiedad/// fotos de mi propiedad/// separadores hechos es canva.com// icono de ig créditos a freepik/// traductor DeepL.com
puedes ser profesora! ¡Buen paso a paso con figuras y hasta vídeos!
!hiqvote
Jajaja muchas gracias, bueno siempre me gusta enseñar, como me fuera gustado que me enseñarán mis profesores.
@gwajnberg, the HiQ Smart Bot has recognized your request (1/2) and will start the voting trail.
In addition, @makeup.byidy gets !HUG from @hiq.redaktion.
For further questions, check out https://hiq-hive.com or join our Discord. And don't forget to vote HiQs fucking Witness! 😻
Que interesante el mundo microscópico , y que bien explicas! felicitaciones!
Hola muchas gracias 💖💖 si, de verdad que ese pequeño mundo que no vemos es muy lindo e interesante.