How to create a dev mini computer (based on Raspberry Pi)
As some of you know, I have a rather disabling disease. And when I can't walk down the stairs to my PC to code, I'm frustrated that I can't do what I want despite the pain.
However, I still found a reliable, silent and cheap idea : Make a mini computer based on an overclocked Raspberry Pi 4. I even used a 3D printed case to put a big fan inside. So I write this post to explain how I did it.

My needs
First of all, I needed a PC that consumes little power but that is able to run Youtube or Spotify for music, my web server tools (NginX, MariaDB, NodeJS, ...), my code editor (gEdit). Of course, it had to be easy to use and above all, all this stuff had to be fluid!
I also wanted to test the Raspberry Pi overclock. Basically, this principle allows this mini PC to run at a speed it is not supposed to reach. To do this, you have to cool it down. Others have done it before me and 3D printed cases are available for this kind of configuration.
Hardware
Here is the list of the material you will need to build this machine:
- A Raspberry Pi 4 8Go with power supply, SD card, mouse & keyboard
- Heatsinks, you can find them for 5€ on Amazon
- A 3D printer to print the case
- A 120mm fan (I recommend the Arctic F12 which is the best quality/price ratio)
- 2 dupont male-female wires
Build it !
Printing
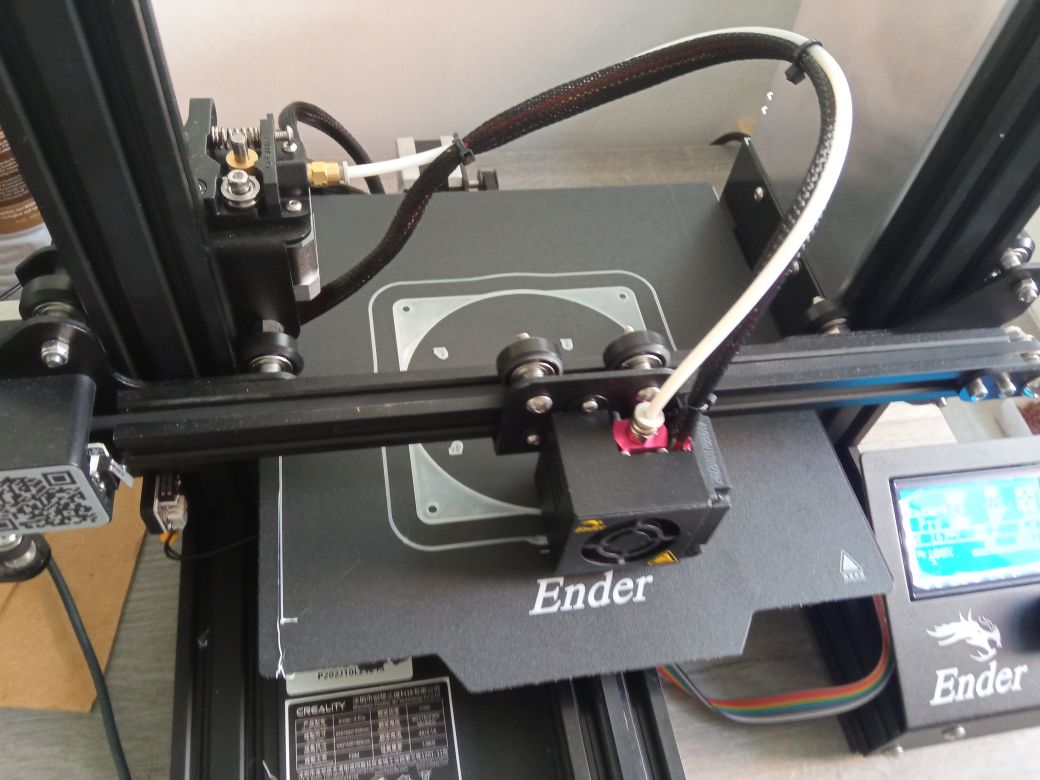
I'm starting with 3D printing because it takes a lot of time and the rest can be done at the same time. I decided to use this model, created by Jesper Klang, which allows to put 120mm fan and send all the air directly on the Raspberry.
For the curious, I printed this with a Creality Ender 3 Pro with a 20% filling with ecoPLA. The bed is heated to 70°C and my nozzle is at 200°C
I also put a little grid over the fan to avoid getting hurt. You can find all kinds on Thingiverse
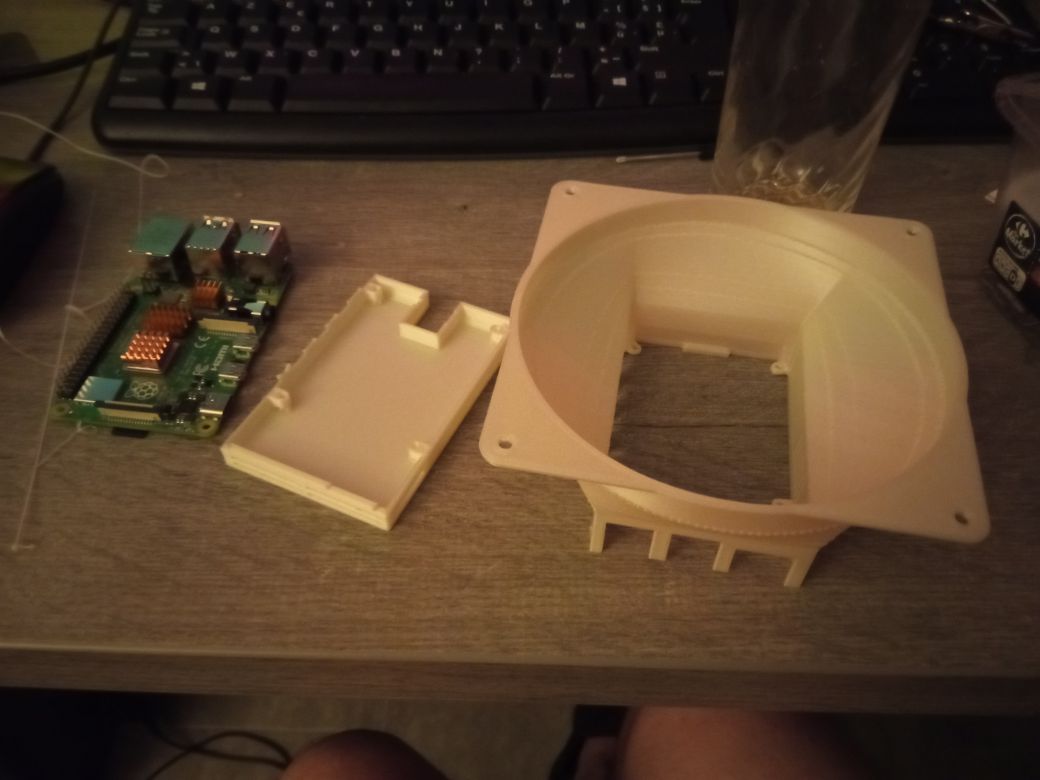
SD Card
While the printing is in progress, let's move on to the operating system, I tuse Manjaro Linux. I choose the XFCE Edition because it is the fastest available. It is a reliable and easy to learn distribution for beginners but it contains the necessary tools for power users too. However, you should know that any distribution will do (with some slight differences)
Building
Before mounting the case, don't forget to put your heatsinks. I preferred to use copper ones, but you should know that even small aluminium ones will do, thanks to the 120mm fan.
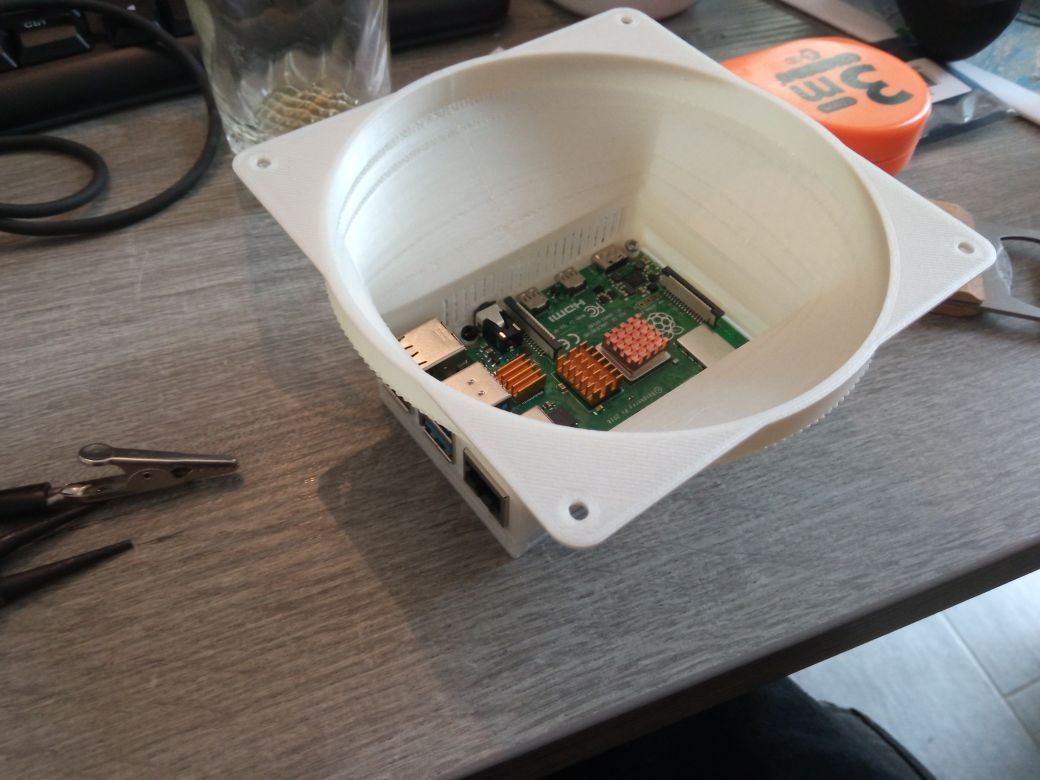
And speaking of the fan, I decided to supply it with 5V directly on the Raspberry (the ground on pin 6 and the +5V of the fan on pin 1 of the Raspberry GPIO). It is big enough to have an important air flow and it is very quiet since it runs at low speed.
All that is left to do is to put the Raspberry inside the case, to clip it on. The fan is fixed with standard screws (supplied with the Arctic F12) and the grill is placed on top.
All that's left is to slide the SD card into the Raspberry and the construction is FINISHED :)
Software improvements
Overclock
Increasing the operating frequency of a Raspberry is clearly not difficult since it is a matter of modifying a file. However, before doing so, I advise you to power your machine with a good quality 5V / 3A transformer.
You have to edit the file /boot/config.txt . Concerning the overclock here are the lines to modify :
over_voltage=6
arm_freq=2000
I also decided to activate the hardware graphics rendering even if it is still in experimental status. It does not cause any problems for me and allows a better fluidity:
gpu_mem=256
dtoverlay=vc4-fkms-v3d
max_framebuffers=2
disable_splash=1
hdmi_enable_4kp60=1
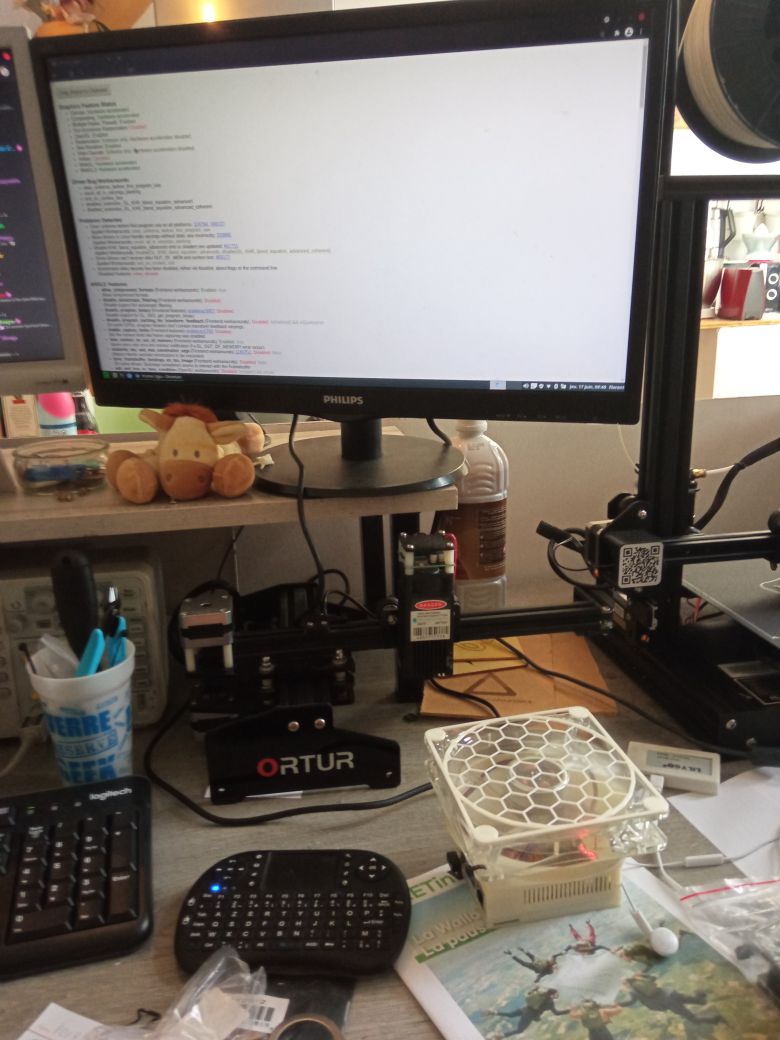
Just reboot and you'll have a compact, quiet computer that's fast enough to do most developer tasks.
Tweaks
Depending on the distribution, you can always improve performance. For example, check if your distribution allows you to remove compositing options or disable shadows under windows. It's not as pretty, but it's faster.
You should also use light tools. In my example, since I'm doing web development, I chose NginX as my web server because it's much less greedy than Apache2.
Prefer to remove the wallpaper too, it avoids having to take on graphic memory. Also think of changing the password, for security reasons.
If you have feedbacks or questions, don't hesitate to post them in comments ;)
Posted with STEMGeeks
Interesting read. What was the total cost of it and what performance does it have? I know it can handle basic web surfing and video, but what about some more advanced tasks like software development or graphic design?
For example, I dev in NodeJS or Python (with PyGame) and it's really good.
However, I'm not GFX artist so I don't know how it run with software like Gimp or Inkscape. (maybe I will test it tomorrow)
For the cost:
Congratulations @bambukah! You have completed the following achievement on the Hive blockchain and have been rewarded with new badge(s) :
Your next target is to reach 2750 upvotes.
You can view your badges on your board and compare yourself to others in the Ranking
If you no longer want to receive notifications, reply to this comment with the word
STOPCheck out the last post from @hivebuzz:
Its interesting to know how did you do it. My question is that... will it perform the same like PC or only for dev purposes.
it perform any low-end task like Youtube, Web browsing, LibreOffice, development, ... But you cannot have 3D or video editing usages
Cool solution! I like the design. Have a slice of !PIZZA
@bambukah! I sent you a slice of $PIZZA on behalf of @dibblers.dabs.
Did you know you can earn $VFT through the PIZZA farm? (4/20)
cool stuff I hear you like eating !PIZZA
@bambukah! I sent you a slice of $PIZZA on behalf of @stickupboys.
Did you know you can spend $PIZZA on games in the $Pizza Store? (3/20)
Yoooo, this is absolute awesome! Maad props to you man Bravo 👏 🙌 💪
!PIZZA
@bambukah! I sent you a slice of $PIZZA on behalf of @dajokawild.
Learn more about $PIZZA Token at hive.pizza (1/20)
@bambukah! This post has been manually curated by the $PIZZA Token team!
Learn more about $PIZZA Token at hive.pizza. Enjoy a slice of $PIZZA on us!
Intersting project
an amazing project you are op and know a lot
Very cool! How long did the 3d printing take? I know it takes a long time. How has this worked for you now that it's been a few days? All still working well?
You're a modern day Einstein! @bambukah
I wondered where you've been.
Sorry to hear your health issue is causing you setbacks. I had no idea. Great seeing you post!
Hope you have an enjoyable rest of the weekend!
Thank you very much ! I'm so proud <3
(but don't forget, my nickname have a H at the end, it's bambukaH ;) )
Whoops! I humbly apologize & have corrected the missing character! @bambukah