Profile Page | Android App Development | Lecture#62 | Hive Learners
𝓖𝓻𝓮𝓮𝓽𝓲𝓷𝓰𝓼
Dear Hive Learners, I hope you all are well. In the previous lecture, we learn how to save the Profile Image with the UserProfileChangeRequest. Now we are going to create a page to show all the user information on one page. We can also allow the user to edit the information. Users can also change their Profile Picture. In today's lecture, we will show the data of the user and in the next lecture, we will Implement to allow the user to edit their profile data. So, Let's get started.

GitHub Link
Use this GitHub project to clone into your directory. The following lecture will update it so you will never miss the latest code. Happy Coding!
What Should I Learn
- How to create a Profile Data Page
Assignment
- Create a Profile Data Page
Procedure
First of all, we need to create an Empty Activity Profile_Activity. We also need to add some fields to its XML file.
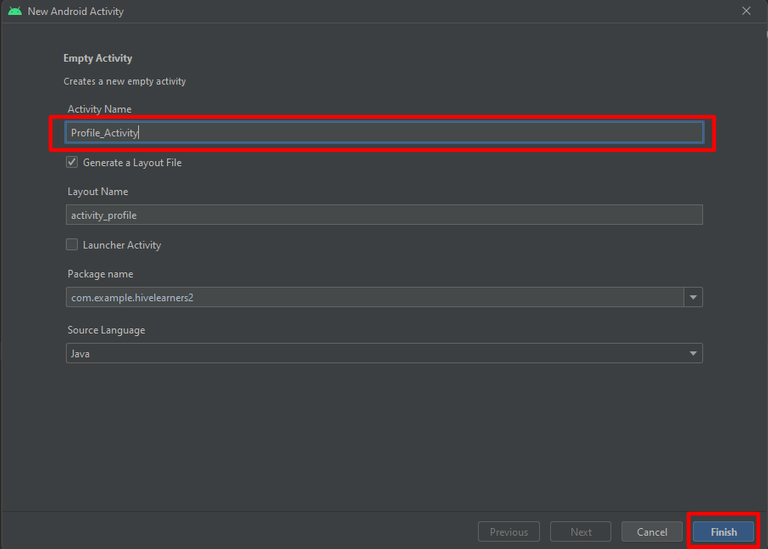
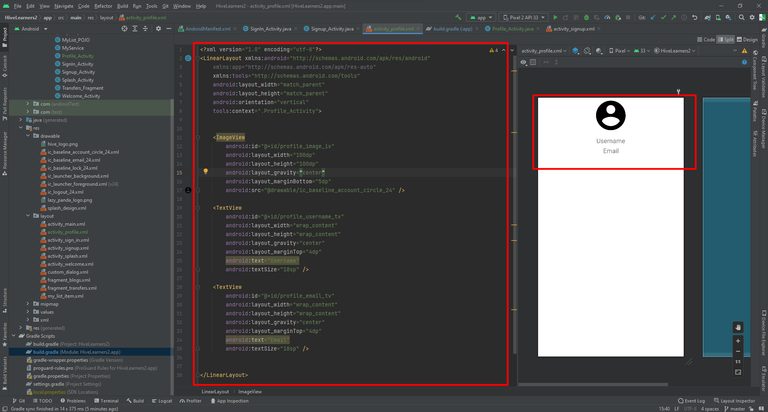
We will use a simple design and we will improve it in the future.
<?xml version="1.0" encoding="utf-8"?>
<LinearLayout xmlns:android="http://schemas.android.com/apk/res/android"
    xmlns:app="http://schemas.android.com/apk/res-auto"
    xmlns:tools="http://schemas.android.com/tools"
    android:layout_width="match_parent"
    android:layout_height="match_parent"
    android:orientation="vertical"
    tools:context=".Profile_Activity">


    <ImageView
        android:id="@+id/profile_image_iv"
        android:layout_width="100dp"
        android:layout_height="100dp"
        android:layout_gravity="center"
        android:layout_marginBottom="5dp"
        android:src="@drawable/ic_baseline_account_circle_24" />

    <TextView
        android:id="@+id/profile_username_tv"
        android:layout_width="wrap_content"
        android:layout_height="wrap_content"
        android:layout_gravity="center"
        android:layout_marginTop="4dp"
        android:text="Username"
        android:textSize="18sp" />

    <TextView
        android:id="@+id/profile_email_tv"
        android:layout_width="wrap_content"
        android:layout_height="wrap_content"
        android:layout_gravity="center"
        android:layout_marginTop="4dp"
        android:text="Email"
        android:textSize="18sp" />


</LinearLayout>
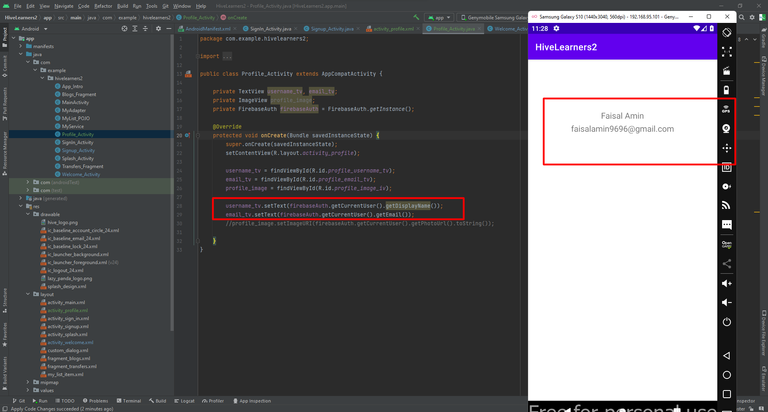
Now we need to declare and initialize these layout items in the JAVA class. Also, declare and initialize the FirebaseAuth.
public class Profile_Activity extends AppCompatActivity {

    private TextView username_tv, email_tv;
    private ImageView profile_image;
    private FirebaseAuth firebaseAuth = FirebaseAuth.getInstance();

    @Override
    protected void onCreate(Bundle savedInstanceState) {
        super.onCreate(savedInstanceState);
        setContentView(R.layout.activity_profile);

        username_tv = findViewById(R.id.profile_username_tv);
        email_tv = findViewById(R.id.profile_email_tv);
        profile_image = findViewById(R.id.profile_image_iv);
    }
}

Now we need to use the FirebaseAuth to set the values in the TextView and the ImageView. I am skipping loading Profile Image as we need a library for it. We also make a mistake in the last lecture. We need to profile the uploaded picture link in UserProfileChangeRequest.

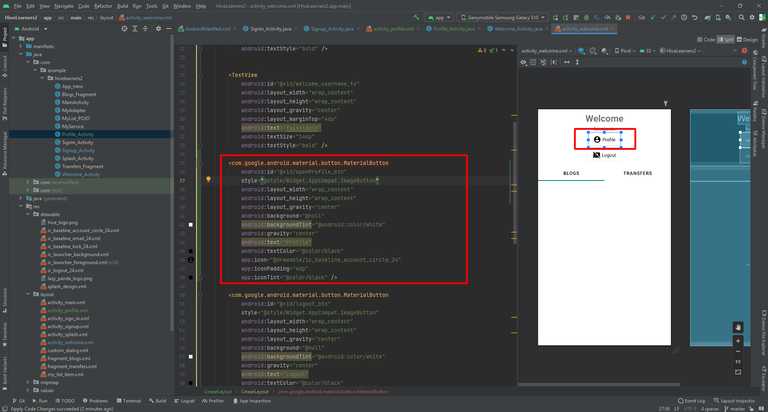
I also add a Profile Button in the Welcome screen and on clicking this button we will open the Profile_Activity screen.

Thank You