Android App Development | Lecture#23 | Hive Learners
𝓖𝓻𝓮𝓮𝓽𝓲𝓷𝓰𝓼
Hello dear Hive Learners, Welcome to the 23rd lecture on Android App Development. Today we will add some visuals of our widgets, We will also navigate from one screen to another. In android, we always notice that when we click on the sign-in button it will take us to a sign-in page and the same for the signup page it will open the signup page. All the buttons that we have created can have a separate page. So let's jump into it.

GitHub Link
Use this GitHub project to clone into your directory. It will constantly get updated in the following lecture so you will never miss the latest code. Happy Coding!.
What Should I Learn
- Add vectors to widgets
- Navigate through screens
Assignment
- Implement screen navigation
Procedure
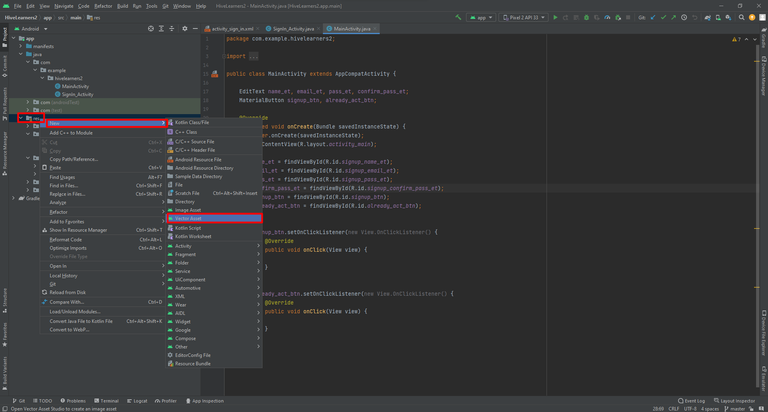
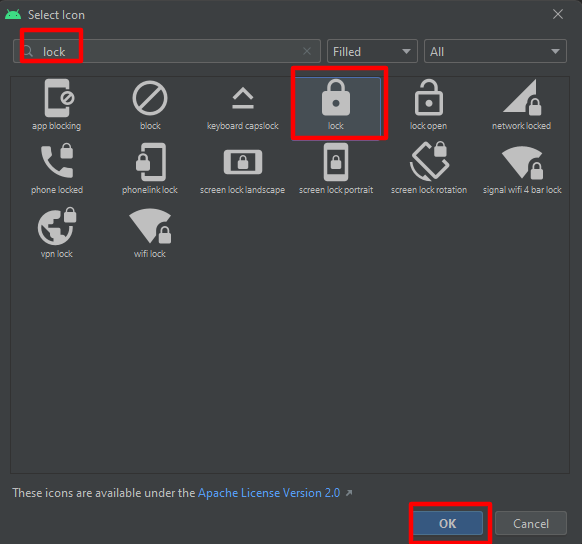
First of all, we will add vectors to our project. Android studio provides us with some built-in vectors. Open this file structure to add a new vector.
res>right_click>new>Vector Asset
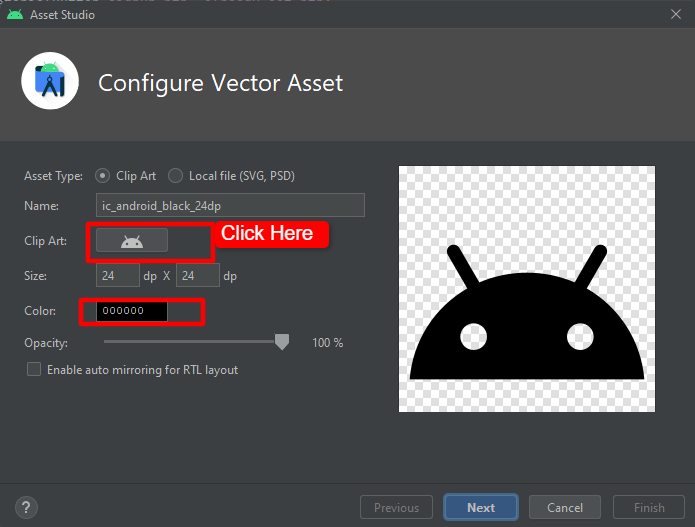
We need vectors for username, email, and password. So we add them one by one and also use the black color.
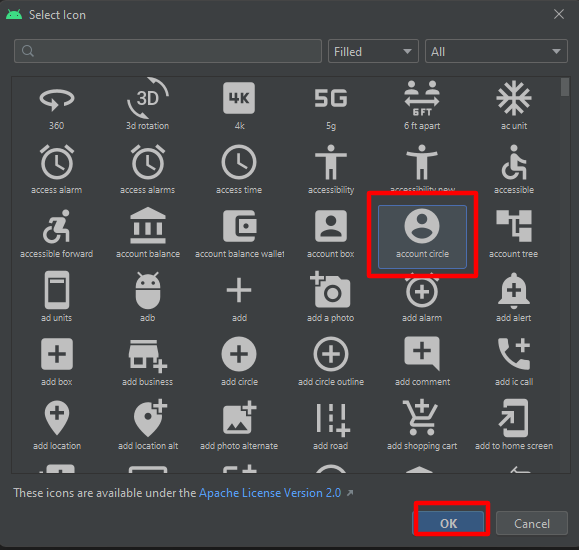
For username, I am choosing this vector.
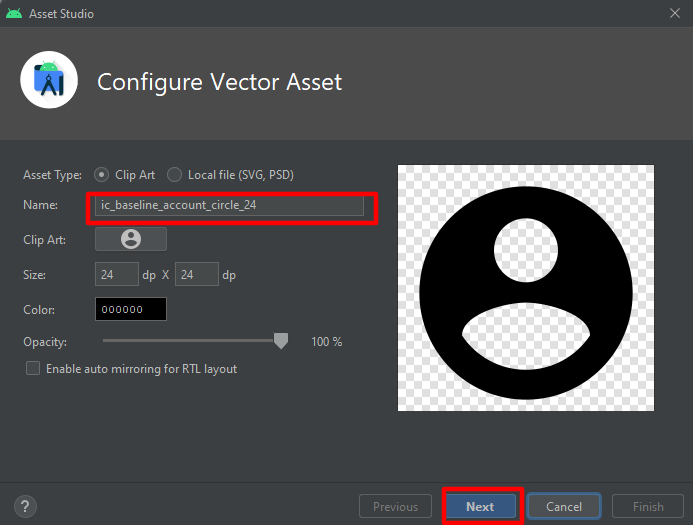

Also, add email and password vectors.

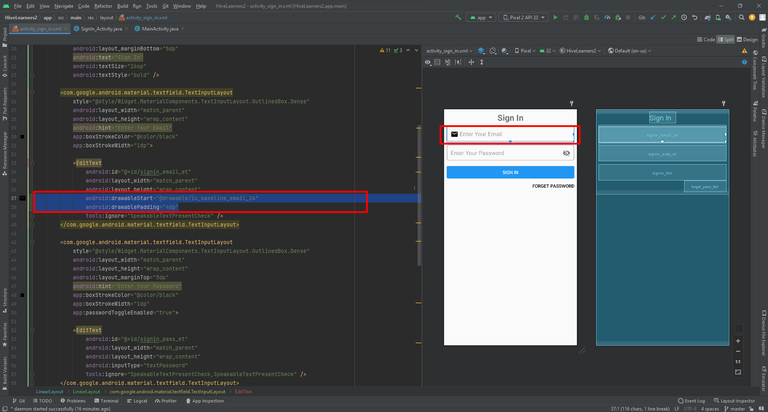
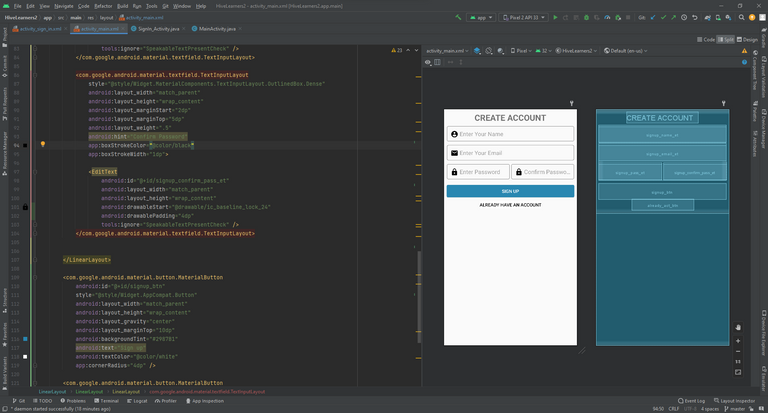
Now we need to add these vectors to our design code. Here I add the email vector to the sign-in page. We do the same for all the Edittext fields.
                android:drawableStart="@drawable/ic_baseline_email_24"
                android:drawablePadding="4dp"
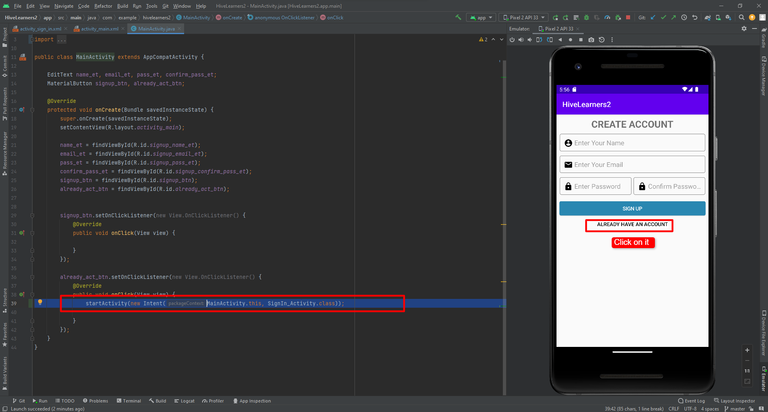
Now we implement the screen navigation code on the already_act_btn. Implement the code and run the app and click the button it will open the SignIn_Activity.
 already_act_btn.setOnClickListener(new View.OnClickListener() {
            @Override
            public void onClick(View view) {
                startActivity(new Intent(MainActivity.this, SignIn_Activity.class));

            }
        });
If we get an error on run. We need to add these two lines of code in the gradle.properties file as shown here.
android.useAndroidX=true
android.enableJetifier=true


Thank You