Android App Development | Beginner Course | Lecture#10 | Hive Learners
𝓖𝓻𝓮𝓮𝓽𝓲𝓷𝓰𝓼
Hello, dear Hive Learners, I hope you all are well. Today we will rub our app on an emulator. We are going to download an emulator in Android Studio. A high-speed internet connection is required for the successful installation. Also, a minimum of 8 GB of RAM is recommended. You can also attach your mobile in USB debugging mode to run the app. You can search on Youtube to connect your mobile device with Android Studio. I will also post a method on it tomorrow.
GitHub Link
Use this GitHub project to clone into your directory. It will always get updated in the next lecture. So that you will never miss the latest code. Happy Coding!.
What Should I Learn
- How to create a virtual device (emulator)
- How to run Android App on an emulator
Assignment
- Install Emulator
- Run your app on it
Procedure
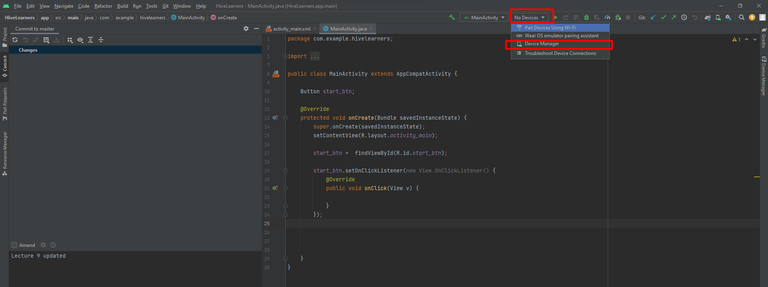
We are going to add a virtual mobile device in our Android Studio that will run the app and we can use it as a normal mobile ion computer with some limitations. Follow these mockups to install the virtual device.
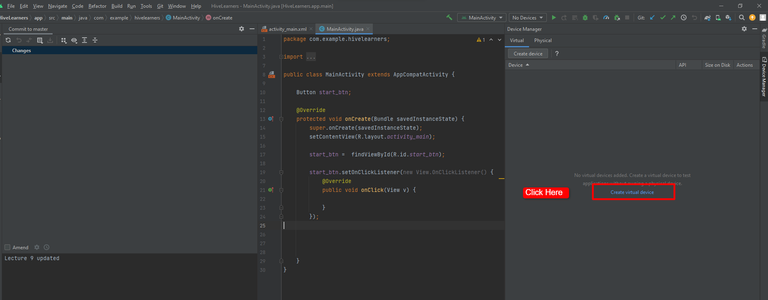
Click on Create Virtual device
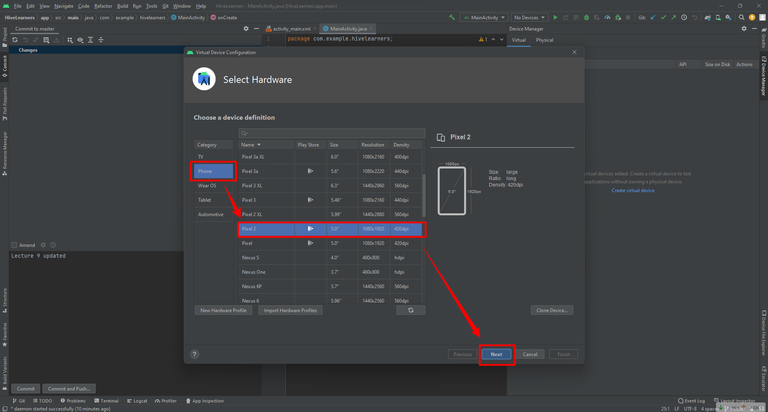
Now we need to select the phone and model, I am going with default selected pixel 2.
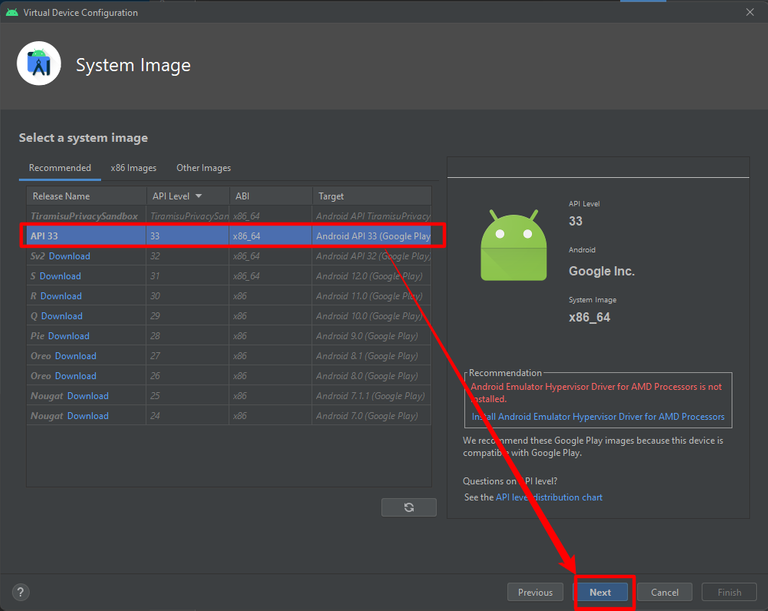
Now we need to download the API, I am selecting API 33, it is the latest Android version API. If you get an option of downloading something for your processor then first download it.
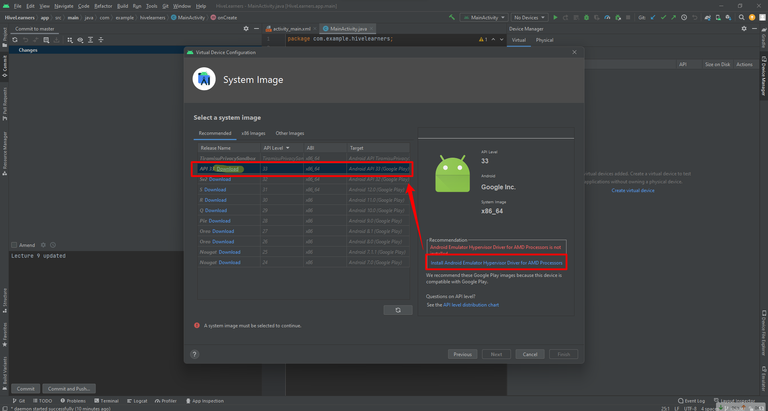
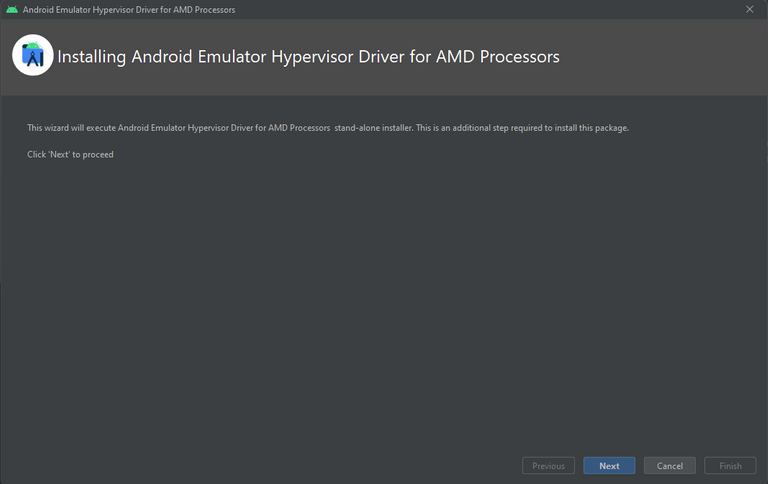
Here I am getting a driver for my AMD processor so I am installing it first. If you get any error on it then leave it and install API.
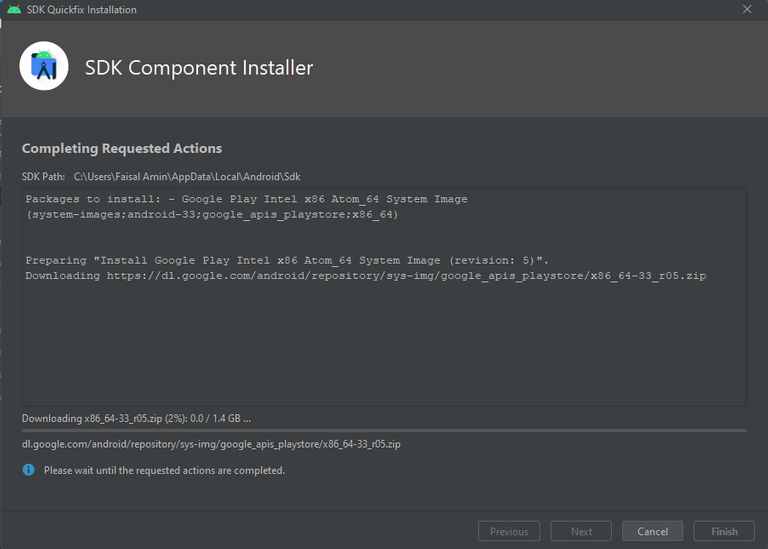
Now I am installing the API 3. It will take some time. Depend on the internet connection. If you get any command prompt then click on yes or allow it.
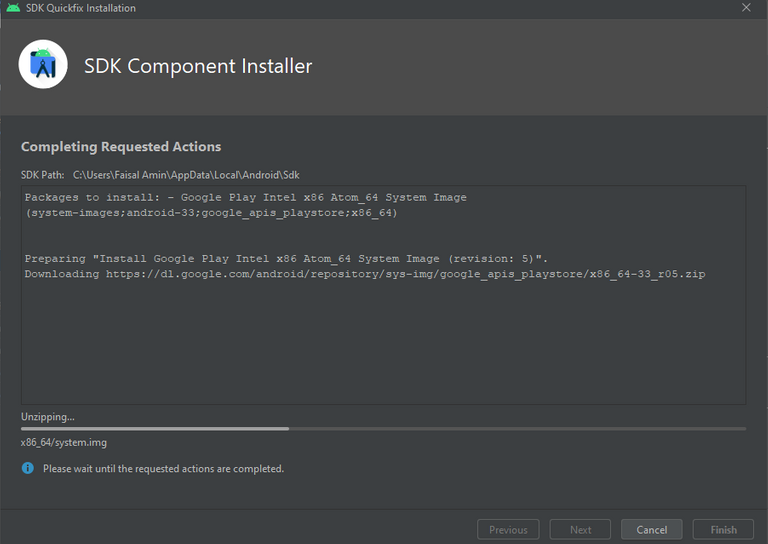
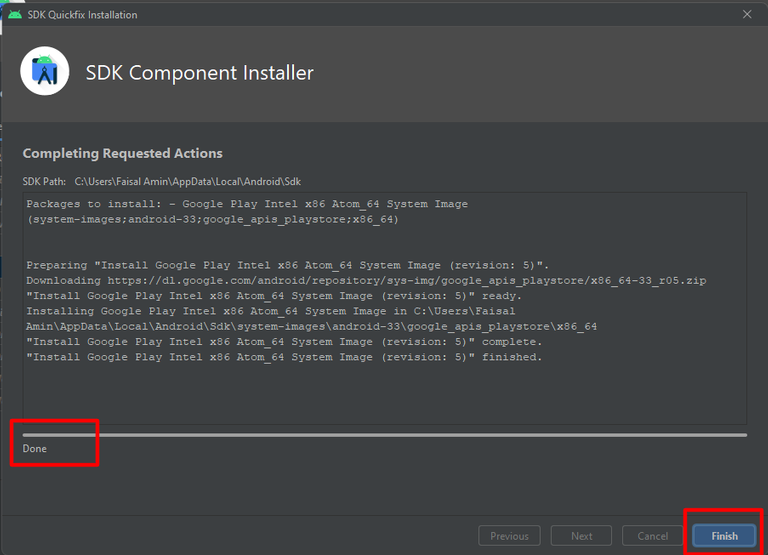
After the downloading process, it will start unzipping. Don't close it until it is finished.
Now it is done. Click on finish.
Now choose that downloaded API and click on the Next button as shown in this screenshot.
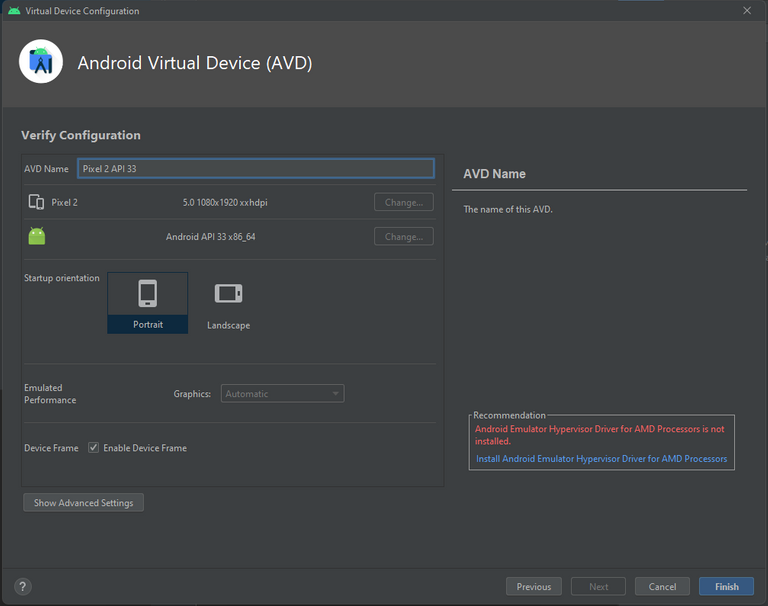
Click on a finish to create this virtual device.
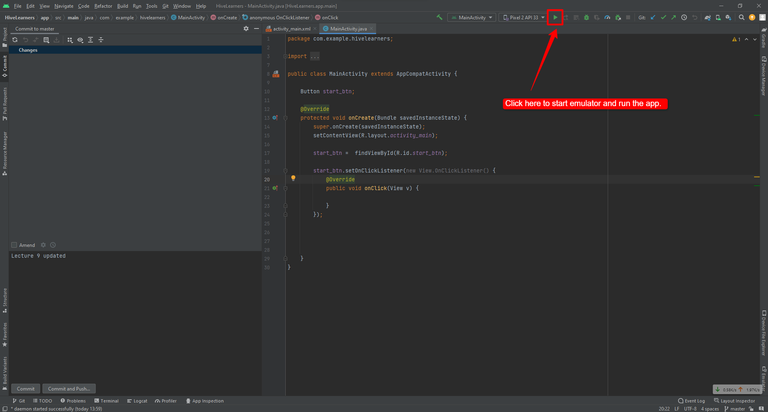
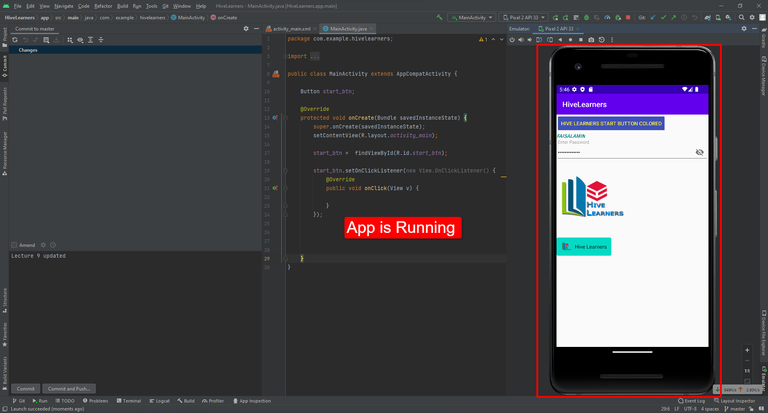
Click on the run button, It will start the emulator and run our app on it. If a prompt shows to install something then you need to install it. You also need to enable SVM, Virtualization of your motherboard by the bios settings.
Finally, our app is running on the emulator. Enjoy the day. We will continue our coding tomorrow.

Thank You

One more chapter, I guess we are heading to the end now that we are testing the app? thanks again
!1UP
It's the startup and first test of the app. From now we will cover the logic side and design side together. Thank you for your love and support.
You have received a 1UP from @gwajnberg!
@stem-curatorAnd they will bring !PIZZA 🍕
Learn more about our delegation service to earn daily rewards. Join the family on Discord.
Yay! 🤗
Your content has been boosted with Ecency Points, by @faisalamin.
Use Ecency daily to boost your growth on platform!
Support Ecency
Vote for new Proposal
Delegate HP and earn more