Perfect Layering After Maintenance
Hello Everyone,
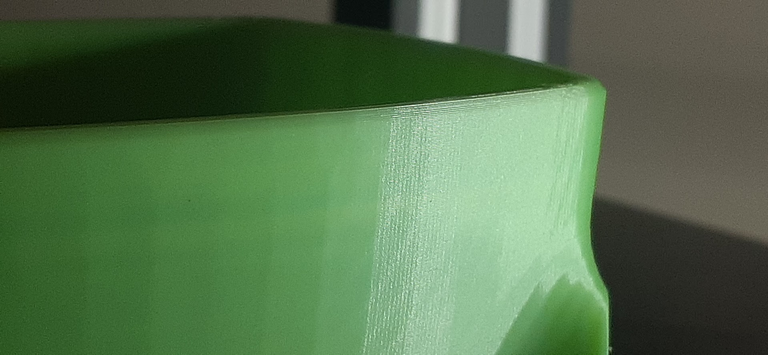
Today I'm super excited because the layering my Ender 3 V2 3D printer is producing is what I would call Perfect Layering.
Let's jump right in shall we:
Bonsai Planter by Marnix92 (Thingiverse link)
I mentioned yesterday that I intended to finish this print, and I did so after the post.
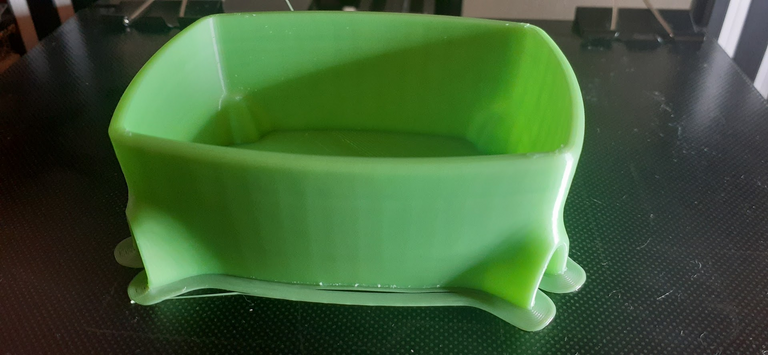
Bonsai Planter by Marnix92 (Thingiverse link)
That wasn't the first thing I did however,
I had noticed the bed plate tension belt was off center due to some warping, (because I overtightened it a while back.)
But not so bad that I couldn't figure out a way to adjust it some and make it usable for now.
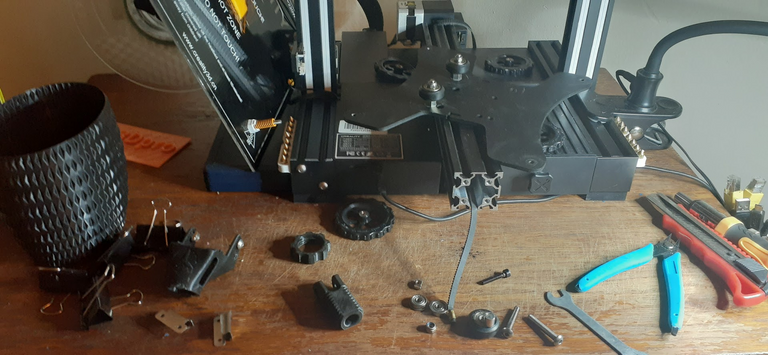
Oh my, what a mess...
No one ever said 3D printing would be easy!
Somewhere in this life I heard a saying:
"You're only as strong as the weakest link." - Source unknown.
I've pondered the philosophical implications of this saying for years, but let's not complicate things too much.
What I mean is there are two very important aspects to consider with 3D printing.
- Maintenance.
- Proper slicer and firmware settings.
Hardware - and - software.
One will not work without the other working properly.
And it's easy to get lazy with maintenance, but it does not take long for a 3D printer to let you know it needs maintenance if you are printing almost 24 hours daily.
In this case I mentioned the bed plate belt was a bit warped. The roller wheels also needed a little maintenance/cleaning/adjusting, so I took care of that as well since I needed to disassemble the bed plate anyway.
I also removed the bottom couplings on the bed plate springs because they were causing clearance issues for the knob threads. (which are not stock and very strong.) (I broke a pair of dykes trying to shorten them, so they are indeed very strong.)
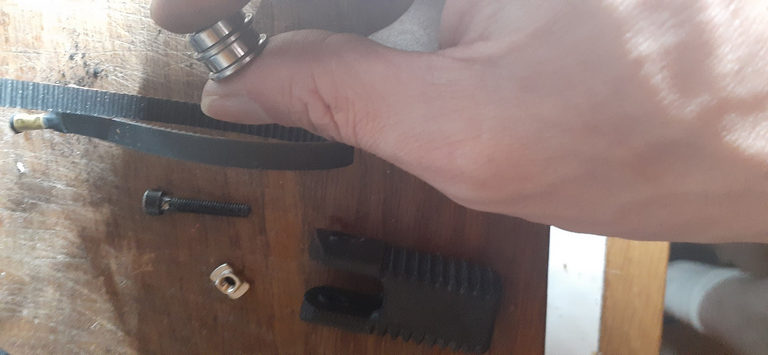
This is me putting the tensioner back together. This one is not stock. The stock tensioner broke and I hot glued a temp fix to print this one. It's really nice and I highly recommend it to anyone using an Ender 3 V2, as the tensioner that comes stock is not a great design in my opinion, and it broke from tension so this backs up my claim a bit.
Ender 3 Pro Y belt tensioner by SkymanOne.
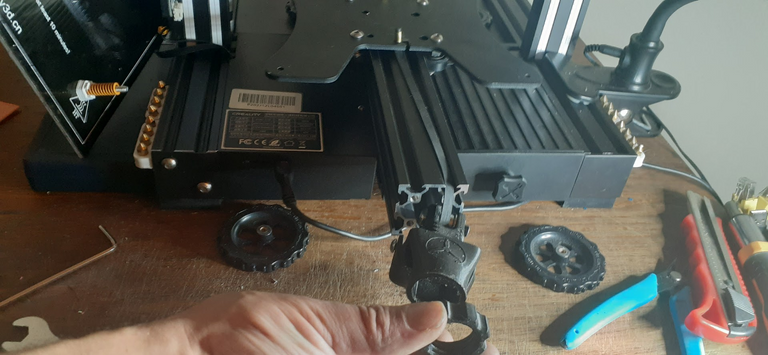
In this photo I present a view of how it fits together. It's rather simple, and oftentimes simplicity in designs is more practical.
In some applications, overengineering can be detrimental.
As I type this, I'm printing a, Fidget Spinner - One-Piece-Print / No Bearings Required! by muzz64
For the purpose of fine tuning slicing tolerance, and if this print in place fidget spinner is a success, I will be one step closer to a 3D printing pro!
Thanks everyone for stopping by and for all the amazing support. You're all an inspiration and help motivate me.
Have a great day! ~~@print3dpro
Congratulations @print3dpro! You have completed the following achievement on the Hive blockchain and have been rewarded with new badge(s) :
Your next target is to reach 900 upvotes.
You can view your badges on your board and compare yourself to others in the Ranking
If you no longer want to receive notifications, reply to this comment with the word
STOPAlmost perfect! Almost!
To the naked eye ~👁️~
Yay! 🤗
Your content has been boosted with Ecency Points, by @print3dpro.
Use Ecency daily to boost your growth on platform!
Support Ecency
Vote for Proposal
Delegate HP and earn more