Hive Casting #1.2 (Eng/Deu)
Today there is the continuation of my last post.
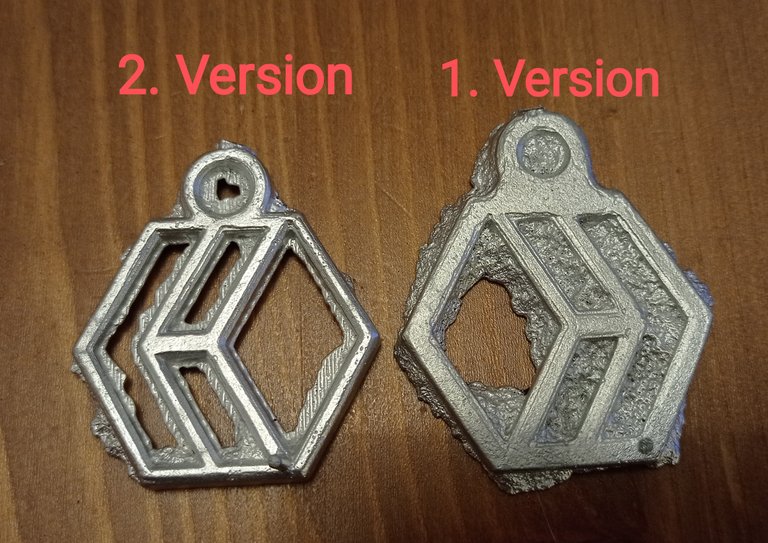
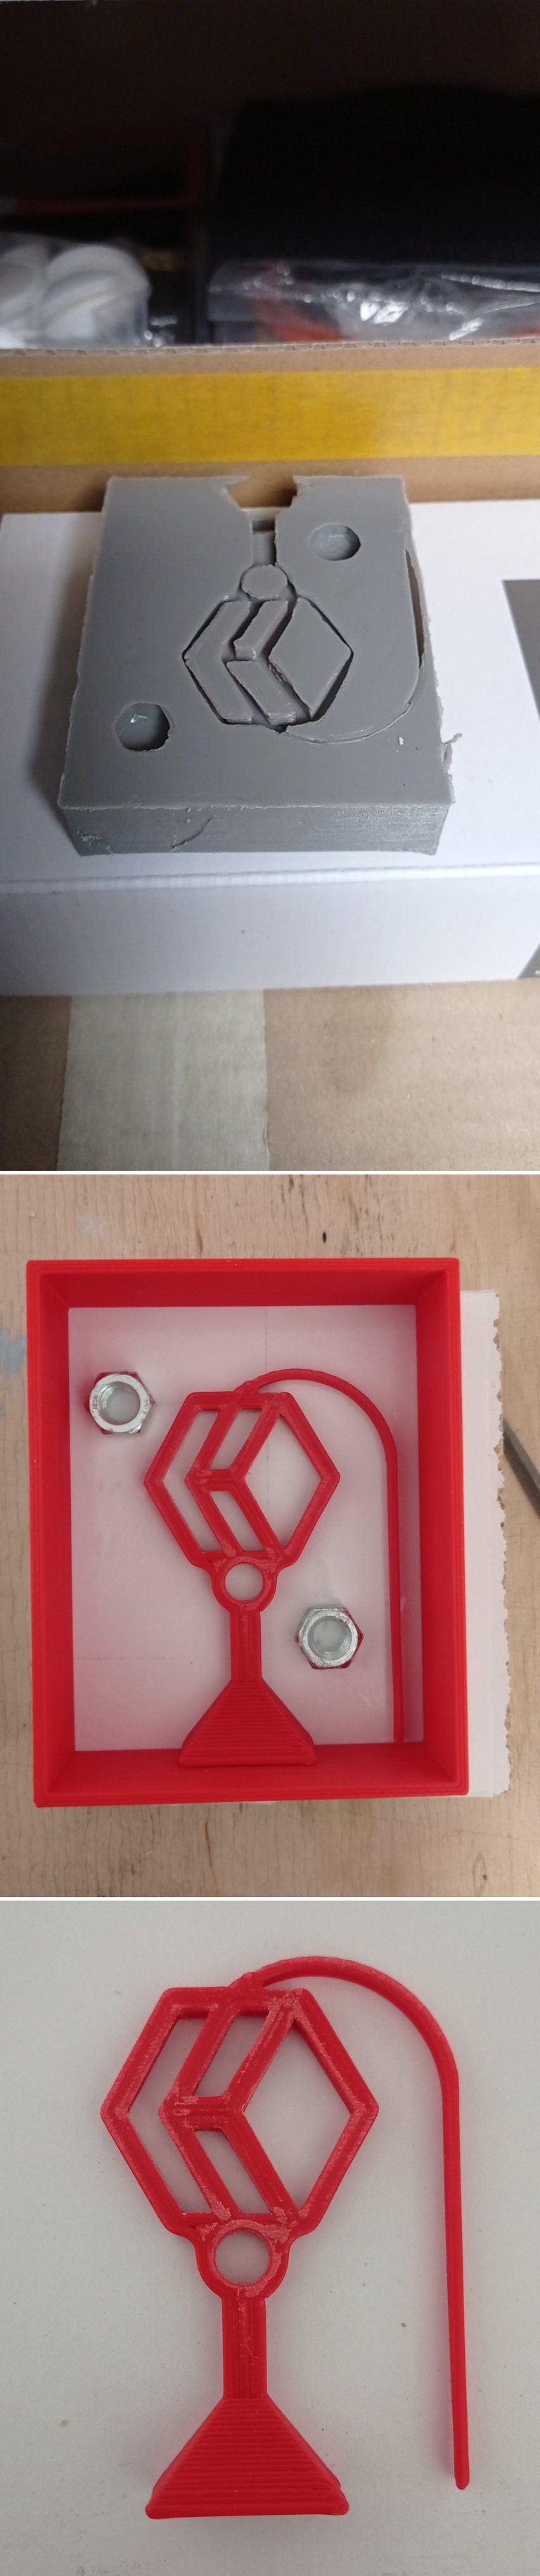
Last time I noticed that the small spots in the middle are too filigree and therefore break off quickly.
So I put a extra layer in the middle, so that these spots aren't so high, what makes them more stable.
Plus I changed the nozzle from 0.8 to 0.5 so that the new version is much smoother.
The print came out perfectly, I also used an extra raft layer, cause otherwise it was very difficult to stick to the platform with the fine lines at the start.
I sanded the print and processed everything very tidy and than I coated it with nail polish.

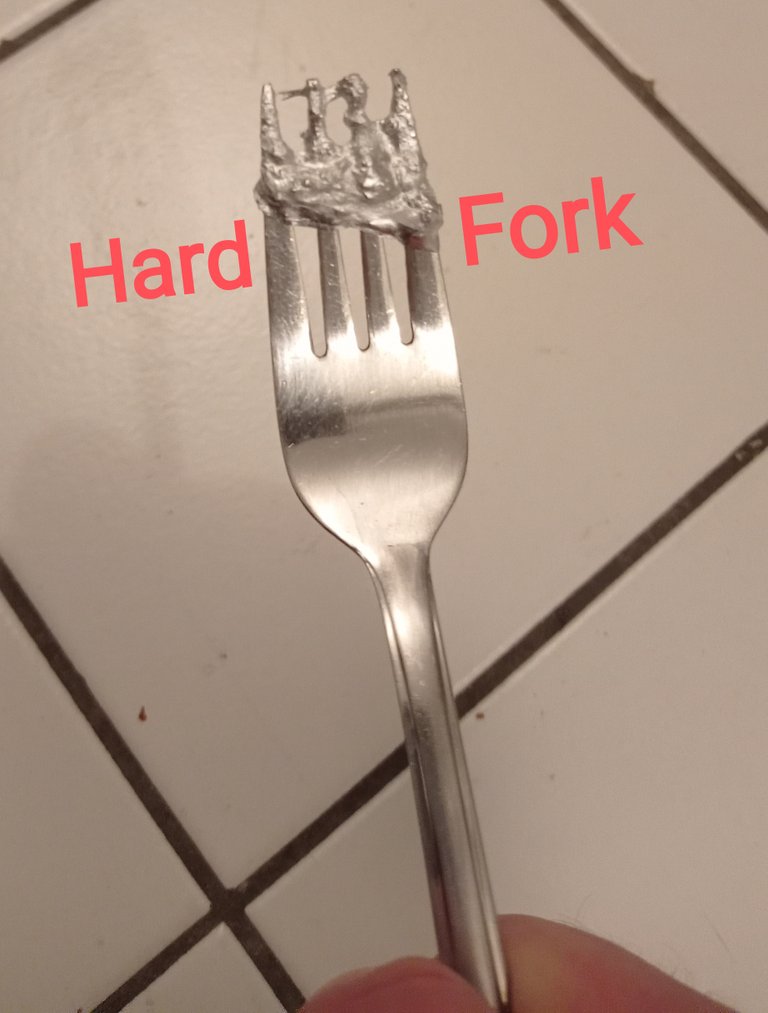
Than I prepared my Molding Box like I did with the first Version and heated up my Furnace. 🔥
But this time I placed the Box outside of my apartment after pouring in the Metal to avoid the smell 🐽
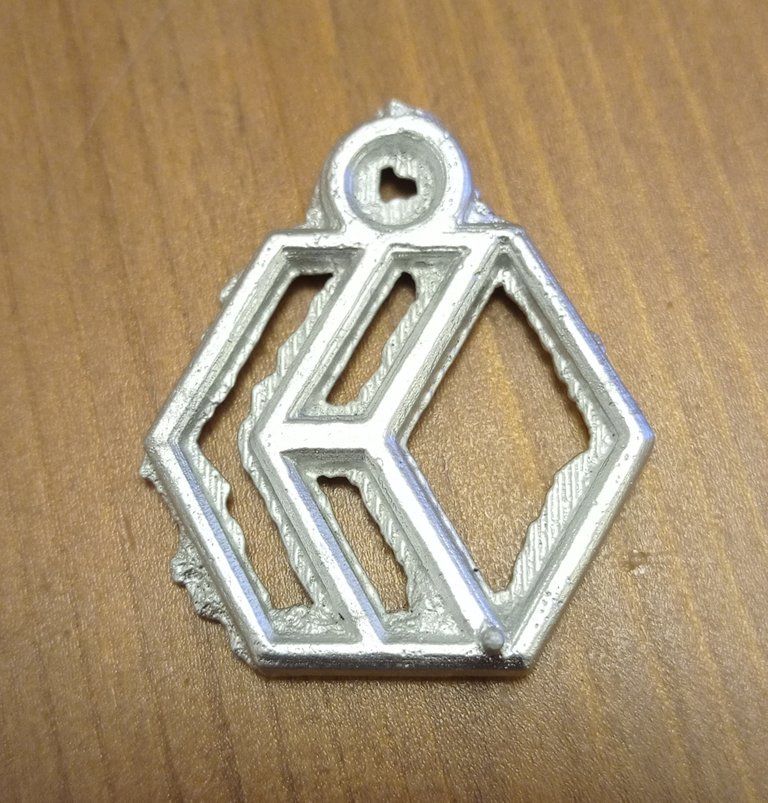
After a while I than split the mold and I was pretty Satisfied with the result.
Part 2 the Silicone Mold
At the same time, I worked on another type of mold making, namely silicone.
The advantage here is that you can use the mold more than once.
Because I want to produce the key rings in series, but on a small scale.
I made my first attempt with conventional silicone, as I still had it left.
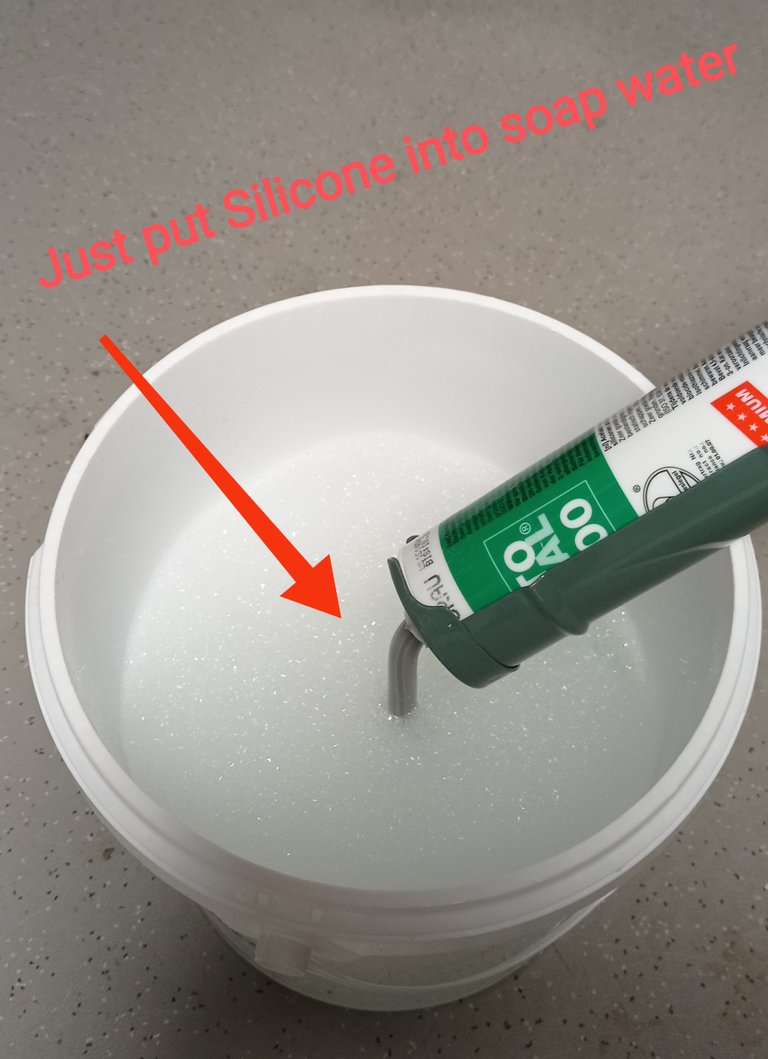
I printed a little Box and another version of the Keyring, than I squeezed the Silicone into soap water, what makes it easier to handle it.
I left it in the box for a day and than it was easy to take out the Keyring.
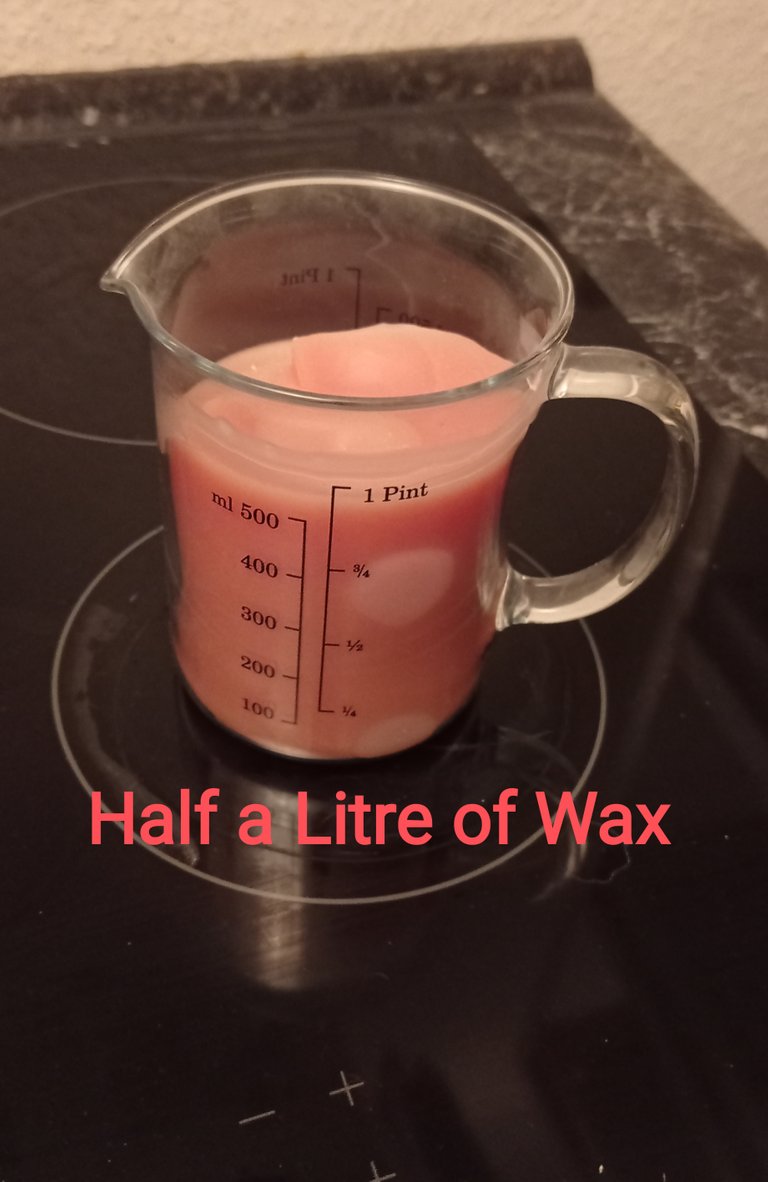
I still had a lot of wax from another project, which I heated and poured into the mold. 🕯️
Everything looked good after cooling down, but it was the same problem, the parts was to filigree and the wax was to soft, so everything broke apart.
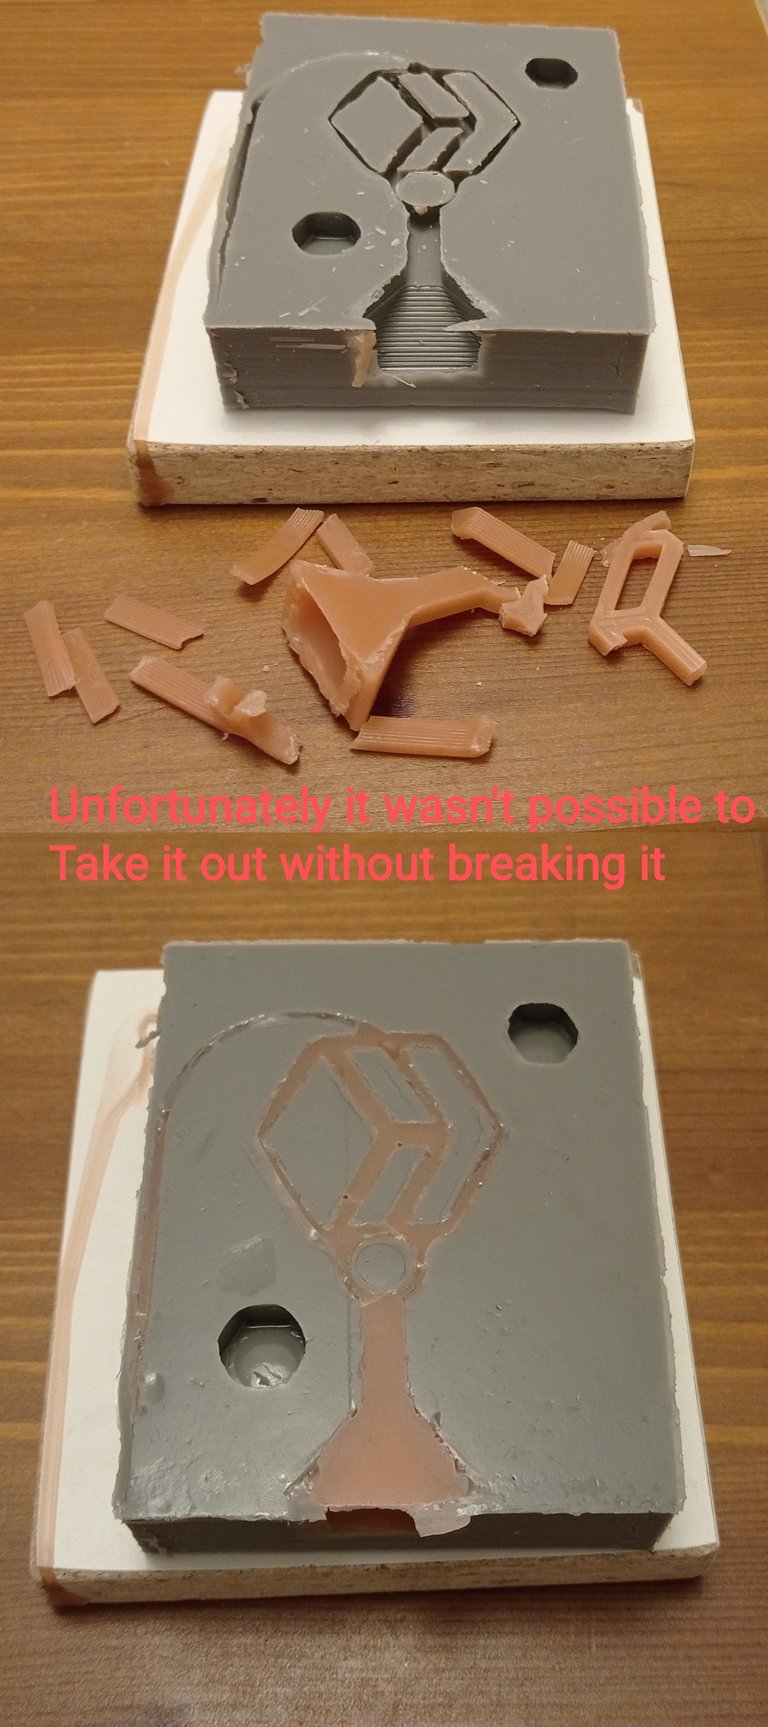
Nevertheless, I was able to get a feel for how the whole thing behaves, now I will get heat-resistant silicone and then build the whole mold again.
I really looking forward to it, maybe the next Version will be the final one.
Deutsch
Heute gibt es die Fortsetzung meines letzten Posts.
Ich hatte beim letzten Mal festgestellt, dass die kleinen Stellen in der Mitte zu filigran sind und deshalb schnell abbrechen.
Deshalb habe ich einfach eine extra Schicht in die Mitte der Form gesetzt, damit diese Stellen nicht so hoch sind, wodurch das ganze stabiler wird.
Plus ich habe den Düsendurchmesser von 0.8 auf 0.5 umgestellt, wodurch die neue Version deutlich glatter wird.
Der Druck gelang perfekt, ich hatte noch eine zusätzliche Raft Schicht aufgetragen, da es ansonsten schwierig geworden wäre die dünnen ersten Linien auf der Plattform zum haften zu bringen.
Ich habe den Druck dann noch geschliffen und alles ordentlich bearbeitet und anschließend mit Nagellack lackiert.
Dann habe ich meinen Formkasten vorbereitet, so wie bei der ersten Version und meinen Schmelzofen in Stellung gebracht. 🔥
Dieses Mal war ich aber so schlau die Box außerhalb meiner Wohnung zu platzieren, nachdem ich das Metal hinein gegossen hatte, um den Gestank zu vermeiden. 🐽
Nach einer Weile habe ich die Form dann geteilt und ich war sehr zufrieden mit dem Ergebnis.
Teil 2 die Silikon Form
Parallel habe ich noch an einer anderen Art des Formbaus gearbeitet und zwar aus Silikon.
Der Vorteil ist hier, das man die Form mehr als einmal verwenden kann.
Denn ich will die Schlüsselanhänger in Serie fertigen, wenn auch in kleinem Maßstab.
Meinen ersten Versuch habe ich mit herkömmlichen Silikon durchgeführt, da ich diesen noch übrig hatte.
Ich hatte eine kleine Box gedruckt und eine andere Version des Schlüsselanhängers, dann habe ich das Silikon in Seifenwasser gedrückt, dadurch lässt es sich einfacher verarbeiten.
Ich habe es einen Tag lang in der Box gelassen und konnte es dann einfach ausformen.
Ich hatte noch jede Menge Wachs von einem anderen Projekt, das habe ich erwärmt und in die Form gegossen. 🕯️
Nach dem Abkühlen sah alles sehr gut aus, doch es gab die gleichen Probleme wie zuvor, die Teile waren einfach zu filigran und das Wachs zu weich, weshalb alles auseinander brach.
Trotzdem konnte ich ein Gefühl dafür bekommen, wie sich das ganze verhält, jetzt werde ich mir hitzebeständiges Silikon besorgen und dann die ganze Form nochmal bauen.
Ich freue mich wirklich auf den nächsten Versuch, vielleicht wird die nächste Version die letzte sein.
!LOLZ
lolztoken.com
ERROR: Joke failed.
@lxsxl, You need more $LOLZ to use this command. The minimum requirement is 16.0 LOLZ.
You can get more $LOLZ on HE.
Yay! 🤗
Your content has been boosted with Ecency Points, by @kiel91.
Use Ecency daily to boost your growth on platform!
Support Ecency
Vote for new Proposal
Delegate HP and earn more
They looking good, I want a metal one, well maybe two, how can we do this?
Thank you, first of all the final Version needs to be produced 😉
Actually I wanted to make a Competition where you can win them
I'm willing to pay 🙏
😅 That's good, I will see what I can do, but first they need to be produced
Can't wait...I got kinda excited about this 🤗
Klasse!
LG Michael
!invest_vote
Danke dir 🤗
!BEER
View or trade
BEER.Hey @mima2606, here is a little bit of
BEERfrom @kiel91 for you. Enjoy it!Do you want to win SOME BEER together with your friends and draw the
BEERKING.@mima2606 denkt du hast ein Vote durch @investinthefutur verdient!
@mima2606 thinks you have earned a vote of @investinthefutur !
What metal do you use? Is it silver?
I wish it would 😅 its a zinc alloy with a low melting point
Wow great job, keep up the good work and keep promoting hive.
Have a pleasant day.
Thanks buddy, I try my best 😉 wish you also a pleasant day, enjoy a !BEER
View or trade
BEER.Hey @vickoly, here is a little bit of
BEERfrom @kiel91 for you. Enjoy it!Learn how to earn FREE BEER each day by staking your
BEER.Ich will ein BlingBling! :D !LUV !PIZZA
@networkallstar(4/10) gave you LUV. H-E tools | connect | <><
Dafür muss das erst mal was werden 😅
PIZZA Holders sent $PIZZA tips in this post's comments:
@networkallstar(4/5) tipped @kiel91 (x1)
Join us in Discord!