Solar powered landscape lights project - Digging the trenches
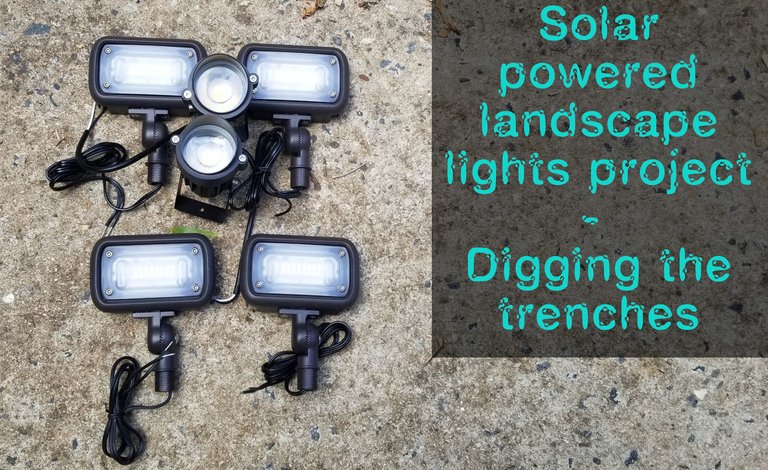
Since building my first solar project, I have wanted to do more. Though my water pump build for my A/C barrels did not need more power. So I had to think up a new use for a solar power system. Something I have wanted for awhile are some landscaping lights. And it would be difficult to run power from the house to these lights. So figured doing it off solar power would be a good idea. Also, if the power goes out from a hurricane or such again I will have a second rig to charge devices. But until then it can light up my yard with six LED lights.
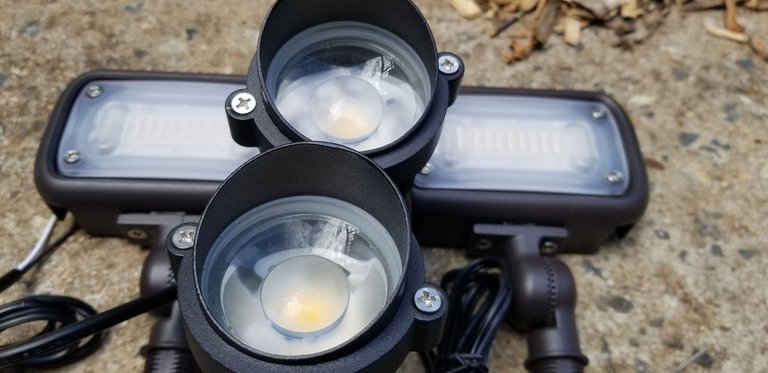
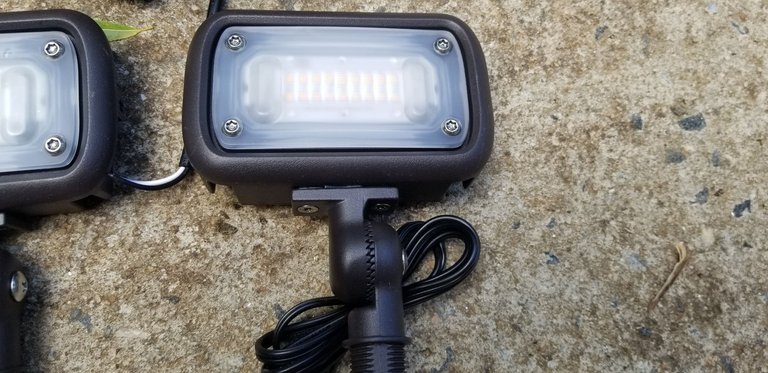
I have two different kinds, two of them are more of a spot light and the others are more like flood lights. So by using the spot lights on some of my bushes and the flood lights for the rest it should give a nice look.
In the past I have mostly worked with fluorescent and incandescent lights, so using LEDs are new to me. But they seem to be the way to go for low power consumption.
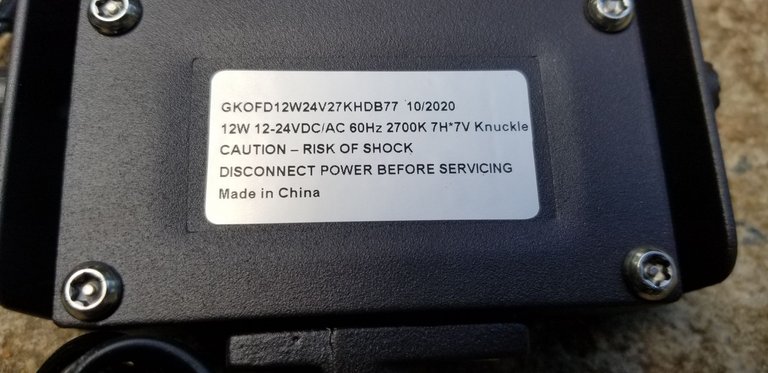
Above is a picture of the back of the flood lights, they run on 12V DC and use 12 watts of power. If I decide to upgrade my battery to a 24V setup its good to know these flood lights work on that as well.
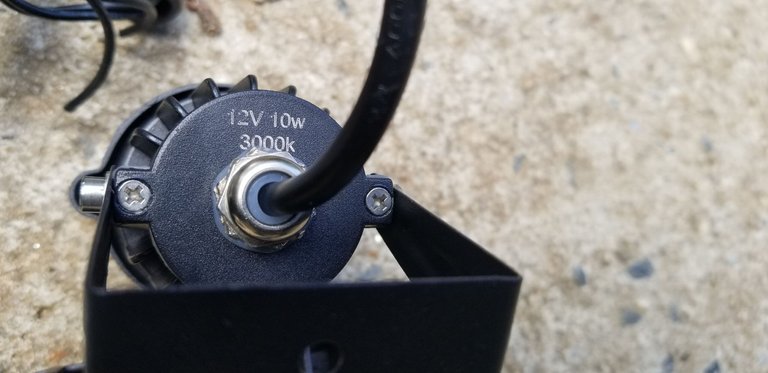
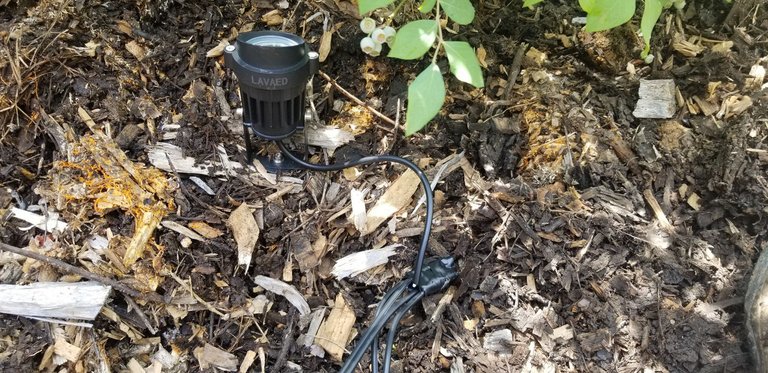
The spot lights are 12V DC as well, but a slightly lower power output. Its also not clear if they can handle 24V.
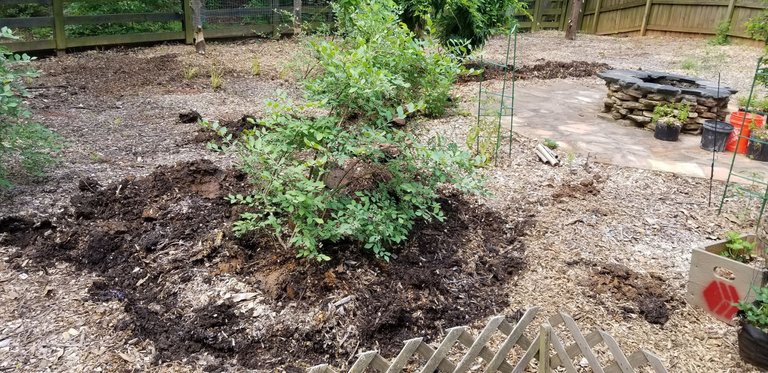
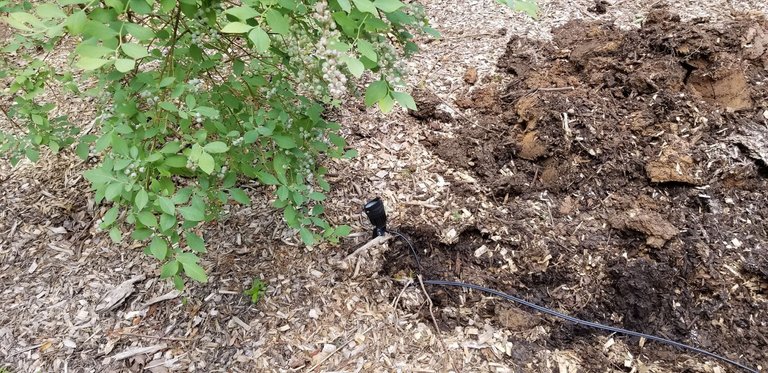
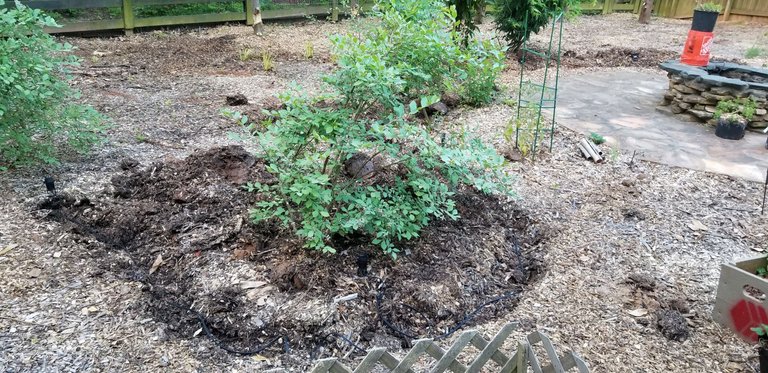
Digging the trenches for the landscaping wire took a few hours, but since it was all in mulch it was pretty easy. I guess adding many feed of munch over the years makes for very soft and workable soil.
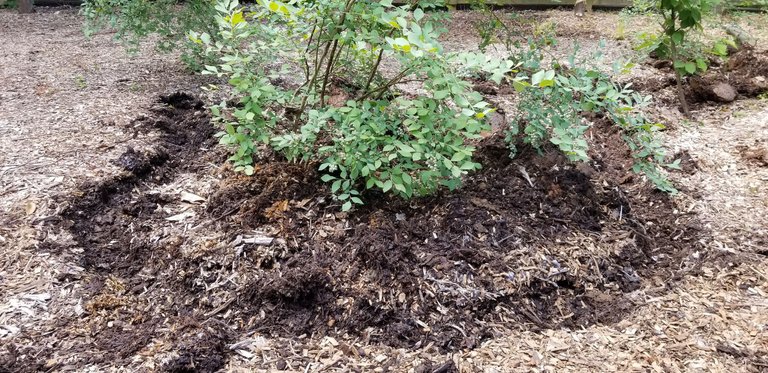
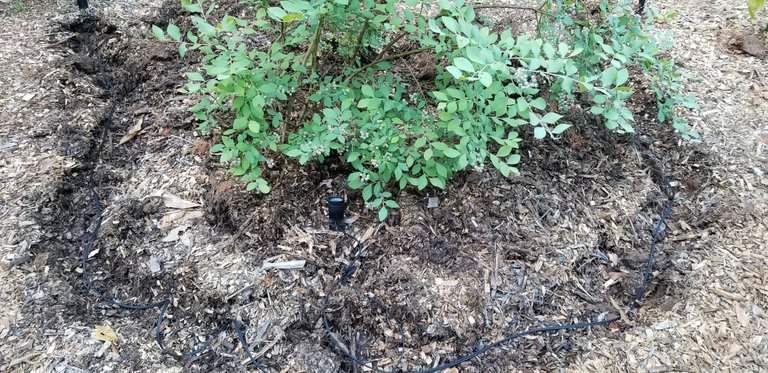
Using the spot lights, I decided to light up my Blueberry bushes. Right now they have fruit forming on them so it will give them a cool look at night all lit up.
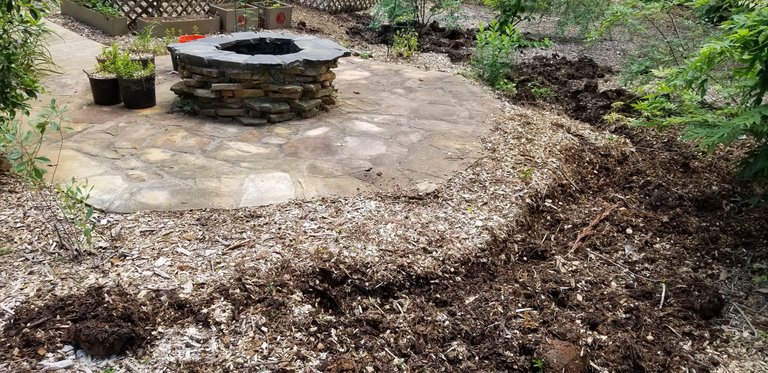
The trench continues around my fire pit for the flood lights. I put those up to help light up the yard, they will be really useful in the winter when the nights start sooner but for right now they come on around 9pm.
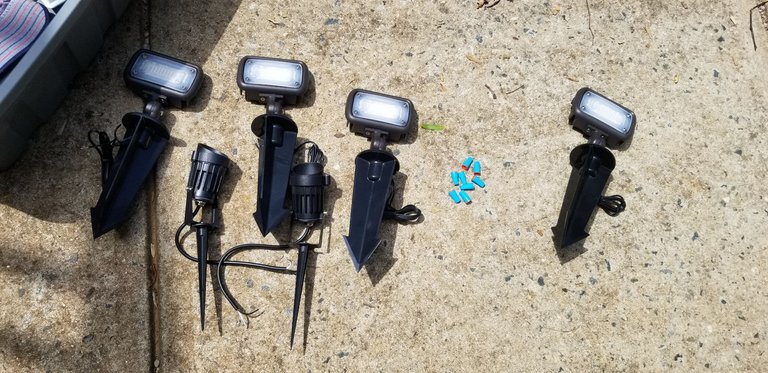
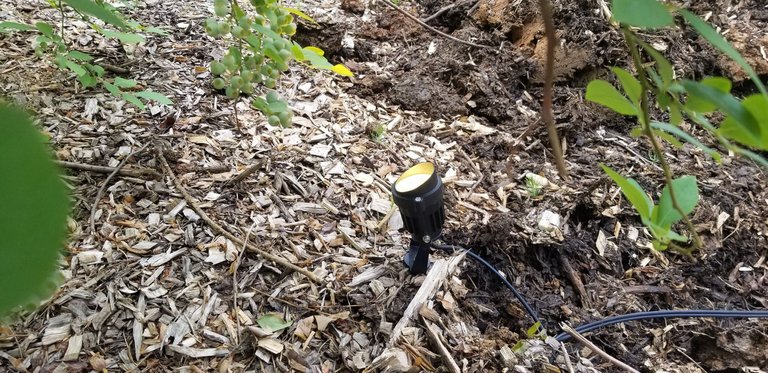
Once the trenches were dug I took a break, and then came back out and put the spikes on the lights. These will be driven into the ground and hold the lights in place.
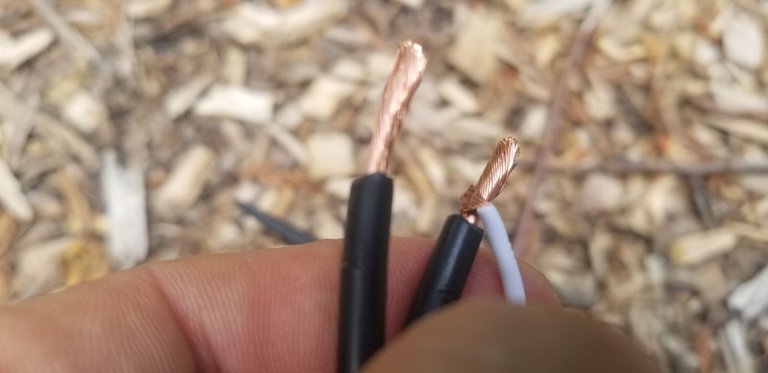
Wrapping the thin landscaping wire around the 12 gauge landscaping wire took a little practice. I found taking off alot of the shielding helped to wrap them good.
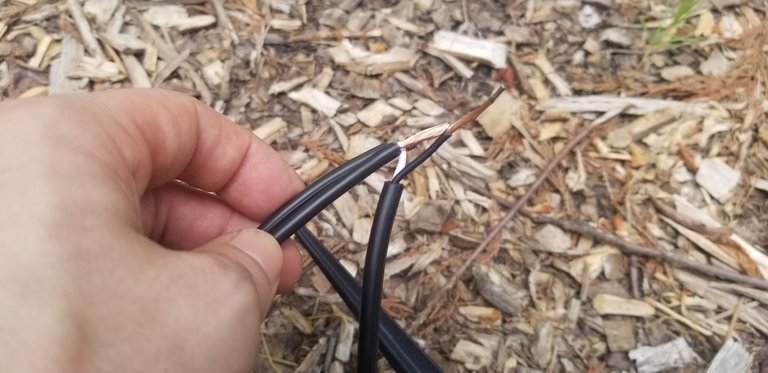
Each took a minute or two to carefully wrap, they are all connected in a sequence also known as daisy chaining. So if one light fails the rest will in that line too. So every connection had to be good to complete the circuit.
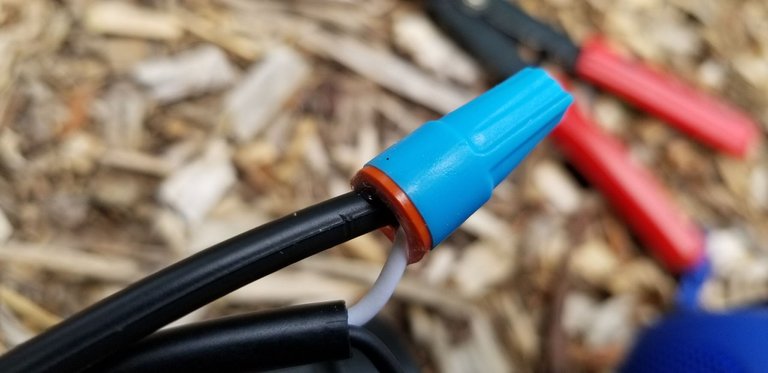
I bought some special wire nuts that were designed for outdoor use. They have a gel inside that helps protect the copper wiring from liquid damage.
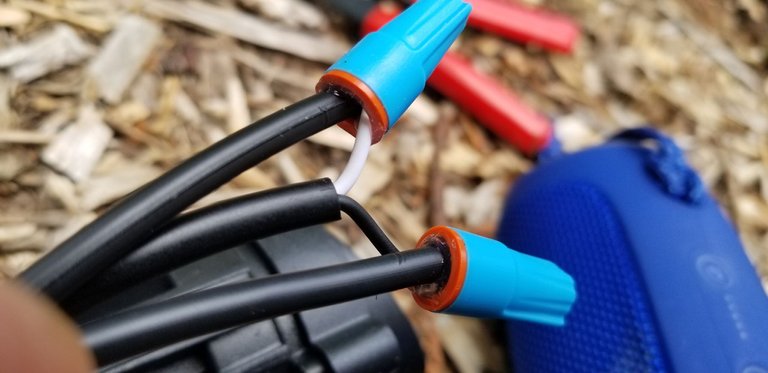
Had to be careful getting it just right. As if I had to redo them they are now covered in dielectric gel.
Working my way down the line I made sure there was enough wire and cut them to size. Giving a little extra so when I bury them they do not pull on each other.
Once all wired in, I tested the chain of lights. They work! I just used a small 12V battery to test for a minute to make sure all my connections were good and no flickering was happening.
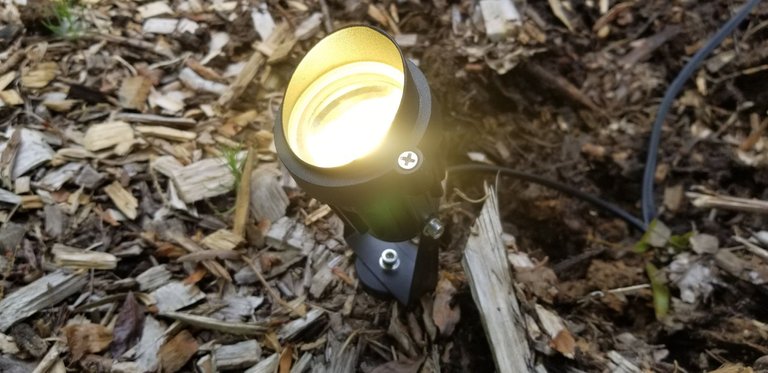
The color temperature of these spot lights are a little warmer than the flood lights, but its fine.
Along with using water resistant wire nuts, I taped up all the connectors to help protect them even more.
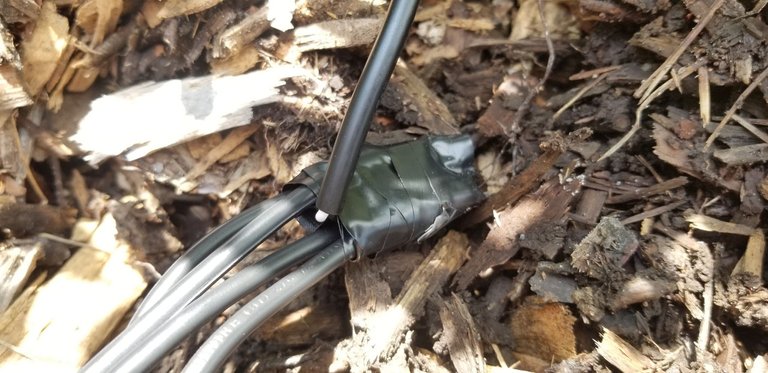
It may be a pain cutting into it if I ever need to fix it. But hopefully that will not happen and should hold up for many years.
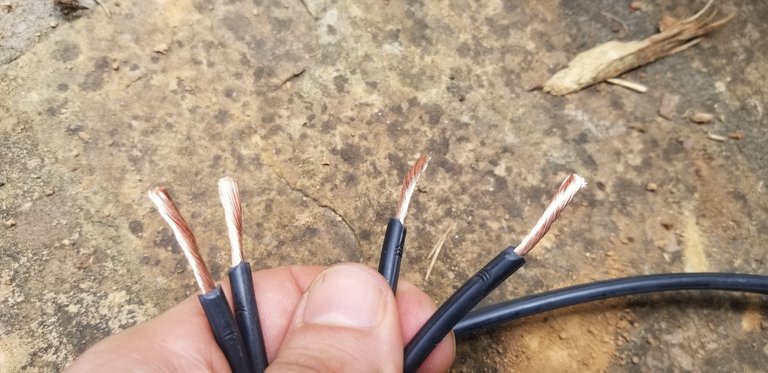
Using 12 gauge wire for the landscaping lights was overkill, but its okay id rather have more than not enough.
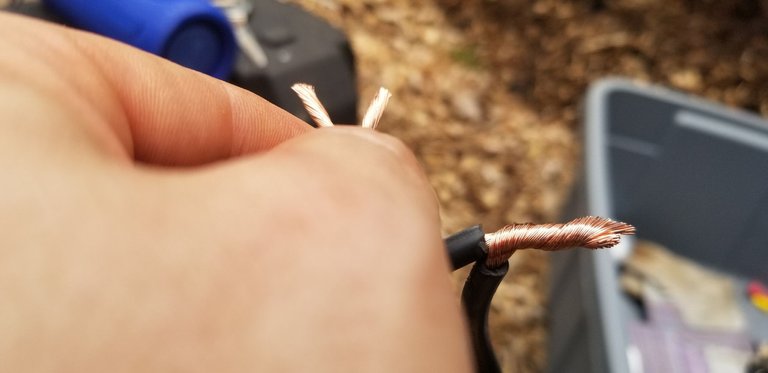
I wrap the wires together and use the wire nuts to hold them together.
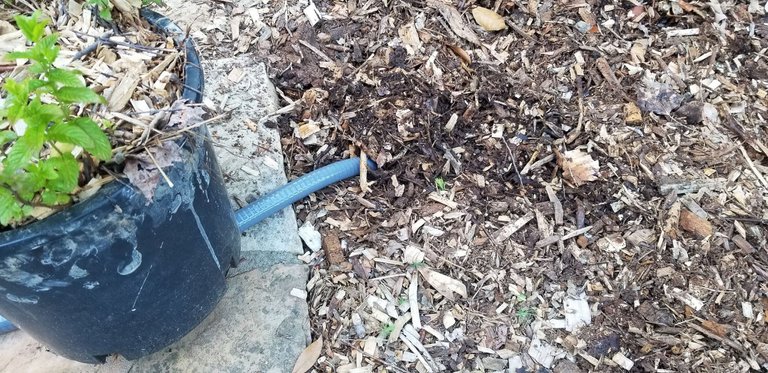
With the wire laid in the trenches and all tested it was now time to bury them. I do not think these landscaping wires are meant to be exposed to the sun. As its rated as "underground cable".
You can see how I left some slack in the wire, when buried you never know how it will pull on them weird. So I rather give some extra slack if needed.
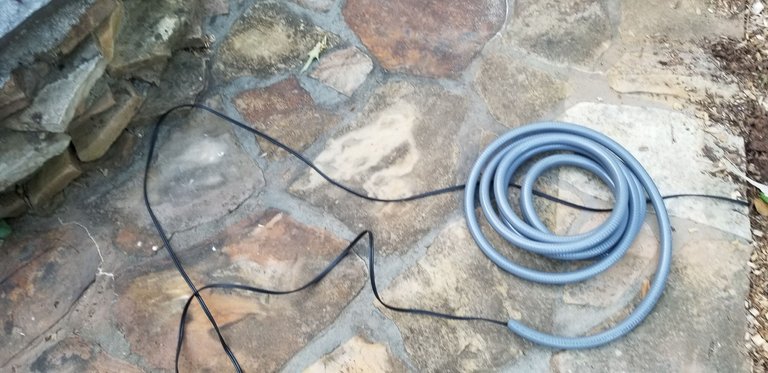
The hardest part of this phase of the project was getting the wire into some conduit. I am sure theres a better way to do it. I just did not watch any youtube videos on it. Next time I think I will try to find a better way to get the cable through.
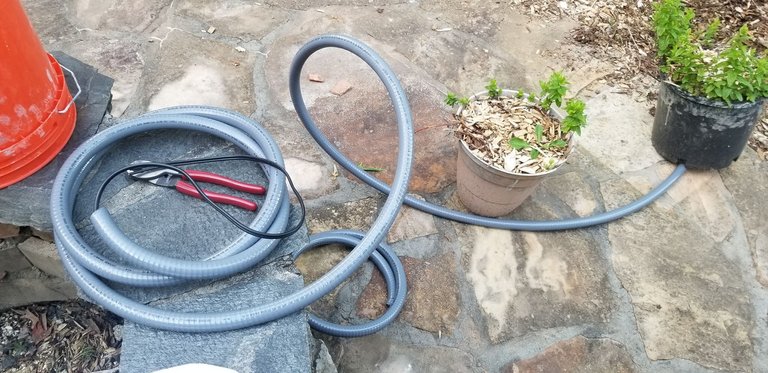
The conduit will protect the landscaping wire from the sun and other harsh weather elements. Also help people or stuff from damaging the cable stepping on it or such.
Should show us how it looks at night when you get a chance.
Was saving it for my next post in this project series but happy to give a sneak peak.
Nice.
Beautiful
a very good idea, besides saving electricity costs it is also very useful when the PLN electricity goes out and this is amazing.
Thank you, yes part of my inspiration for building this was when we were out of power for a few days after a tropical storm passed through. Hopefully this three panel rig will help out alot if we lose power again for days.
Very cool, nice job.
thanks alot...
They do provide a different look...
yeah buddy