Find and delete files from your disk with Windirstat [ESP/ENG]
*Español*
Intro
Hola comunidad. Hace algún tiempo había recomendado un software que ayuda mucho a la hora de gestionar los discos duros. Es Windirstat.
Después de algún tiempo utilizando el disco duro de su PC (guardando archivos, etc.) puede quedarse sin espacio.
Y a veces es una tarea difícil borrar lo que no necesitamos, ya que no recordamos dónde guardamos ciertas cosas.
Le mostraré cómo descargar y utilizar este ligero software.
¿Cómo descargar Windirstat?
Cuando lo recomendé sólo adjunté el enlace de descarga. Sé que algunos usuarios no son tan avanzados en informática y les ha resultado difícil o espantoso el proceso de descarga e instalación.
Aquí te diré lo que tienes que hacer para que todo salga bien.
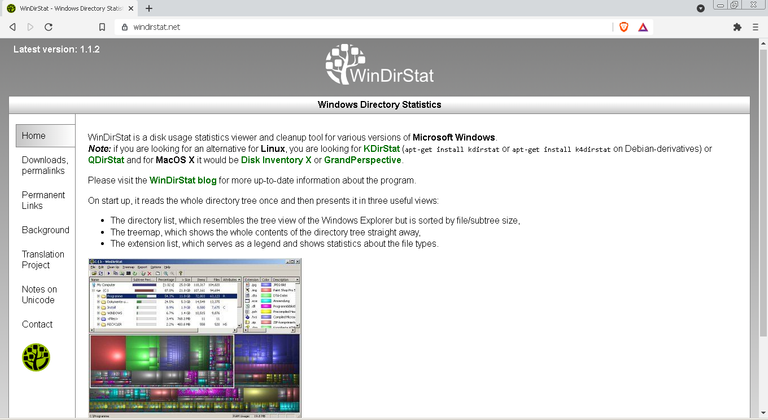
1. Debes ir a la página web oficial. El software es gratuito.
Aquí puede explorar y leer un poco sobre el programa.
2. A continuación, vaya a la sección que dice "Descargas, enlaces permanentes". Aquí encontrarás los enlaces de descarga.
Si tienes algún problema para conseguirlos. Sólo tienes que hacer clic en el enlace de arriba.
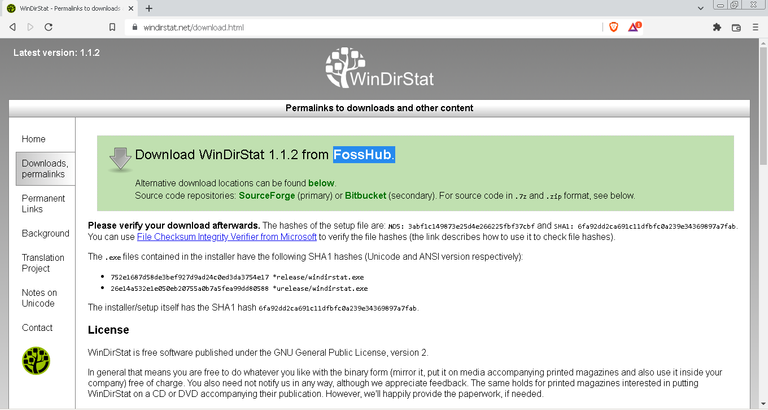
Elija la opción "FossHub". A continuación encontrará enlaces alternativos.
Sólo tienes que hacer clic en la palabra "FossHub". Lo verás en verde y podrás hacer clic en él.
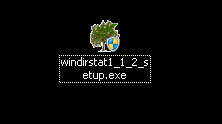
3. Descargue el archivo ".exe". Este es el instalador del programa.

Aquí haga clic en las palabras verdes "WinDirStat Windows Installer" bajo "Download". Para iniciar la descarga.
En este punto ya deberías tener el instalador.
Se parece a esto:
Ejecute este asistente de instalación y siga las instrucciones. Es muy intuitivo.
Ejecutar el programa
Una vez terminada la instalación, se creará un acceso directo en el escritorio de su ordenador.
Será algo parecido a esto:
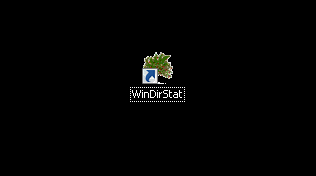
Haz doble clic y empezará a funcionar.
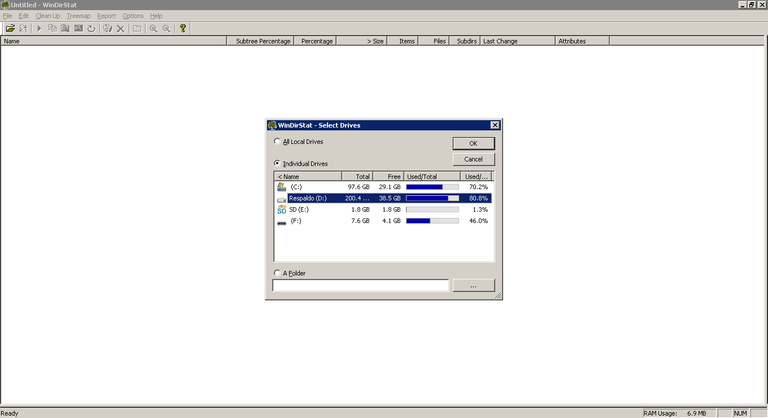
Lo primero que aparece es este pequeño menú donde eliges qué discos quieres analizar.
Tienes dos opciones:
Analiza todos los discos. "All Local Drives"
Analizar sólo un disco. "Individual Drives"
Lo que tienes que hacer aquí es elegir el disco duro que quieres gestionar. Donde tienes un montón de cosas almacenadas y quieres que este programa las categorice y te muestre dónde están.
Elige los discos y haz clic en "OK".
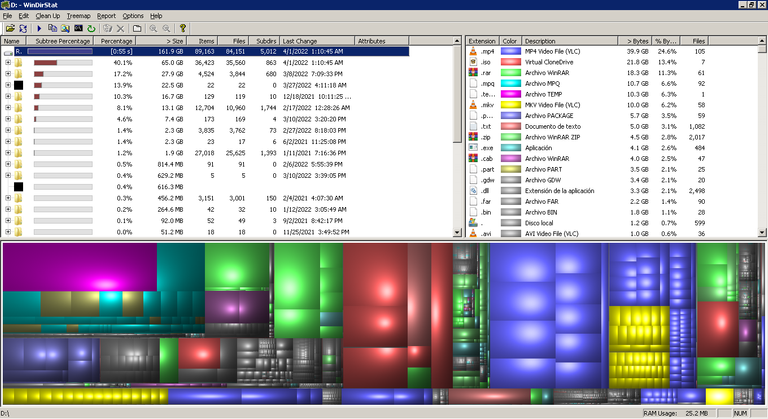
Iniciará un escaneo y cuando termine te mostrará todos los archivos que hay en ese disco.
En la parte superior derecha tenemos los diferentes tipos de formatos de tus archivos. Nos muestra cuánto espacio ocupan y cuántos archivos son.
En la parte superior izquierda tenemos los grupos de carpetas de nuestro ordenador. Donde se almacenan los archivos.
Abajo tenemos todas estas cajas de colores. Representan los tipos de archivos y cuanto más grande es la caja, más espacio de disco ocupa.
Es una representación más visual.
Encuentra los archivos más pesados.
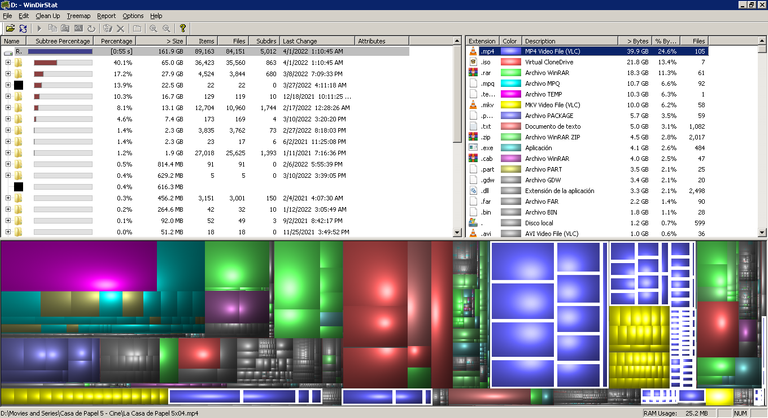
Este programa está hecho para facilitarlo. Si hago clic en la extensión ".mp4" en la parte superior derecha. En la parte inferior todos los archivos que son ".mp4" se perfilan en blanco.
En este caso, son las cajas moradas. Cada uno representa un archivo ".mp4" en mi disco.
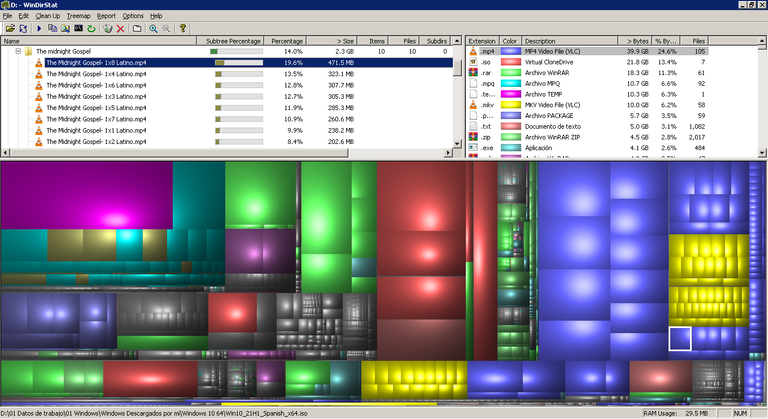
Si pincho en un cuadro morado (ya sabemos que son vídeos ".mp4") me mostrará el archivo exacto que tiene ese espacio ocupado en el disco.
En este caso se trata del último capítulo de una serie llamada "The mindnight Gospel".
Aquí, en la sección de la parte superior izquierda, se muestra de qué archivo se trata y en qué carpeta se encuentra.
Si pulsamos con el botón derecho del ratón sobre el nombre del archivo nos da varias opciones. Podemos reproducirlo, enviarlo a la papelera, borrarlo definitivamente, etc.
En teoría, si quieres saber sobre los archivos más pesados. Sólo tienes que hacer clic en las cajas más grandes y ahí lo tienes.
Resumen
A pesar de la sencillez de este programa, ha cumplido mis expectativas. Ha sido muy útil para mí y sé que también puede serlo para ti.
Por eso he decidido compartirlo con toda la comunidad. Y no es nada siendo la informática una de mis pasiones.
Eso es todo por el momento. Gracias por leer.

*English*
Intro
Hello community. Some time ago I had recommended software that helps a lot when managing your hard drives. It is Windirstat.
After some time using your PC's hard disk (saving files, etc.) it may run out of space.
And sometimes it is a difficult task to erase what we don't need since we don't remember where we keep certain things.
I will show you how to download and use this lightweight software.
How to download Windirstat?
When I recommended it I only attached the download link. I know that some users are not so advanced in computers and have found the download and installation process difficult or scary.
Here I'll tell you what you need to do to get everything right.
1. You must go to the official website. The software is free.
Here you can explore and read a little about the program.
2. Then go to the section that says "Downloads, permalinks". Here you will find the download links.
If you have a little trouble getting them. Just click on the link above.
Choose the "FossHub" option. Below you will find alternative links.
Just click on the word "FossHub". You will see it in green and you can click on it.
3. Download the ".exe" file. This is the program installer.
Here click on the green words "WinDirStat Windows Installer" under "Download". To start the download.
At this point you should already have the installer.
It looks something like this:
Run this installation wizard and follow the instructions. It is very intuitive.
Execute the program
When the installation is finished, a shortcut will be created on the desktop of your computer.
It will look something like this:
Double click and it will start running.
The first thing that appears in this small menu is where you choose which disks you want to analyze.
You have two options:
Analyze all disks. "All Local Drives".
Analyze only one disk. "Individual Drives.
What you have to do here is to choose the hard drive you want to manage. Where you have a lot of things stored and you want this program to categorize them and show you where they are.
Choose the discs and click "OK".
It will start a scan and when it is finished it will show you all the files that are on that disk.
At the top right we have the different types of formats of your files. It shows us how much space they occupy and how many files they are.
In the upper left part we have the groups of folders of our computer. Where the files are stored.
Below we have all these colored boxes. They represent the file types and the bigger the box the more disk space it occupies.
It is a more visual representation.
Finds the heaviest files.
This program is made to make it easy. If I click on the extension ".mp4" in the upper right part. At the bottom, all files that are ".mp4" are outlined in white.
In this case, they are the purple boxes. Each one represents a ".mp4" file on my disk.
If I click on a purple box (we already know that they are ".mp4" videos) it will show me the exact file that has that space occupied on the disk.
In this case, it is the last chapter of a series called "The midnight Gospel".
Here, in the section at the top left, it is shown which file it is and in which folder it is located.
If we click the right button of the mouse on the name of the file it gives us several options. We can reproduce it, send it to the trash, delete it definitively, etc.
In theory, if you want to know about the heaviest files. Just click on the larger boxes and there you have it.
Summary
Despite the simplicity of this program, it has met my expectations. It has been very useful for me and I know it can be for you as well.
That's why I decided to share it with the whole community. And it's nothing being computer science is one of my passions.
That's all for the moment. Thanks for reading.
Gracias por compartir estos tutoriales, que son bastante utiles en casa. En mi hogar tenemos varias pc y es una labor velar que todas esten funcionando bien. Gracias por compartir.
¡Hey!. ¡Se que si!. Uno de los software gratuitos que suelo usar cuando quiero ver que archivos innecesarios tengo en mi ordenador. Con este programa siempre logro la misión de borrarlos. Si lo llegas a usar te darás cuenta lo útil que suele ser. Saludos.