Can I print with Flexible? (TPU) My experience
Hace algún tiempo tuve que aprender a imprimir en 3D con material flexible para poder hacer un trabajo de la facultad y además para poder tomar pedidos de clientes. En el mundo de la impresión 3D aprender a usar un nuevo material es todo un desafío, no es tan sencillo como simplemente comprarlo y poder usarlo si no que hay que tener en cuenta muchos parámetros, variables, temperaturas para lograr el optimo uso y resultado final de la pieza.
Desde ya lo digo, al menos para mí, imprimir material flexible (TPU nombre técnico del material) no es fácil; conlleva un gran desafío, pero el éxito depende totalmente de la persona que esta haciendo el esfuerzo por aprender, se tiene que ser constante, se tiene que poder aceptar el error y tomarse el tiempo de investigar.
Para comenzar me informe con videos en youtube, investigue sobre el material, sobre los requisitos para poder imprimirlo ya que no cualquier impresora 3D te permite usar flexible. Se recomiendan impresoras de extrusión directa, esto quiere decir que el motor que empuja el material se encuentra muy cerca del extrusor (Pieza que funde el plástico).
|
|
|
|---|
Las impresoras tipo bowden son todo un tema (Bowden impresoras donde el motor de empuje esta alejado del extrusor y tiene un tubo de teflón como guía) ¿Se puede imprimir Flex? Si y no. Son necesarias modificaciones en el sistema de empuje y al menos yo recomendaría usar un determinado tipo de flexible que es un poco más duro y facilita mucho a la hora de imprimirlo, pero más adelante explicare este apartado.
|
|
|---|
Una vez sabemos si podemos usar flex con nuestras maquinas viene la hora de ver que parámetros usar. La configuración es esencial a la hora de un buen resultado final y quise recopilar a grandes rasgos todos los parámetros que podemos tocar y probar para llegar a nuestro objetivo que es hacer piezas con material flexible.
- Print speed (Speed at which our part will be printed).
- Filling speed (speed of the inner filling of our part)
- Wall speed (Speed at which the walls of our part will be made)
- Top and bottom layers (These are the base and final layers of our part)
- Retractions (It is the speed or distance at which the material will retract when the extruder moves).
- Minimum displacement of the retraction (Minimum value for a retraction, so we will avoid unnecessary retractions and save possible jams).
- Displacement speed (The movements that the machine has to make from point A to B to print)
- Flow (The amount of extruded material)
- Z-seam (The starting and ending points of a layer on the Z-axis)
- Combing mode (It avoids exudations or better known as plastic hairs in the pieces).
Estos son algunos de los parámetros más importantes:• Velocidad de impresión (Velocidad a la que se imprimirá nuestra pieza)
• Velocidad de relleno (Velocidad del relleno interior de nuestra pieza)
• Velocidad de la pared (Velocidad a la que se realizaran las paredes de nuestra pieza)
• Capas superiores e inferiores (Son las capas base y finales de nuestra pieza)
• Retracciones (Es la velocidad o distancia a la que se retraerá el material a la hora que el extrusor se mueva)
• Desplazamiento mínimo de la retracción (Valor mínimo para una retracción, así evitaremos hacer retracciones innecesarias y ahorrarnos posibles atascos.)
• Velocidad de desplazamiento (Los movimientos que tiene que hacer la máquina del punto A al B para imprimir)
• Flujo (La cantidad de material extruido)
• Costura en Z (Son los puntos iniciales y finales de una capa en el eje Z)
• Modo de peinada (Nos evitara exudaciones o más conocido como pelitos de plástico en las piezas)
Ya se irán dando una idea de la complejidad del TPU pero no por eso hay que perder los ánimos una vez lo consigas sentís una satisfacción y superación que no podes imaginar, casi al nivel de desbloquear una nueva habilidad en un videojuego.
Ahora quiero hacer hincapié en los parámetros más importantes que si o si tendremos que tener en cuenta y explicare brevemente la configuración. AVISO, la configuración varia dependiendo la máquina, es muy importante que encuentras los valores que a vos te sirvan para lograr lo que vos necesitas.
Dependiendo de la marca que compres el TPU generalmente se imprime entre los 220º o los 235º con una temperatura de la cama de impresión en unos 30º más que nada para replicar una temperatura ambiente normal, aunque en invierno puede aumentarse este valor si no se logra llegar a la temperatura necesaria. En ocasiones coloco fijador a la base para unir el material, pero luego me cuesta retirarlo. IMPORTANTE, no imprimir sobre PEI (Base de impresión texturada como lija) porque podremos arruinarlo de forma permanente. También podés imprimir sobre una base de vidrio templado logrando un acabado super brillante y liso.
 | 
|
|---|
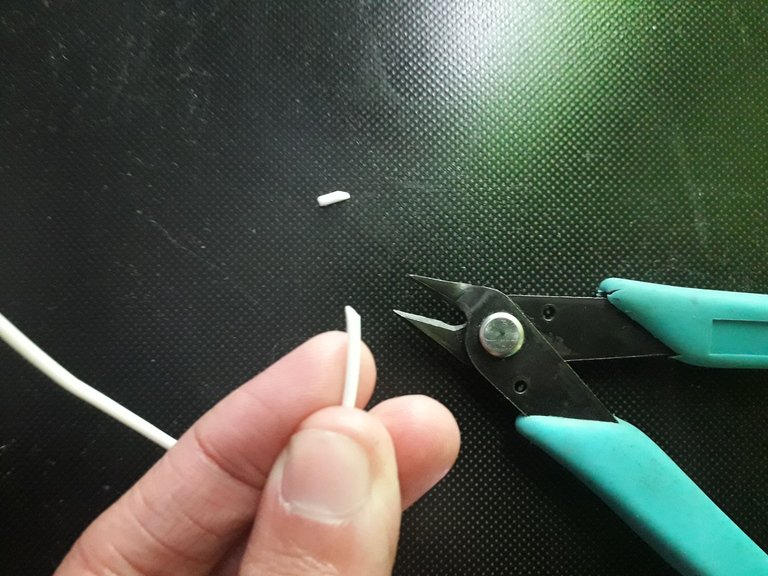
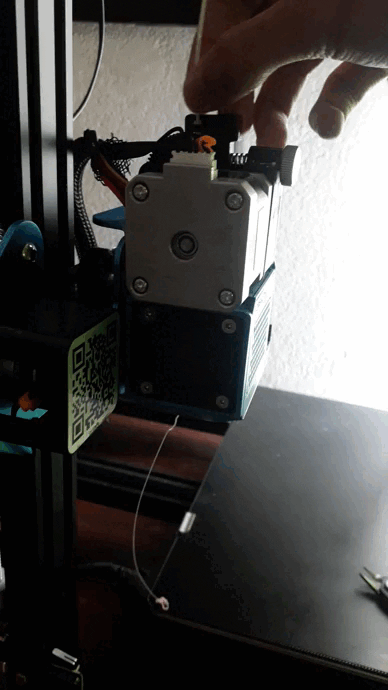
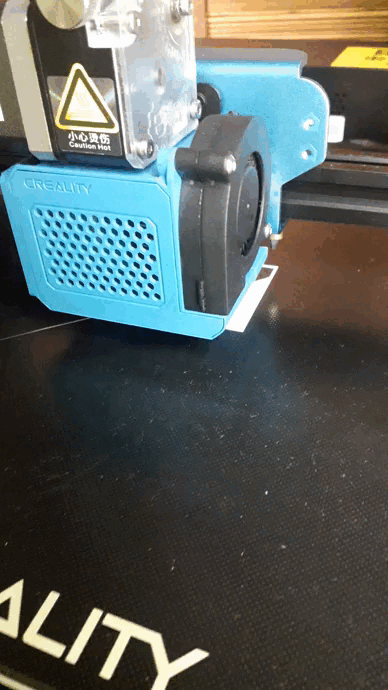
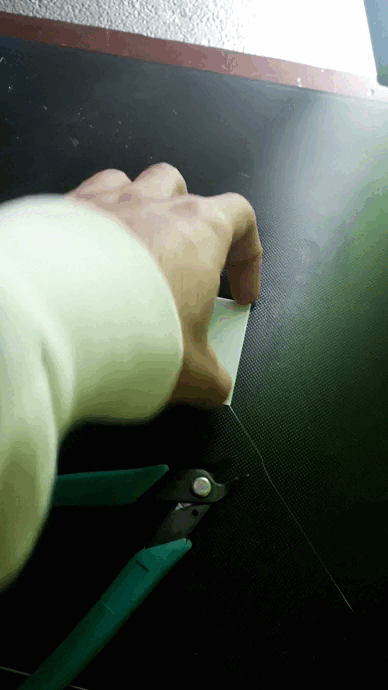
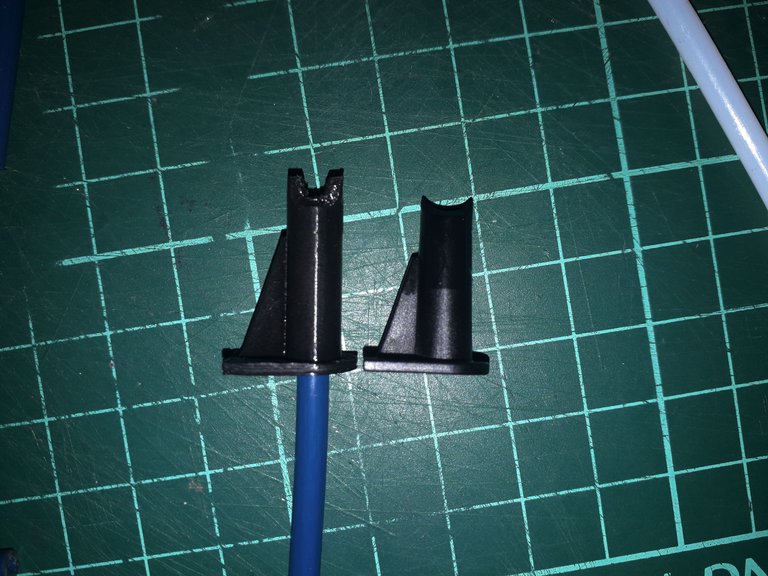
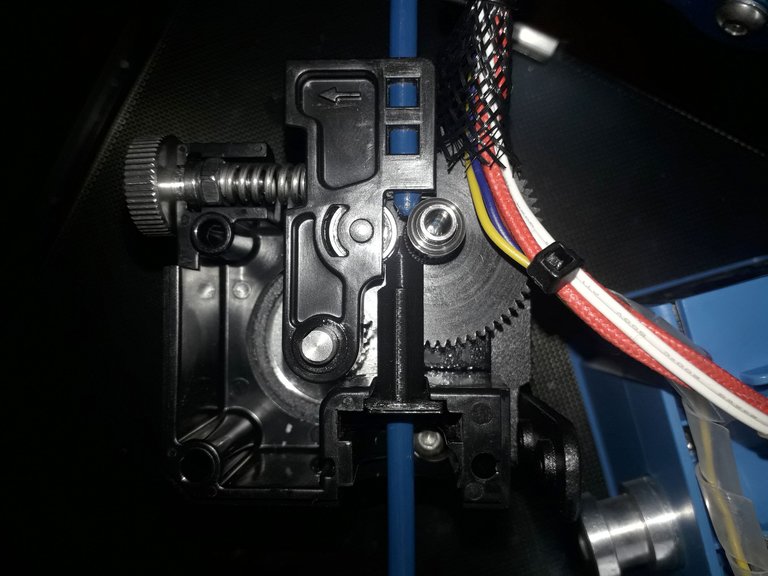
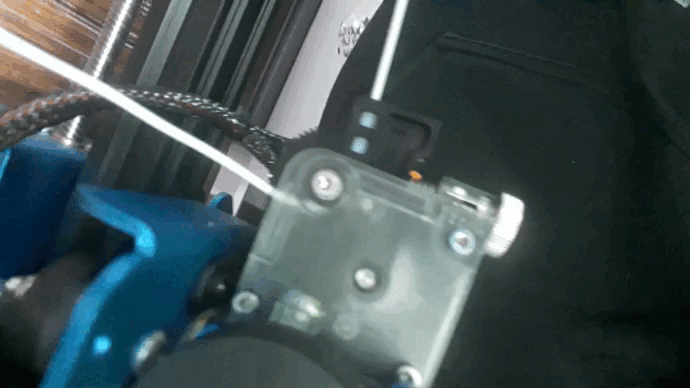
Para empezar, es muy necesario imprimir el TPU en velocidades bajas, yo estoy imprimiendo con una CR10-V3 y al comienzo logré muy buenos resultados, luego tuve muchas dificultades hasta hacer una modificación en el extrusor y a día de hoy estoy imprimiendo sin más problemas.
|  |
|---|
Modificación para la CR10-V3
Al TPU podes imprimirlo entre 20 o 30 mm/s pero velocidades más altas darán atasco o el material se va a ahocar ¿Qué quiero decir con que el material se va a ahocar? Bueno como el agua tiende a ir por el camino de menor resistencia lo mismo pasa con este material, al ser tan flexible con las retracciones puede atorarse y comenzar a salir por cualquier lado y esto es algo que realmente no queremos que suceda.
Las velocidades de relleno de la pieza también necesitamos que sean bajas, diría que la misma velocidad de impresión o un poco superior ya que el relleno al quedar dentro de la pieza no es necesario que sea perfecto.
Las velocidades de las paredes las pondría igual o inferior a la de impresión si deseamos un gran acabado superficial en la pieza. En piezas laminares esta variable no es tan crítica, pero en piezas volumétricas notaremos grandes resultados. Yo uso tres perímetros para las paredes porque con dos, vi que las piezas no quedaban bien.
 |

|
|---|
En capas superiores recomiendo mínimo 3 y pueden probar con 4 ya que con dos capas se notará el relleno y quedaran muchas imperfecciones y les aviso que no es nada lindo además que puede afectar la funcionalidad de nuestra pieza, están deben imprimirse despacio paraque el material se deposite de forma correcta y uniforme.
Las retracciones a 20mm/s o un poco más alto que la velocidad de impresión general, pueden activar o desactivar las retracciones según lo vean conveniente y la distancia que yo utilizo son 2 mm, pero si pueden hacer una torre de retracciones y temperatura para encontrar los valores indicados para su maquinas eso sería lo más optimo.

El desplazamiento mínimo de la reacción lo tengo en 0.8 mm esto quiere decir que por valores inferiores a este digito no se efectúan retracciones.
La velocidad de desplazamiento hay algunos que dicen que hay que aumentarla y otros que bajarla, en lo personal la aumento porque mientras más rápido llegue al siguiente punto de impresión menos tiempo tendrá el material para gotear y dejar hilos molestos de plástico, yo tenia el desplazamiento en 120mm/s y he probado en 150 y hasta 200mm/s pero me quede con el valor de 160mm/s
La decisión a la hora de colocarle el valor al flujo depende de lo que veas en tu pieza, si ves que queda muchos hilos o puntos como gotas a la hora de imprimir es porque el flujo es excesivo podés probar haciendo pequeños cambios, yo lo tengo al 99%. Si vez que tu pieza a la hora de imprimir le quedan huecos es porque puede ser que le falte material así que aumentaría el flujo. Yo me estuve moviendo entre valores de 90% hasta 103%
Algo muy importante que casi me olvidaba, la altura de capa, recomiendo encarecidamente imprimir si o si en altura de capa 0,2 ya que a este material le cuesta un poco la unión entre capas, como máximo usaría 0,25 pero al menos yo ni siquiera lo considero.
La costura en Z la coloco como MÁS CORTA, de esta manera le ahorramos recorrido al extrusor y se traduce en menos pelitos de plástico en la pieza. En el apartado de patrones de relleno uso giroide porque es un patrón que esfuerza menos a la máquina, las curvas se realizan de matera continua y no son como los patrones en rejilla donde hay ángulos donde el extrusor debe pararse abruptamente para cambiar su recorrido además que es un relleno más uniforme y permite cierta flexibilidad en este tipo de material.
En modo de peinada lo coloco en TODO, esto hace que el extrusor antes de desplazarse se mueva un poco hacia dentro de la pieza impresa dejando el excedente de material dentro y disminuyendo los pelos en la impresión.
Estos serían mis tips y explicación en el apartado de configuración para imprimir flexible, espero haber sido claro y cualquier error que encuentren o comentario que tengan siempre es bienvenido.
Como un extra por si quieren probar hacer cosas más complicadas les doy unos consejos para los soportes con flexible
- Zigzag support pattern, density at 30%.
- Support distance in Z 0.2 or 0.25
- Support distance in X and Y 0.75
• Patrón de soporte zigzag, densidad al 30%
• Distancia del soporte en Z 0.2 o 0.25
• Distancia del soporte en X e Y 0.75
I would go so far as to say that it will fit most machines. The configuration will allow us to remove the brackets in a simple way and leaving few marks on the final part.
Me animaría a decir que sirve para la mayoría de máquinas. La configuración nos permitirá retirar los soportes de forma sencilla y dejando pocas marcas en la pieza final.In Argentina as far as I know there are two brands of flexible, the Print a lot brand which is the most flexible and therefore more difficult to print (the one I used for these tests) and the SimpliFlex filament from Grilon 3 which I understand has less flexibility and is easier to use.
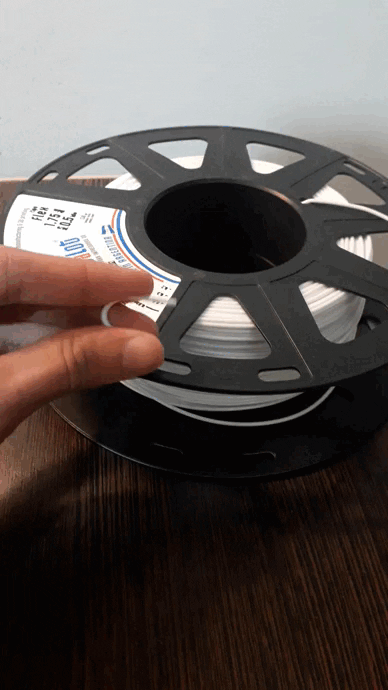
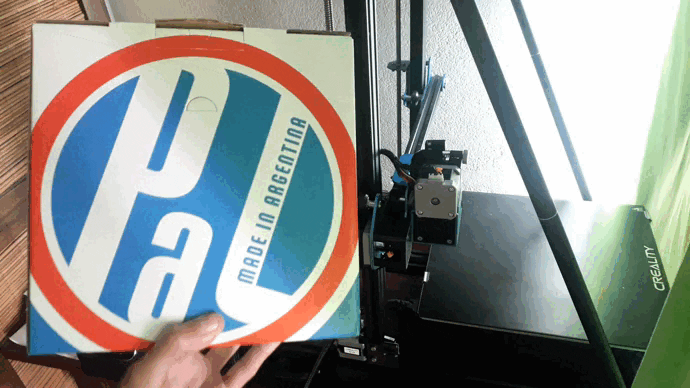
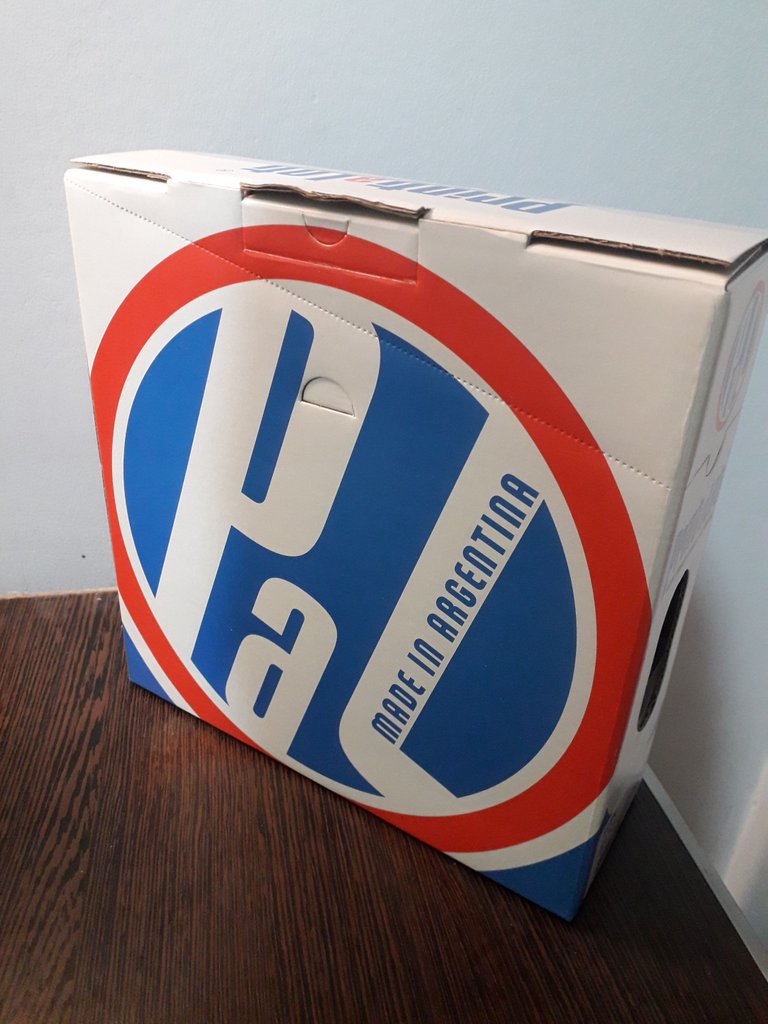
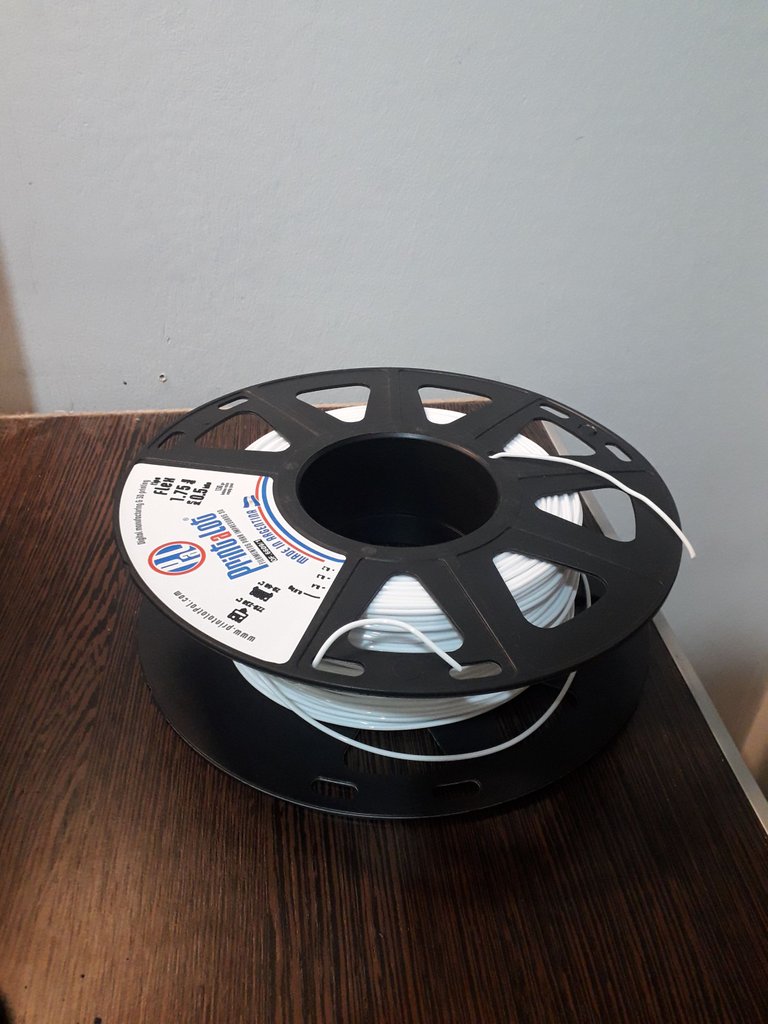
En Argentina que yo tenga conocimiento hay dos marcas de flexible, la de la marca Print a lot que es el más flexible y por ende más difícil de imprimir (La que yo use para estas pruebas) y el filamento SimpliFlex de Grilon 3 que tengo entendido que tiene menos flexibilidad y es más sencillo de usar.
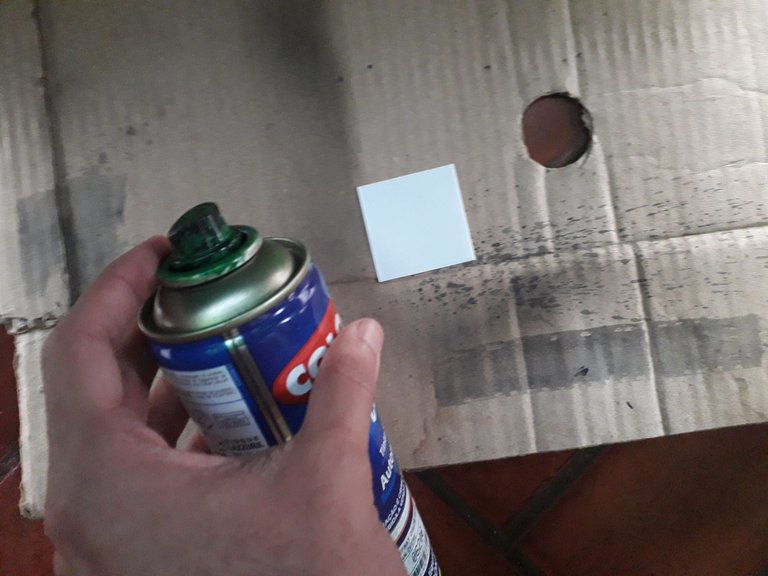
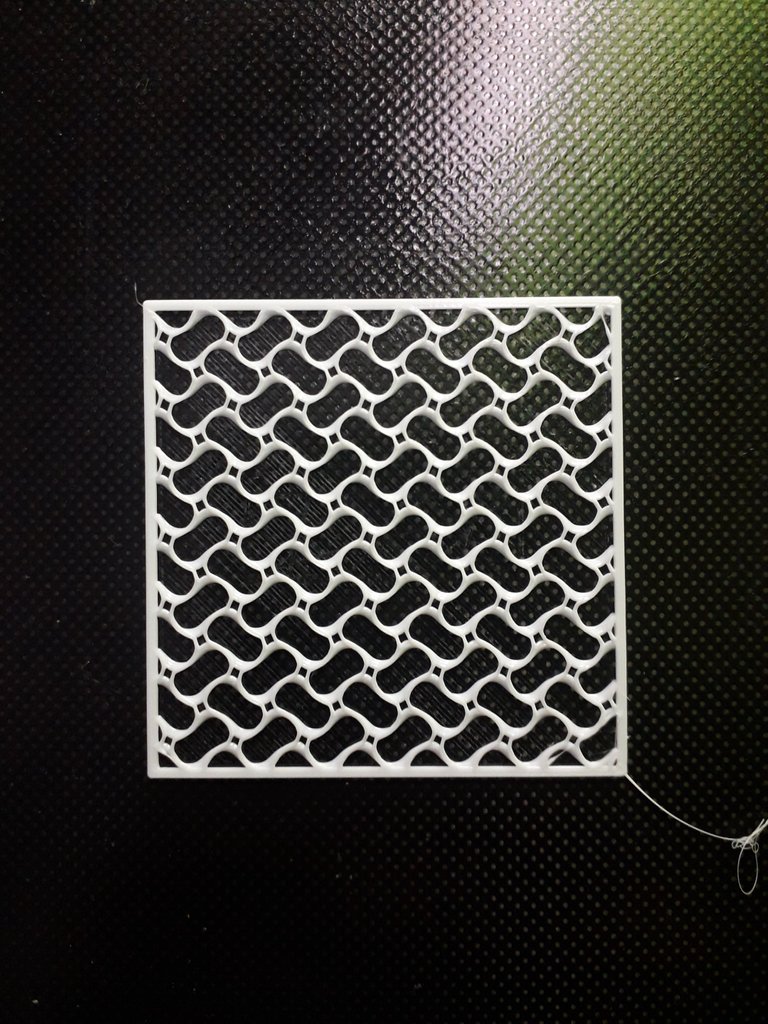
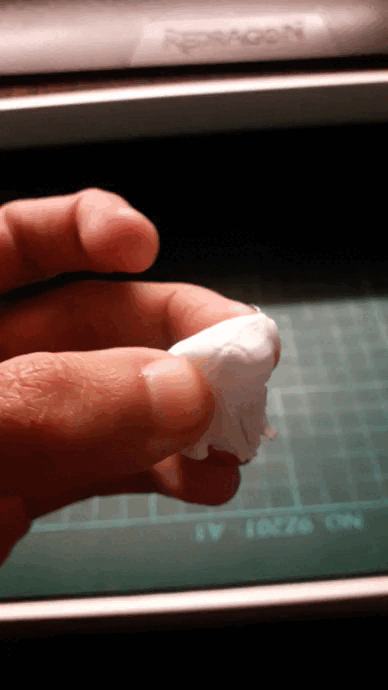
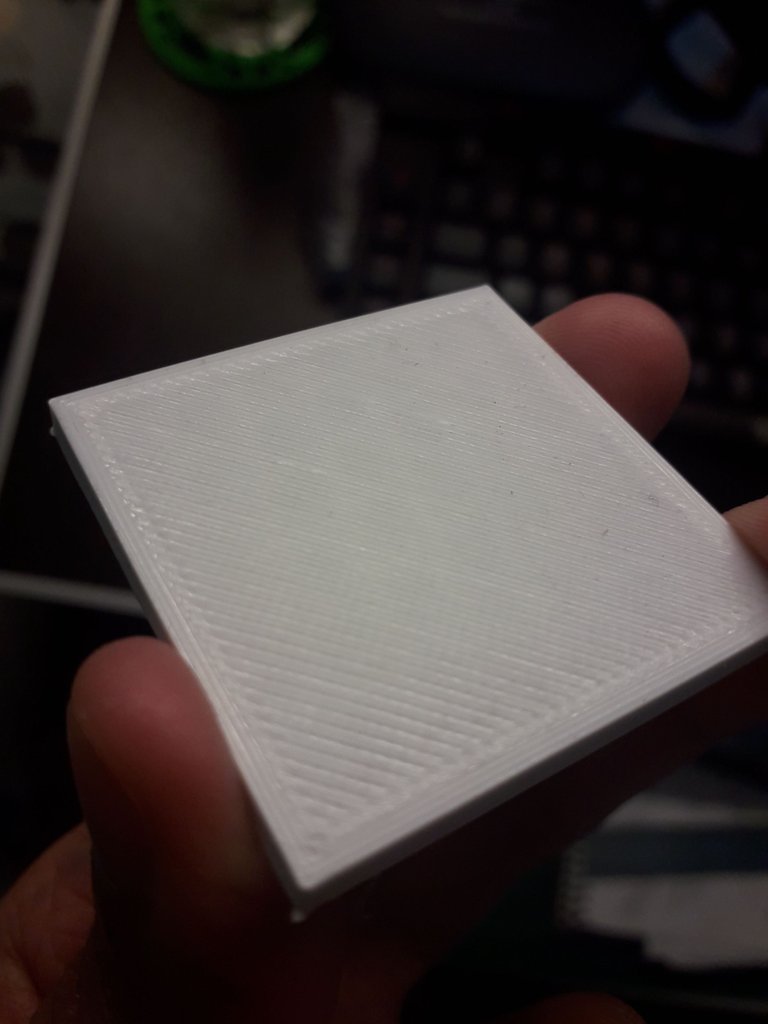
Con mi impresora hice varias pruebas pequeñas para probar configuraciones, flexibilidad, volúmenes y figuras laminares también probe pintar el TPU con aerosoles logrando un buen acabado, pero a la hora de pintarlo con acrílico la pintura se cuartea y se quiebra al secarse.
¿Qué te parecido mi explicación? ¿Pensas probar este material en tus impresoras? Yo tuve que imprimir y reemplazar una pieza mi CR10-V3 para imprimir de forma perfecta, tuve que leer muchos hilos de reddit y ver videos de youtube e intenté hacer una recopilación de las cosas más importantes que me ayudaron a lograr hacer piezas en flexible.
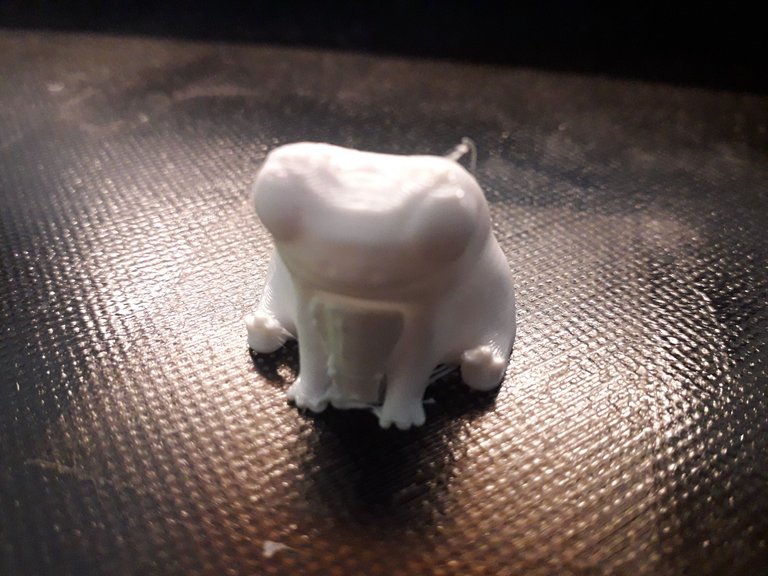
Se ven geniales esas piezas! Además en el mismo gif también se puede visualizar que tienen una buena flexibilidad. Por lo que veo, fue toda una nueva aventura aprender a utilizar éste nuevo material flexible. Te felicito!
!PGM
BUY AND STAKE THE PGM TO SEND A LOT OF TOKENS!
The tokens that the command sends are: 0.1 PGM-0.1 LVL-2.5 BUDS-0.01 MOTA-0.05 DEC-15 SBT-1 STARBITS-[0.00000001 BTC (SWAP.BTC) only if you have 2500 PGM in stake or more ]
5000 PGM IN STAKE = 2x rewards!
Discord
Support the curation account @ pgm-curator with a delegation 10 HP - 50 HP - 100 HP - 500 HP - 1000 HP
Get potential votes from @ pgm-curator by paying in PGM, here is a guide
I'm a bot, if you want a hand ask @ zottone444
Muchísimas gracias por tu comentario @bananasfallers. Fue todo un reto, varias horas de investigación, pruebas y errores pero todo valió la pena además hice este recopilatorio para intentar ahorrarle dolores de cabeza a otros usuarios que quieran intentarlo.
Hola amigo! Que buen emprendimiento tenes entre manos, me encanta! Yo estoy con el negocio de la sublimación y entiendo por completo todas las especificaciones técnicas que tuviste quedar, me pasa lo mismo sólo que no es tan complejo como la impresión 3D, he quedado fascinado, yo pensando que era algo tan fácil xdd
Que buen post loco, los gifs, las imágenes todo, excelente mi pana.
!PGM
BUY AND STAKE THE PGM TO SEND A LOT OF TOKENS!
The tokens that the command sends are: 0.1 PGM-0.1 LVL-2.5 BUDS-0.01 MOTA-0.05 DEC-15 SBT-1 STARBITS-[0.00000001 BTC (SWAP.BTC) only if you have 2500 PGM in stake or more ]
5000 PGM IN STAKE = 2x rewards!
Discord
Support the curation account @ pgm-curator with a delegation 10 HP - 50 HP - 100 HP - 500 HP - 1000 HP
Get potential votes from @ pgm-curator by paying in PGM, here is a guide
I'm a bot, if you want a hand ask @ zottone444
Muchísimas gracias @cryptoalvirin no sabia que en la sublimación también hay parámetros para configurar aunque tiene sentido. Igual como todo, una vez tenes practica y entandes lo haces cada vez mejor éxitos también con tu trabajo amigo.
Como siempre digo, "Todos los días se aprende algo nuevo", pensaba que era solo montar el modelo a imprimir y listo, mande para la impresora 3D, que genial es leer y ver tus post cada vez le agarro más amor a tener una impresora 3D (jajajajaja) aunque no sea mi área, pero está muy interesante.
Un fuerte abrazo.
A ahorrar amigo y a investigar para empezar, espero el día donde vea una reseña sobre tu nueva maquina jajaja
Claro, eso va luego de tener la PC que quiero armar, ten por seguro que te mencionaré en mi post
Interesting topic. By the way, to make your post more classy, consider adding more sources between the lines, so one can check the materials and components you use. I don't know much about 3D printing :)
Dale muchas lo voy a tener en cuenta. Espero poder leer tus comentarios en próximos posteos