Tutorial how to change charging port on alcatel 5041a / Tutorial cambio puerto de carga en alcatel 5
| content sources | ||
|---|---|---|
| - Translation of the text: | https://www.deepl.com | |
| - Separator taken from: | Here | |
| - Photo and video: | Picsart pro. YouCut. Samsung Galaxy j6 plus. | |
| - Source and authorship of the content: | @josuerr29 | |
| - Video intro made by @josuerr29: | YouCut app. | |
| - Music of the video Without copyright: | soundcloud | |
| Logo 1 | Design by https://studio.3espeak.tv | |
| Logo 2 | Design by https://hive.blog | |
| Logo 3 | Design of the geek zone meal | |
| Equipment used for video example | alcatel 5041a | |
| Recording equipment | Samsung j6 + | |
| Setup for recording | Tripod for can-i820 cameras |
Hello dear friends of geek zone how are you? I'm josuerr29 I hope everyone is very well I hope everyone is enjoying this beautiful community.
This time I want to bring you a tutorial for the repair of the charging port for an alcatel that I brought previously the tutorial of the disarmament if you want to see the tutorial of how to disarm here I'll leave the video for you to see link
This equipment has come to my workshop for the reason that the customer brought it because not charging just seemed that the customer had grabbed it and to introduce the charger I treat it very badly, then fractured the entire internal part of the charging port when reviewed from inside the internal tracks that you could grab the charger were broken and had no repair, only had change.
For each repair should be done with tranquility, a visual inspection, What was the one I did to make this repair once the disarmament is done we will proceed to change the charging pin.
First we have to take out our charging pin and take it to the store where we will buy it to be able to show them which model of charging pin is the one we need, if we go with only the equipment perhaps the sellers do not know which charging pin.
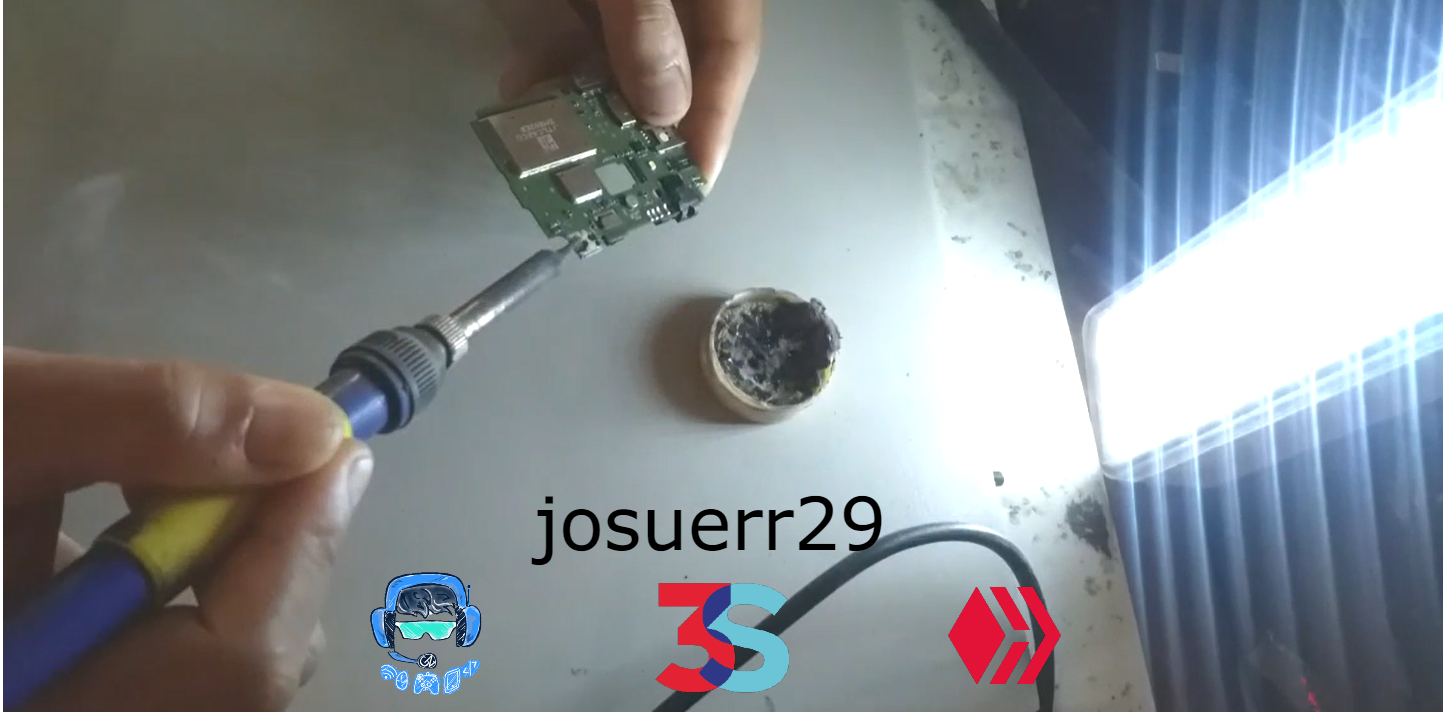
To be able to change this charging pin and others, you need the heat station It is a tool to change the charging pins very easy, just this time I did not use it because I had already manipulated the charging port of this team with this station and looked deteriorated, If I did it again could strongly damage the board of the team as this tool throws a lot of hot air So I used a softer tool that was the cautín. This takes skill, patience and finesse.
After buying the new replacement we have to consider the tools we will need I will leave it below:
We will need flux paste for soldering tin, and also tin paste, and we will need soldering iron, and tweezers.
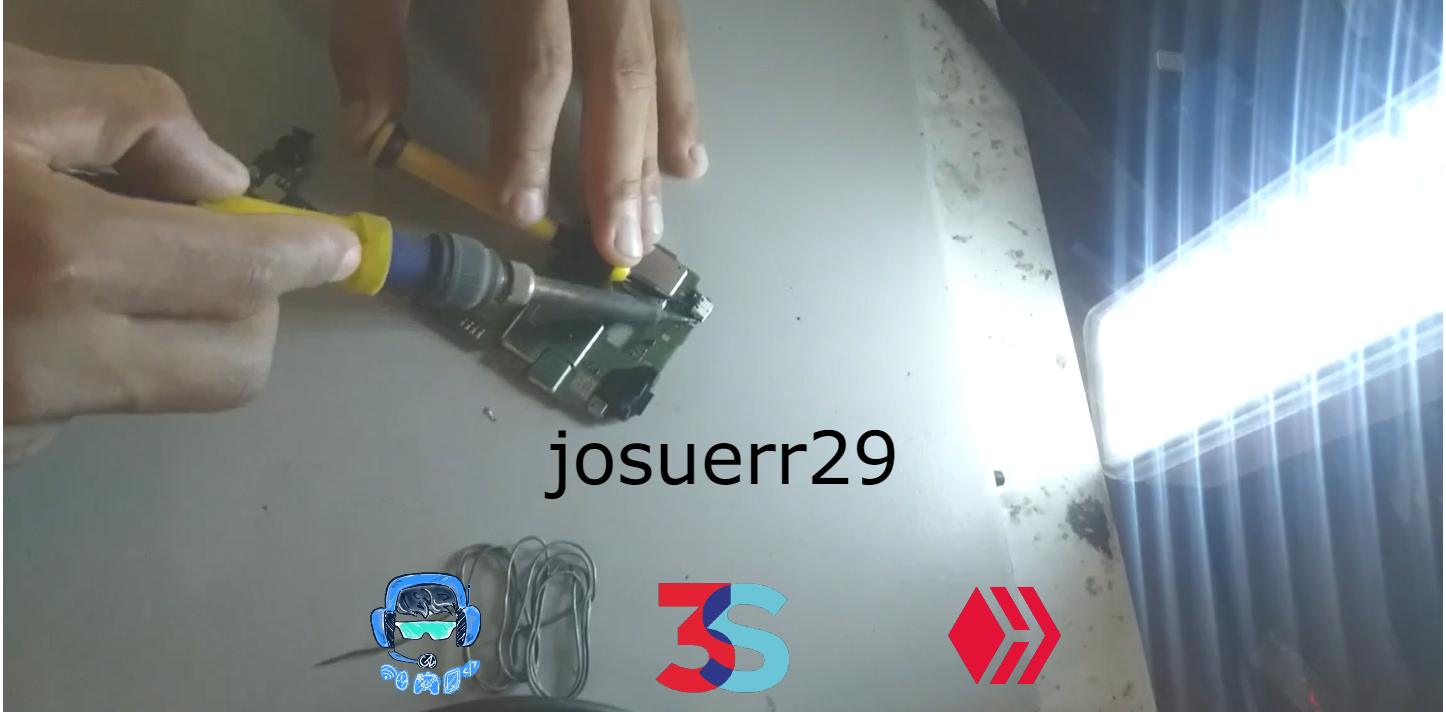
Once we have the tools in hand we will proceed to perform all the actions first we have to put flux to the entire charge pin front and back and then rub a little with the soldering iron in all parts where it is soldered this will make the old cold hard solder to resolve again and will make it come to life again and be more movable.
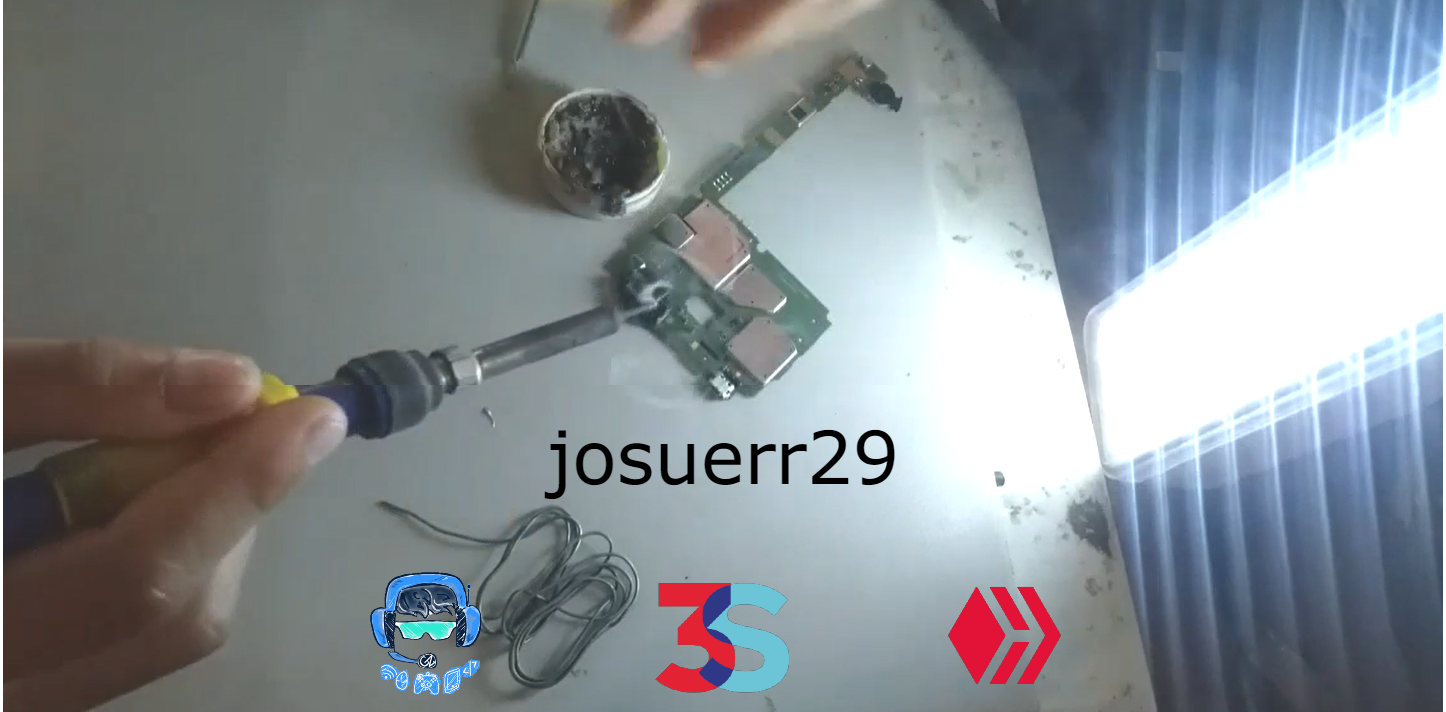
After this we have to place a kind of lever I used a paddle screwdriver between the charging port and the board and make a kind of gentle force outwards not with too much pressure because we could damage the equipment and with the soldering iron just place it right on the solder legs that are on the board when you are doing the kind of lever he will just pop out that side.
Then we would have to do the same kind of leverage on the other side of the charge port it will not come out all at once but we would have to go back again to the initial side and there again more leverage will gradually come out one side and the other as this charge pin is no longer useful we can place the soldering iron on the tracks of the charge port.
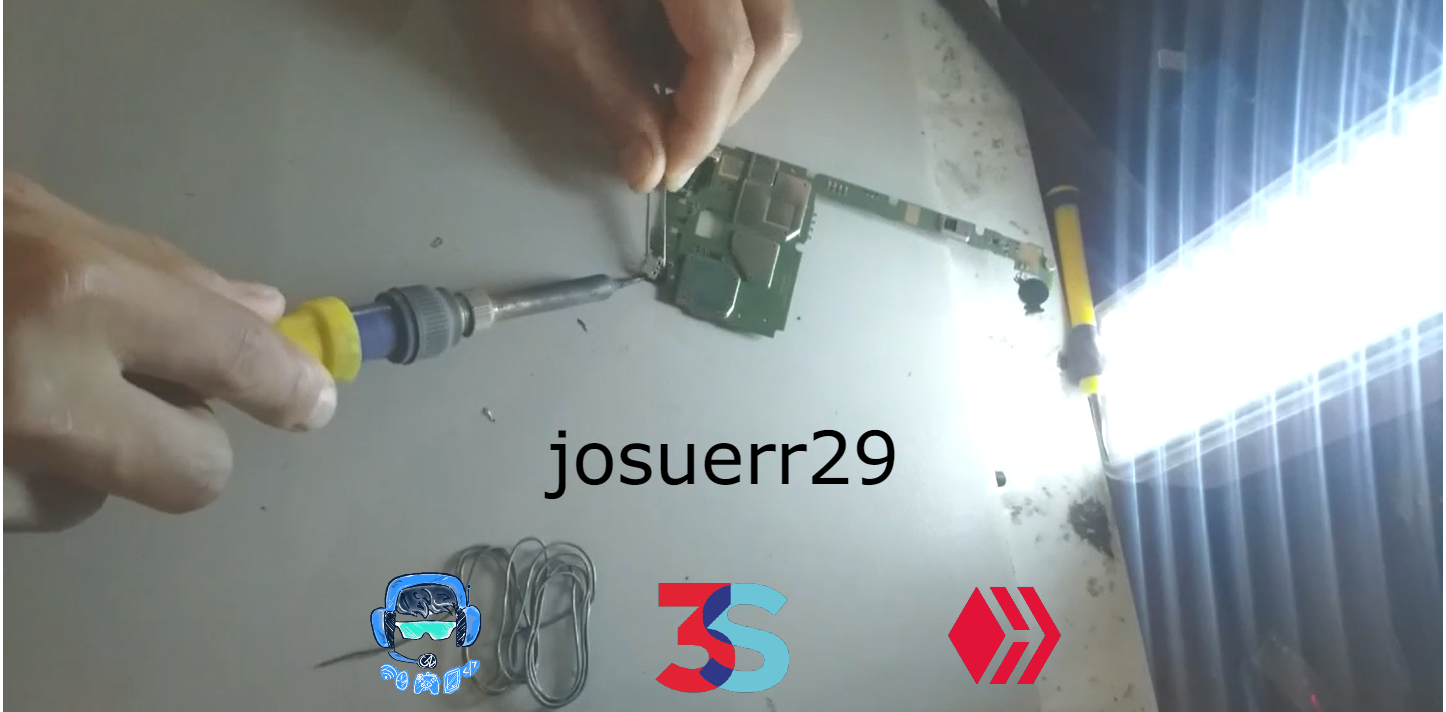
Then we will notice that the charging pin will come out smoothly and by itself.
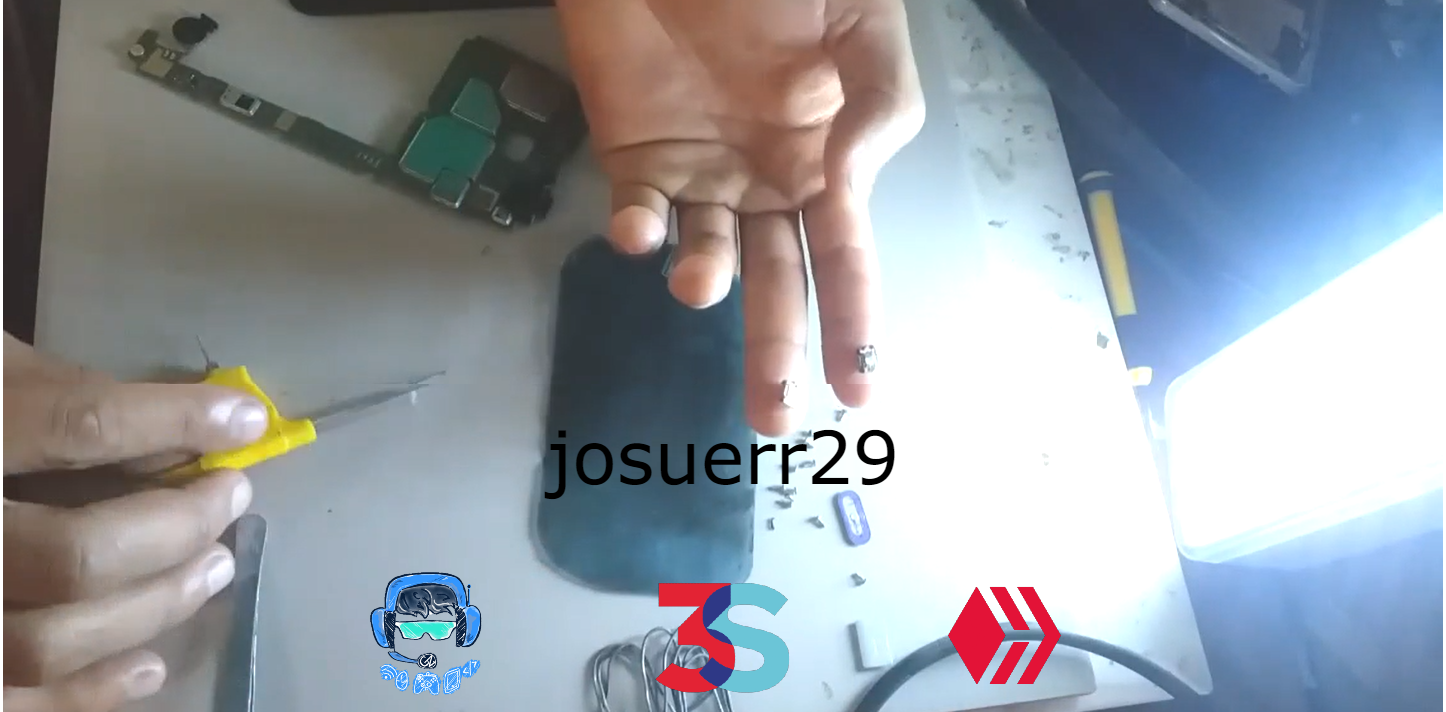
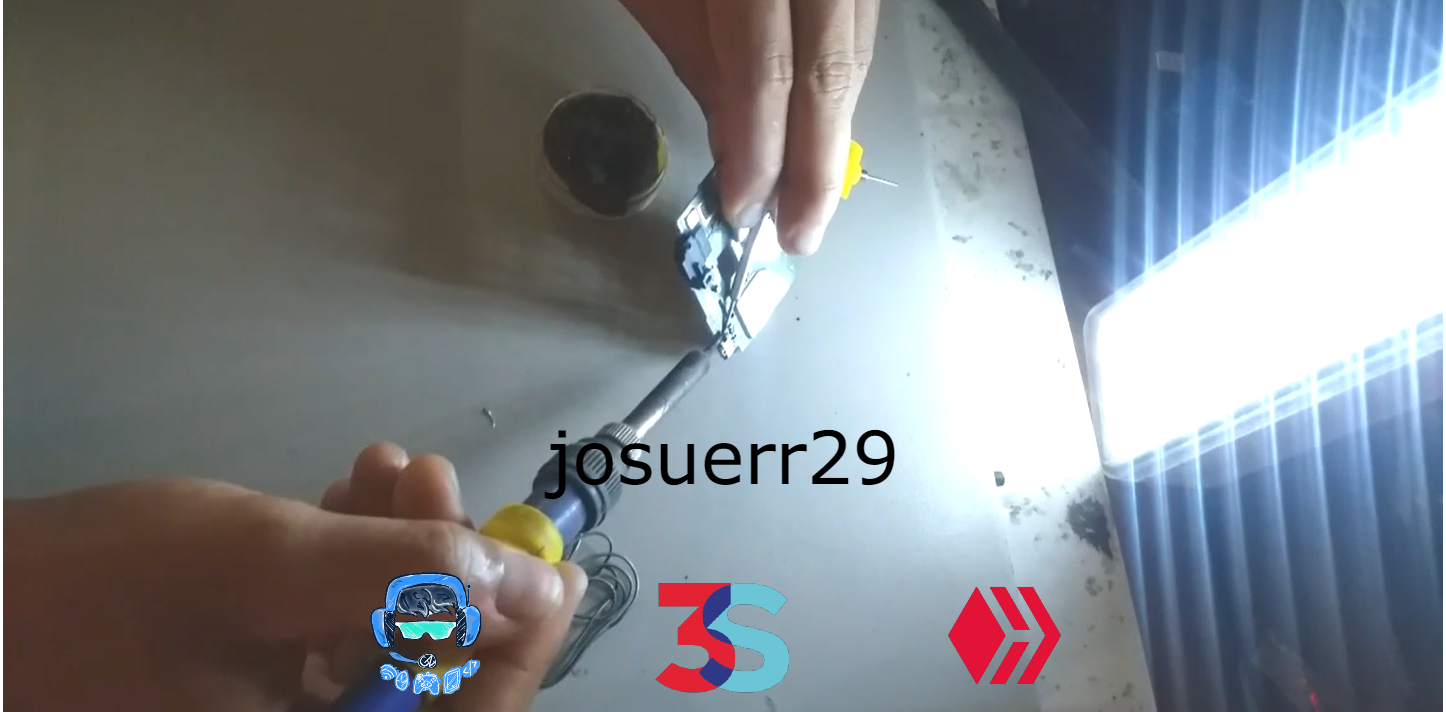
We clean the base where we will place the new port.
.png)
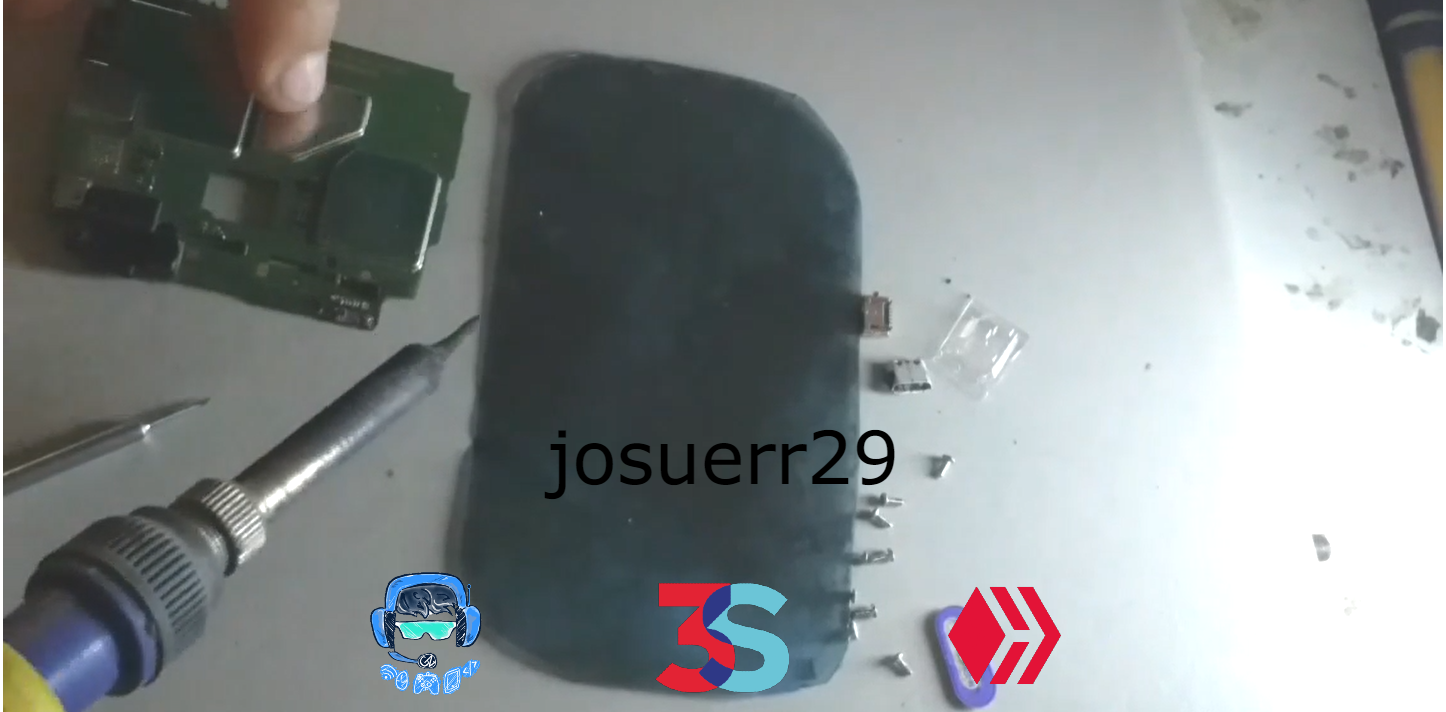
We will adjust all the port and we will clean so that it is better adjusted to the board.

Then with the new charge port placed in the space where it goes just place the soldering iron on each pin and it will go down and solder by itself.
Thanks for watching the video
Hola queridos amigos de geek zone ¿qué tal cómo están? Soy josuerr29 espero todos estén muy bien espero todos estén disfrutando de esta bella comunidad.
En esta ocasión les quiero traer un tutorial para la reparación del puerto de carga para un alcatel que ya traje con anterioridad el tutorial del desarme si quieres ver el tutorial de cómo se desarma por acá te voy a dejar el del vídeo para que lo veas link
Este equipo ha llegado a mi taller por la razón de que el cliente lo trajo porque no cargaba simplemente parecía que el cliente lo había agarrado y para introducir el cargador lo trato muy mal, entonces fracturó toda la parte interna de el puerto de carga cuando los revisó desde adentro las pistas internas que podías agarrar el cargador estaban rotas y no tenía reparación, solo tenía cambio.
Para cada reparación se debe realizar con tranquilidad, una inspección visual, Qué fue la que realice para poder hacer esta reparación una vez hecho el desarme procederemos a cambiar el pin de carga.
Primero tenemos que sacar nuestro pin de carga y llevárnoslo hasta la tienda donde lo compraremos para poder enseñarles Qué modelo de Pin de carga es el que necesitamos, si nos vamos con solamente el equipo quizás los vendedores no sepan que pin de carga.
Para poder cambiar este pin de carga y otros, se necesita la estación de calor Es una herramienta para cambiar los Pines de carga muy fácil, simplemente en esta ocasión no la utilice porque ya había manipulado el puerto de carga de este equipo con esta estación y se veía deteriorado, Sí yo lo volvía hacer podía dañar fuertemente la placa del equipo ya que esta herramienta echa mucho aire caliente Así que utilice una herramienta más suave que fue el cautín. Para esto se necesita destreza paciencia y delicadeza.
Luego de comprar El reemplazo nuevo Tenemos que tener en cuenta las herramientas que necesitaremos te la dejaré a continuación:
Necesitaremos pasta flux para soldar estaño, y también estaño en pasta, y necesitaremos cautín, y unas pinzas.
Una vez con las herramientas en mano procederemos a realizar todas las acciones primero tenemos que colocarle flux a todo el pin de carga por delante y por detrás Y luego frotar un poco con el cautín en todas las partes donde esté soldado esto hará que el estaño duro frío y viejo vuelva a resolver y hará que agarre otra vez vida y sea más movible.
Luego de esto tenemos que colocar una especie de palanca yo utilice un destornillador de paleta entre el puerto de carga y la placa y hacer una especie de fuerza suave hacia afuera no con mucha presión Porque podríamos dañar el equipo y con el cautín solamente colocarlo justo en las patas de soldadura que están en la placa cuando tú estás haciendo la especie de palanca él solo saldrá hacia fuera de ese lado.
Luego tendríamos que hacer la misma especie de palanca del otro lado del puerto de carga no saldrá de una vez sino que tendríamos que devolvernos de nuevo a la lado inicial y allí volver a ser más palanca poco a poco irá saliendo de un lado y del otro como este pin de carga ya no sirve podemos colocar el cautín en las pistas del puerto de carga.
Luego nos daremos cuenta que el pin de carga saldrá con suavidad y solo.
Limpiamos la base donde colocaremos el nuevo puerto.
Ajustaremos todo el puerto y limpiaremos para que quede mejor ajustado a la placa.
Luego con el puerto de carga nuevo colocado en el espacioso donde va solo colocaremos el cautin en cada pin y el bajara y soldara solo
Gracias por ver el vídeo
| fuentes del contenido | |
|---|---|
| - Traducción del texto: | https://www.deepl.com |
| - Separador tomado de: | Aqui |
| - Foto y video: | Picsart pro. YouCut. Samsung Galaxy j6 plus. |
| - Fuente y autoría del contenido: | @josuerr29 |
| - Intro del video realizada por @josuerr29: | app YouCut. |
| - Musica del video Sin derecho de autor: | soundcloud |
| Logo 1 | Diseño de https://studio.3espeak.tv |
| logo 2 | Diseño de https://hive.blog |
| Logo 3 | Diseño de la cominida de geek zone |
| Equipo usado para el ejemplo del vídeo | alcatel 5041a |
| Equipo de grabacion | Samsung j6 + |
| Setup de grabacion | Tripode para camaras can-i820 |


▶️ 3Speak
hay veces que con la estación de calor no se puede retirar los pines de carga porque se puede dañar la placa y toca hacerlo con el cautin, en esos casos me gusta llenar todo el pin de carga con estaño para que se caliente mas rapido
aunque depende de donde este ubicado el pin, si tiene muchos componentes muy serca no lo hago para evitar el riesgo de que el estaño se derrame y haga un desastre de estaño en la placa
Que fino hermano en esta ocacion no lo hice con estacion por que ya lo habian manipulado mal con la estacion. Y si lo hacia yo de nuevo podia dañar la placa
claro, hay que estar pendiente de estas cosas
Hola @josuerr29 , parece mentira , pero creo que una de las cosa que mas se sustituyen en los celulares sean los puestos de carga, no se si por sucio, mal uso, o ambos, en el caso de los puestos micro USB suelen ser mas propensos a dañarse o esa es mi impresión, pero lo no creí nuca ver, lo vi con el teléfono que tiene mi madre que fue una herencia, redmi Note 7, hubo que sustituirle el puerto de carga siendo tipo C, claro ese teléfono sufrió unas caídas y otros incidentes y eso movió el puerto y tras uso se desprendió, así que toco hacerla sustitución al puesto , además de al táctil y la pantalla.
Okey si entiendo lo que dices pero para que lo sepas la menera en la que lo mostre yo, no es la correcta, ya que se hace con estacion de carlor y es mas facil solo que en esta ocacion ya estaba maltartado mucho el equipo y tenia que usar esta tecnica. 👍
Es que a eso justamente me refiero el maltrato a los equipos en esta parte de los equipos con el tiempo hace que se deban reemplazar, saludos