iphone 7 plus battery replacement tutorial / Tutorial cambio de batería iphone 7 plus
English
Hello to all friends of week zone how are you How are you doing I am Josuérr29 I hope everyone is very very well all have had a great time all this time.
I want to share with you a good content collected from my workshop, I have brought them to you before. But this time it is about repairing a different device than the android ones, it is the repair of an iPhone 7 Plus.
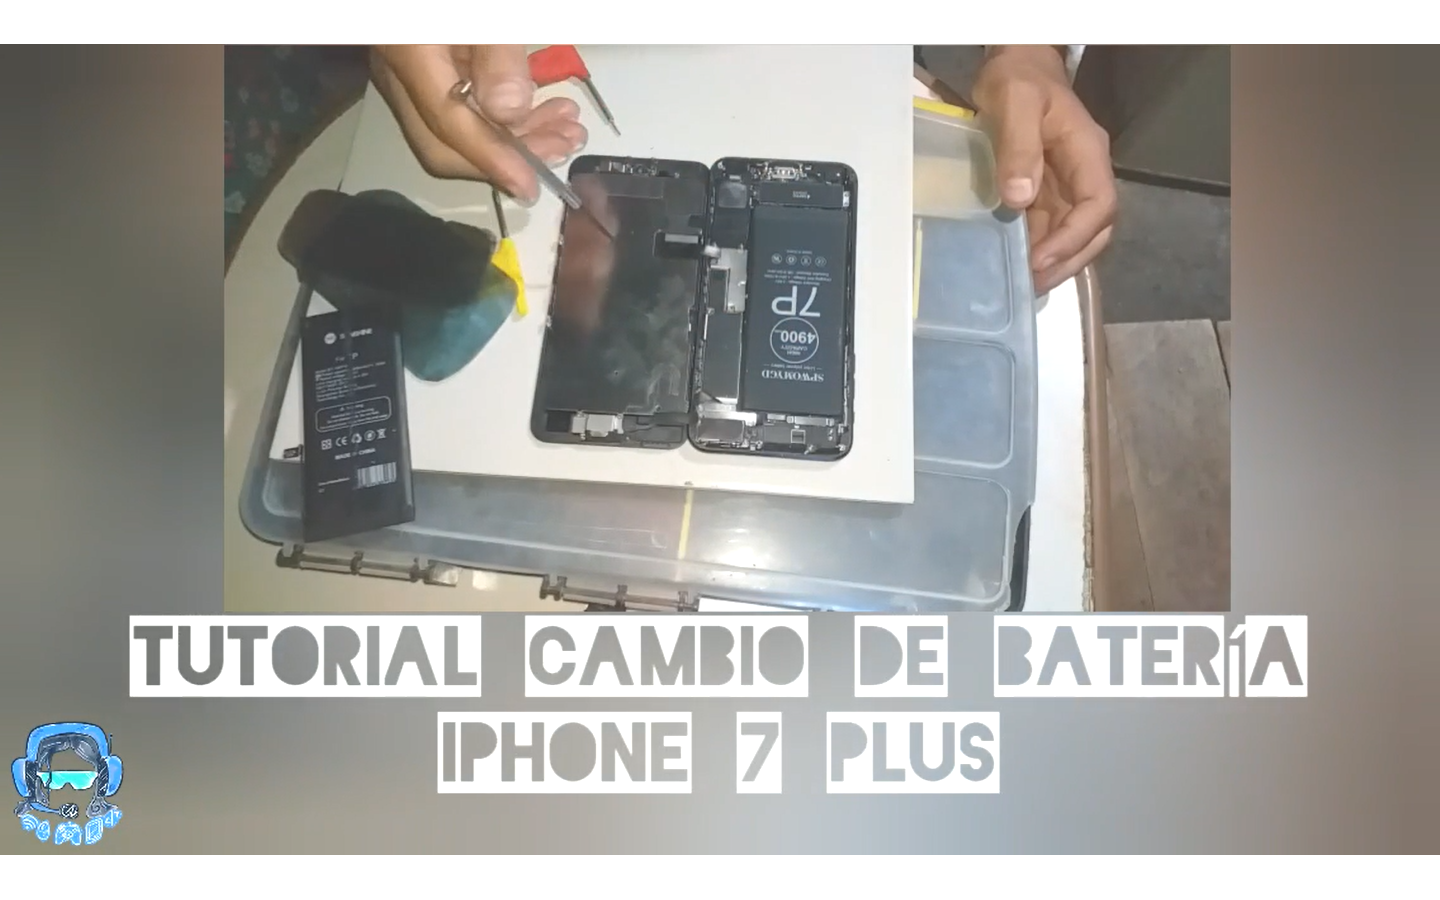
This equipment was given to a technician some time ago to put the battery, but when he did this action he did not put the original and therefore the battery was inflated a lot, this resulted in bulging the screen of the equipment out, the sprout and thank goodness the screen came out because if it had not come out it would have split. So that made my job a little easier, however I put the screen back where it was so you can see how this equipment is completely uncovered.
Process
So the official job was to take it completely apart, remove the battery, put the new one in and put the cover back on and I will show you in the video step by step how to do this.
For this we will need some unusual tools for iphone, from a number 2 and 3 screwdrivers that are very thin and we will need star, fluted and paddle this would be to remove the screws that are on the sides of the charging pin, and also to remove the protective plate of the battery Flex. We would also need a few pieces of x-ray plates and additionally also a screen sucker, I will be using alcohol as well.
.jpg)
With the equipment slightly heated in the part of the screen we will introduce the x-ray plate in alcohol and then we will put it in the part of the bezel of the screen of the equipment, the alcohol will make the glue will be diluted and it would be much easier to lift the screen and to be able to separate it from the equipment to be able to work better.
.jpg)
When we have lifted a little screen will not be much trouble, with the Phillips screwdriver we have to go removing each screw that has the battery flex protector, this must be done first to avoid breaking the Flex of the battery.

After this with great care we will introduce the x-ray plate under the battery since it has a glue, introducing this plate we will dilute the glue and the battery will come out smoothly.
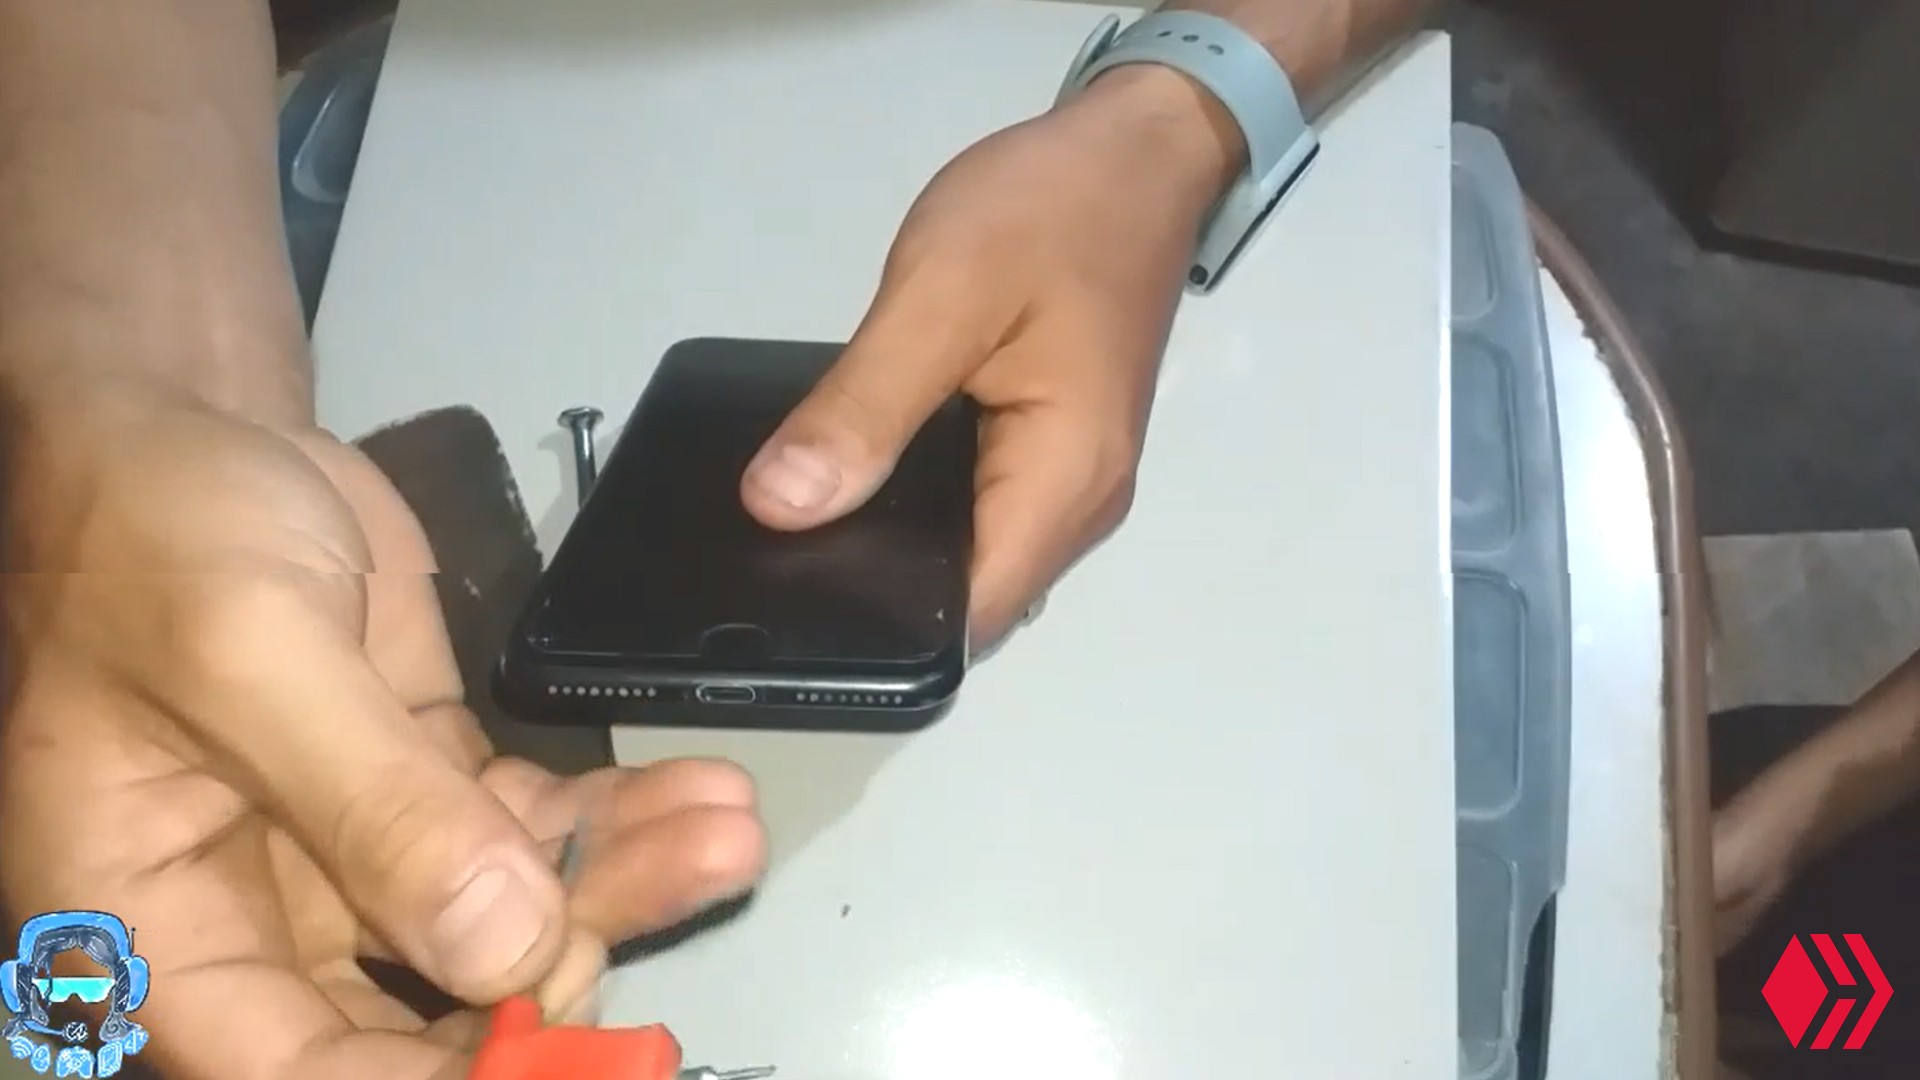
After having finished this process we will simply place the new battery then we will place the protector of the battery Flex and then we will place all the Flex again in the screen so that everything is perfect and we will close the screen. The phone will be as good as new.
It should be noted that this process must be done with an original battery because the phone if you put a copy battery would not detect it.
.png)
Español
Hola a todos amigos de week zone cómo están Cómo les va soy Josuérr29 espero todos estén muy pero muy bien todos la hayan pasado muy bien todo este tiempo.
Quiero compartir con ustedes un buen contenido recolectado de mi taller, se los he traído con anterioridad Pero esta vez está cerca de la reparación de un equipo diferente a los android, es la reparación de un iPhone 7 Plus.
Este equipo se lo dieron a un técnico hace tiempo para que le pusiera la batería, pero cuando realizó esta acción no le colocó la original y Por ende la batería se inflo mucho, esto tuvo como consecuencia que abombara la pantalla del equipo hacia fuera, la broto y menos mal salió la pantalla porque si no hubiera salido la hubiera partido. Entonces eso me facilito un poco de trabajo sin embargo yo volví a colocar la pantalla Dónde estaba para que ustedes vean como se destapa este equipo por completo.
Proceso
Entonces el trabajo oficial era desarmarlo por completo sacarle la batería ponerle la nueva y volverlo a tapar y les enseñaré en el vídeo paso a paso cómo se realiza esto.
Para esto necesitaremos unas herramientas poco comunes para iphone, desde unos destornilladores número 2 y 3 que son muy finitos y necesitaremos de estrella, de estría y de paleta esto sería para sacar los tornillos que están en los laterales del pin de carga, y además para sacar la placa protectora del Flex de la batería. También necesitaríamos unos pedazos de placas de rayos x y adicionalmente también un chupón de pantalla, Yo también utilizaré alcohol.
Con el equipo levemente calentado en la parte de la pantalla introduciremos la placa de rayos x en alcohol y luego la meteremos en la parte del bisel de la pantalla del equipo, el alcohol hará que la pega se vaya diluyendo y sería muchísimo más fácil levantar la pantalla y poder separarla del equipo para poder trabajar mejor.
Cuando hallamos levanto un poco la pantalla no será mucho problema, con el destornillador de estrella tenemos que ir sacando cada tornillo que tiene el protector del Flex de batería, esto hay que hacerlo primero para no romper el Flex de la batería.
Luego de esto con mucho cuidado introduciremos la placa de rayos x debajo de la batería ya que está tiene una pega, introduciendo está placa diluiremos la pega y la batería saldrá suavemente.
Después de haber terminado este proceso simplemente colocaremos la batería nueva luego colocaremos el protector del Flex de batería y luego colocaremos todos los Flex de nuevo en la pantalla para que quede todo perfecto y cerraremos la pantalla. El teléfono quedará como nuevo.
Cabe destacar que este proceso Hay que hacerlo con una batería original ya que el teléfono si le colocas una batería copia no la detectaría
fuentes del contenido
Traducción deepl
gift:
Logo facebook
logo instagram
Logo hive
Logo week zone
musica sin derechos de autor soundcloud
Separador hecho en pixlr
Ganar algunios pequeños tokens por buscar en google. Registrare aqui
presearch
 Instagram
.png)

▶️ 3Speak
Todo un proceso , hay que tener mucha práctica, creo que con celular viejito se podría comenzar para ir agarrando el hilo jeje saludos!
Exactamente con eso fue que aprendi hermano con celulares viejitos jejejej... u de verdad que tiene que ser con mucha practica 🙂
Excelente bro, a mi me da mucho miedo meterme con esos telefonos, son tan misticos jaja, tambien me dio intriga ver al niño y los tornillos tan pequeños y tan cerca de el jaja.
Al parecer te da anciendad ver esas cosas con mucho cuidado que dan miedo de que se parta. Pero cuando tu le agarras el ritmo todo estara muy tranquilo y podras
Esto es todo un proceso realmente, tengo varios amigos que trabajan con esto, el video me hizo a la misma vez recordar a mi hermano . El también hace estas cosas y es todo un proceso realmente. : )
Si hermano asi es exactamente todo es demaciado meticuloso y con mucho cuidado pero si se puede solo hay que tener pasiciencia
más fácil de lo que pensaba, pero quiero ver si lo puedo hacer con mi Xiaomi, así que esperaré ese tutorial jaja, buen contenido bro.
La diferencia del Swami con el iPhone Es que la pantalla del xiaomi es menos resistente sin embargo con la paciencia y delicadeza lo puedes hacer
ah weno, cuando toque lo haré, echando a perder también se aprende jaja.
Interesante! Con los iPhone esto siempre ha sido un proceso engorroso, pero vale la pena.
Si hermano, es que es bien complicado y delicado pero como lo puedes ver lo hice muy rapido. Asi que te recomiendo que lo hagas
excelente publicación amigo muy bien explicada, es bastante complicado reparar un dispositivo movil pero lo realizaste bastante bien excelente publicación😁👍
Gracias hermano por tu comentario y por responder. Y la verdad si es algo bien dificil pero pronto es facil
genial muy practico para los que están comenzando es difícil pero con practica se puede.
Si hermano lo unico que requieres es pasciencia lo demas que necesitas es sentido comun jejeje
jejee soy mujer pero gracias por el consejo.
Literalmente tenía ese celular hace un par de meses. No pude contener mi curiosidad para ver cómo se veía por detras de la pantalla.
Buen tuto mi bro!
Ese es un muy buen telefo o hermano.. es demaciado calidad que bueno que lo tuviste espero lo ayas disfrutado 👍
Repairing stuff like that looks fascinating to me. Although I am always scared opening up an Iphone, what if I actually damage it more than I should😂. I keep procrastinating getting the tools that I need for phone repairing maybe this is the time I should do that.
well actually when you know the inside of the equipment, it is very difficult to damage it, since it is as if you were unclogging any pot, however for this equipment you need a bit of patience and delicacy.