j320 screen disassembly tutorial / Tutorial desensamble de pantalla j320
| content sources | ||
|---|---|---|
| - Translation of the text: | https://www.deepl.com | |
| - Separator taken from: | Here | |
| - Photo and video: | Picsart pro. YouCut. Samsung Galaxy j6 plus. | |
| - Source and authorship of the content: | @josuerr29 | |
| - Video intro made by @josuerr29: | YouCut app. | |
| - Music of the video Without copyright: | soundcloud | |
| Logo 1 | Design by https://studio.3espeak.tv | |
| Logo 2 | Design by https://hive.blog | |
| Logo 3 | Design of the geek zone meal | |
| Equipment used for video example | Samsung j320 | |
| Recording equipment | Samsung j6 + | |
| Setup for recording | Tripod for can-i820 cameras |
English
Hello friends What's up, It's me again, a warm greeting to all A big hug I hope you all are very well and very happy.
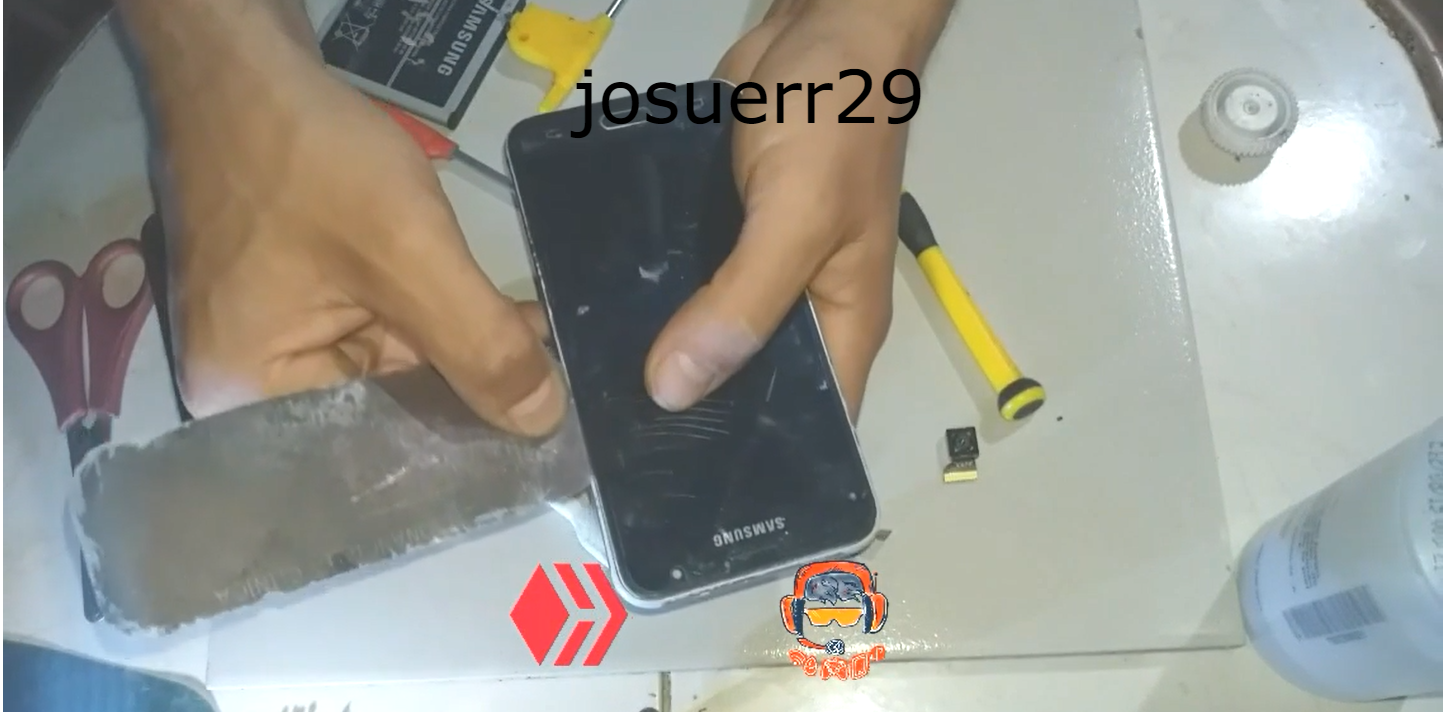
In this opportunity I want to tell you something that has happened to me before starting with the whole topic in general, and it is that to my workshop has arrived a Samsung J320 with a problem in the screen and also in the board are two things to repair.
This damage happened because the customer simply what he had done was to run after the boy who dropped the phone and when he catches the phone and falls on the phone, the screen was broken and the phone turned on and then for a few seconds while handling it turned off and did not turn on again so you could say that this phone was dead flat.
So I got phone as dead and proceed with the disassembly How we need to disassemble the phone completely, So let's take out the screws the screen the battery and all the tools we need are as follows.
A Phillips screwdriver a slotted screwdriver a paddle screwdriver a number 5 iron slotted screwdriver two x-ray plates isopropyl alcohol.
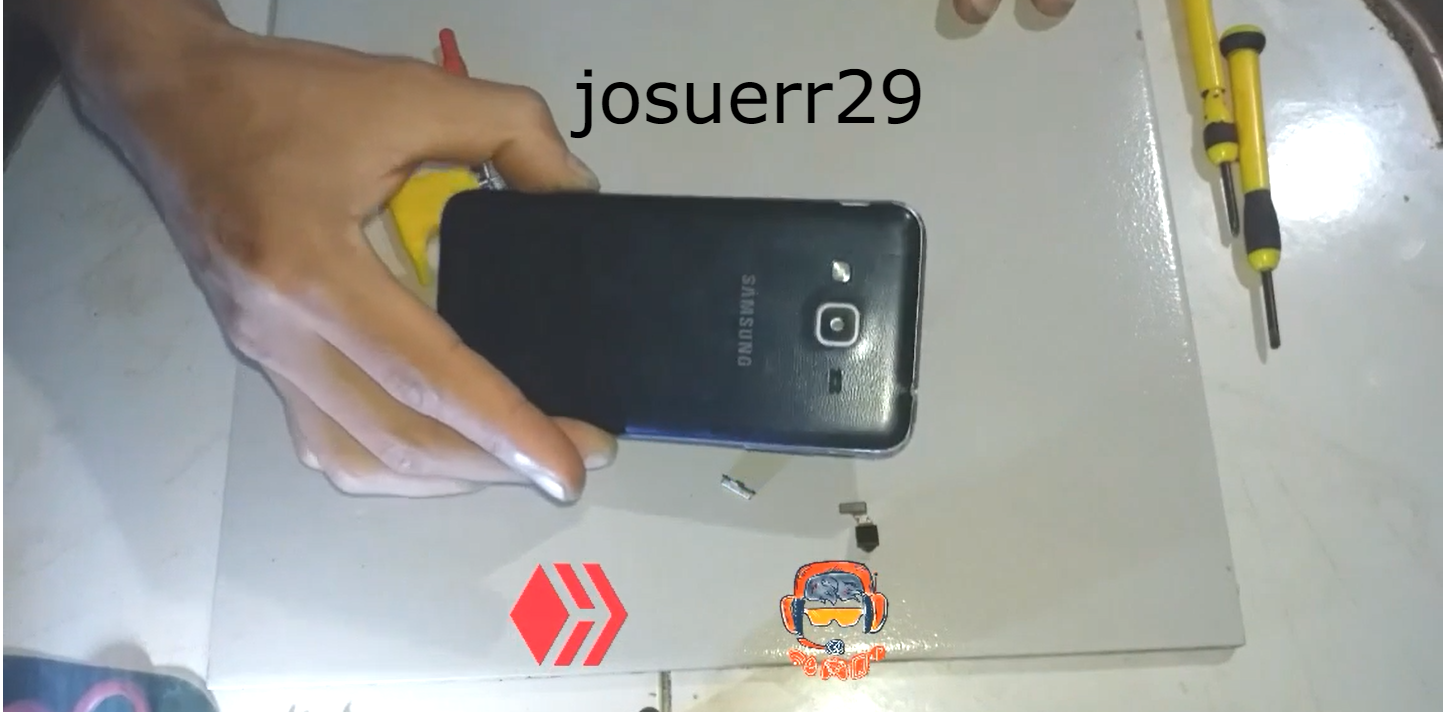
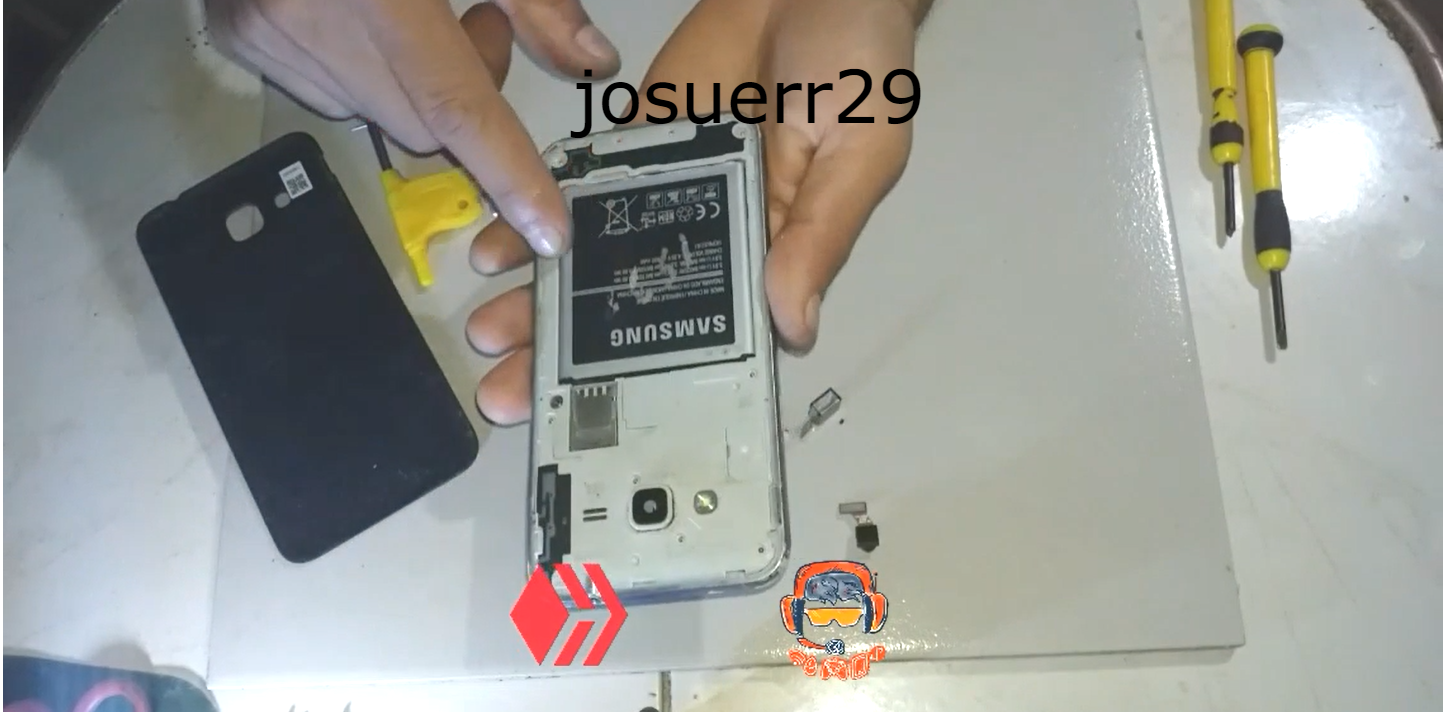
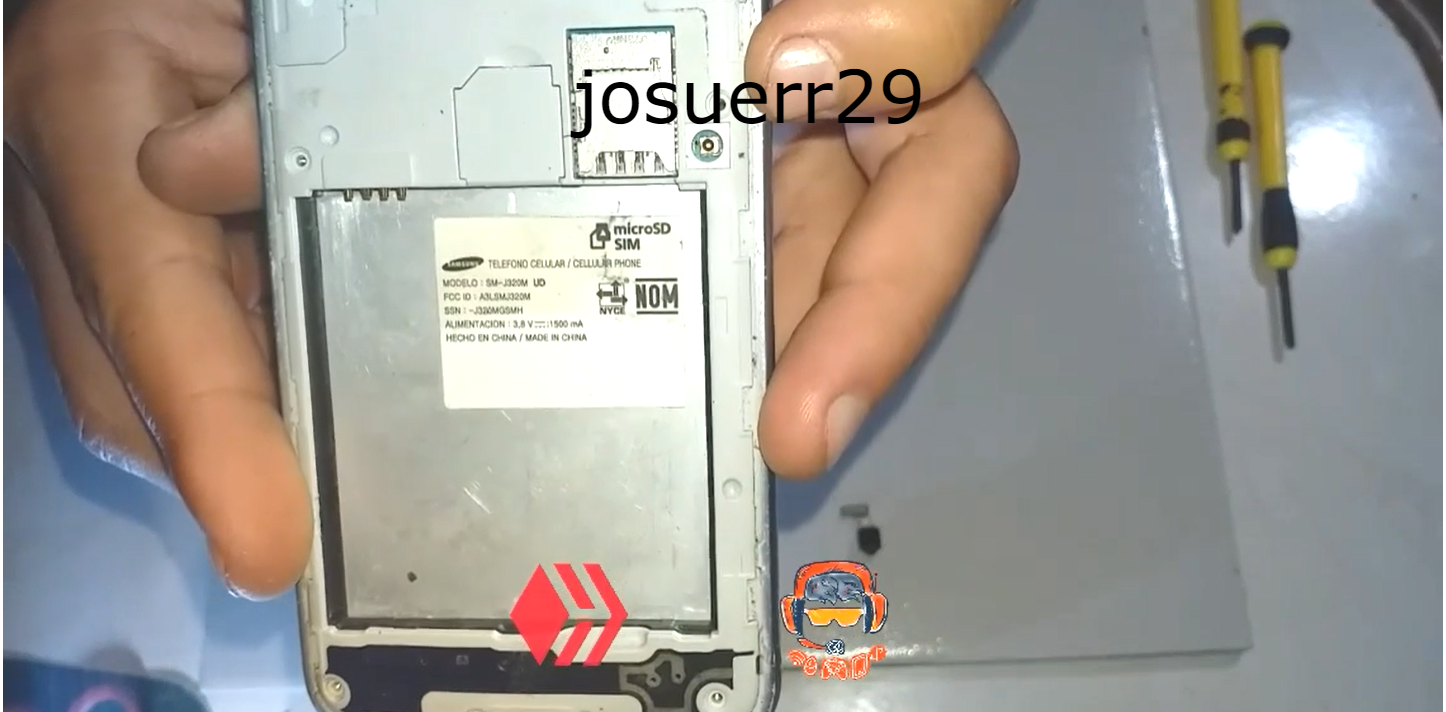
Here the only thing we need is to remove the back cover of the equipment and remove the battery, in the video I showed you the exact model of the equipment so that you can see it is a j320.
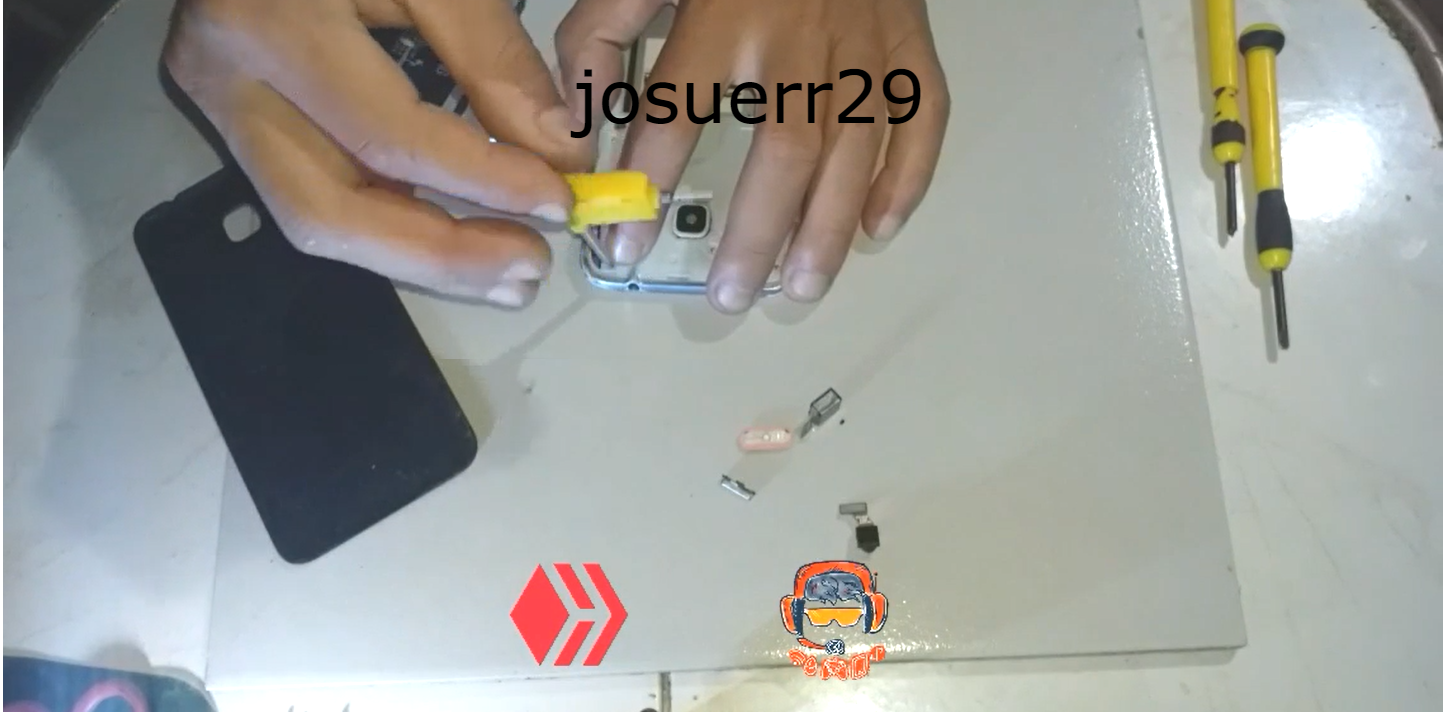
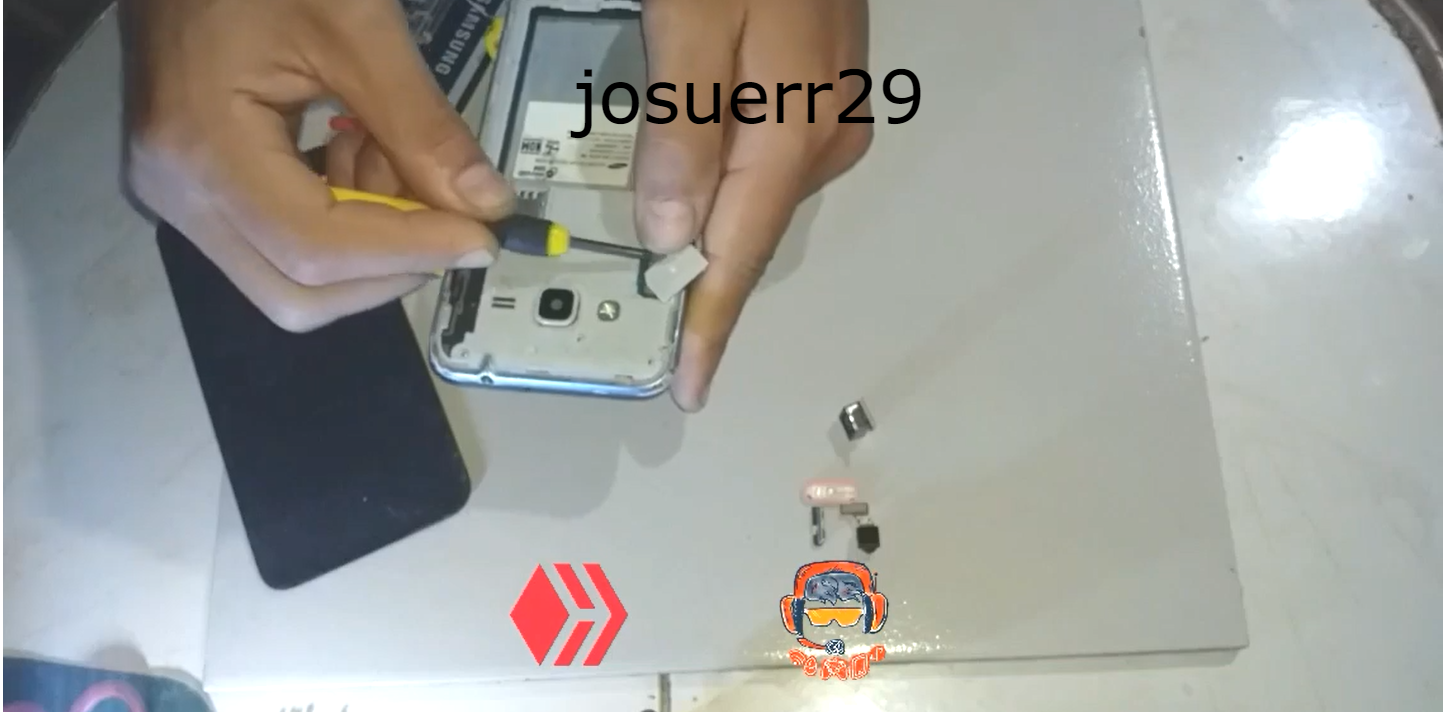
After this we begin to remove the screws to the team we do it first with a Phillips screwdriver number 5 steel and then is done with a screwdriver number 5 iron with a pliers then we will remove each screw very carefully with great attention and after this we have to lift the plastic plate that removes the Flex of the screen of the plate as you see in the video.
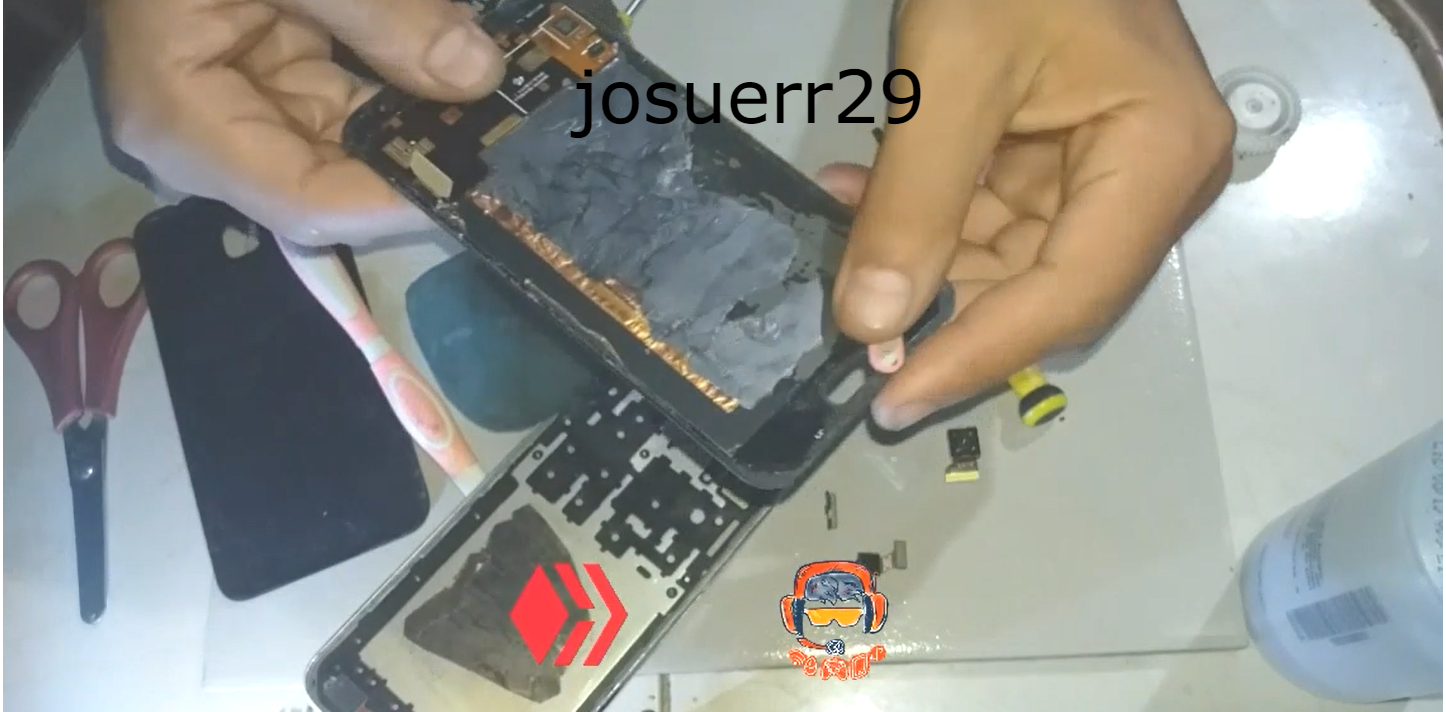
After this we have two options that we can apply the 2 or 1 of the 2 to be able to lift the screen. The first option is to take 1 in the x-ray plate and wet it with isopropyl alcohol to go tucking the sides of the bezel and thus be able to lift the screen that is a little bad and with the other piece of plate we can go leaving it tucked to keep the opening that we left while we go turning the entire bezel of the team.
The other option would be to simply use a heat station to place it at 70 degrees with 5 minutes of duration at 20 cm from the phone, maybe 15, and being here the internal glue of the screen is diluted and we can a little easier with the x-ray plate to lift the screen of the equipment.
After this we will have our phone almost completely disassembled screen out screw out and everything out.
Español
Hola amigos Qué tal, Soy yo de nuevo, un caluroso saludo a todos Un abrazo bien fuerte espero todos estén muy bien estén muy alegres
En esta oportunidad quiero contarles algo que me ha sucedido antes de comenzar con todo el tema en general, y es que a mi taller ha llegado un Samsung J320 con un problema en la pantalla y también en la placa son dos cosas para reparar.
Este deterioro sucedió porque el cliente simplemente lo que había hecho era correr tras el niño que se le cayó el teléfono y cuando lo agarra el teléfono y cae encima el teléfono, en la pantalla se partió y el teléfono encendió después por unos segundos mientras se lo manipulaba se apagó y no prendió más entonces podría decirse que este teléfono estaba muerto de plano.
Entonces yo obtuve teléfono como muerto y procedo con el desensamble Cómo necesitamos desarmar el teléfono por completo, Entonces vamos a sacar los tornillos la pantalla la batería y todas las herramientas que necesitamos son las siguientes.
Un destornillador de estría un destornillador de paleta un destornillador de estría número 5 de hierro dos placas de rayos x alcohol isopropílico.
Aquí ya lo único que necesitamos es sacarle la tapa trasera al equipo y sacarle la batería, en el vídeo les enseñó el modelo exacto del equipo para que lo vean es un j320.
Luego de esto comenzamos a quitarle los tornillos al equipo lo hacemos primero con un destornillador de estrella número 5 de acero y luego se hace con un destornillador de estría número 5 de hierro con una pinza luego vamos sacando cada tornillo con mucho cuidado con mucha atención y luego de esto tenemos que levantar la placa de plástico que quita el Flex de la pantalla de la placa así como lo ven en el vídeo.
Luego de esto tenemos dos opciones que podemos aplicar las 2 o 1 de las 2 para poder levantar la pantalla. La primera opción es tomar 1 en la placa de rayos x y mojarla con alcohol isopropílico para ir metiendo por los lados laterales del bisel y así poder levantar la pantalla que esta un poco mala y con el otro pedazo de placa podemos ir dejandolo metido para que conserve la abertura que dejamos mientras que vamos dándole vuelta a todo el bisel del equipo.
La otra opción sería simplemente utilizaron estación de calor colocarlo en 70 grados con 5 minutos de duración a 20 cm de teléfono, quizás 15, y al estar aquí la pega interna de la pantalla se diluya y podamos un poco más fácil con la placa de rayos x levantar la pantalla del equipo.
Luego de esto ya tendremos nuestro teléfono casi completamente desarmado pantalla fuera tornillo afuera y todo fuera.
| fuentes del contenido | |
|---|---|
| - Traducción del texto: | https://www.deepl.com |
| - Separador tomado de: | Aqui |
| - Foto y video: | Picsart pro. YouCut. Samsung Galaxy j6 plus. |
| - Fuente y autoría del contenido: | @josuerr29 |
| - Intro del video realizada por @josuerr29: | app YouCut. |
| - Musica del video Sin derecho de autor: | soundcloud |
| Logo 1 | Diseño de https://studio.3espeak.tv |
| logo 2 | Diseño de https://hive.blog |
| Logo 3 | Diseño de la cominida de geek zone |
| Equipo usado para el ejemplo del vídeo | Samsung j320 |
| Equipo de grabacion | Samsung j6 + |
| Setup de grabacion | Tripode para camaras can-i820 |


▶️ 3Speak
Thank you for sharing this amazing post on HIVE!
Your content got selected by our fellow curator @priyanarc & you just received a little thank you via an upvote from our non-profit curation initiative!
You will be featured in one of our recurring curation compilations and on our pinterest boards! Both are aiming to offer you a stage to widen your audience within and outside of the DIY scene of hive.
Join the official DIYHub community on HIVE and show us more of your amazing work and feel free to connect with us and other DIYers via our discord server: https://discord.gg/mY5uCfQ !
If you want to support our goal to motivate other DIY/art/music/homesteading/... creators just delegate to us and earn 100% of your curation rewards!
Stay creative & hive on!
Gracias