Tutorial diagnosis and repair samsung j320 / Tutorial diagnostico y reparación samsung j320
| content sources | ||
|---|---|---|
| - Translation of the text: | https://www.deepl.com | |
| - Separator taken from: | Here | |
| - Photo and video: | Picsart pro. YouCut. Samsung Galaxy j6 plus. | |
| - Source and authorship of the content: | @josuerr29 | |
| - Video intro made by @josuerr29: | YouCut app. | |
| - Music of the video Without copyright: | soundcloud | |
| Logo 1 | Design by https://studio.3espeak.tv | |
| Logo 2 | Design by https://hive.blog | |
| Logo 3 | Design of the geek zone meal | |
| Equipment used for video example | Samsung j320 | |
| Recording equipment | Samsung j6 + | |
| Setup for recording | Tripod for can-i820 cameras |
Hello friends of geek zone
How are you? I hope very well, it's me again Daniel and I come to bring you another very interesting content about the analysis and diagnosis of a j320 which does not turn on because it took a hit from the owner.
To start we will begin with the disassembly of the equipment, I have done it before and I will show you the video where I did it so that it can be easier and simpler.
https://hive.blog/hive-106817/@josuerr29/kueabesv
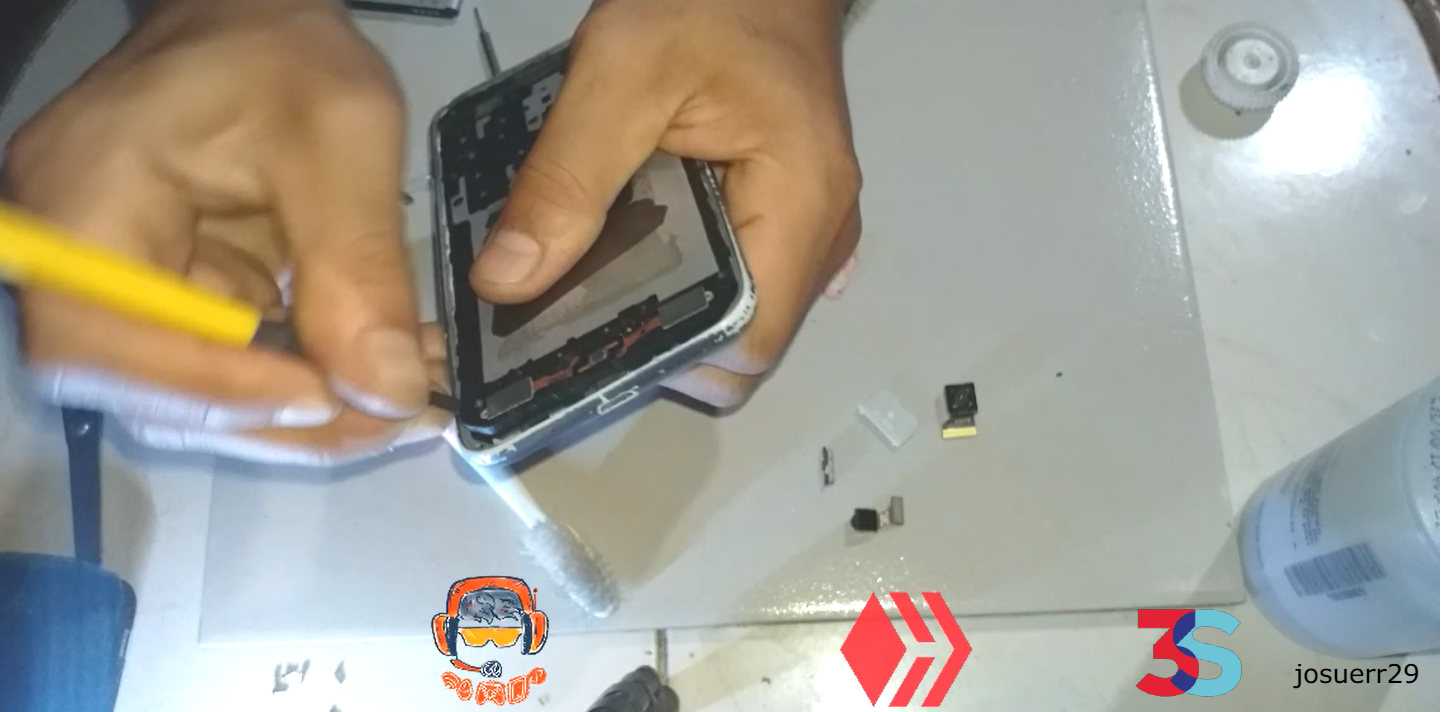
After this we will go directly removing all the components, I will separate the bicel of the equipment and I will also lift them so that the board is completely uncovered since what we need to analyze is the board.
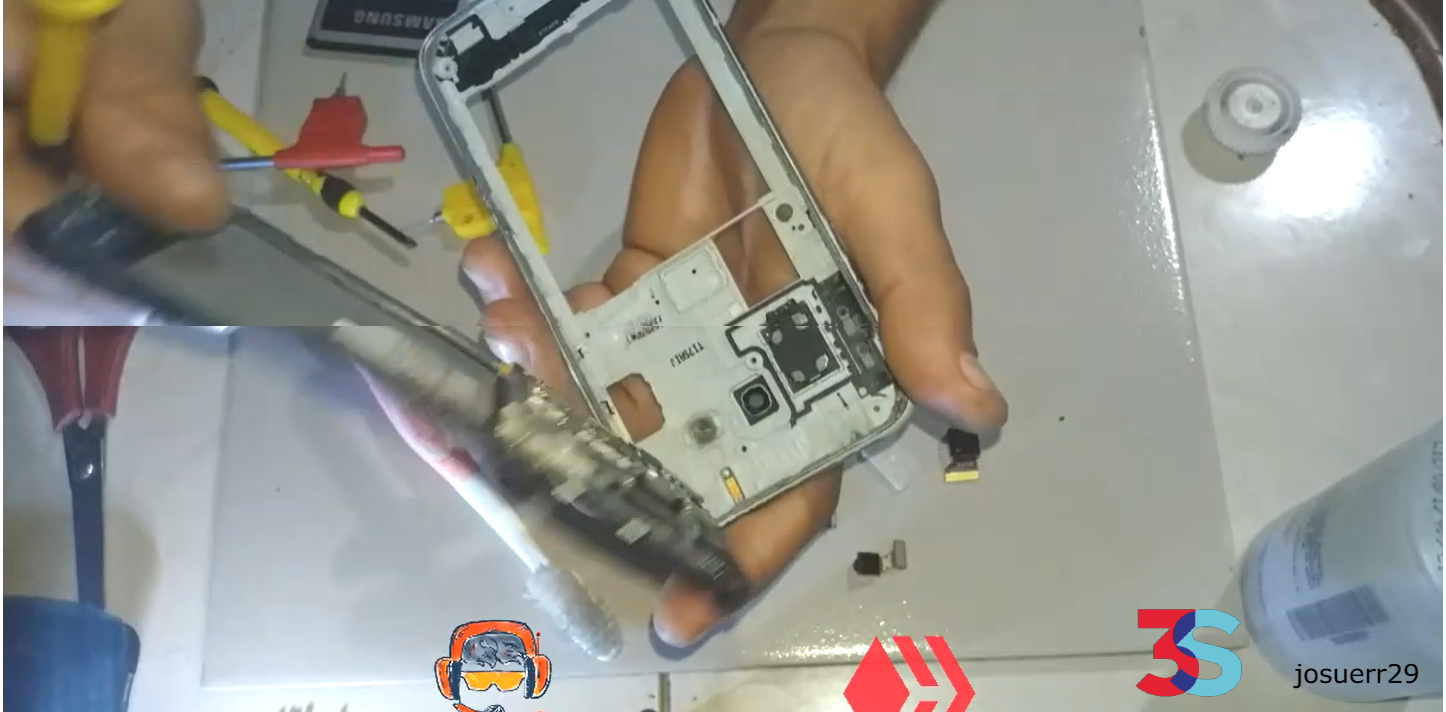
After releasing the board we must remove all the flexes that go to the board. Charging pin flex, power button flex, camera flex and all kind of flex then pull the board apart and let it out.
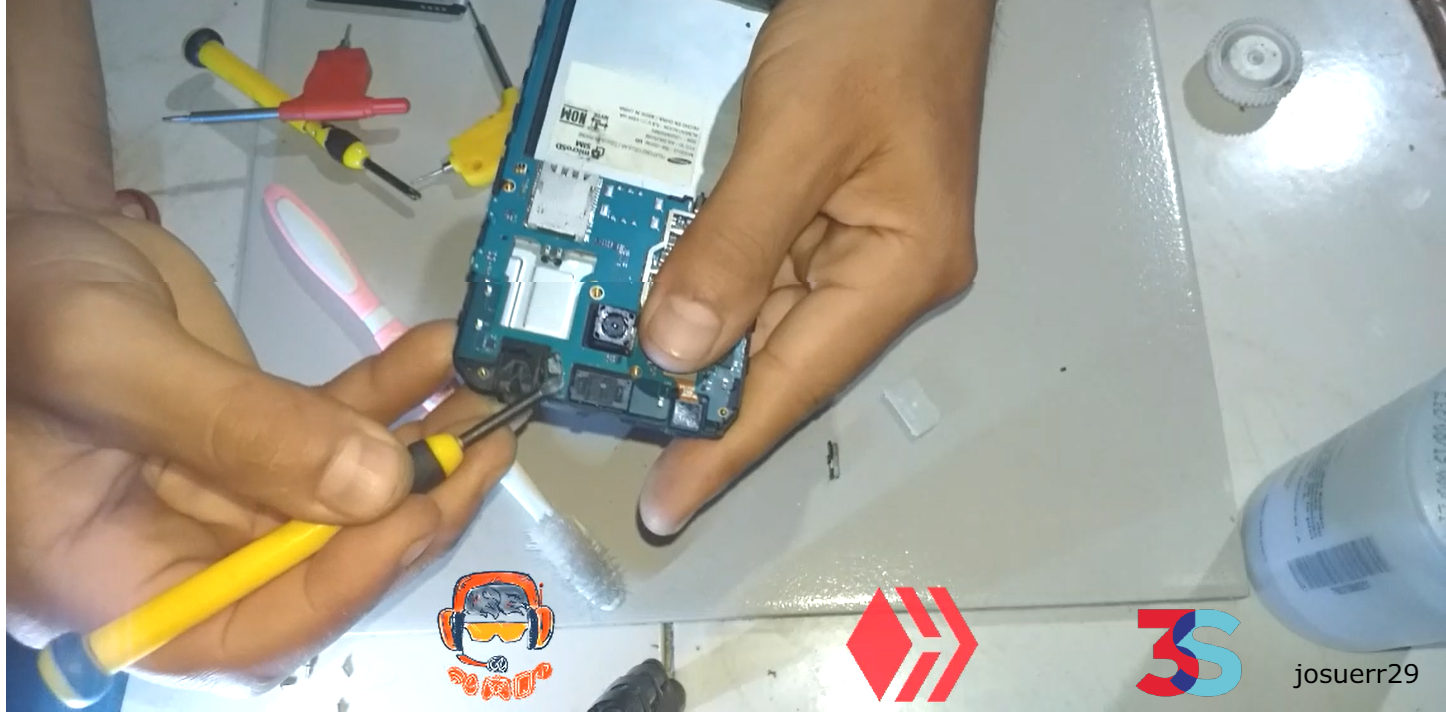
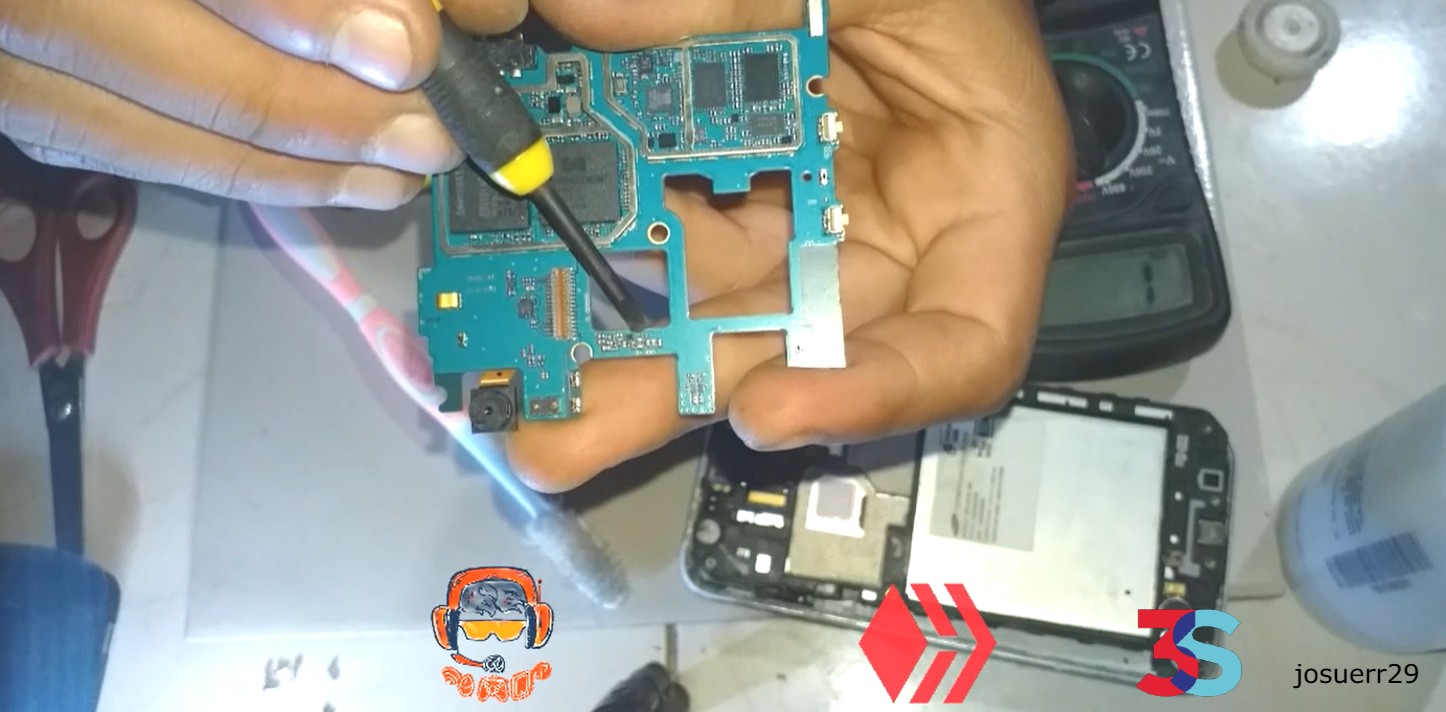
After all we will lift the board very gently as it is very delicate without pressing it because if we hit an internal component of it we could damage the phone and it will stop working completely, this is why we need an antistatic wrist strap or antistatic gloves.
.jpg)
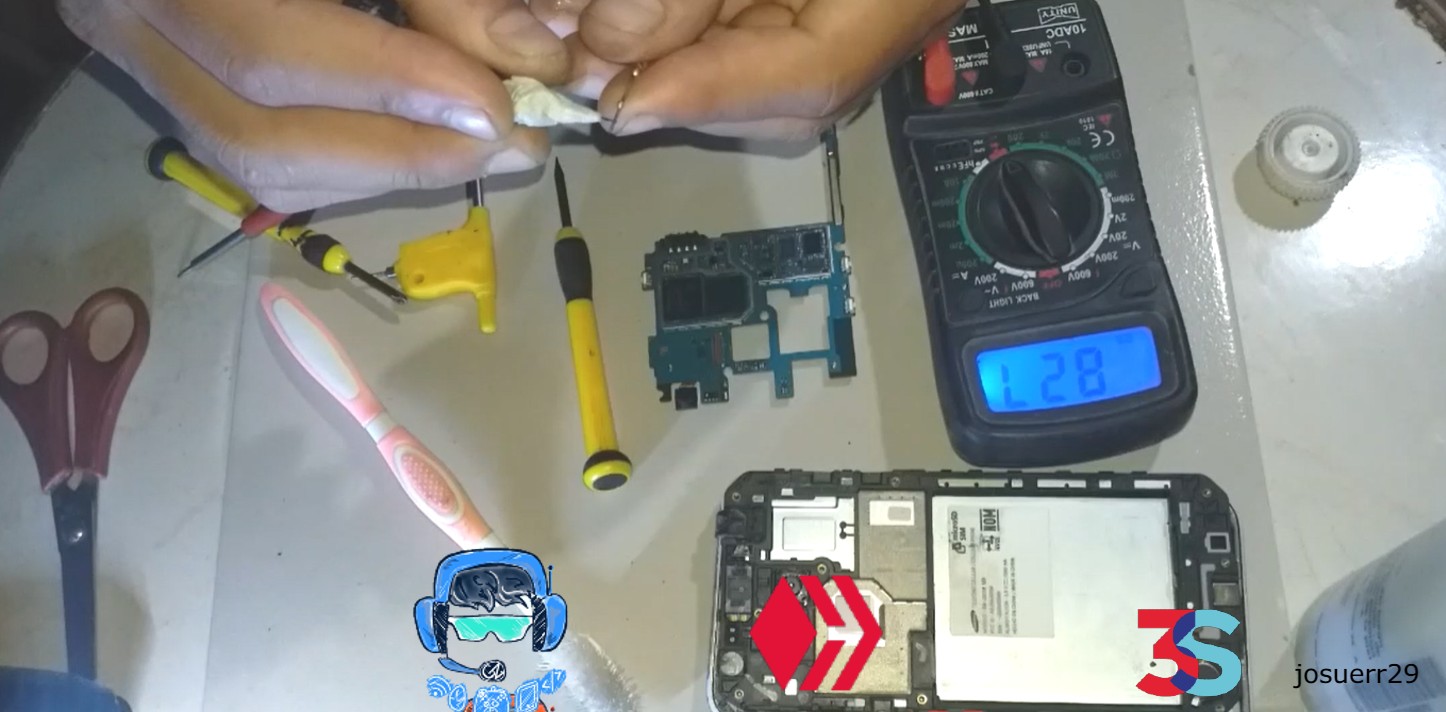
The first analysis that we will do will be visual will be to observe which component of the equipment we observe broken or of a color that is not the normal color. We will begin from the part of the pin of load of the equipment up to the superior auricular of the plate all this will be realized observing with detail with care, if it does not have good vision it uses magnifying glass.
This diagnosis I did and I did not see anything abnormal Apparently everything was in order there was nothing broken or anything burned, did not find anything of another color or peeled, So after doing so we had to perform the other analysis that is done by means of the tool called multimeter.
.jpg)
To analyze by means of multimeter we need to place it on the continuity scale, this scale is what makes sound when there is a passage of current without interruption, for example if we place the two pins of the multimeter touching each other will sound as it opened a passage of current.
Using this tool we can analyze each component that does not have to have a normal current flow but has to have a kind of resistance. Then this component is called capacitor. It has the shape of a kind of a little brown house and on each side it has tin tracks, on one side it has to ring and on the other it does not, so on one side there must be an electron flow and on the other there must be a resistance.
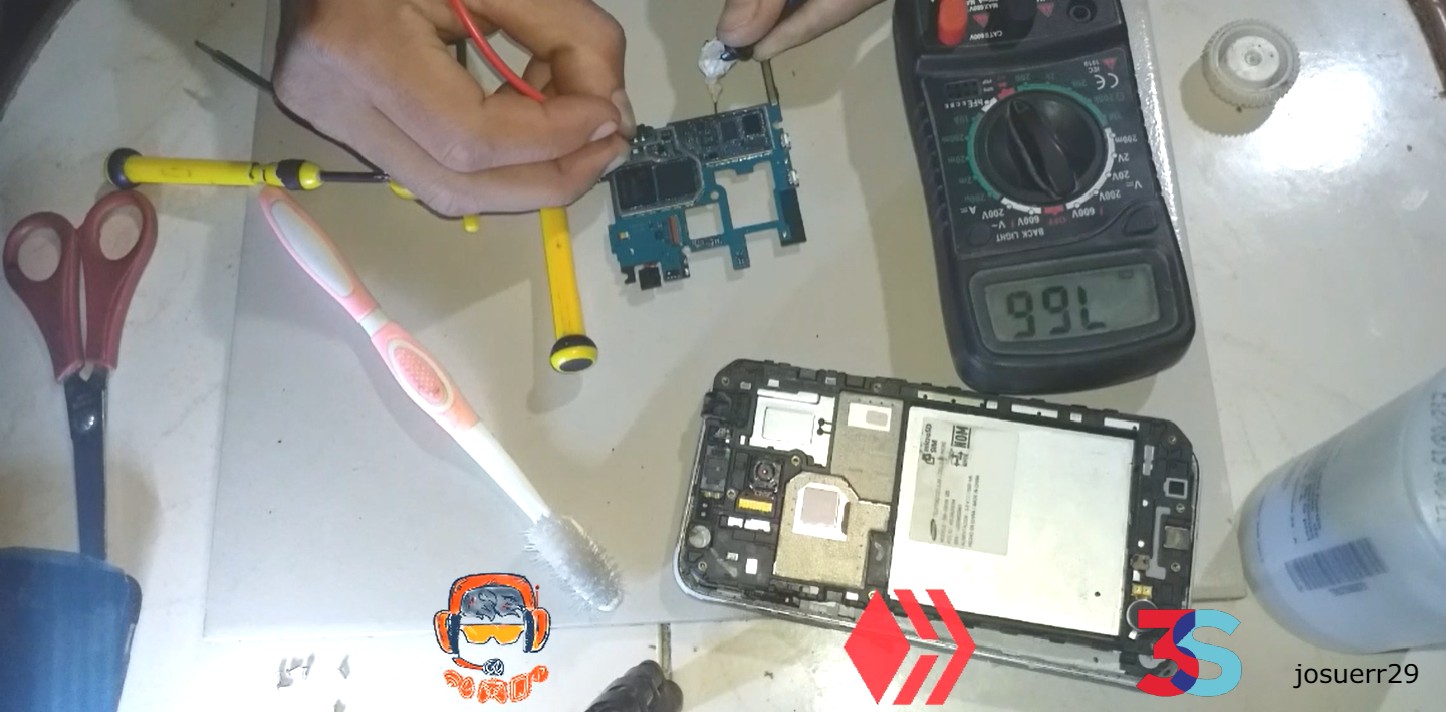
This is done as follows. We will place the negative pin of the multimeter on the board AND then the positive pin on each pole of the capacitor of the equipment and the one that beeps in the two poles is the bad capacitor luckily I found the fault very fast. It was a capacitor that I showed in the video was short.
After being able to change the capacitor the phone turned on normally and everything was fully functional the phone is totally fine.
Translated with www.DeepL.com/Translator (free version)
Hola amigos de geek zone
Cómo están Espero que muy bien. soy yo de nuevo Daniel y vengo a traerles otro contenido bastante interesante sobre el análisis y diagnóstico de un j320 qué no enciende porque se llevó un golpe de el dueño.
Para empezar comenzaremos con el desarme del equipo, ya yo lo he hecho anteriormente y te voy a Mostrar el vídeo donde lo hoce para que pueda estar más fácil y mas sencillo.
https://hive.blog/hive-106817/@josuerr29/kueabesv
Luego de esto iremos directamente quitándole todos los componentes, separaré el bicel de el equipo y también los levantaré para que quede la placa totalmente descubierta ya que lo que necesitamos analizar es la placa.
Luego de liberar la placa debemos estár quitando todos los Flex que van hacia la placa. Flex de pin de carga, de botón encendido, Flex de cámaras y todo tipo de flex luego Ale la placa y la deje salir.
Después de todo levantaremos la placa muy suavemente ya qué es muy delicada sin presionarla Porque si llegamos a golpear un componente interno de ella podríamos dañar el teléfono dejárea de funcionar por completo, es por esto que necesitamos una pulsera antiestática o guantes antiestática.
El primer análisis que haremos será visual será observar Qué componente del equipo observamos partido o de un color que no sea el color normal. Comenzaremos desde la parte del pin de carga del equipo hasta el auricular superior de la placa todo esto se realizará observando con detalle con cuidado, si no tiene buena visión utiliza lupa.
Este diagnóstico lo realice y no vi nada anormal Al parecer todo estaba en orden no había nada partido ni nada quemado, no encontró nada de otro color o pelado, Así que luego de hacerlo teníamos que realizar el otro análisis que se hace por medio de la herramienta llamada multímetro.
Para analizar por medio de multímetro necesitamos colocarlo en la escala de continuidad está escala lo que hace sonar cuando haya un paso de corriente sin interrupción, ejemplo si colocamos los dos pines del multímetro tocándose uno al otro sonara ya que abrió un paso de corriente.
Utilizando esta herramienta podemos analizar cada componente que no tiene que tener una fluidez de corriente normal sino que tiene que tener una especie de resistencia. Entonces este componente se llama condensador. Tiene la forma de una especie de casita marrón y de cada lado tiene pistas de estaño, de un lado tiene que sonar y del otro no, osea que de un lado debe haber fluides de electrones y del otro debe haber una resistencia. comenzaremos comprobando cada condensador.
Se hace de la siguiente manera. Colocaremos el pin negativo del multímetro en la placa Y luego el pin positivo en cada Polo del condensador del equipo y el que pite en los dos polos es el condensador malo por suerte encontré la falla muy rápido. Fue un condensador que mostre en el vídeo estaba en corto.
Luego de poder cambiar el condensador el teléfono encendió con total normalidad y todo quedó totalmente funcional el teléfono queda totalmente bien.
| fuentes del contenido | |
|---|---|
| - Traducción del texto: | https://www.deepl.com |
| - Separador tomado de: | Aqui |
| - Foto y video: | Picsart pro. YouCut. Samsung Galaxy j6 plus. |
| - Fuente y autoría del contenido: | @josuerr29 |
| - Intro del video realizada por @josuerr29: | app YouCut. |
| - Musica del video Sin derecho de autor: | soundcloud |
| Logo 1 | Diseño de https://studio.3espeak.tv |
| logo 2 | Diseño de https://hive.blog |
| Logo 3 | Diseño de la cominida de geek zone |
| Equipo usado para el ejemplo del vídeo | Samsung j320 |
| Equipo de grabacion | Samsung j6 + |
| Setup de grabacion | Tripode para camaras can-i820 |


▶️ 3Speak
Seems the owner also needs some fixing. 😁
Thanks for sharing. 🙂
!1UP
You have received a 1UP from @thecuriousfool!
@stem-curator
And they will bring !PIZZA 🍕.
Learn more about our delegation service to earn daily rewards. Join the Cartel on Discord.
PIZZA Holders sent $PIZZA tips in this post's comments:
@curation-cartel(2/20) tipped @josuerr29 (x1)
Join us in Discord!
Con lo que dices que este telefono ha sido desarmado varias veces, hace unos dias al taller lelgo una mamarrachada de telefono que lo habian destapado muchas veces, que le habian trampeado componentes y de paso que nunca trataron el problema real, yo al ver algo asi ni loco lo toco jajaja.
y gracis por esta enseñansa :D
si hermano yo lo reviso y trato de solucionar, todo sea por ganarme mis churupitos jejeje