Tutorial N° 4 - Medibang Paint Pro - Sidebar Tools (Tutorial video) (ESP/ENG)

When we do something little by little and with love, we enjoy it more and achieve great things.
Greetings community.
Today I present tutorial N°4 where I show you in a very simple way the functions of the tools found in the left sidebar of your Medibang Paint Pro program.
Everything in a simple and practical way. These tools make our design much easier, do not hesitate to use them, start to familiarize yourself with each of them and make the most of them.

Cuando hacemos algo poco a poco y con amor, lo disfrutamos más y logramos grandes cosas.
Saludos comunidad.
Hoy presento el tutorial N°4 donde te muestro de forma muy sencilla las funciones de las herramientas que se encuentran en la barra lateral izquierda de tu programa Medibang Paint Pro.
Todo de una forma sencilla y práctica. Estas herramientas nos facilitan mucho el diseño, no dudes en usarlas, comienza a familiarizarte con cada una de ellas y saca el máximo provecho.

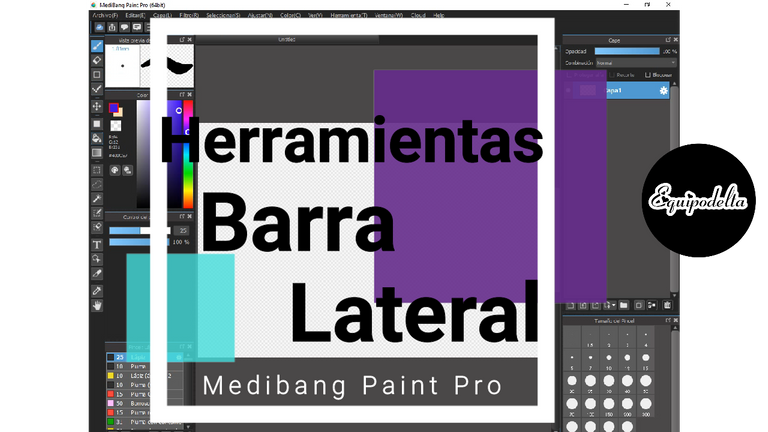
Sidebar tools

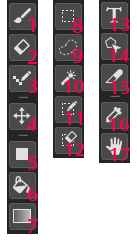
In this opportunity I will explain about the following tools that we will use frequently in any design, these are:
🛠️ Brush.
🛠️ Eraser.
🛠️Geometric Figures:
- Straight line.
- ZigZag.
- Curve.
- Rectangle.
- Eclipse.
- Polygon.
🛠️ Point.
🛠️ Move.
🛠️ Fill.
🛠️ Paint can.
🛠️ Gradient.
🛠️ Select.
🛠️ Lasso.
🛠️ Magic Wand.
🛠️ Select Feather.
🛠️ Text.

En esta oportunidad explicaré sobre las siguientes herramientas que usaremos frecuentemente en cualquier diseño, estas son:
🛠️ Pincel.
🛠️ Borrador.
🛠️ Figuras Geométricas.
- Línea recta.
- ZigZag.
- Curva.
- Rectángulo.
- Eclipse.
- Polígono.
🛠️ Punto.
🛠️ Mover.
🛠️ Relleno.
🛠️ Bote de pintura.
🛠️ Degradado.
🛠️ Seleccionar.
🛠️ Lazo.
🛠️ Varita Mágica.
🛠️ Seleccionar Pluma.
🛠️Texto.

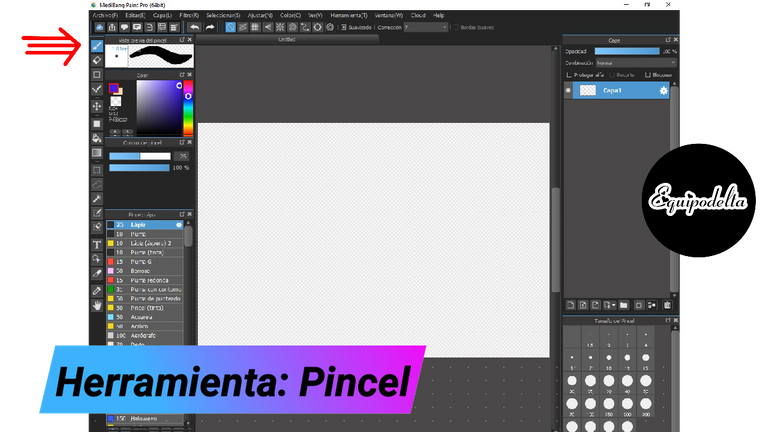
🛠️ Brush.

When we have this section active, we can access the different brushes that Medibang offers us, whether they are the ones that the program comes with by default or that you download from a Medibang package that are also free or simply brushes that you have created.

Cuando tenemos esta sección activa, podemos acceder a los diferentes pinceles que nos ofrece Medibang, bien sean lo que trae el programa por defecto o que descargaras del algun paquete de Medibang que también son gratuitos o sencillamente pinceles que has creado.

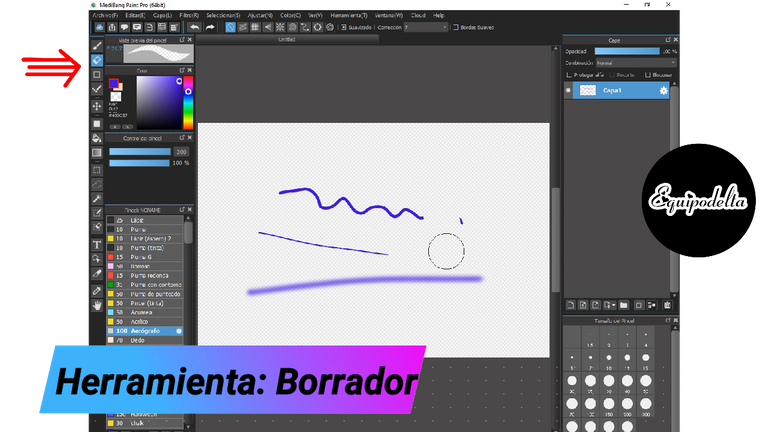
🛠️ Eraser.

As I explained in previous tutorials, the function of this tool is exclusively to delete what you want. Like the others you can modify its size and the gradient.

Como ya expliqué en anteriores tutoriales, la función de esta herramienta es exclusivamente para borrar lo que deseas. Al igual que las otras puedes modificar su tamaño y el degradado.

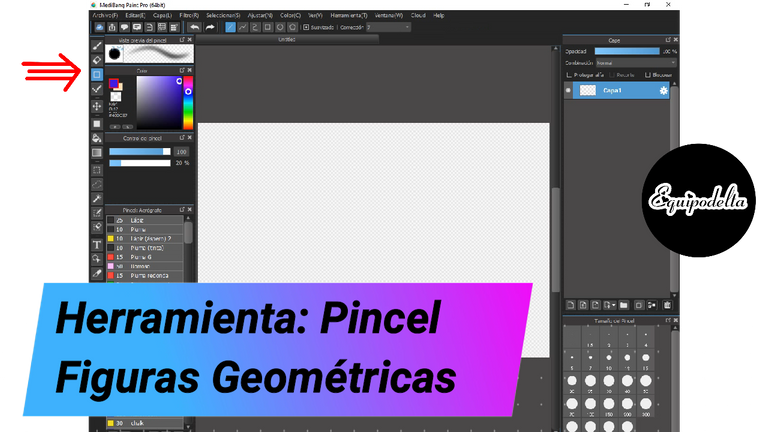
🛠️Geometric Figures:

This is one of the most used tools, when you click on it, a sub bar will be enabled at the top of the program, where we have several options available with which we can create:

Esta es una de las herramientas más usadas, al darle clic se habilitará una sub barra en la parte superior del programa, donde tenemos varias opciones disponibles con el que podemos crear:
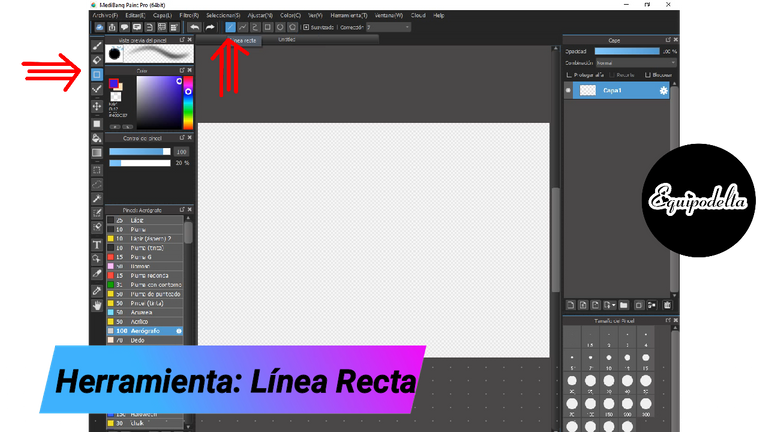
Straight line

This tool allows us to create straight lines whether horizontal, vertical, diagonal, simply by clicking on a point and then releasing and it will show the line you have drawn.

Esta herramienta nos permite crear líneas rectas sean horizontales, verticales, diagonales, simplemente con tener el clic pulsado llevas a un punto y luego sueltas y mostrará la línea que has trazado.
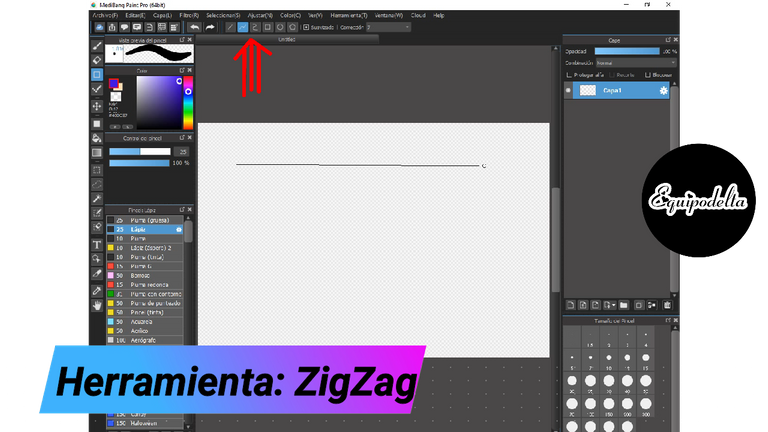
ZigZag.

It works in the same way as the previous option with the difference that with it we can create cuts or a break in it. The way to create it is to leave a stroke with the click pressed and then release it in the place where you want the cut, then to stop following the stroke, you have to double click.

Funciona de la misma forma que la opción anterior a diferencia que con ella podremos crear cortes o un quiebre en la misma. La forma de crearla es dejando un trazo con el clic pulsado y luego lo sueltas en el lugar donde quieres el corte, luego para dejar de seguir el trazo, hay que hacer un doble clic.
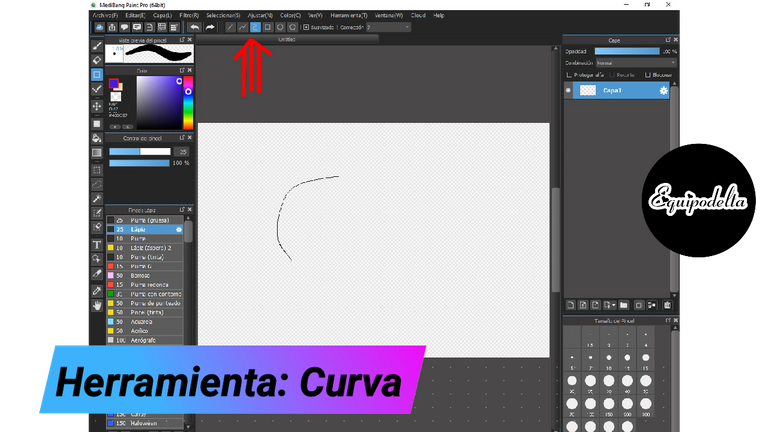
Curve

This tool is almost vital for those who draw with the mouse, because it allows us to create curved and straight lines in a perfect way, we can also use it when we are tracing an image, we can follow a pattern with it.
The way to achieve this is to border the image by clicking on various sections and it will make curved or straight lines depending on the area where you place the cut.

Esta herramienta es casi vital para quienes dibujan con el ratón, pues nos permite crear líneas curvas y rectas de manera perfecta, podemos usarla también cuando estamos calcando una imagen, podemos seguir un patrón con ella.
La forma de lograrlo es bordear la imagen haciendo clic en varias secciones y ella irá haciendo curva o recta dependiendo de la zona donde ubiques el corte.
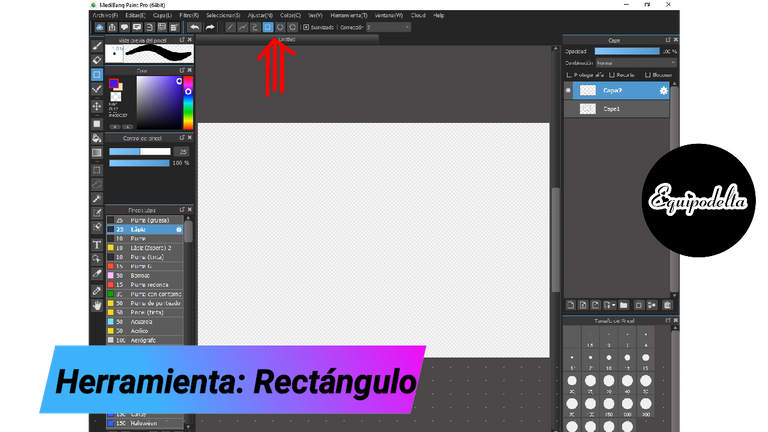
Rectangle.

With this tool we can draw geometric figures in the form of cubes, squares, rectangles, the way to do it is by clicking and leaving it pressed, move to the place of preference and release, then it will show us the image that we have created.

Con esta herramienta podemos trazar figuras geométricas en forma de cubos, cuadrados, rectángulos, la forma de lograrlo es haciendo clic dejando pulsado, desplazamos al lugar de preferencia y soltamos, en seguida nos mostrará la imagen que hemos creado.
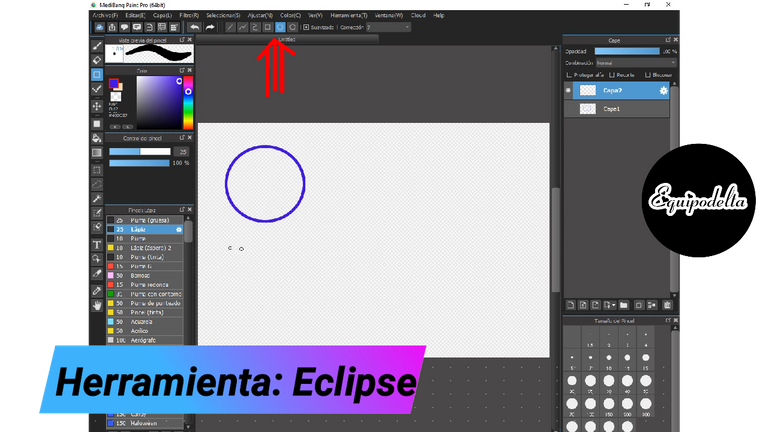
Eclipse.

Just like the previous tool, it helps us to create geometric shapes, but in this section we can only create circles and ovals. To do this we click on a point and release it wherever we want, and the image we have created will be uncovered.

Tal cual como la herramienta anterior, nos ayuda a crear figuras geométricas, pero en esta sección solo podremos crear círculos y óvalos. Para lograrlo hacemos clic en un punto y soltamos donde queramos, nos dejará descubierta la imagen que hemos creado.
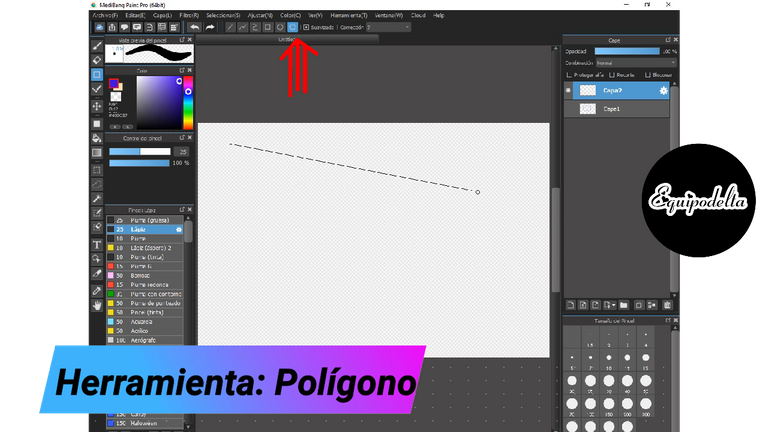
Polygon.

Like the previous tools, this one is useful in that we can create polygonal shapes, useful for creating abstract art or backgrounds with particular shapes. As you click the figure is cut at a point, to disable the option you can double click.

Como las herramientas anteriores, esta tiene su utilidad en que podemos crear figuras poligonales, útil para crear arte abstracto o fondos con formas particulares. En la medida que haces clic la figura se corta en un punto, para deshabilitar la opción puedes hacer doble clic.

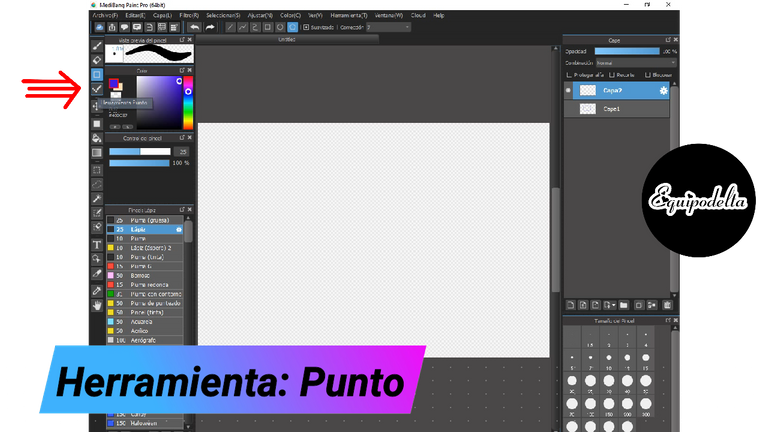
🛠️ Point.

The usefulness of this tool is in the pixelart art creator, that is, with it you can create the outline completely in pixels, forming irregular edges completely cubed. The stroke is freehand but you can use it simultaneously with the other tools (geometric figures).

La utilidad de esta herramienta está en el creador de arte en pixelart, es decir, que con ella puedes crear el delineart completamente en pixeles, formando bordes irregulares completamente cubos. El trazo es a mano alzada pero puedes usar simultáneamente con las demás herramientas (figuras gométricas).

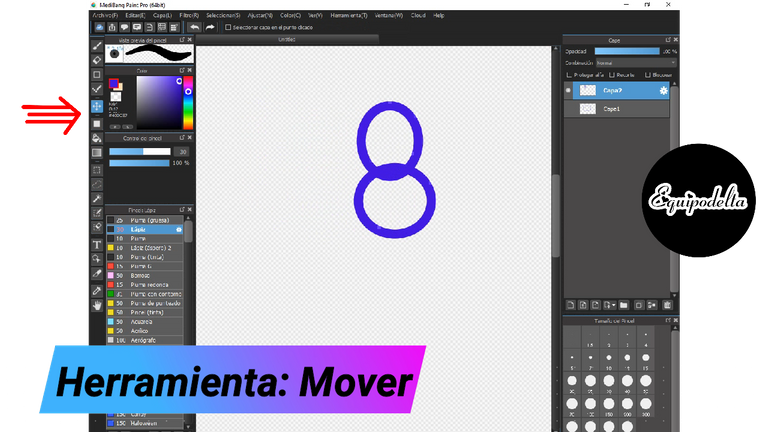
🛠️ Move.

This option is used to move a section of your image that is on the layer you are on.
You can select it by clicking and drop it where you want that image to be placed.

Esta opción se usa para mover una sección de tu imagen que esté en la capa donde te encuentras.
puedes seleccionarla haciendo clic y la soltamos donde queremos que esa imagen se ubique.

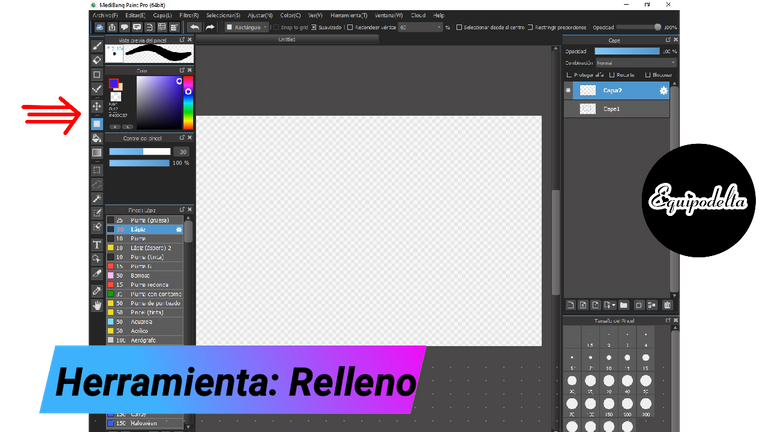
🛠️ Fill.

This tool has the function of filling the background of our design or making strokes and geometric figures such as squares, rectangles or filling a specific area.

Esta herramienta tiene su función de llenar el fondo de nuestro diseño o hacer trazos y figuras geométricas como cuadrados, rectángulos o llenar un área específica.


🛠️ Paint can.

Its function is to fill the spaces of our preference in a design, the filling is done in a flat and complete way.
When we click on this function a sub bar is enabled at the top, depending on your comfort you can adjust, in my case I have it in the number two, because when using it, it completely covers all areas of my design, if I lower the value, some areas would remain without filling and if we raise this value, when emptying color in the selected area, you will go out of the edges.

Su función es rellenar los espacios de nuestra preferencia en un diseño, el relleno lo realiza de forma plana y completa.
Cuando hacemos, clic en esta función se nos habilita una sub barra en la parte superior, dependiendo de tu comodidad puedes ajustar, en mi caso lo tengo en el número dos, pues al usarla cubre totalmente todas las zonas de mi diseño, si bajo el valor, algunas zonas quedarían sin relleno y si subimos ese valor, al vaciar color en la zona seleccionada, pues te saldrás de los bordes.

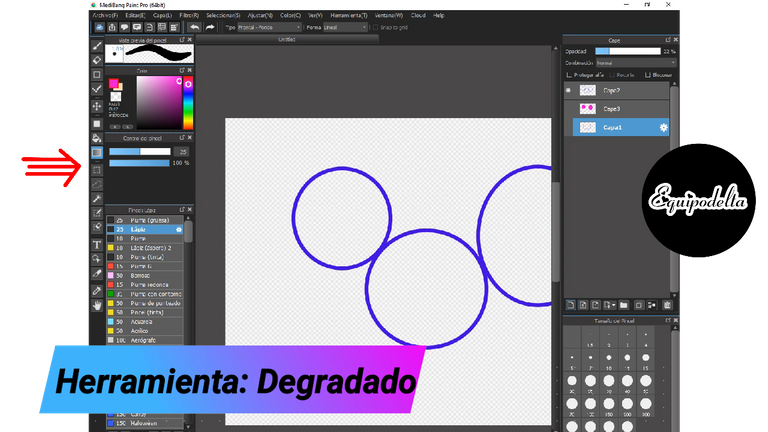
🛠️ Gradient.

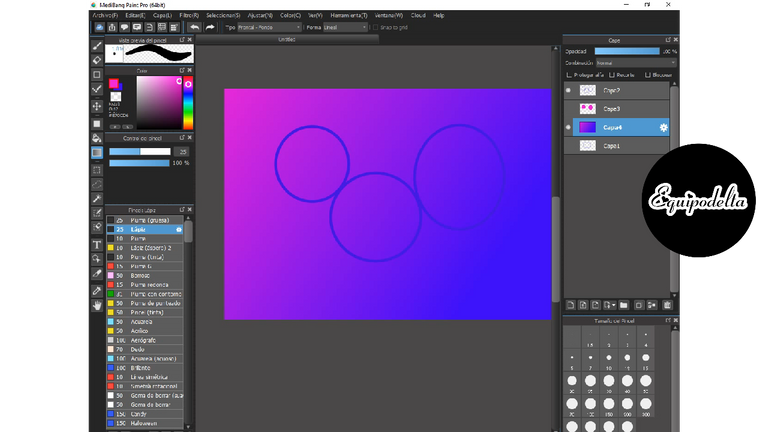
With this tool we can quickly create a color gradient background, in the "color" tool we have two colors selected, one in the foreground and one in the background, choose the one you prefer.
Click on a point of the canvas, drag to the other end where you want to see the gradient and release.
In the video I invite you to see a little trick I show you to apply it in a specific area.

Con esta herramienta podemos crear de manera rápida un fondo en degradado de color, en la herramienta de "color" tenemos dos colores seleccionados, uno en primer plano y otro en segundo plano, escoge el de tu preferencia.
Hacemos clic en un punto del lienzo, arrastra hasta el otro extremo donde quieres que se vea el degradado y suelta.
En el vídeo te invito a ver un truquito que te muestro para aplicarlo en un área especifica.

🛠️ Select.

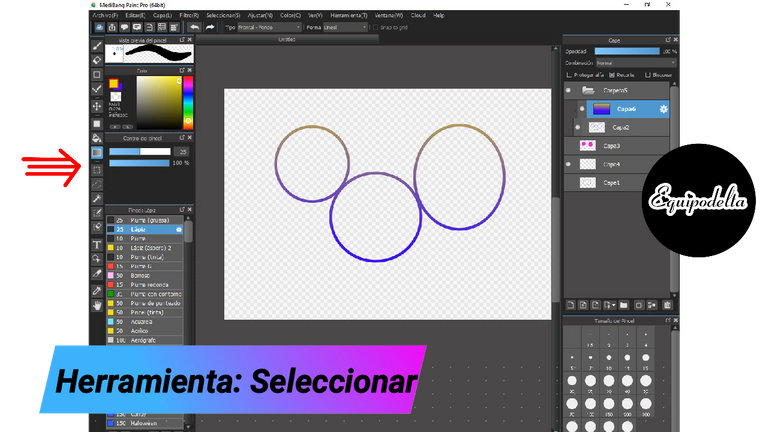
It allows us to select a specific place in your design, where we can copy, cut or delete what is on that active layer.

Nos permite seleccionar un lugar específico de tu diseño, en el que podemos copiar, cortar o borrar lo que se encuentre en esa capa activa.

🛠️ Lasso.

It performs the same function as the previous tool, only this one is done freehand.

Cumple la misma función que la herramienta anterior, solo que esta se realiza a mano alzada.


🛠️ Magic Wand.

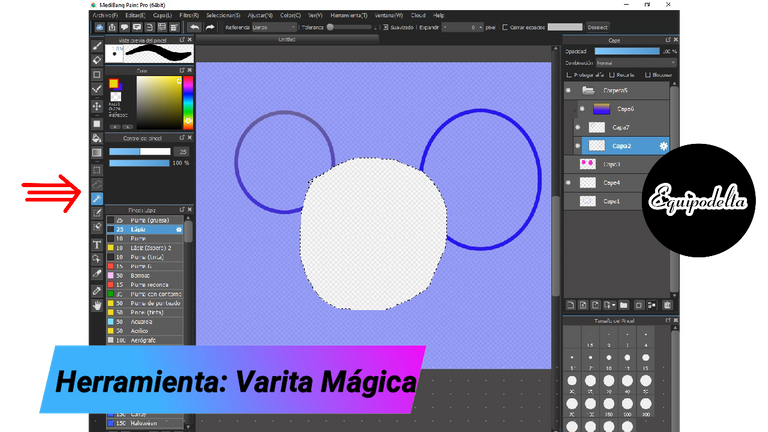
This tool is really magic, but it only works efficiently on flat backgrounds, it allows us to select an area and erase it or move it wherever we want.
The flatter the background color of the image, the more effective it is.

Esta herramienta es mágica de verdad, pero solo funciona eficientemente en fondos planos, nos permite seleccionar un área y borrarla o moverla a donde queramos.
Mientras más plano sea el color del fondo de la imagen, mayor es su eficacia.

🛠️ Select Feather.

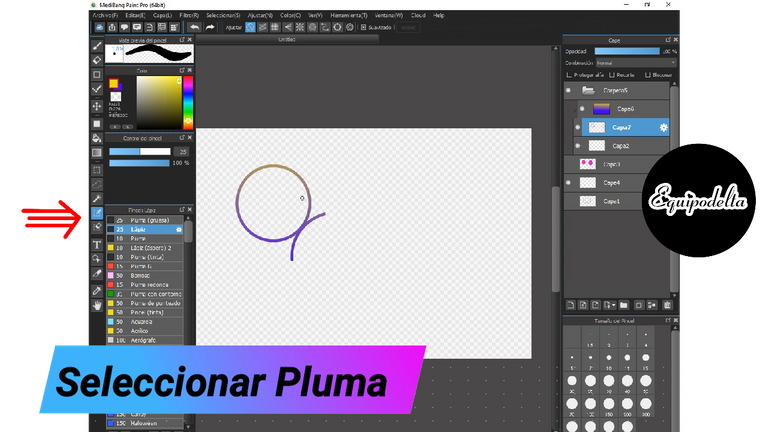
It is useful to paint or work in a specific space without going out of the border.
We fill the space we want to paint, then we proceed to draw inside it and you will notice that you will not be able to go out of the border of the selection.
This tool can be a substitute for not working with folders and the crop option.

Nos sirve para pintar o trabajar en un espacio específico sin salirnos del borde.
Rellenamos el espacio que queremos pintar, luego procedemos a dibujar dentro de él y notaras que no podrás salirte del borde de la selección.
Esta herramienta puede ser un sustituto para no trabajar con carpetas y la opción recorte.

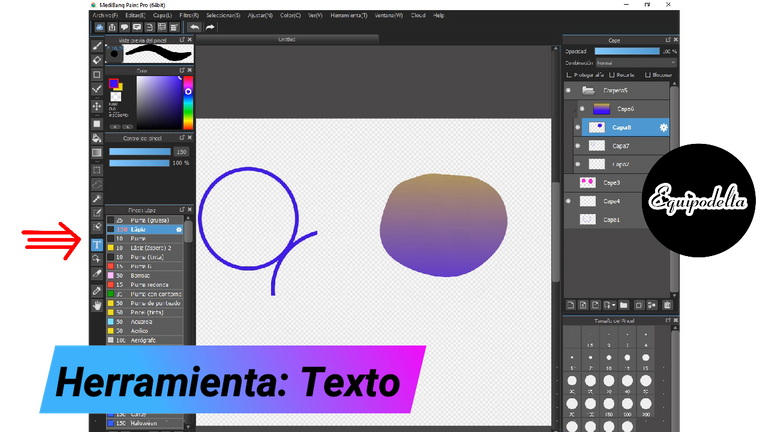
🛠️ Text.

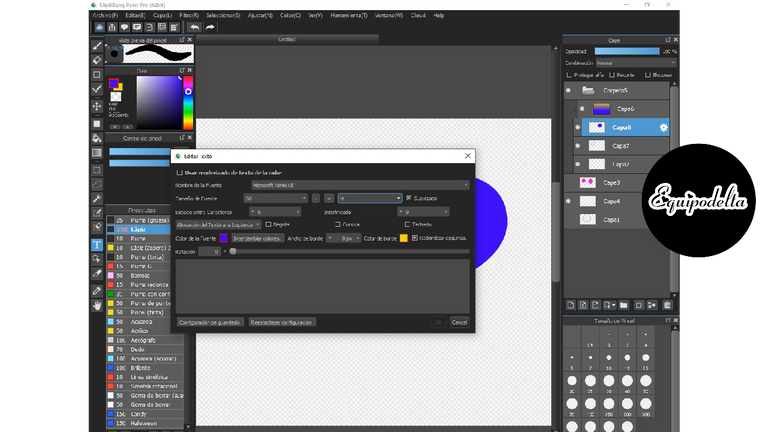
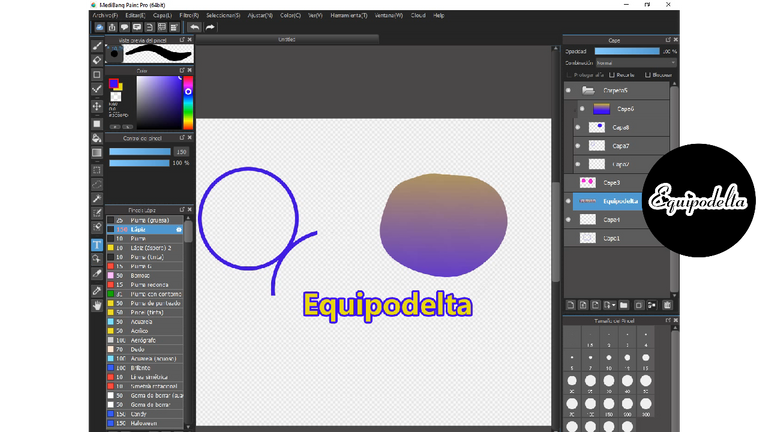
Finally within the tools that you can use to create a design, we have the text tool, with it you can embed text in your drawings, you can create your signature or when making a comic.
Its functions are very similar to a word processor like Word. You can choose your font, size, color, bold, italic, text direction, border, centered, right or left.
Well dear, this tutorial has been long today, I hope you find it very useful. I leave you with the video tutorial that I published on my Youtube channel, if you want to see it.

Por último dentro de las herramientas que más puedes emplear para crear un diseño, tenemos la herramienta texto, con él puedes incrustar texto en tus dibujos, puedes crear tu firma o a la hora de hacer algún cómic.
Sus funciones son muy parecidas a un procesador de texto como Word. Puedes elegir tu tipo de letra, tamaño ,color, negrita, cursiva, dirección del texto, borde, centrado, a la derecha o a la izquierda.
Bueno queridos, ha sido largo este tutorial de hoy, espero te sea de mucha utilidad. Te dejo con el vídeo tutorial que publiqué en mi canal Youtube, por si quieres verlo.

Detalles Técnicos / Technical Details

Tutorial Video
Edition:
Program: MediBang Paint Pro.
Graphics tablet: Huion (Usb Pen Tablet). Model 420.
The screenshots were taken from my design program.
Screenshots and info of the page

Mi canal Youtube, tiene un montón de tutoriales muy útiles para ti.
My Youtube channel, has a lot of very useful tutorials for you.

Hacks, DIY, Crafts, handmade arts Community
Discord


https://twitter.com/EquipodeltaS/status/1414339083166433284
The rewards earned on this comment will go directly to the person sharing the post on Twitter as long as they are registered with @poshtoken.
Your content has been voted as a part of Encouragement program. Keep up the good work!
Use Ecency daily to boost your growth on platform!
Support Ecency
Vote for Proposal
Delegate HP and earn more
Congratulations, your post has been upvoted by @dsc-r2cornell, which is the curating account for @R2cornell's Discord Community.
Enhorabuena, su "post" ha sido "up-voted" por @dsc-r2cornell, que es la "cuenta curating" de la Comunidad de la Discordia de @R2cornell.
Corazón sigo cada uno de estos tutoriales ya que son una información muy relevante para el creaciones digitales. Besos y abrazos!