Metal Detector Repair
On my weekly bootsale travels I managed to pick up a job lot of 4 metal detectors which were untested and could only be judged by their cosmetic appearance.
1 x Wasp old style missing a control knob
1 x Beachcomber 4 works apart from the meter
1 x Micronta 3001 (Tandy?) Just makes a continuous beeping noise
1 x Smart D5 that doesn't work at all
Of the 4 only one actually works except for the meter which does not move. I will attempt to refurbish this unit and hopefully fix the faulty display.
The model which works (expecpt the meter) is a Whites Beachcomber 4 and I very much suspect that the unit has been used extensively in salt water conditions since the retaining screws were very rusty. One way to help get rid of rust is to soak the screws in white vinegar, see figure 1.
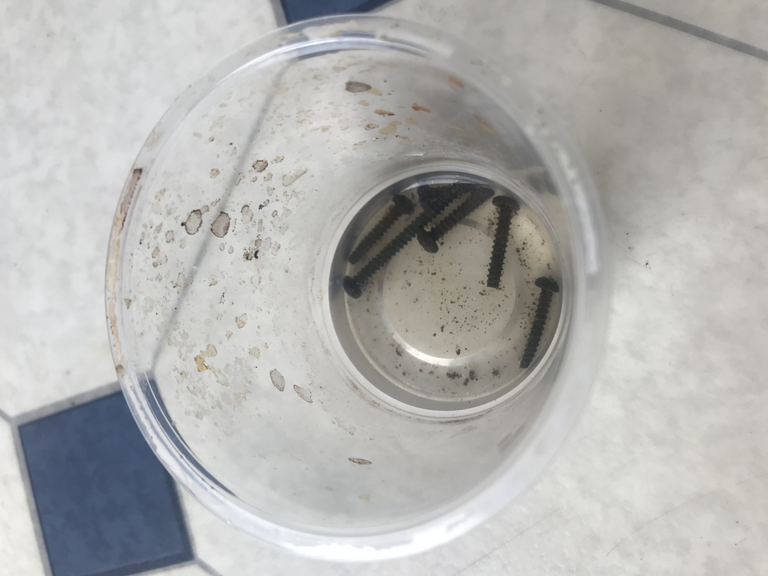
You can see the specks of rust that have come from the screws, it takes a good day and night of soaking for really rusty screws to really start to look like they did when they were new.
Having disassembled the main housing and extracted the electronics there didn't seem to be any reason for the meter not to be working, a test with a volt meter showed that there was a supply going to the meter which varied when a metal object was placed under the coil. The meter also has a battery test option. Since the electronics looked good I decided to have a look at the meter itself.
The meter was made in Korea and had the name componex, it seems this company or at least the trade name is still in existence but I couldn't find any information regarding the meter, the meter is shown in the next picture.
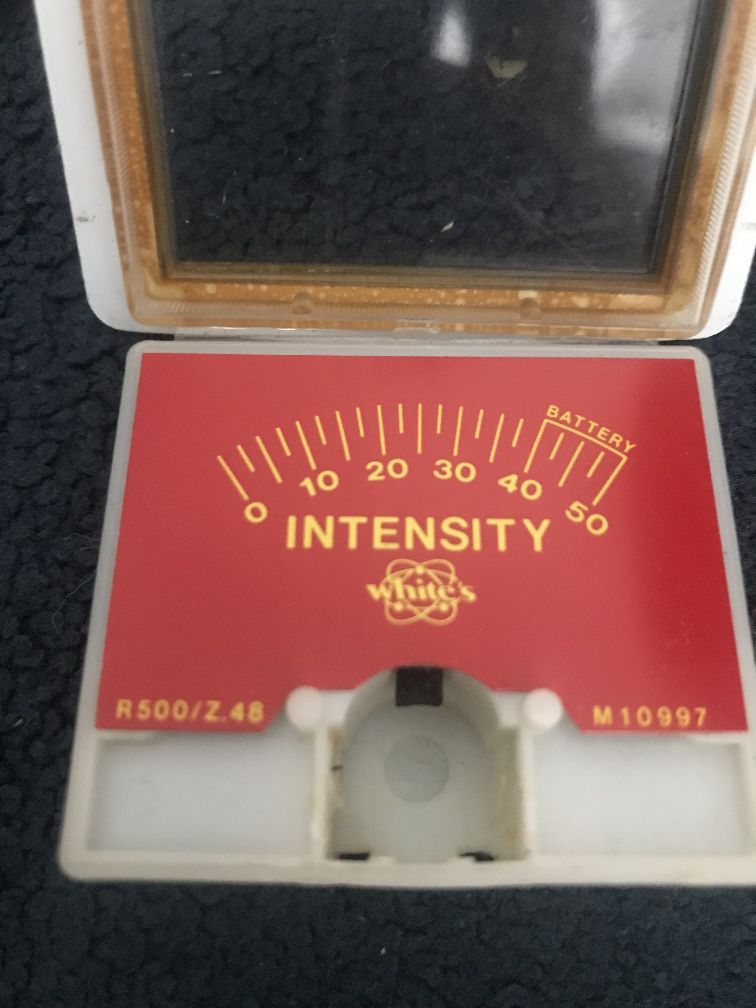
You can see from the photo that I have removed the pointer and armature from the case.
On inspecting the meter innards the connection to one side of the coil via the pointer seems to have come apart, I am not sure if I did this whilst extracting it from the case but certainly without electrical connection to the coil the meter will certainly not work. The next photo shows where the pointer was fixed to the coil, it seems as if it was glued but in that case how does it make electrical connection? If anyone has any ideas I would be most grateful.
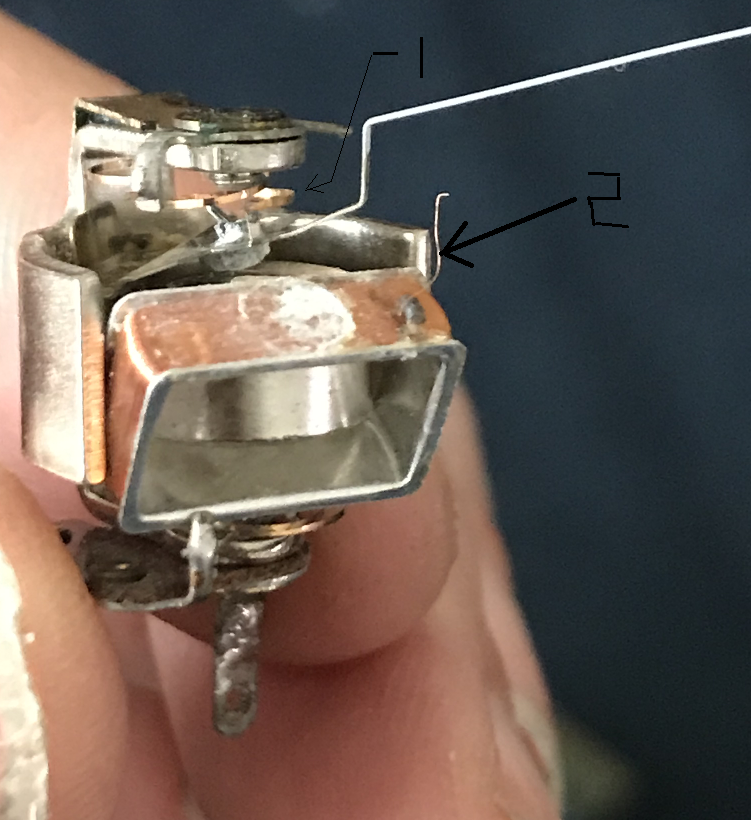
There is a thin coil of wire No 1 which goes to the top of the indicator which then was glued it appears to the coil (white circular mark in the middle of the coil). What I hadn't noticed until I looked at the photo was the small bit of wire 2, this is no longer present and must of come off, it looks like it was fixed to a place on the coil but where the other end went I am not sure.
At the bottom of the picture you can see clearly the copper of the other coil which attaches to the other end of the armature. What surprised me was the coil just floats on a piece of metal and other than the 2 copper supply coils there is nothing else holding it in place.
So I really not sure I will be able to repair this unit at least to have a working meter. If anyone has any ideas what the R500/Z.48 means that would be helpful, there is also the number M10997 but a search on Google doesn't yield anything useful. There could be a possibility of getting a replacement meter and sticking the existing display onto it, providing it has the same electrical characteristics.
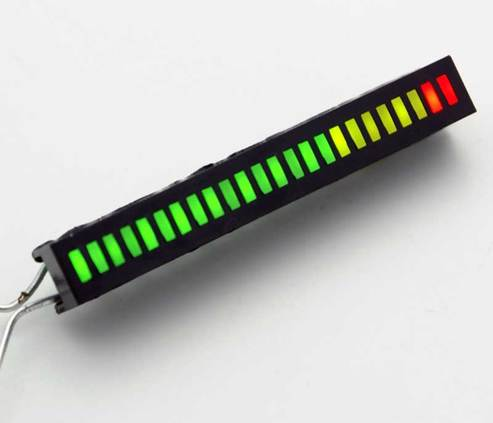
The other option might be to make some kind of horizontal LED display which could be made to fit into the housing, I am sure you can get some miniature LED light units which could be fitted into the space the meter took up. The only problem is I don't know the expected maximum values the meter would have had in terms of voltage and calibration. I suspect this might be the best approach to take though.
Perhaps something like in the next picture which could be mounted inside the panel with some home printed graphics.
I would suspect this unit is quite a few years old and so replacement parts would be hard to come by, If it can't be fixed I always have the option of putting it on Ebay for spares I guess.
Having thought about this a bit more I will attempt to solder a new piece of thin wire (Not sure where I will find that) in the same place No 2 is currently fixed and then solder that to the bottom of the indicator and then somehow try to glue that to the coil, it will be a fiddly job though.
I have just recently gotten back into the hobby of electronics repair and its not like the old times where there used to be a few electronic shops around, there used to be Maplins in the UK but a few years ago that shut. The problem with online parts is some of the items only cost a few pence but the shipping makes it uneconomical. So you end up buying loads of parts most of which you probably will never use. I think I need to get a list of the common types of components that you are likely to need for future repairs and add them to the my shopping list.
I will look at the other 3 metal detectors more closely with a view to getting them to work, I did find a schematic for the Micronta 3001 but this is a bit more of a toy metal detector than the others, but seems it still sells on Ebay. Hopefully having the schematic will enable me to fix that one at least.
I will be posting about the Micronta 3001 next when I take that apart for an electronics breakdown and hopefully a successful repair.
Hi @stimp1024!
Your post was upvoted by @steem-ua, new Steem dApp, using UserAuthority for algorithmic post curation!
Your UA account score is currently 3.596 which ranks you at #6306 across all Steem accounts.
Your rank has not changed in the last three days.
In our last Algorithmic Curation Round, consisting of 92 contributions, your post is ranked at #65.
Evaluation of your UA score:
Feel free to join our @steem-ua Discord server