DIY STEM car engine project
Hi fellow Steemians and DIY/STEM enthusiasts,
Back today with another post, this time it’s an awesome combination DIY project with a fun STEM toy.

I saw it at the store before Christmas but it was a little too expensive for my taste, around 40$ if I remember. My wife, the coupon queen of Boston though was able to snag it for 10$! Naturally we bought two. It was a Christmas present for our son (and me of course, let’s face it lol) It’s an awesome realistic replica plastic version of a 4 cylinder car engine.
Putting it together
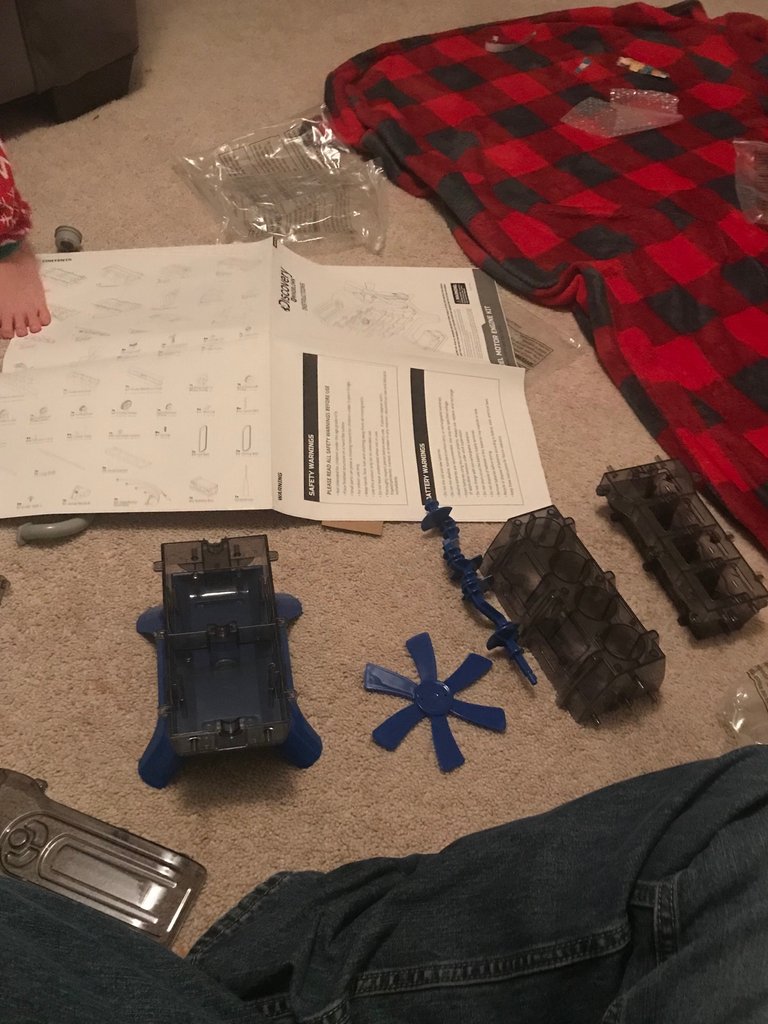
I was surprised at how realistic this thing was! It had so many parts I have as a bit intimidated, but ever eager at an awesome build, we dug right in. It took us about 2 hours to finish, totally worth every second!
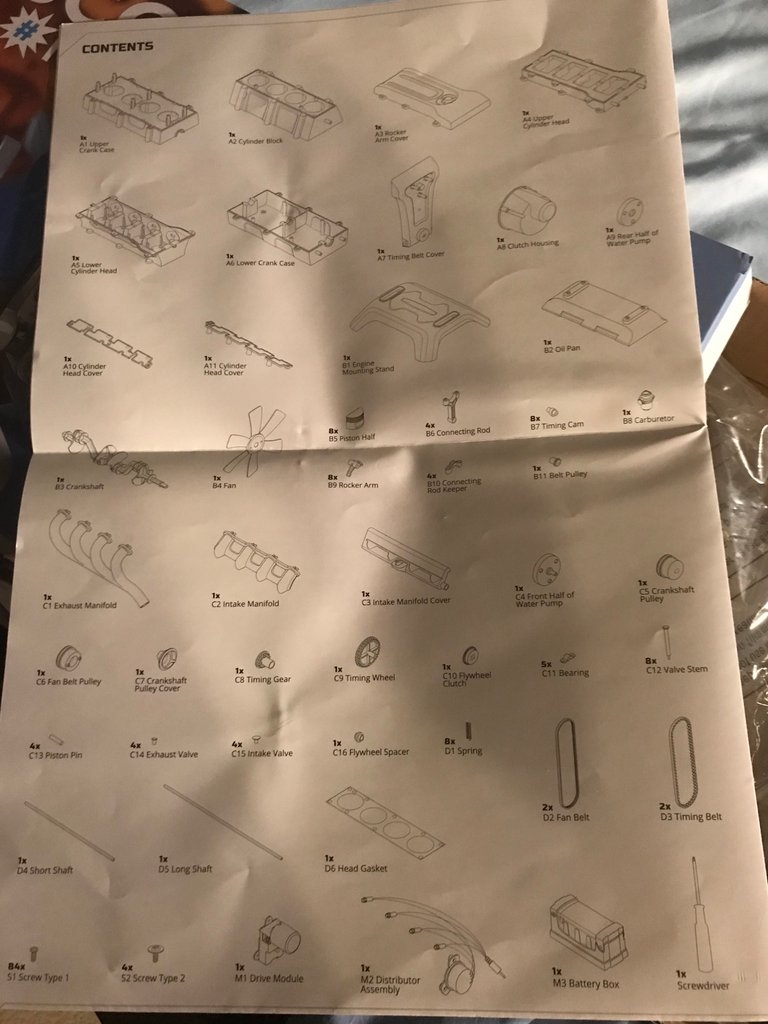
The parts listed were very detailed, even giving us the engine gasket which I knew I was going to love it.
The floor was littered with parts, it got a little confusing at times but it was certainly manageable, particularly since I did it with a toddler lol.
There were also lots of little pieces, so it was a bit of a challenge to keep them all together. Thankfully the box was a decent size so it could hold them without being too attractive for a kid or cat to sit in. Success there for sure.
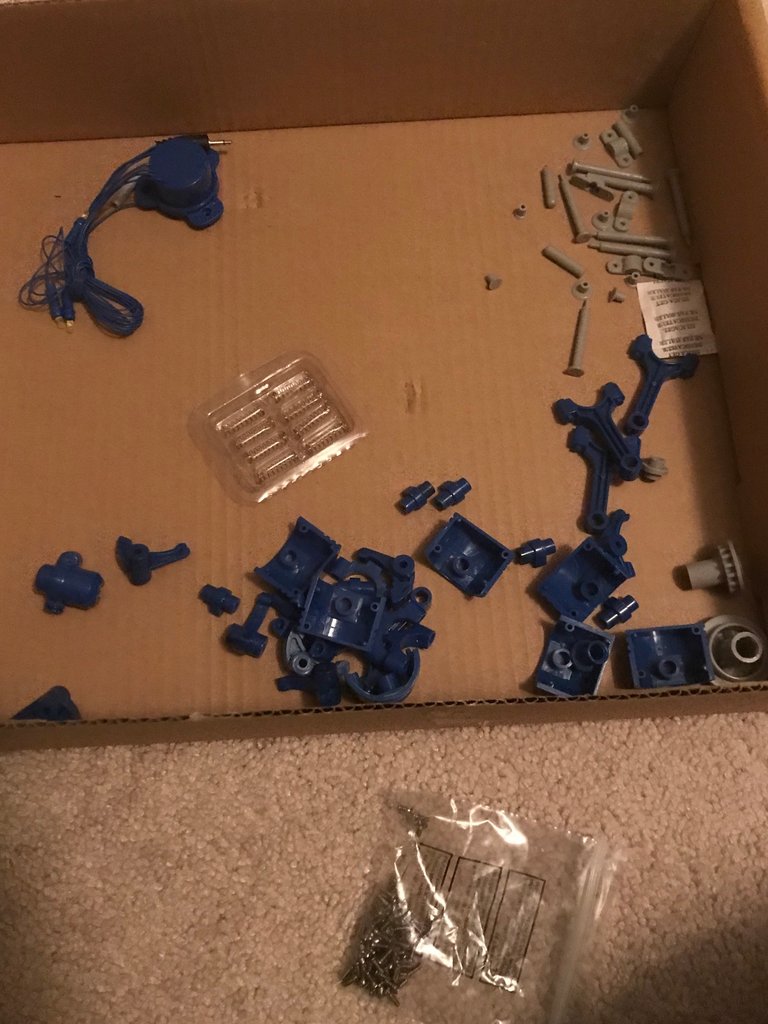
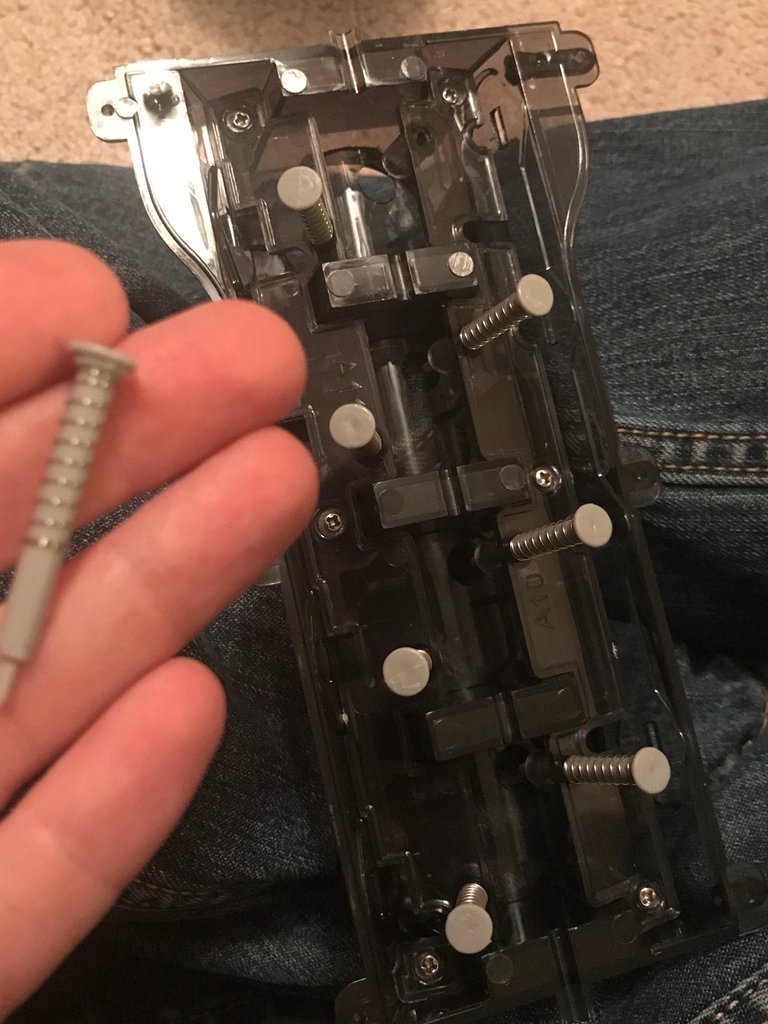
The box included springs and everything, I was certain we were going to lose the springs at least. When you don’t want to lose something like that though, distract the kid with Legos and you’re all set.
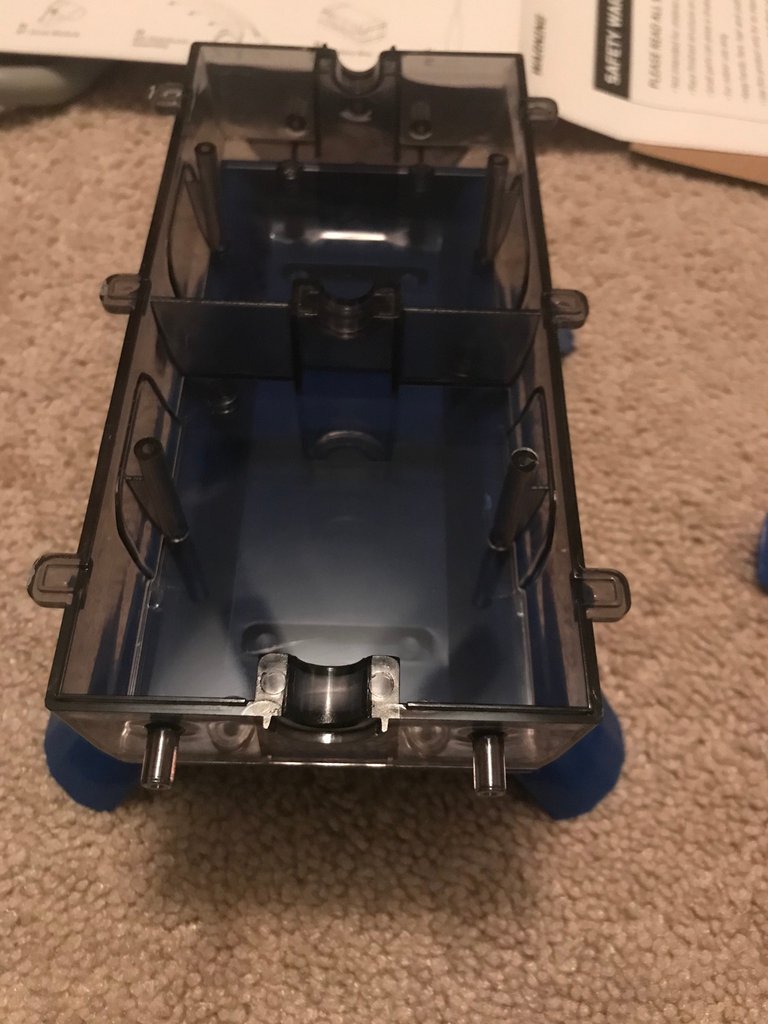
First up was the engine stand, the oil pan and the lower crank case. These parts keep the engine moving and oiled up so it works well.
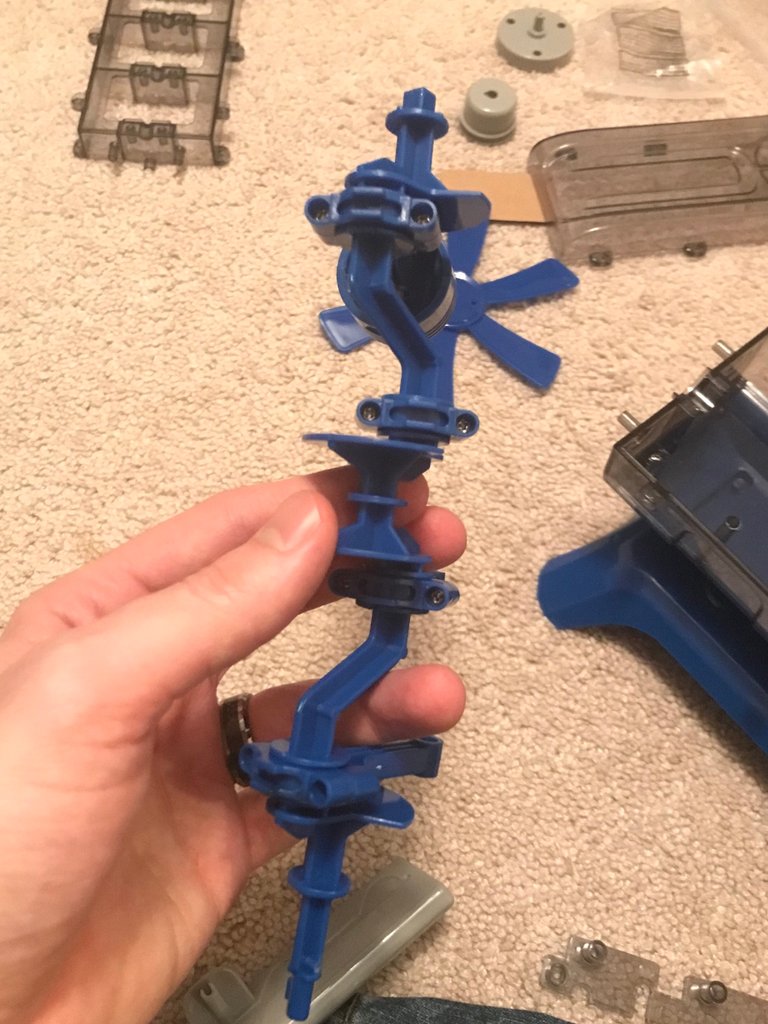
Once that was taken care of, next came the crank shaft. This is what helps the engine move the pistons up and down, depending on the orientation of the engine.
The crank shift requires the connecting rods to be connected to the crank shaft, then the pistons are connected to the ends of the rods. They are separated into halves and then connected in the middle to form the piston. This then pushes the pistons up and down inside the cylinder block, depending on the orientation of the engine, to give the stroke of the engine.
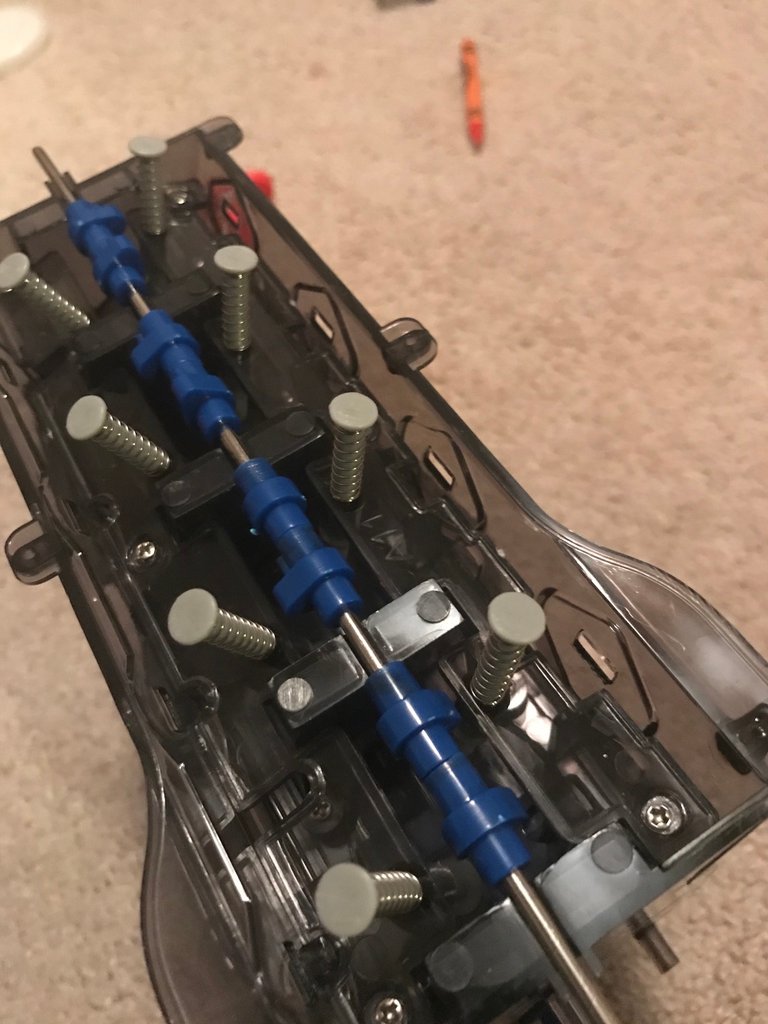
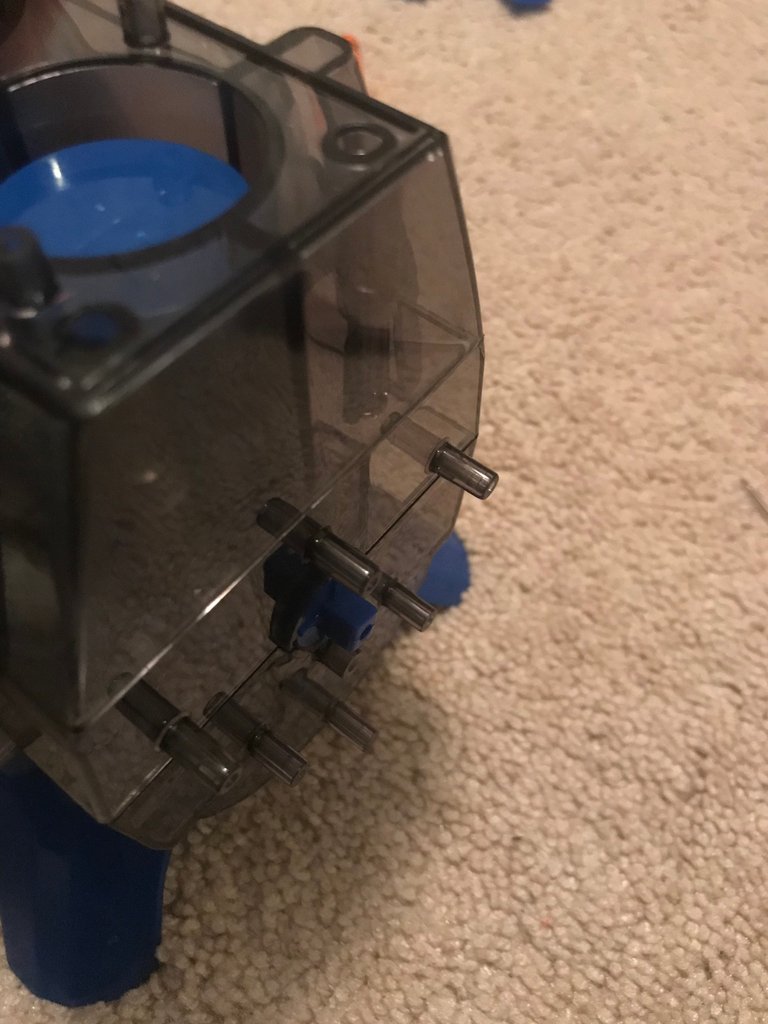
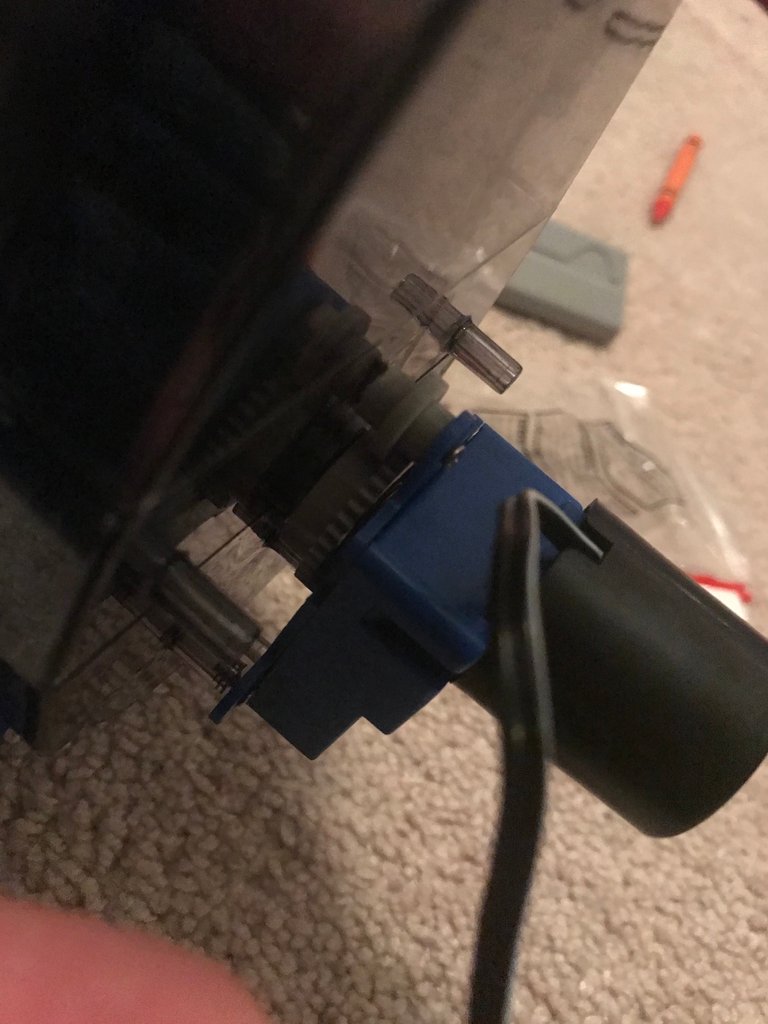
The next one up is the upper lower cylinder head where the intake and exhaust valve stems and stem heads reside. These valves open and close depending on the stage of the combustion cycle it’s in. The ignition valves, which open up a little bit and allow gasoline to squirt in, are the bigger ones. The smaller ones are the exhaust valve stems. These allow the combustion gasses to leave the cylinder and enter the exhaust system. In turbocharged cars, these gases are recycled to provide the extra power for the engine.
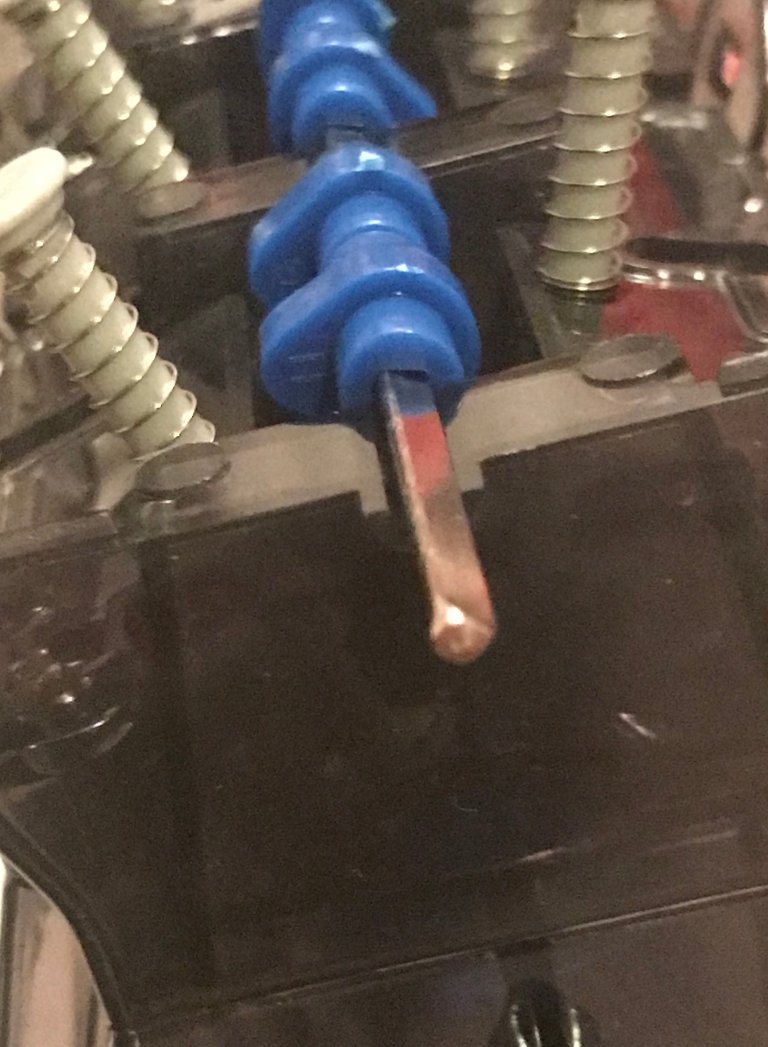
This is a view of the lower cylinder head looking down on it where the other view was looking up at it. This is the top of the valve stems, where the rockers move it.
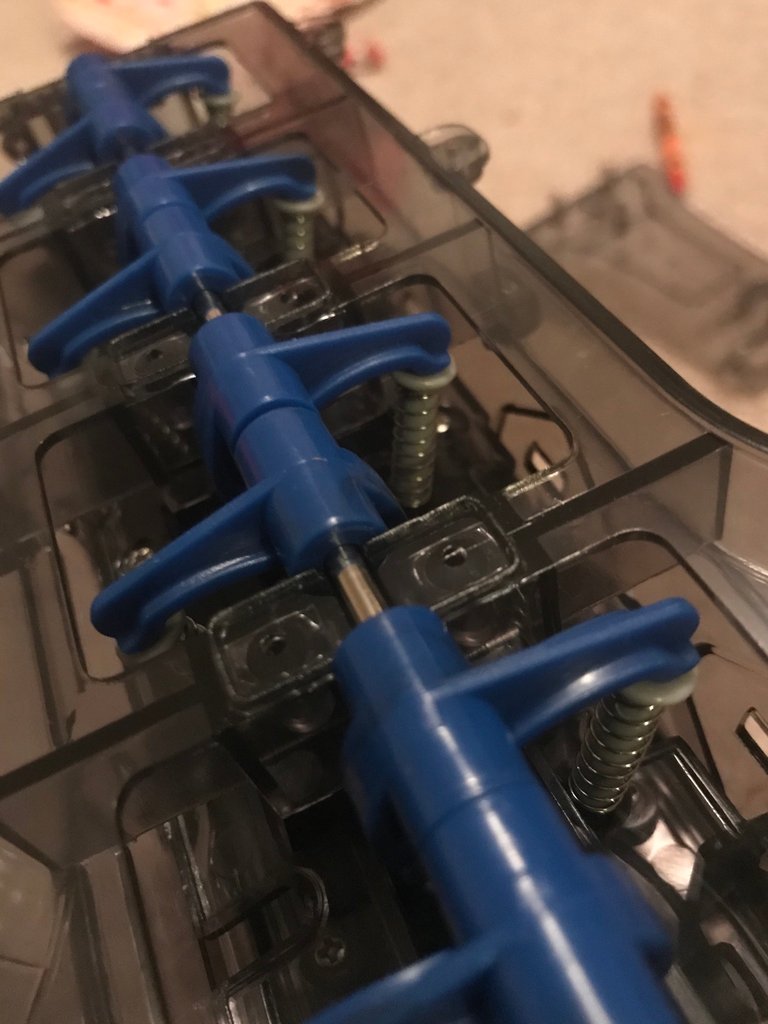
This is the camshaft view looking down at it. The camshaft is a long piece of metal with little oblong pieces on it called cams. These cams are what, in the section immediately above, are the ignition and exhaust cycles. The cams rotate on the shaft at a designated rate so that all of the ignition cams are pressing down on the valve stems for the ignition cycle at the specified time, and the exhaust cams are pushing on the exhaust cams at the specified time. This allows for proper ignition and exhaust cycles of the internal combustion engine during the rotation of the crankshaft.
If you’re able to zoom in a bit, you can see the cams are specifically delineated. Each one has a specific location on the shaft so that it operates at the right rotation for the cycle. Each one has to be placed in order so that the cycle is correct.
These are the rockers and rocker arms. These rotate with the camshaft and depending on the part of the cycle, open the exhaust or ignition valves.
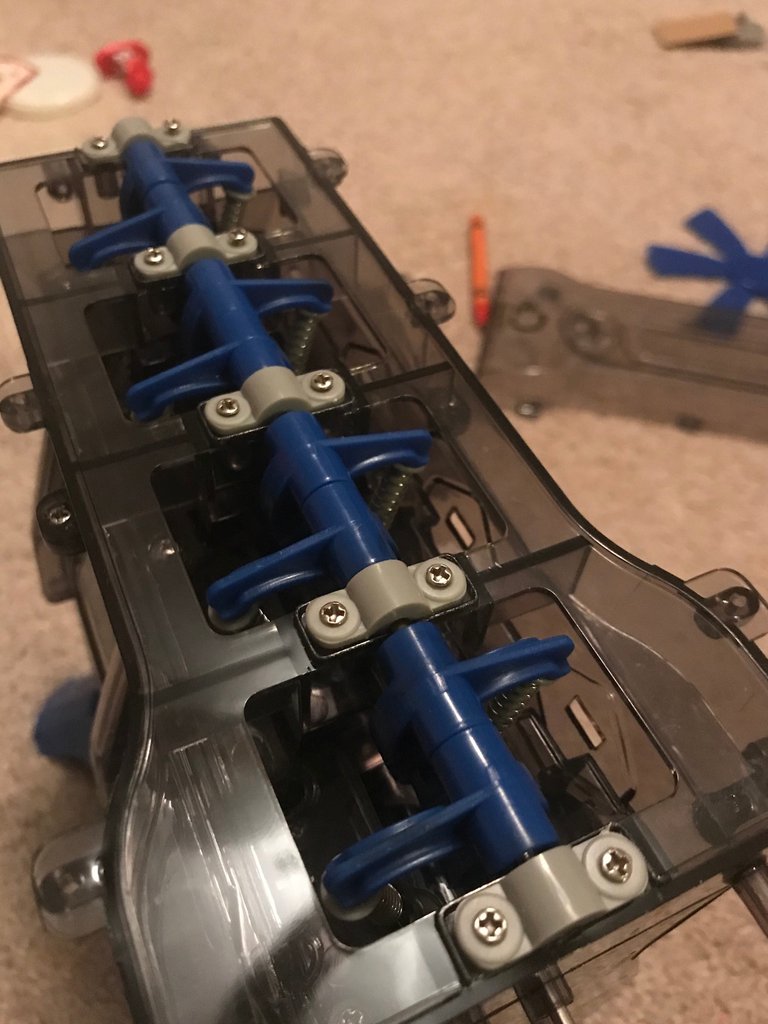
The camshaft is held in place, given the importance of the cams, by the clips position near each cylinder.

Before putting the camshaft cover on it, sealing the engine, you have to make sure that you positioned the sections of the engine appropriately. I made the mistake of putting the big pieces backwards so that on the ends, which connect to the water pump and fan on one side and the transmission on the other, meaning I had to take it apart to fix my mistake with a real engine that would be brutal!
Once you verify the things are positioned appropriately, pop the camshaft cover on and seal it up. You need to add the inner pulleys on the front of the engine before you put the front cover on it. The top part on the inside is the timing wheel and the bottom is the timing gear. These are important because they are part of the timing so that it cycles appropriately. Finally, attach the timing belt. You can tell the difference between the belts because the timing belt has large grooves for the timing gears where the fan pulley is smooth.
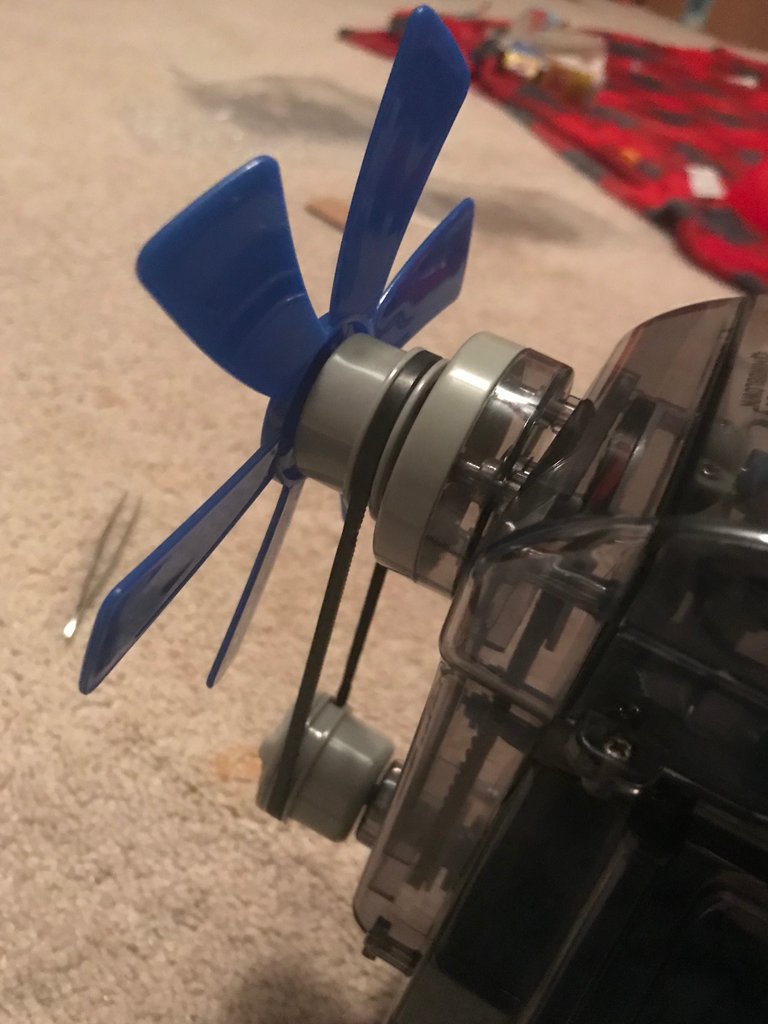
You need to put on the two pieces of the water pump at the top and at the bottom the crankshaft pulley goes, since the crankshaft is at the bottom of the engine. Once those are on, we put the crankshaft pulley cover and the fan belt pulley. When that’s done we can add the fan belt as well as the fan itself. This completes the front of the engine!
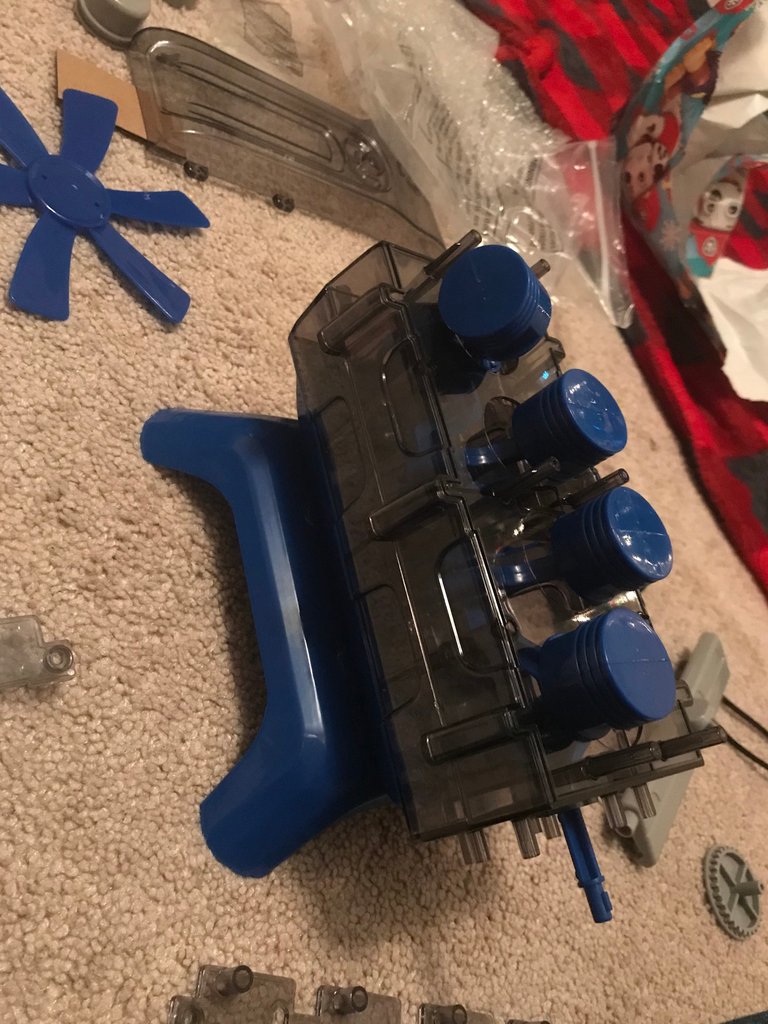
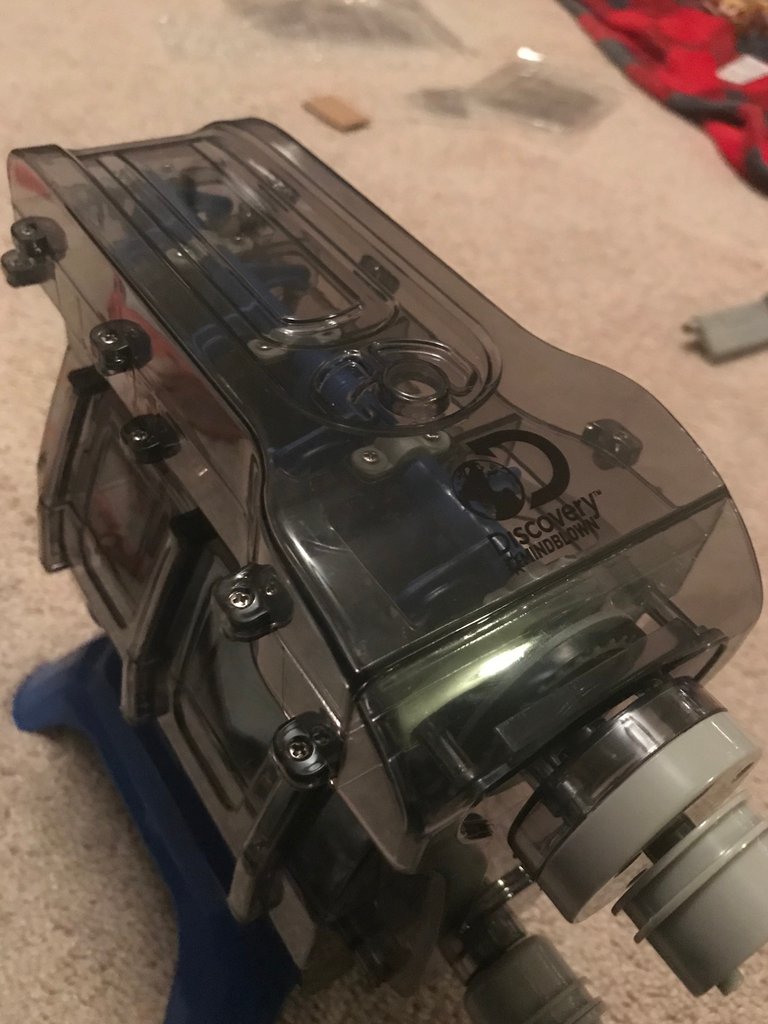
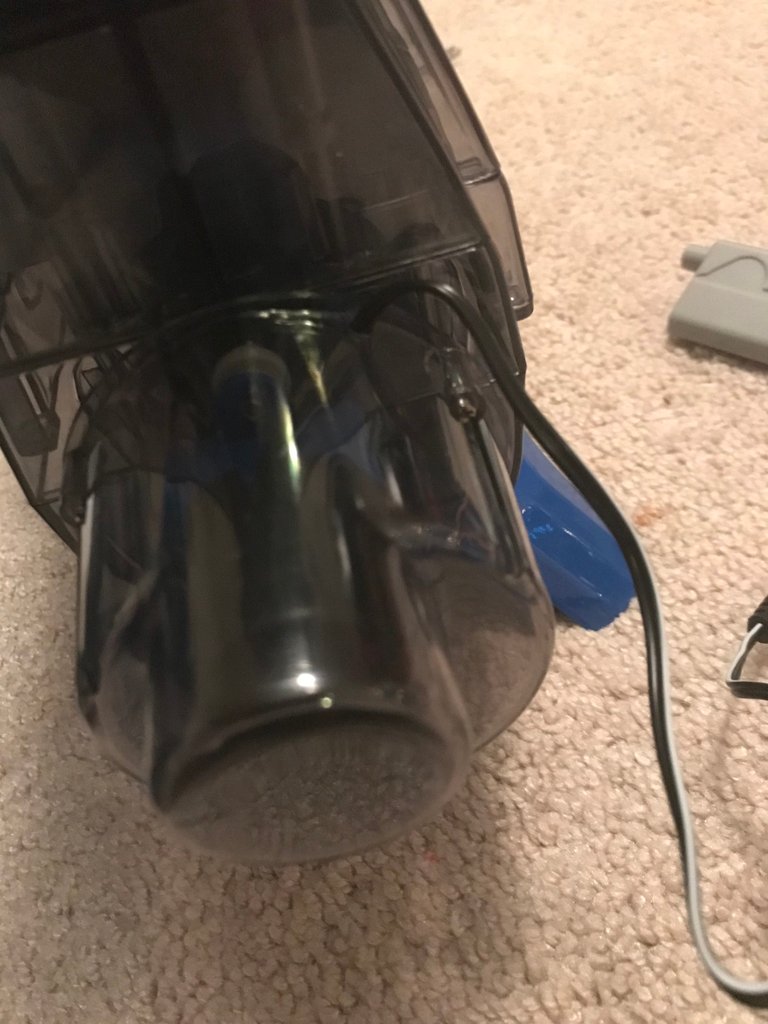
This is what the completed assembly looks like in the front.
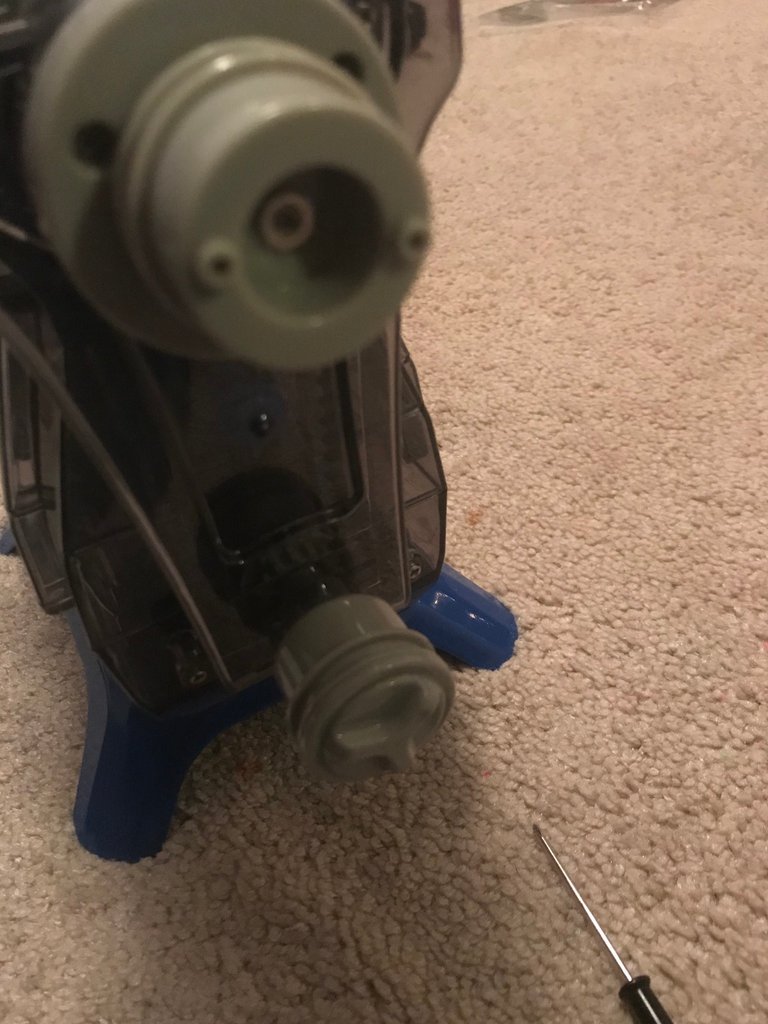
Now for the back of the engine, where the transmission would be. You need to attach the flywheel spacer and the flywheel clutch to the first part of the rear cover. These would then attach to the clutch in a normal engine. Here they attach to the drive module.
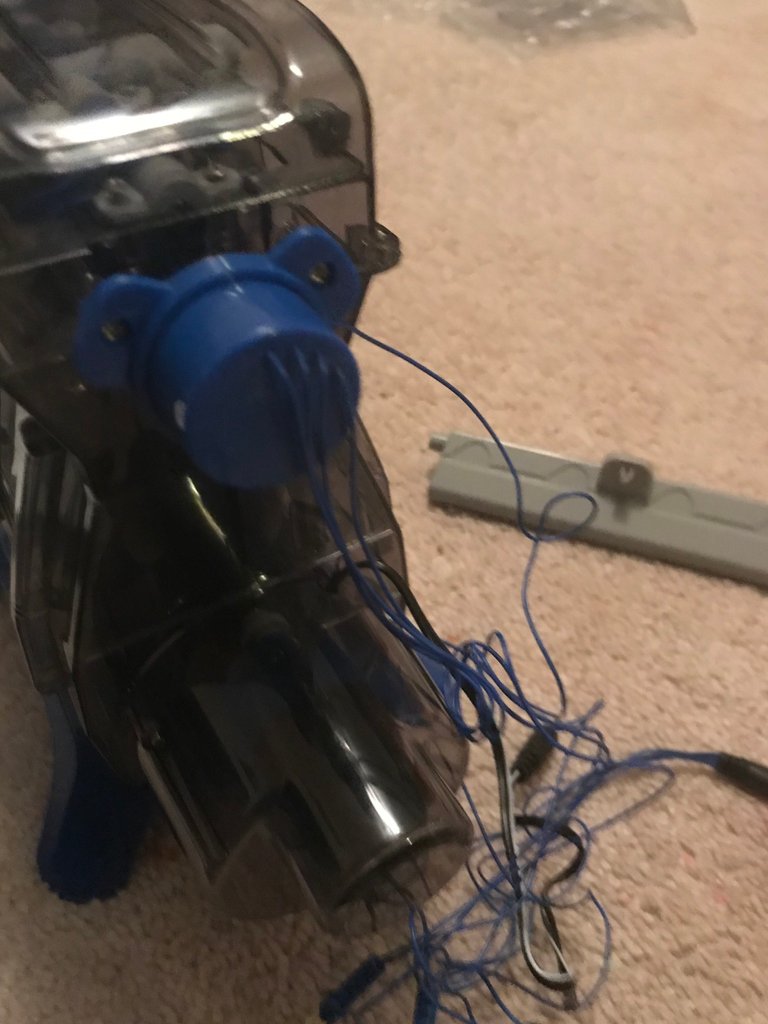
Once you get the flywheel and drive spacer on, add the clutch housing and that seals the clutch part of the rear of the engine. The final piece for the ends is the distributor cap. This distributes the electric charge at the right times to the spark plugs so that they spark when there’s gasoline in the cylinder waiting for ignition. There’s a certain number to each wire, which corresponds to the cylinder it’s designed for and the spark plug it charges. If you alter the wire to cylinder assignment you’ll get poor ignition and the engine will misfire, causing plenty of issues. Just run the wire from the distributor cap to the correct cylinders spark plug.
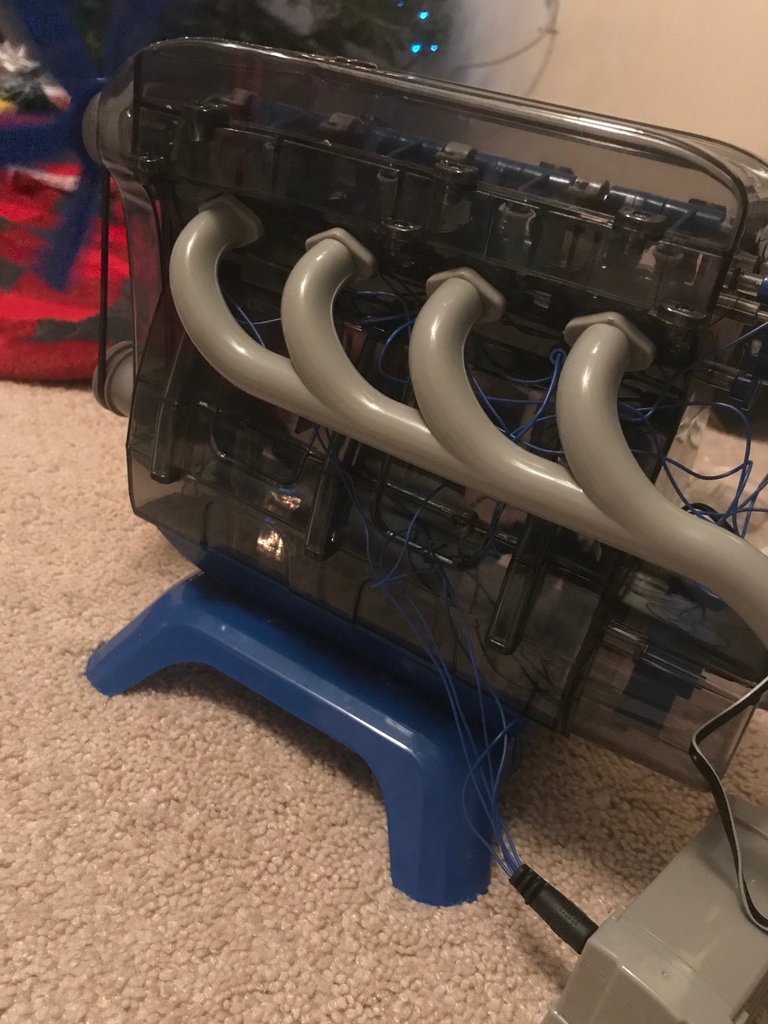
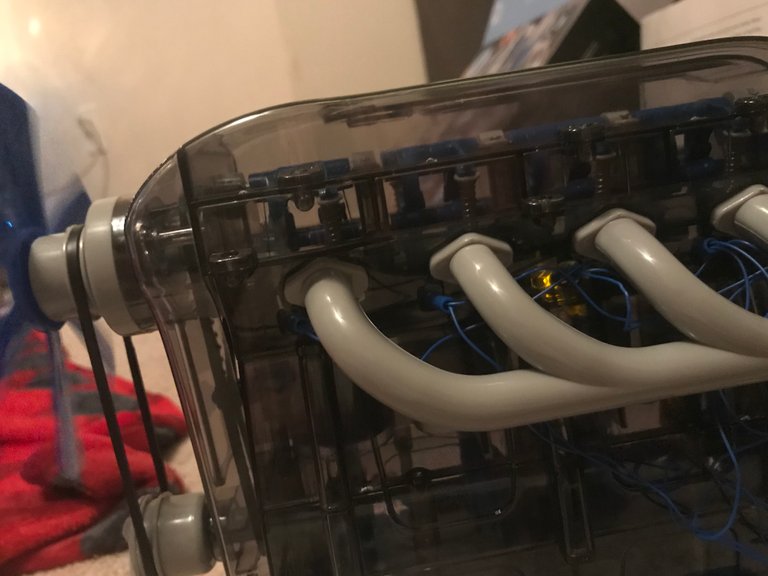
The last components to add are the intake and exhaust manifolds. These provide the air needed for combustion, the intake, and the path to exit the engine, the exhaust. These go on either side of the engine. I unfortunately only grabbed a picture of the exhaust but on the other side is the intake.

I tried to get pictures of the engine parts moving, you can kind of see it. It was awesome to see it working correctly after the 2 hours!
Bathroom floor washer dryer
DIY bathroom floor near a toilet
DIY 2011 Nissan Sentra spark plugs ; DIY Tomago Cages ; Securely Hanging a Cabinet ;
Joint Compound on Ceiling ; Washing Machine Drain Pump ; Bubble wrap insulation on a wall ; Finish work in the bathroom ; Bubble wrap on windows ; Laminate floors in a bathroom ; Ball joints on a car
Connect with me!
Did you enjoy this post or my other posts? Please consider following me for more! @cmplxty
Do you want to get paid, in crypto, for searching the internet? Try using and signing up for Presearch to earn some great crypto! I've currently got 860 PRE tokens, with a market value of $3.86. It doesn't sound like a lot but when you search using sites like Google you get paid $0! Join Presearch to break Google's stranglehold on the internet searches. If you'd like to sign up, use my referral link below and spread the word!
https://www.presearch.org/signup?rid=513043
Still using Steemit.com? Upgrade! Steempeak is a much better user-interface, gives loads more information at your fingertips and has some great developers behind it. Give it a try, go to www.steampeak.com and see how much easier it is. You just need to use Steem Connect, one of the most secure ways to log into other Steem frontends.


Shared on Twitter!
https://twitter.com/XtyCmpl/status/1213282619057680386?s=20
Thanks for using eSteem!
Your post has been voted as a part of eSteem encouragement program. Keep up the good work!
Dear reader, Install Android, iOS Mobile app or Windows, Mac, Linux Surfer app, if you haven't already!
Learn more: https://esteem.app
Join our discord: https://discord.me/esteem
Thanks!
As a follower of @followforupvotes this post has been randomly selected and upvoted! Enjoy your upvote and have a great day!
That only took 2 hours? Wow.
Yeah, maybe because I was as excited as I was to open it lol not sure!
Hello,
Your post has been manually curated by a @stem.curate curator.
We are dedicated to supporting great content, like yours on the STEMGeeks tribe.
If you like what we are doing, please show your support as well by following our Steem Auto curation trail.
Please join us on discord.
Thank you!
Congratulations @cmplxty!
You raised your level and are now a Dolphin!
Regards @cmplxty.
OMG, what a fantastic toy!
I have a lot of mechanical friends who would die of having one like that.
You spent two wonderful hours putting it together.
I was surprised by the accuracy of the piston cycle and the cam shaft. You had to place them in time. Amazing.
Surely you had a lot of fun.
PS: The video of the engine running was missing, please!
Your friend, Juan