Upgrading the water drop photography kit - new hardware (DIY build)
So last year I created a water drop system to photograph water drops hitting each other. The original post on the hardware side of things is here
I recently wanted to have another go at taking some water drop images but found myself faffing about too much trying to get the annoying syphon bottle to stay in place and then to get the solenoid to fire at regular and reliable intervals to produce consistent water drop collisions. The original solenoid was cheap and nasty, made of plastic and just didn't work very well. I found a good site that described the better kind of solenoid valves so did some research and decided to rebuild.
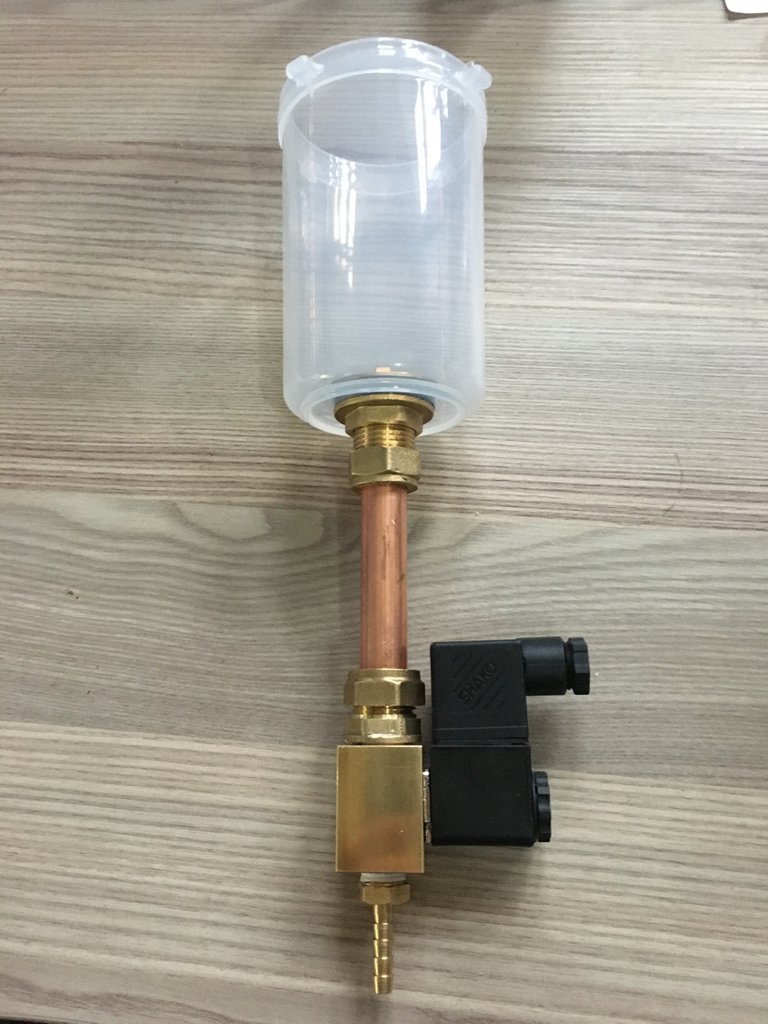
So I have decided to upgrade it slightly, and for the sum of around £50, came up with this

It is pretty much a complete rip off of the Splash Art II Kit but that retails at close to £200 with the controller included. I already have my own custom-built Arduino controller so I don't need all that therefore I decided to put my plumbing skills to the test.
Parts
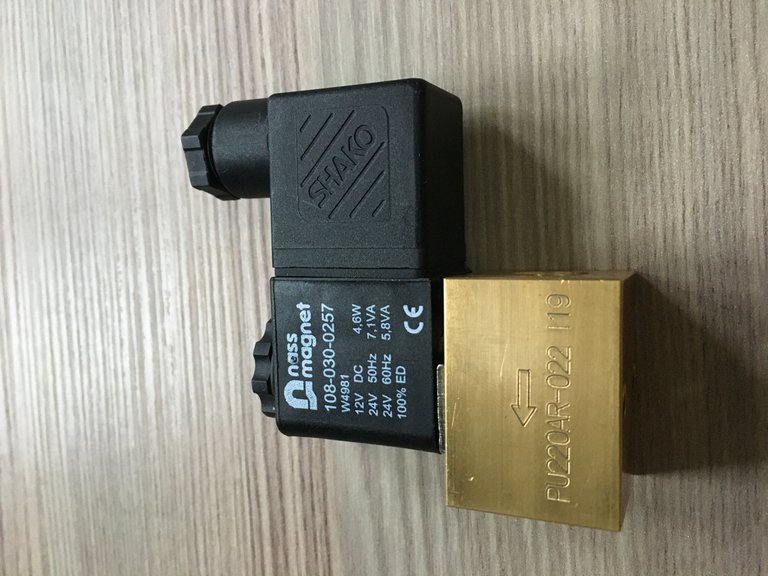 12v Shako PU220AR solenoid (1/2 inch BSP thread) | 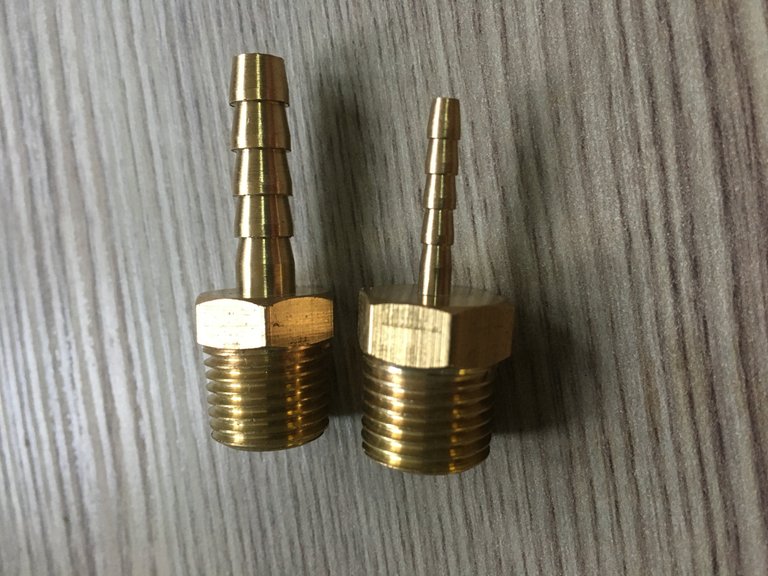 6mm and 2mm nozzles with 1/4 inch BSP thread. I have two for experimentation purposes. | 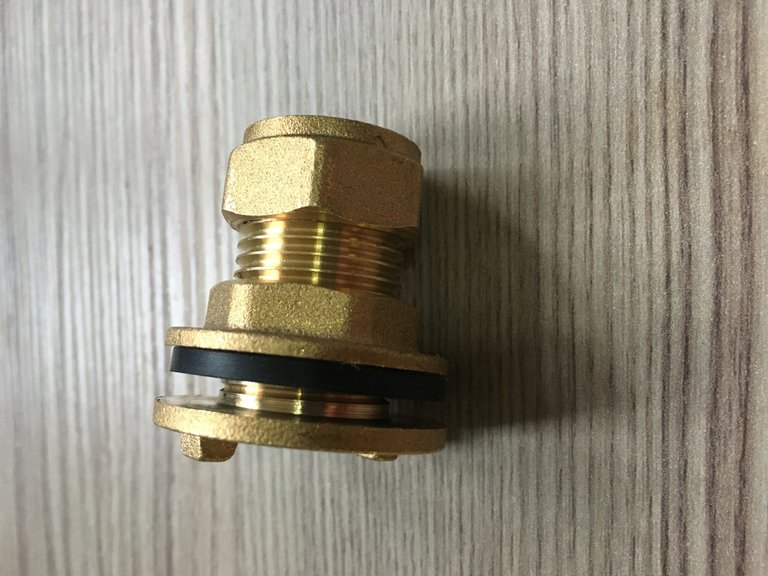 15mm compression tank connector | ||
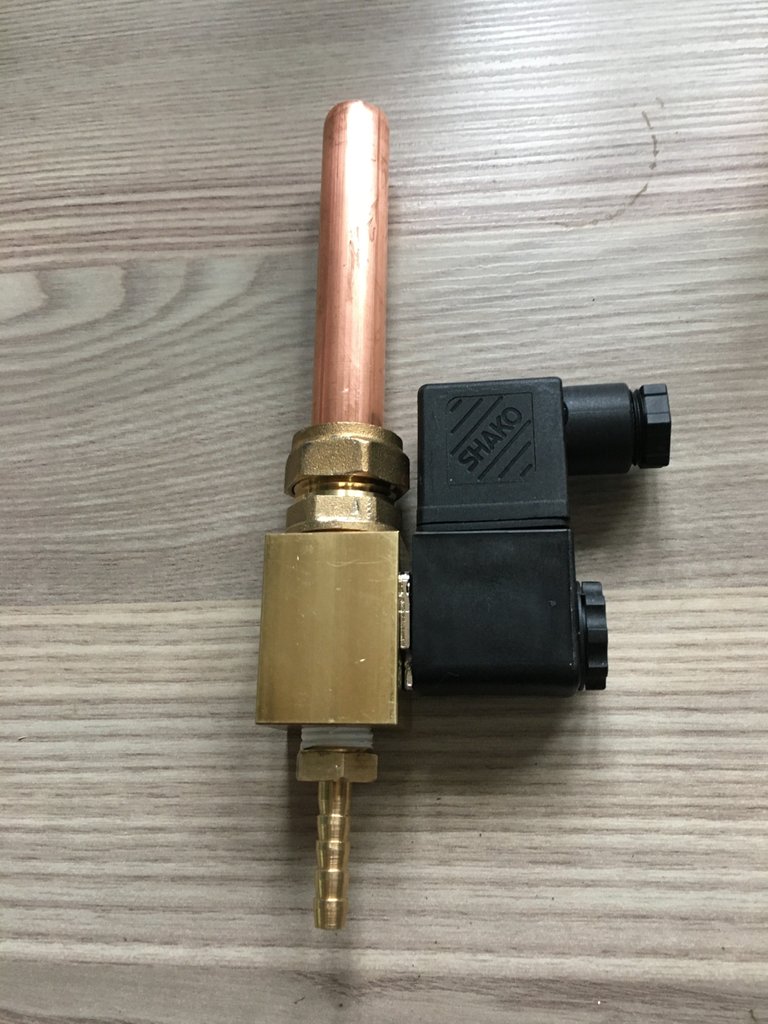
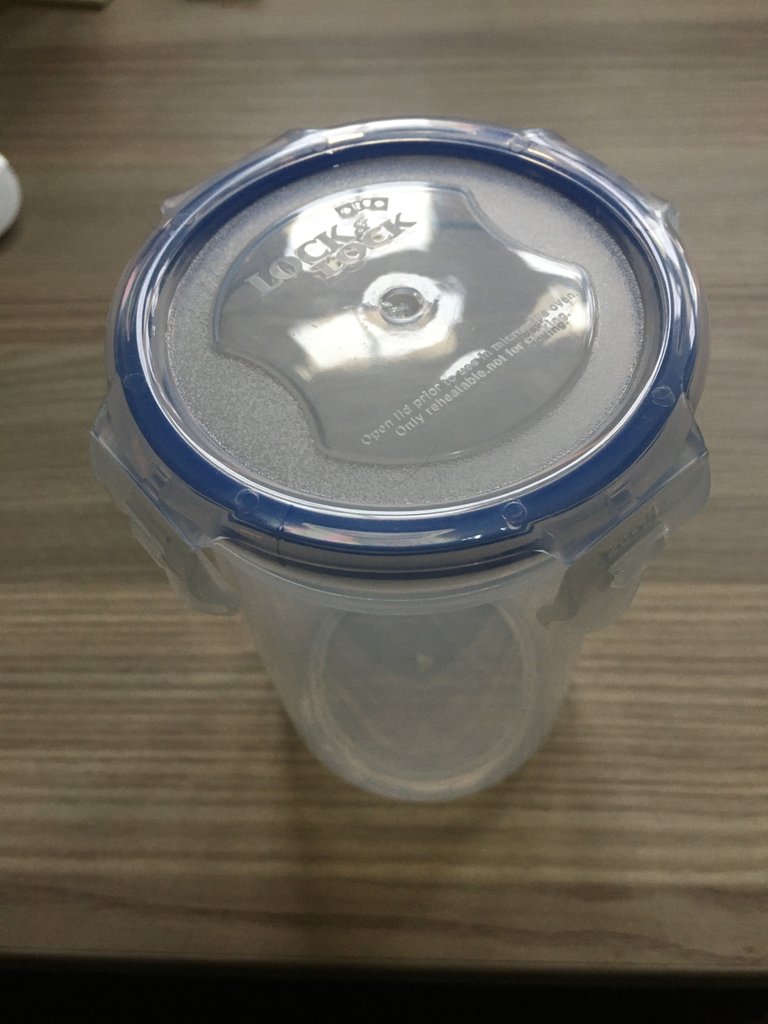 350ml Sealable food container | 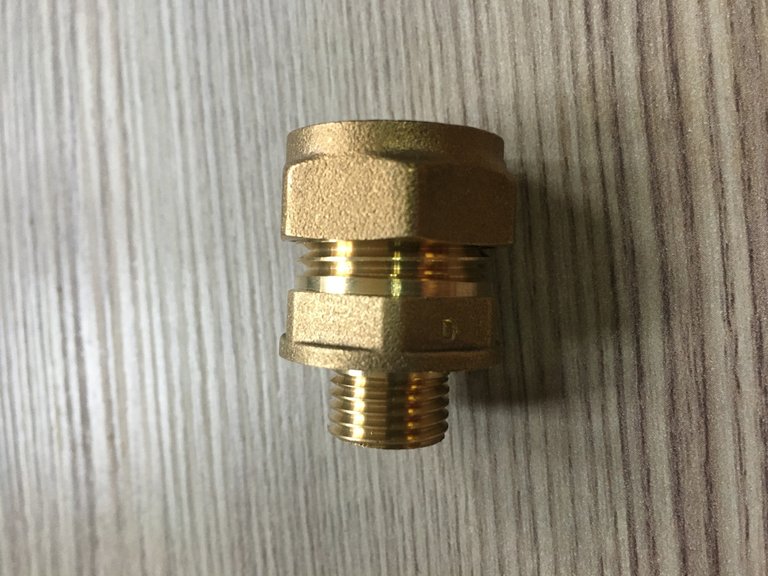 1/2 inch BSP to 15mm compression coupler | 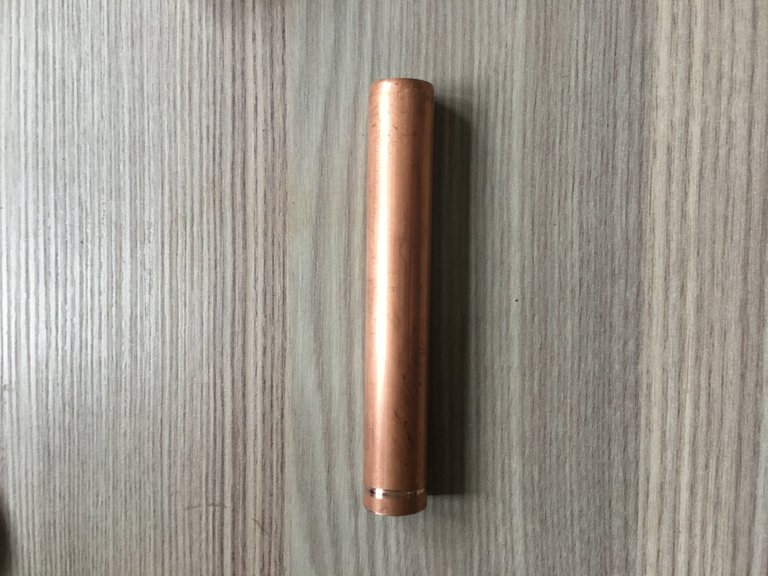 Small length of 15mm copper pipe | ||
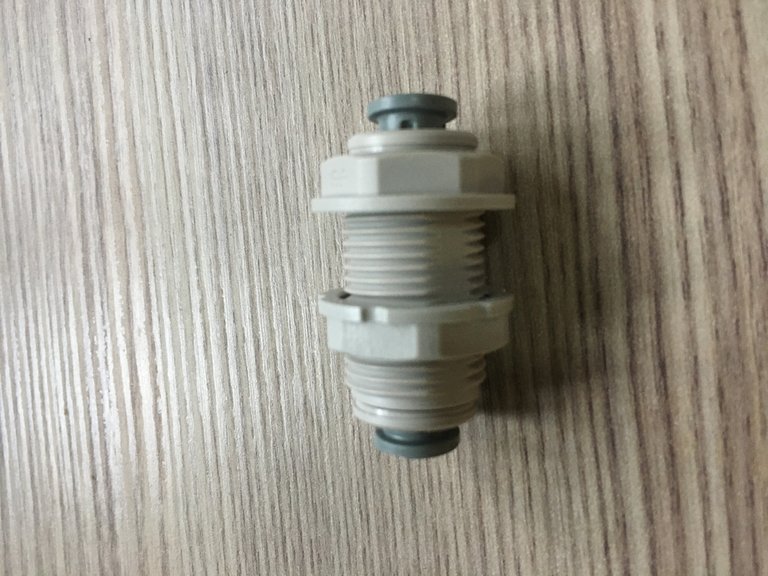 6mm bulkhead connector (water filter parts) 6mm bulkhead connector (water filter parts) | 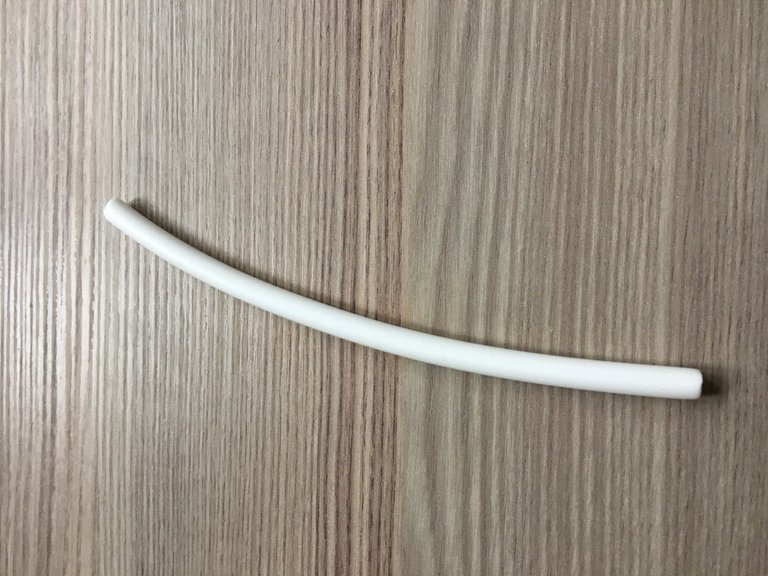 A short length of 6mm water filter tube | 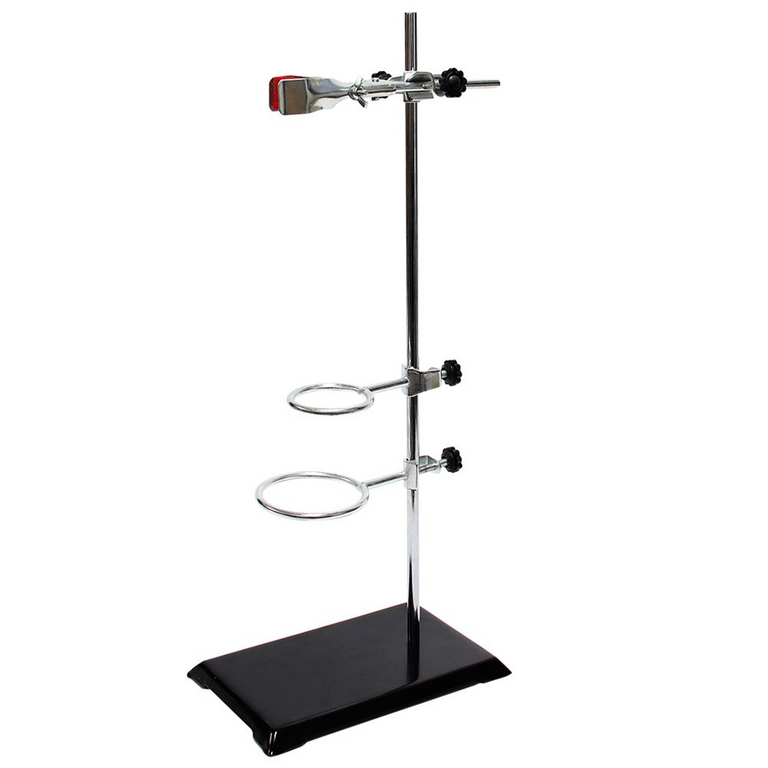 Laboratory clamp stand |
Assembly
- Wrap some PTFE tape around the threads of the nozzle and then 1/2 inch to 15mm coupler and fit them into the solenoid.
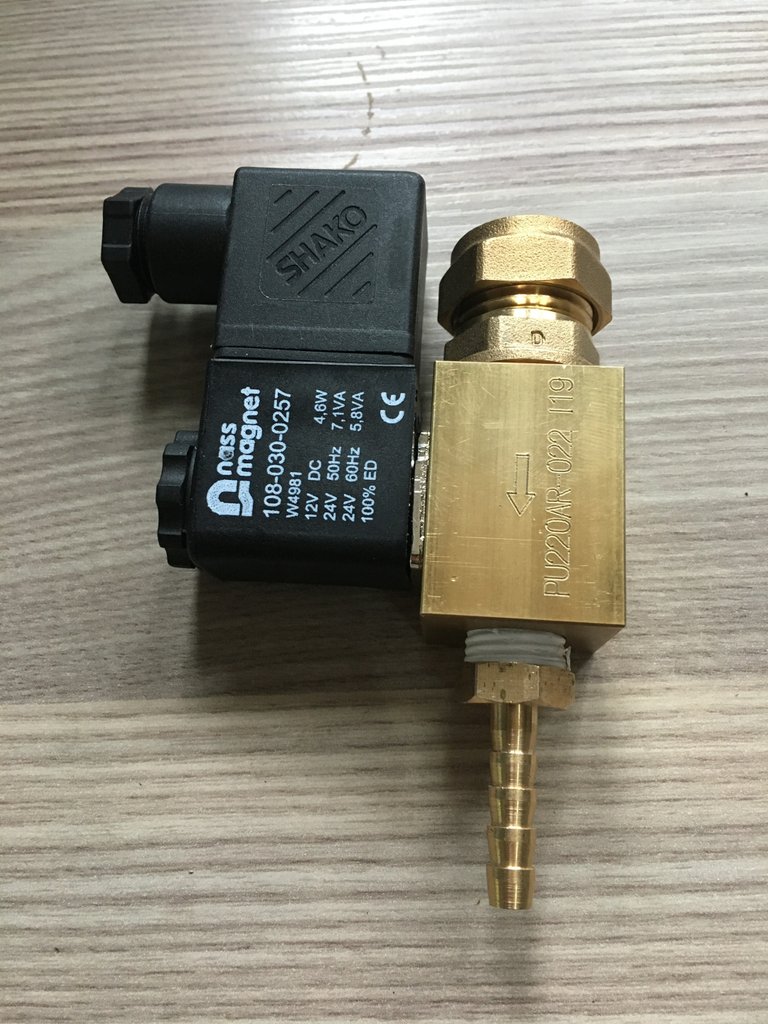
- Fit the 15mm pipe into the coupler. Compression fittings need to be hand tight plus 1/4 of a turn to not leak.
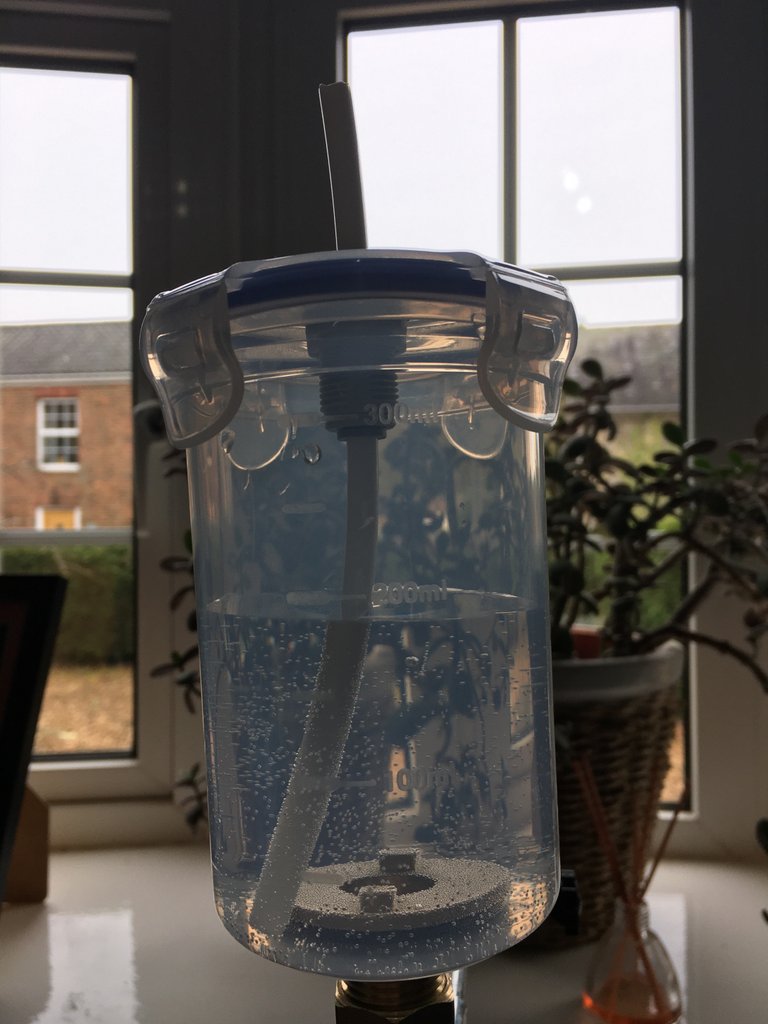
- Drill a hole in the bottom of the storage pot and then fit the tank connector.
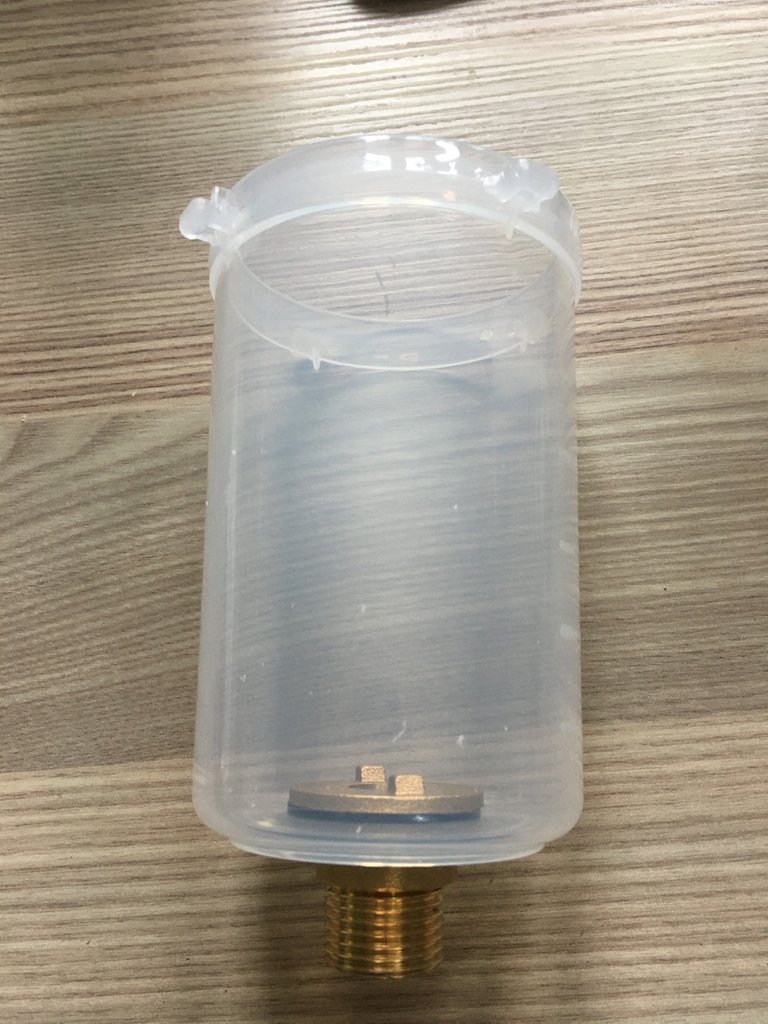
- Connect the tank connector with the 15mm pipe. This was bloody tricky. You can see a couple of "pins" on the top of the tank connector which you need to hold while you tighten it up. I ended up with a nail held across both of those points with a pair of pliers while I tightened it the nut below. Nearly took my knuckles off a couple of times.
- Drill a hole in the lid and fit the 6mm bulkhead. This is to create something called a Mariotte Syphon which is used to regulate the flow of water. You don't want the flow of water to slow down as the reservoir empties due to the reduced pressure and this overcomes that. You need a hose that goes down to the bottom of the reservoir (and I added a bit at the top just to ensure that the bulkhead fitting was perfectly air sealed throughout.
 |  |
The whole thing is then held in the clamp-stand and is ready to go

I am going to wire this up and test this out very soon and then i have plans to build a proper project box version of my current Arduino prototype with Bluetooth capabilities to link to Blynk (which I use to control the dropper) as well as making it all self contained in terms of power - currently I plug the solenoid into the mains and the Arduino into the USB on the computer.
Thanks for looking. Hopefully, I will post some of the water drop images I get from this very soon
Mark
Marvelous. Very detailed post for building a water drop kit, and your modifications are interesting as well. What I am missing is the result, it would be nice if you'd share a water-drop photograph if not in the post then, at least, in the comment.
Anyways, love it.
Thanks & Have a nice day
Thanks for reading through and of course, i'll post some pics with this new setup but there are some older ones i took with the old hardware here and here
These were all some outclass pics, hopefully, new hardware would do wonders, and we'll be seeing some excellent pics after the addition of the color/s in the water, as you mentioned in your latest post.
Wish you a lovely day
https://steempeak.com/@markangeltrueman/first-attempt-with-new-dropper-original-photography
Cool can't wait to see the results :)
This post was shared in the Curation Collective Discord community for curators, and upvoted and resteemed by the @c-squared community account after manual review.
@c-squared runs a community witness. Please consider using one of your witness votes on us here
Thank you for using the #diy tag. This post has been manually rewarded with BUILD tokens in the form of an upvote with our @build-it.curator account. You can buy, stake, and exchange our "BUILD" tokens for steem on steem engine and Steem Leo's exchange
Build-it is a central hub for DIY and How-To projects. It's an opportunity to find and share the latest in DIY, and How-To tutorials. The recommended tags required when creating a DIY article are #diy, #build-it. #how-to, or #doityourself.
Chat with us on our discord and telegram channels Discord, Telegram. Are we adding value ? your witness vote will be appreciated! Click here to vote
What is the main application of the water drop system? I wish to know
Posted using Partiko Android
see my new post to find out :)
Such an awesome science project. This is the main reason I have not got into this type of photography. I do not have the patience to set this up, take it down and clean it up after I am done, lol.
I don't mind that bit. The worst bit is when you build all the electronics and then accidentally put the 12v across your arduino and blow it up. Done that a few times now.