Evermusic Pro: The Best Cloud Music Player
Hi my hivean friends, today I am going to teach you how to have a giant music library from the cloud, for free, forever.
I have been using it since 2019. I used to have cloudbeats, but it doesn’t offer support to MEGA accounts, which is a must for me.
When you use the paid version for Evermusic, the app allows you to connect unlimited MEGA accounts to it. Each free account gives you 20gb of space so , in case you’re in a budget, and love music, you can create 10 accounts for example, and connect to Evermusic pro. This way you are going to access up to 200GB of music, for free. That’s exactly what I did. My whole library has 350gb, to be precise. 42k+ Songs and more than 24 days of Audiobooks.
1st Step:
- Download and install the Evermusic Pro app on your iOS device.
2nd Step
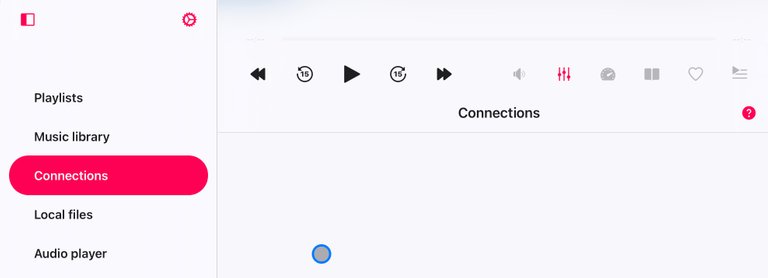
- Open the app and tap on the "Connections" button, on the left, if you’re on iPad, or on the bottom, on iPhone.
Tap on "Cloud Services" and select the cloud service(s) you want to connect to (e.g. Dropbox, Google Drive, OneDrive, etc.).
3rd Step
- Follow the prompts to log in to your account(s) and grant the app access to your music files.
4th Step
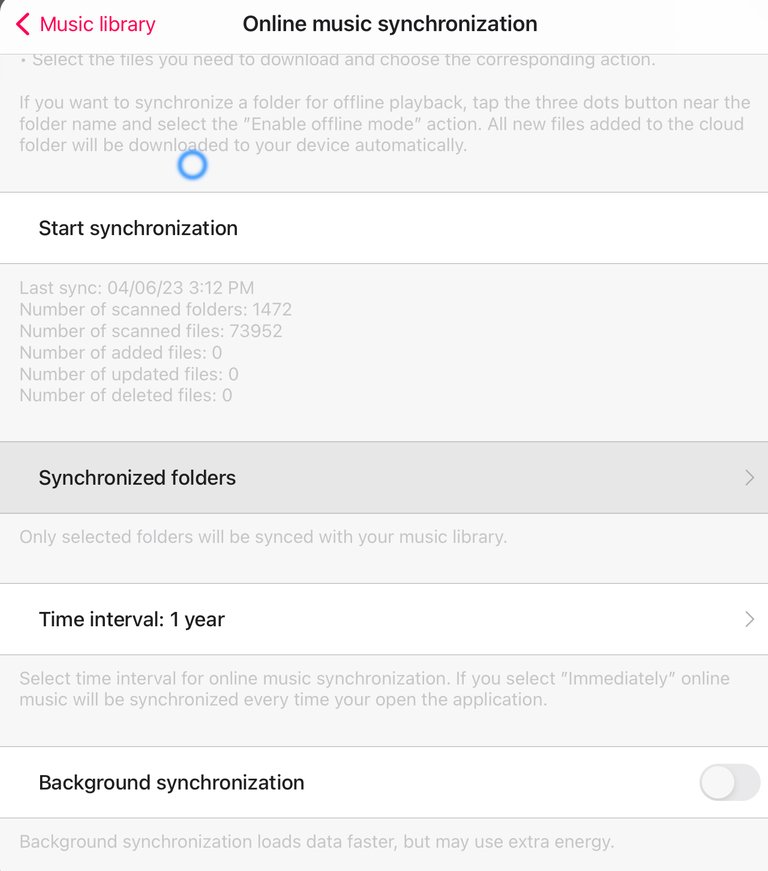
- Once connected, go to Settings, on the left corner. Choose “Music Library, and then click on “Online music synchronization”. You'll see all your cloud services and a circle to choose which folders to sync.
5th Step

- To download music for offline listening, tap on the three dots and choose "Enable offline mode" at the bottom. You are able to do that with genres, playlists, artists, songs, albums and composers. It’s GREAT!
6th Step
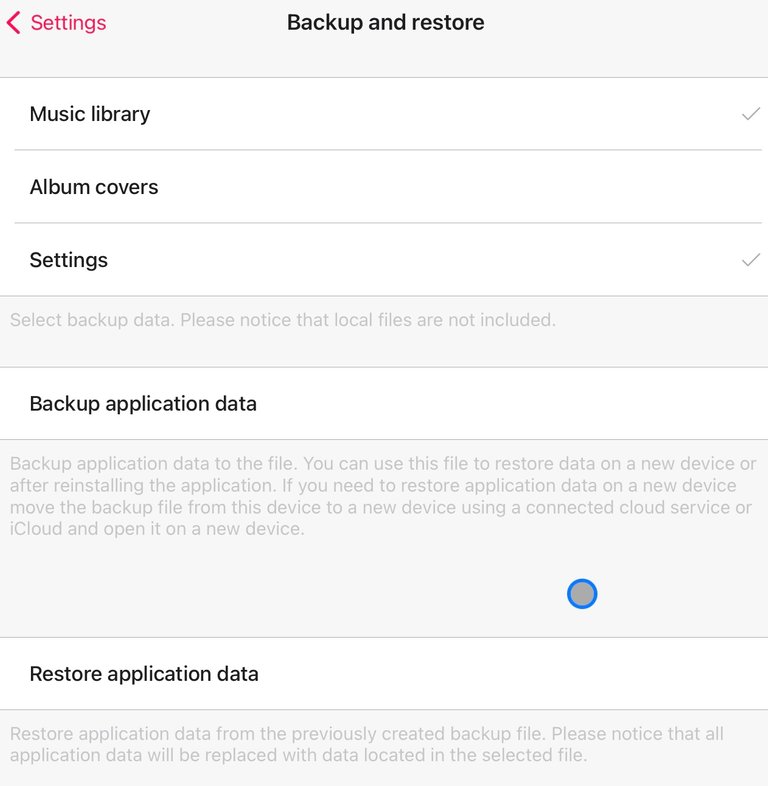
- Make a backup of your entire playlist. You can choose to backup just the playlist and not the album covers. This way the backup will have just some megabytes. It’s super fast to do it.
Take a brief look at my collection of 42 thousand songs:

Let me know in the comments if you have any questions.
This was another great post by:
@xmauron3
“The future is awesome’