My weekend apology trick.

Hello everyone, my name is Valblesza, welcome to my blog.
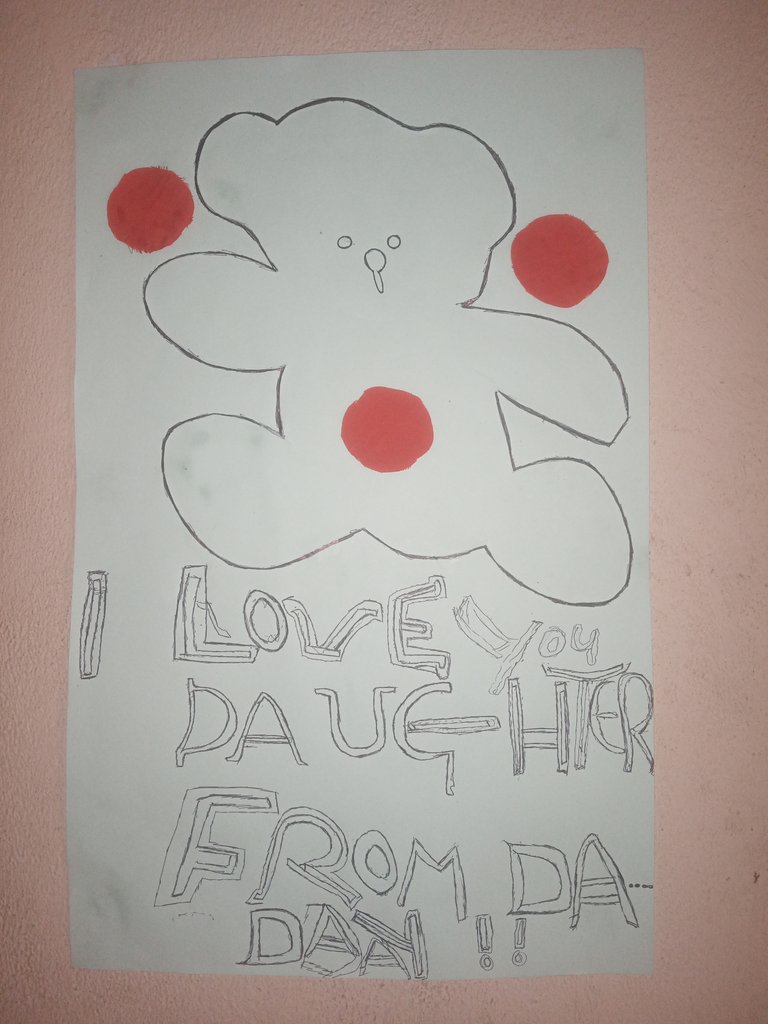
[English Version]. Today I made, a play card of love for my lovely daughter, she has been on my neck since last week, so the little time have in my office today, I made this play card for her. I know she will be happy.


This will be a surprise package for her and because tomorrow, she will have me all, sometimes I wonder if she is even competing with her mum lo!
So this is just one way to make her happy. But before that, have to present this to her. Even though the week was a very busy one. I didn't have much time to spend with her, but I am trying to make up for it, and this is one of the ways, I feel I can, what do you think?
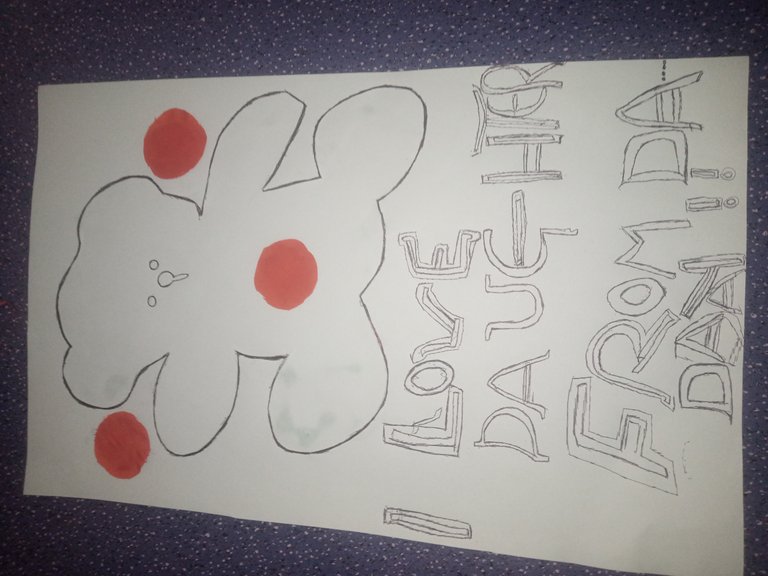
I made this beautiful, unique toe play card, with the best materials.
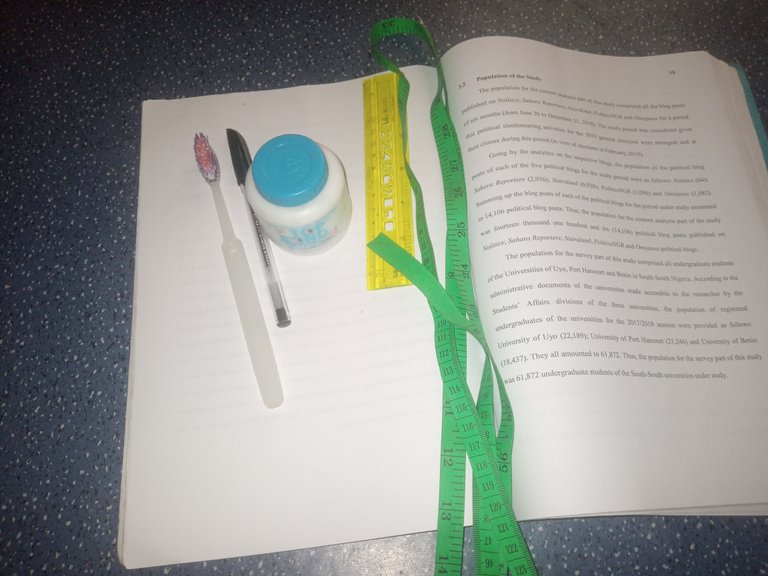
- Pink cardboard paper
- scissors
- Black pen
- Read fabric material
- Top bond gum
6)Ruler
7)Tap

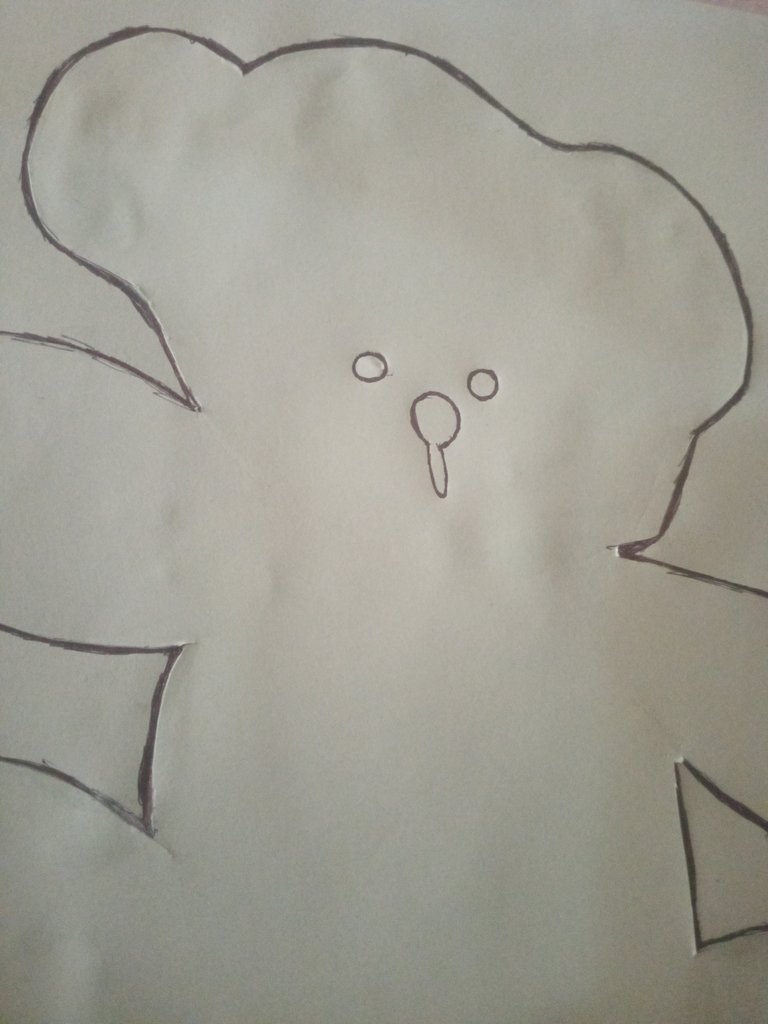
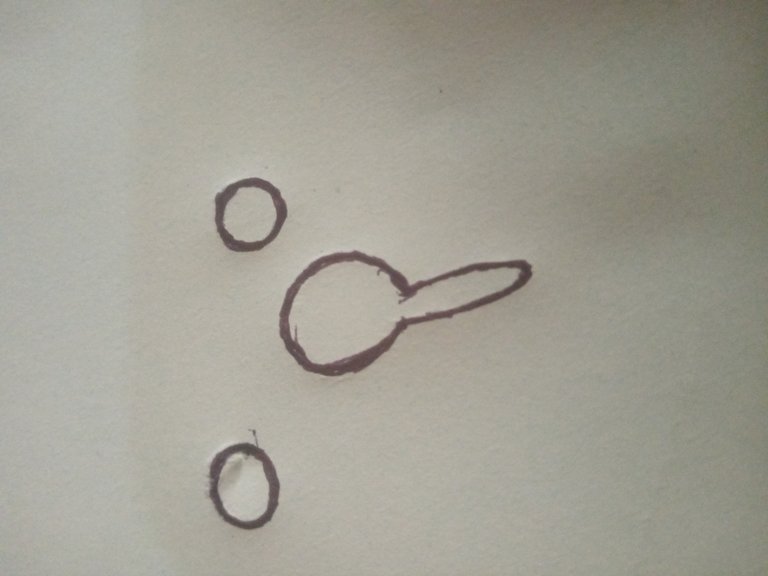
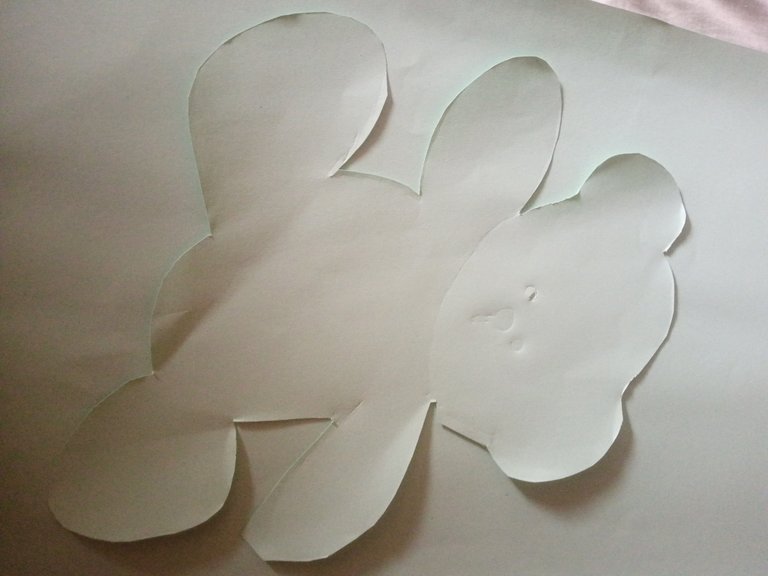
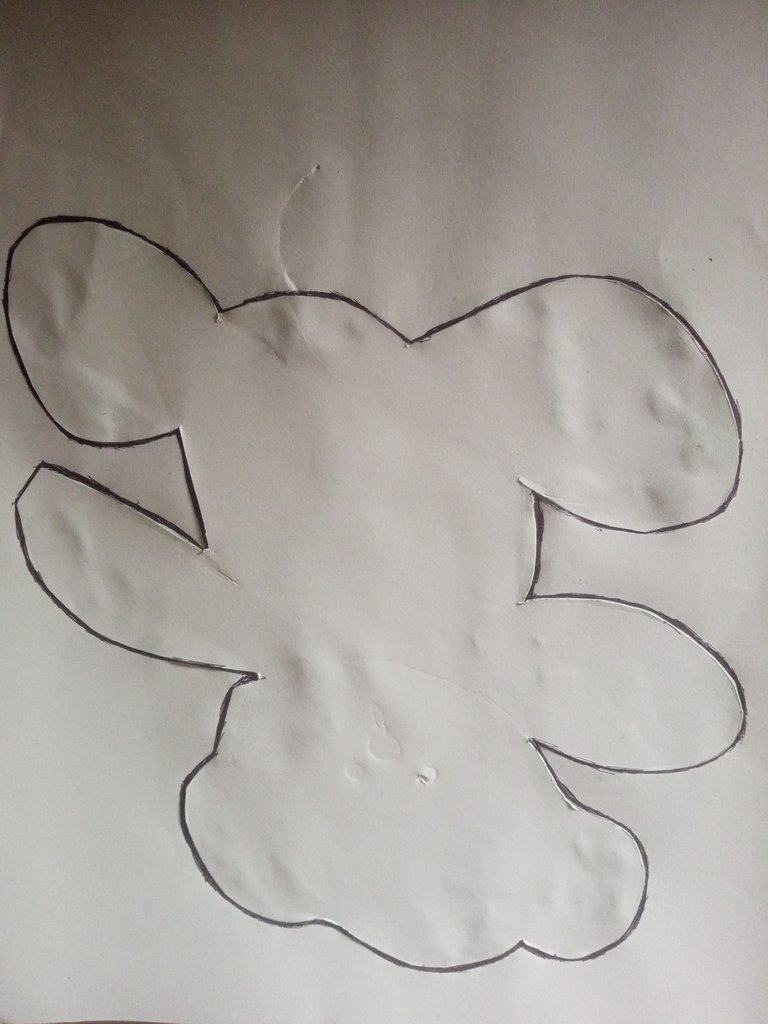
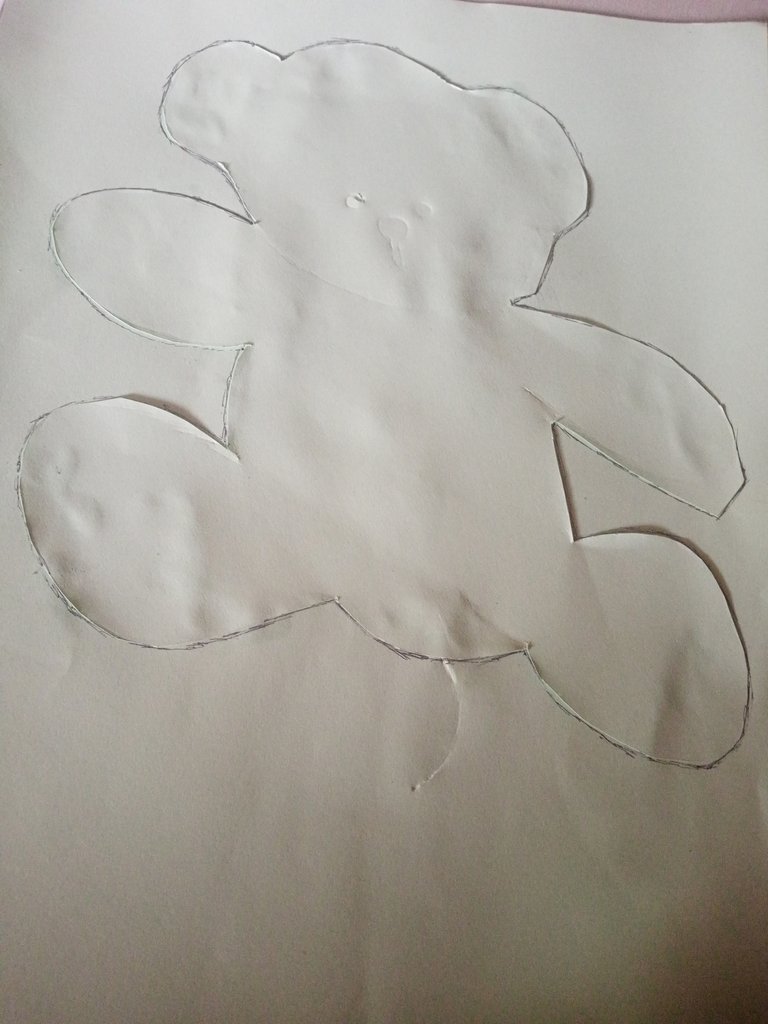
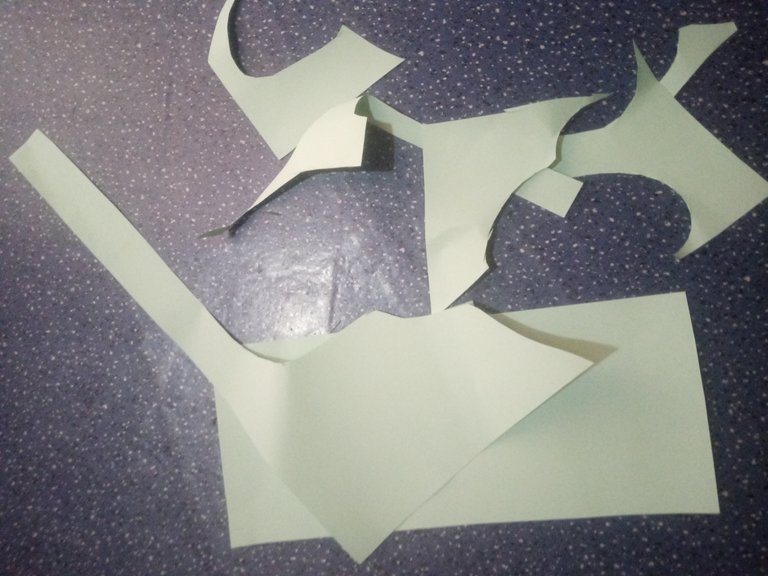
First I made a sketch of the play card on a cardboard paper. The light of the 10-inch by weight and 14 inch (ca. 36 cm) by length. After getting the right measurements, I now proceeded with the carving of the already sketched image on the cardboard paper.
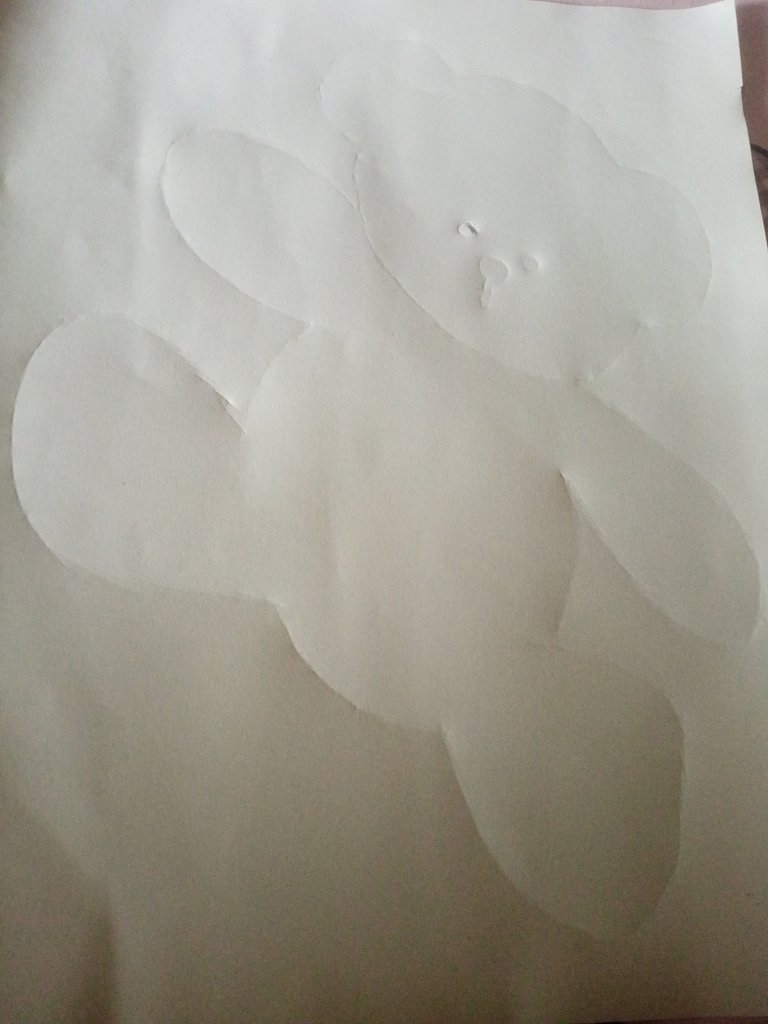
Then placed it on a different, well measured pink cardboard paper. Which is by length 23 inch (0.58 m) and by with 12 inch (ca. 30 cm).
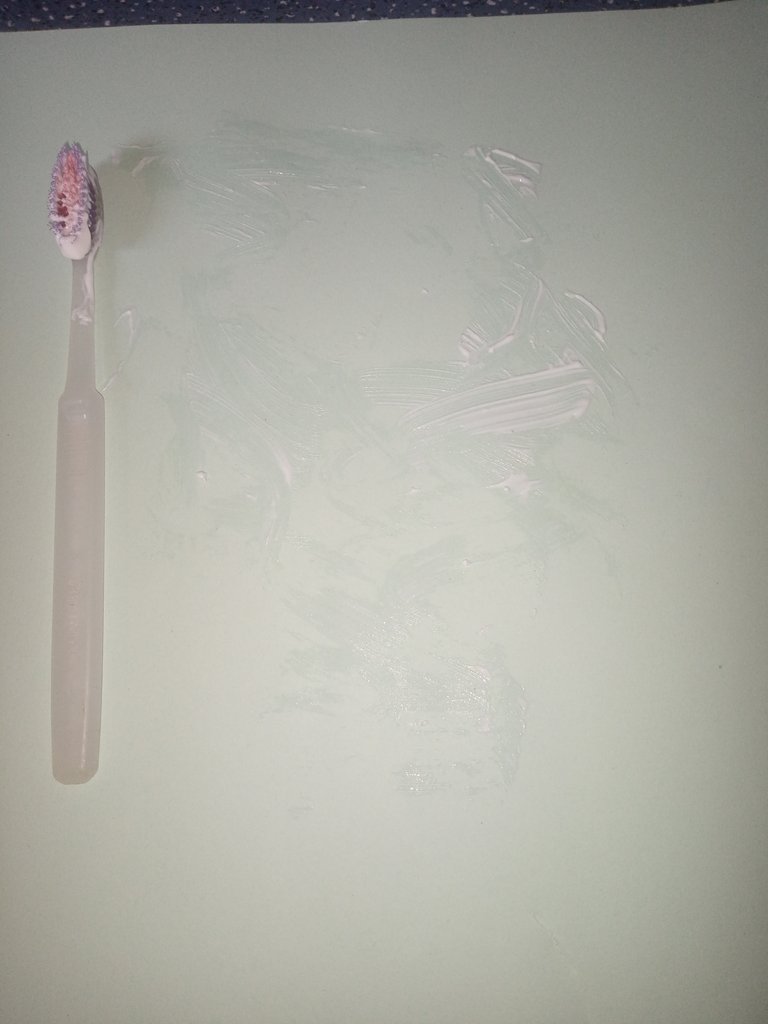
Secondly, I used top band gum to glue it to the cardboard paper which I used as the floor, and after it glued together, I used my black pen, to sketch around the toe.
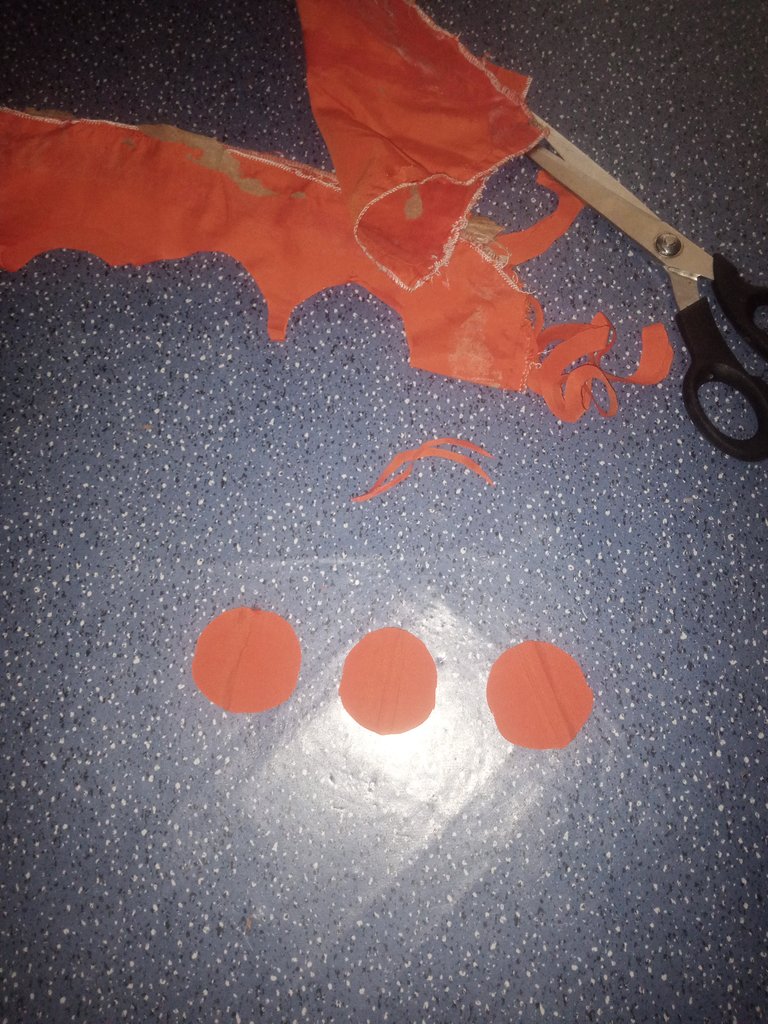
I carved a red fabric polyester material, into a love shape, and placed it in the positions you are seeing it now
Thirdly, I made a caption on the cardboard, expressing, my essence of making this beautiful play card toe.
And I am very sure that, she will love it.
Mi truco de disculpa del fin de semana.
Hola a todos, mi nombre es Valblesza, bienvenidos a mi blog.
[Spanish Version] Hoy hice una tarjeta de juego de amor para mi adorable hija, que ha estado en mi cuello desde la semana pasada, así que el poco tiempo que tengo en mi oficina hoy, hice esta tarjeta de juego para ella. Sé que estará feliz.
Este será un paquete sorpresa para ella y, como mañana me tendrá a mí, a veces me pregunto si está compitiendo con su mamá.
Así que esta es solo una forma de hacerla feliz. Pero antes de eso, tengo que presentarle esto. Aunque la semana fue muy ocupada. No tuve mucho tiempo para pasar con ella, pero estoy tratando de compensarlo, y esta es una de las formas en que siento que puedo, ¿qué opinas?
Hice esta hermosa y única tarjeta de juego para los dedos del pie, con los mejores materiales.
- Rosa
- Tijeras
- Bolígrafo negro
- Tela de lija
- Goma Top Bond
- Regla
- Goma de borrar
Primero hice un boceto de la carta de juego en un papel de cartón. La luz de la luz de 10 pulgadas de peso y 14 pulgadas (aprox. 36 cm) de largo. Después de obtener las medidas correctas, procedí a tallar la imagen ya esbozada en el papel de cartón.
Luego la coloqué en un papel de cartón rosa diferente, bien medido. El cual tiene 23 pulgadas (0,58 m) de largo y 12 pulgadas (aprox. 30 cm).
En segundo lugar, usé goma Top Band para pegarlo al papel de cartón que usé como piso, y después de pegarlo, usé mi bolígrafo negro para dibujar alrededor de la punta.
Tallé una tela de poliéster roja en forma de amor y la coloqué en las posiciones que ves ahora.
En tercer lugar, hice una leyenda en el cartón, expresando mi esencia al hacer esta hermosa punta de naipe.
Y estoy muy segura de que le encantará.
Es un bonito regalo, ojalá se ponga muy feliz
Gracias, agradezco que visites mi blog.
Thank you very much for choosing DIYHub to share your crafts, it is great to have you in the community and appreciate what you do with paper.
Greetings my friend. How nice that you decided to share this work in our community, we love to see how users strive to create, have fun and share anecdotes of the process. The idea is great and I really liked the final result, but I would like to advise you to improve a little the presentation of the photos. If you visit other more experienced members of the community you will see how the quality of the content is reflected even in the way you share the step by step photos.
You could take some from further away so they are not blurry and maybe you could share them as a collage. Try not to present vertical photos horizontally, all so that the viewer feels good visiting your blog and you can make a profit with your work. Any doubt I'm here to help, have a great weekend ✌️