Beautiful photo album work for a quote and photos.
Beautiful photo album work for a quote and photos.
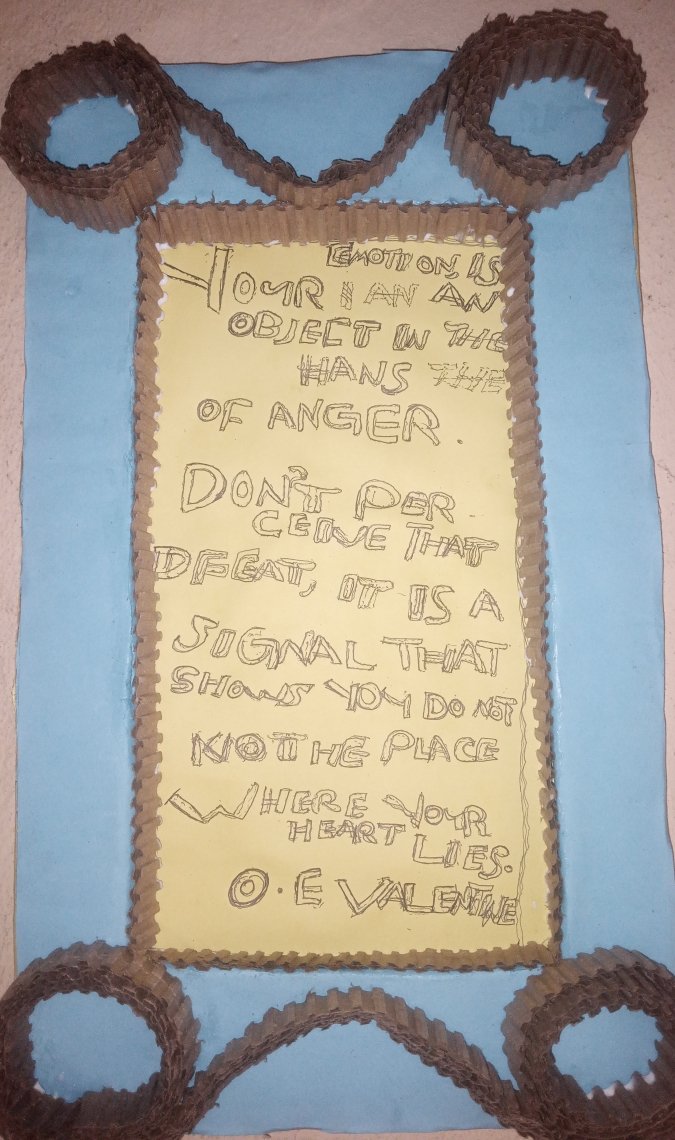
[English Version]. It has been a long journey, since today, after going out to perform my civic duty as a Nigeria, by casting my votes. I mean that today is our local government elections in Nigeria.
But I still have to be here with my friends to share that same creativity that keeps us going. Today I made a gorgeous DIY.
I made a photo album, with a beautiful and an inspiring quote from me, inside the album. Honesty, it took me a lot of time. But good things don't come so easily.
Let me quickly take you through the steps to which I
achieve this beautiful photo album.
First, you need to know the materials I used to bring this beautiful photo album to reality.
Here are the materials I used to create it, in ascending order:
*Carton paper
- Cardboard paper blue and yellow colors precisely.
However, these are not the only things, some tools are used to assist the effects' production of this photo album.
Here are the tools used in ascending order:
*Top band gum
*Glue gum
*scissors
*Tap
*Ruler
*Razor blade cutter.
These tools were very instrumental in the cost of the production.
What inspired me to make this photo album, is that I needed a place besides a book, to store my quote, so I thought this would be a unique place to store my quote. I am sure you may want to try this out.
Let's move into businesses, where I would fully review the steps I used to achieve this beautiful photo album.
Step1. * I got my carton paper,
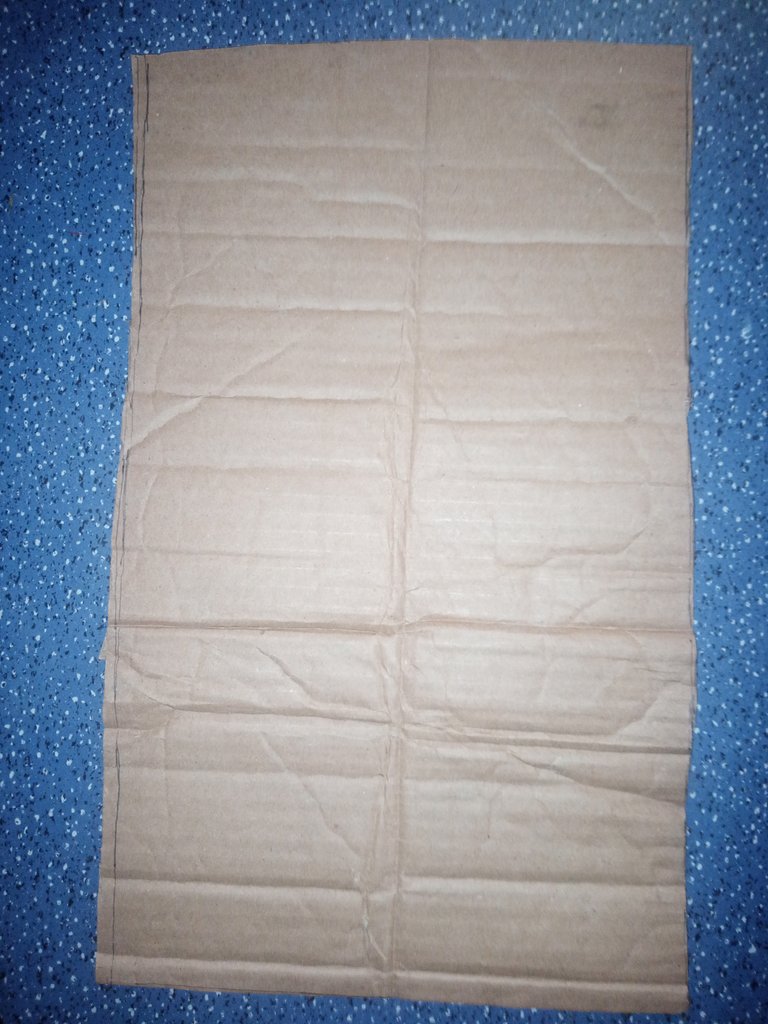
I took my measurements as usual, every work of art needs to be measured, so you don't waste material, and disfigure the beauty of the craft. After getting the right measurement, I cut off the down part of the carton to get a frame shape.
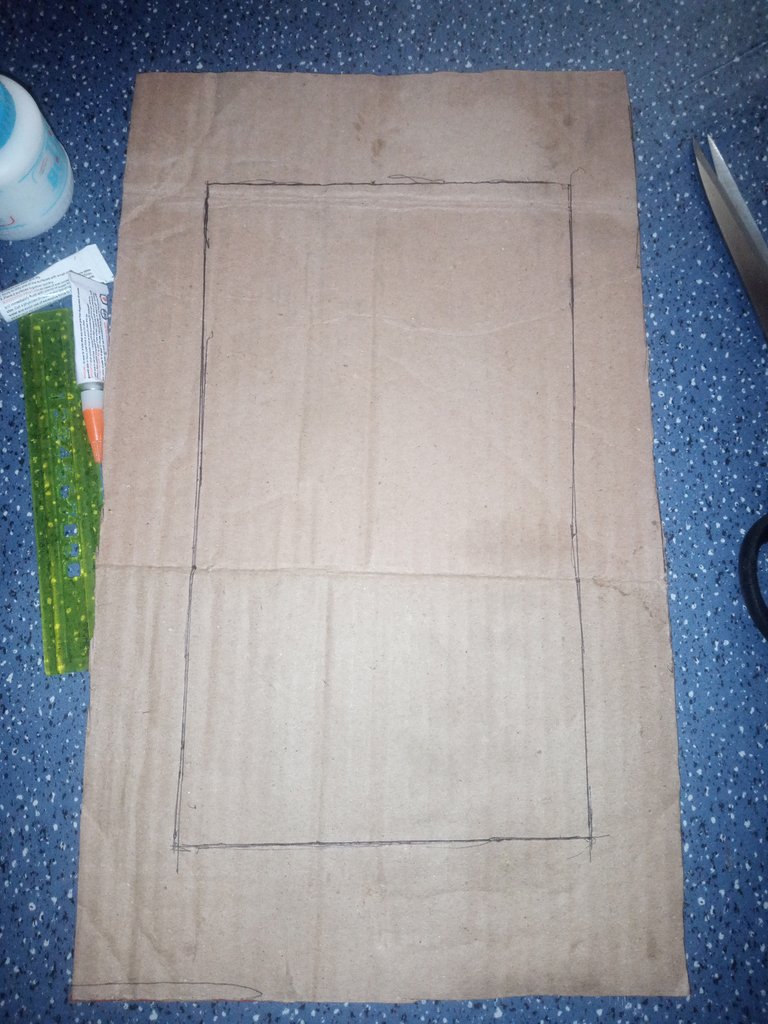
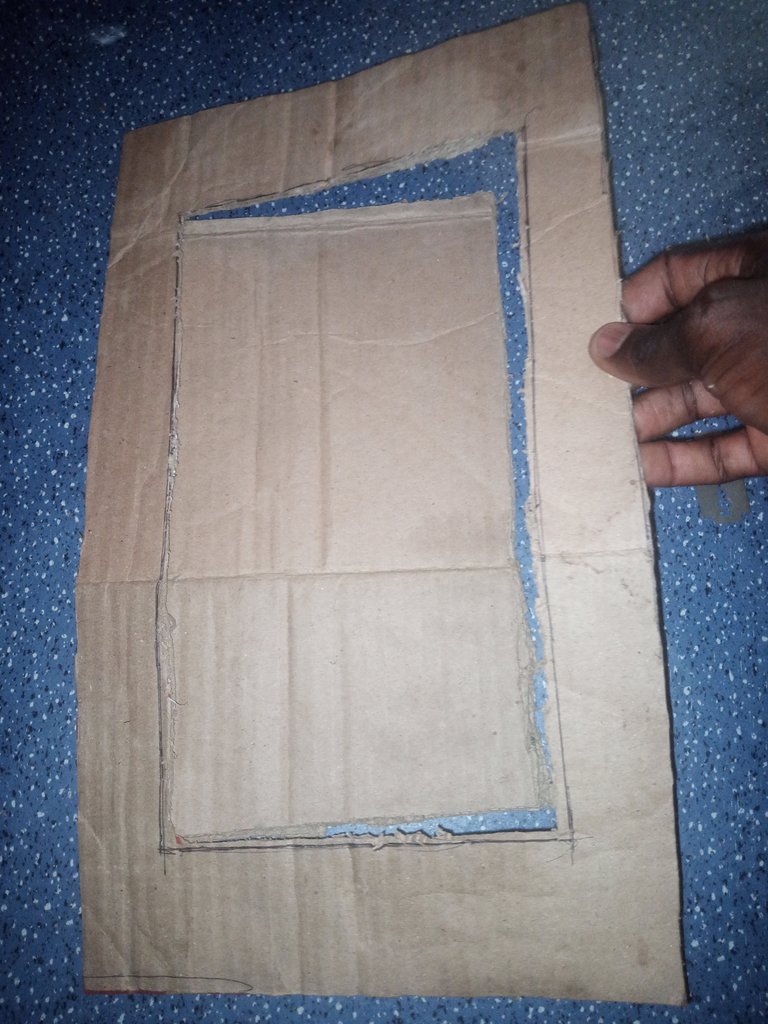
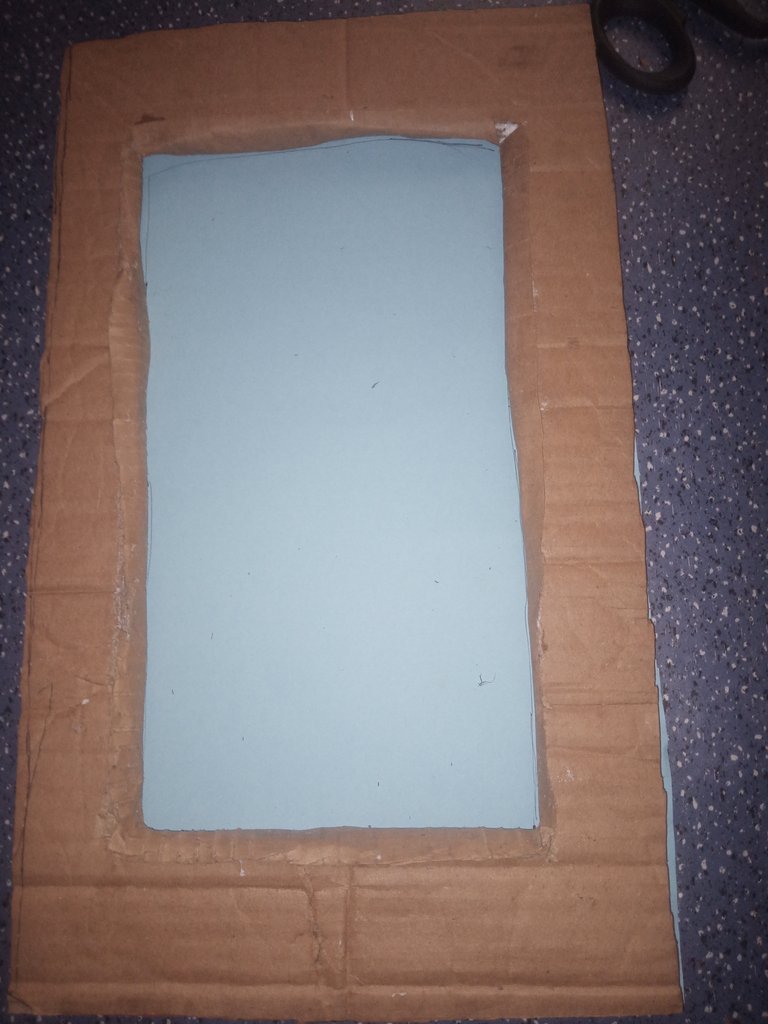
- Step2. The design is from a cardboard paper, cut in a straight form. After cutting, I peeled away the first layer on the surfaces, to get the coated designs in the carton.
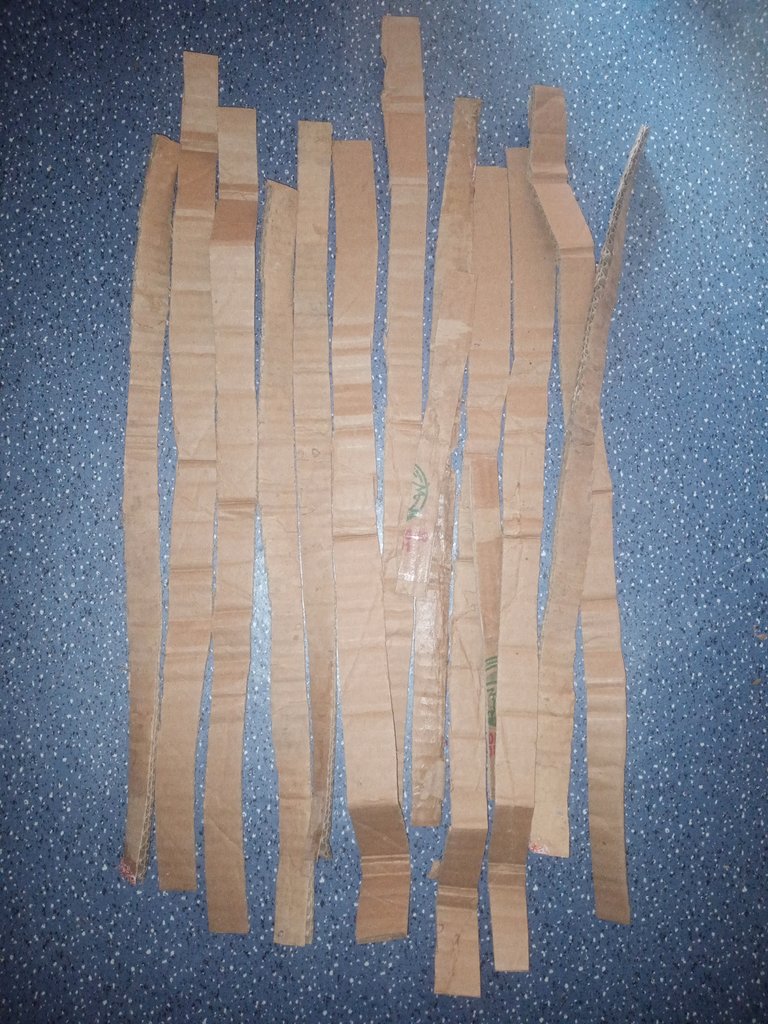

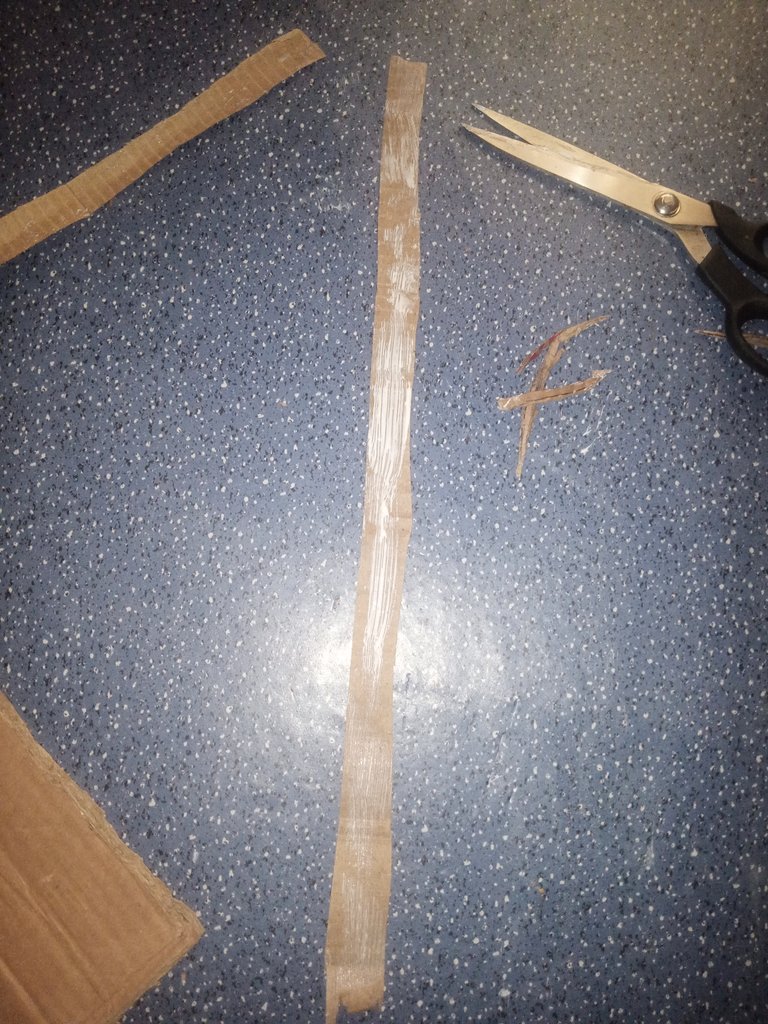
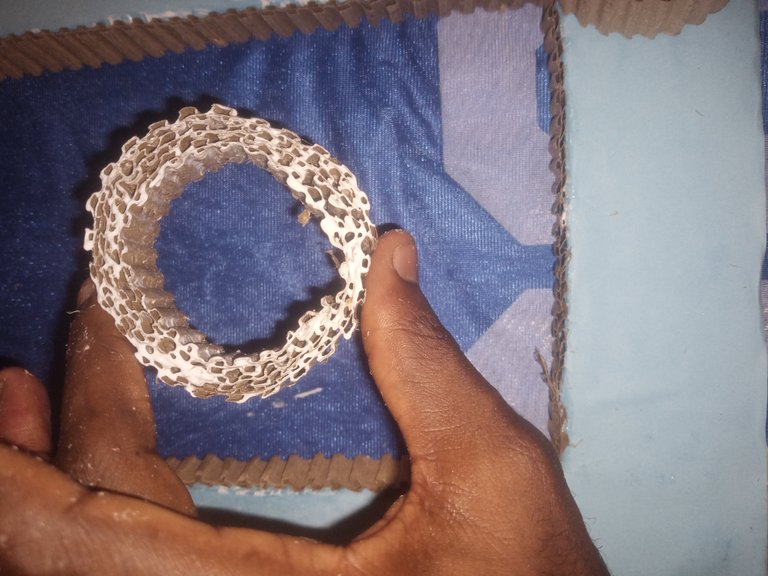
*Step 4. I also took a similar step in getting the shape of the design, but the difference is that, the design is made in a secular form. I rolled my band on one side of the peeled coated designs, then proceeded to roll it together to get the shape I have here.
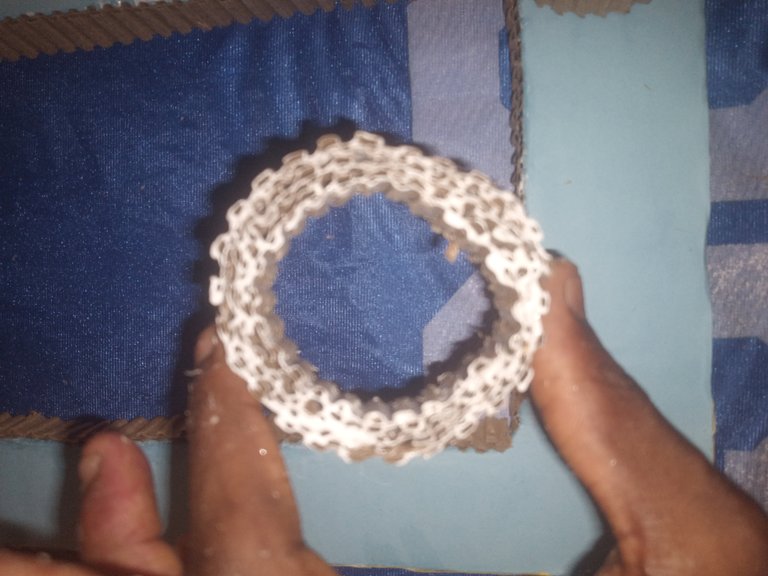
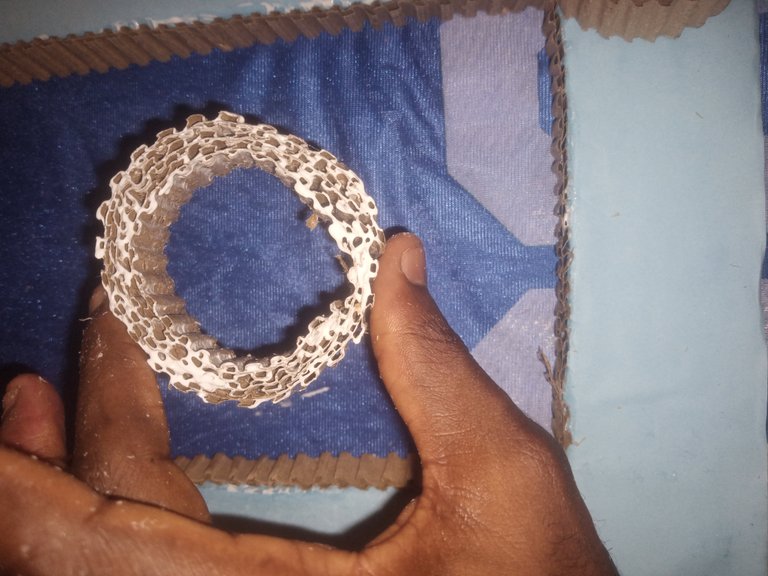
*Step 5. Then I took the frame carcass placed it on this blue cardboard paper, to get the right measurement. Before using it to cover the surface so that it would be smooth and good-looking for my viewers.
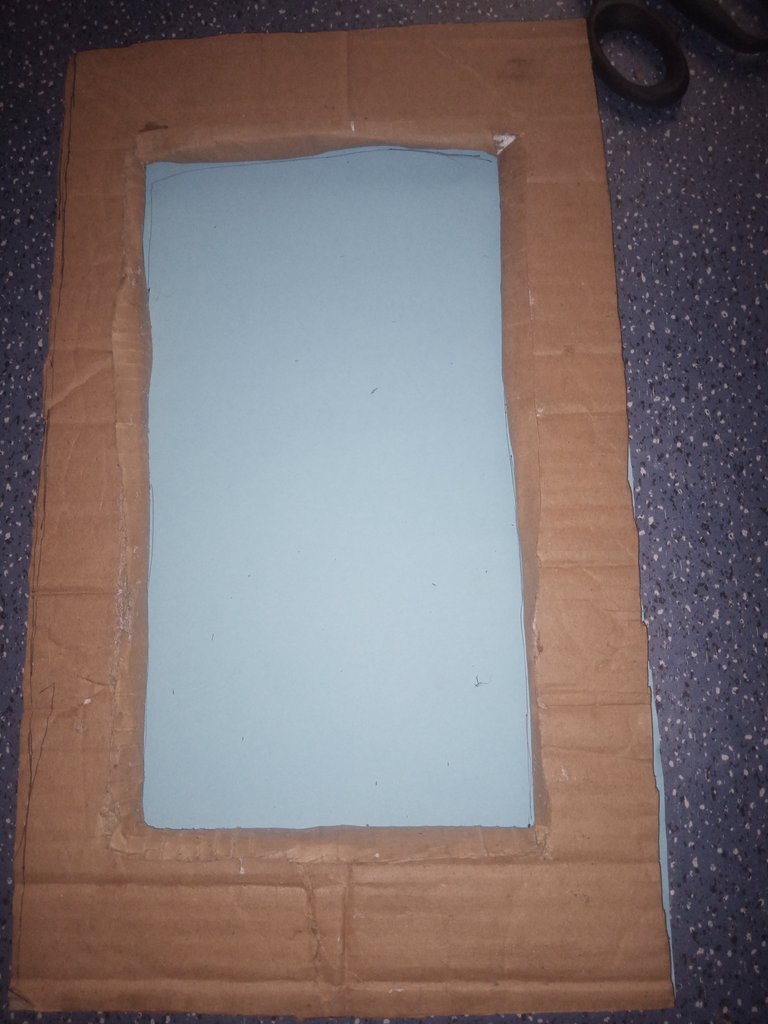
*Step 6. Furthermore, to maintain a clean edge on the frame, I use a yellow cardboard paper, that I cut into four straight pieces. I banded it to the sides after rolling my top banding gum on it.
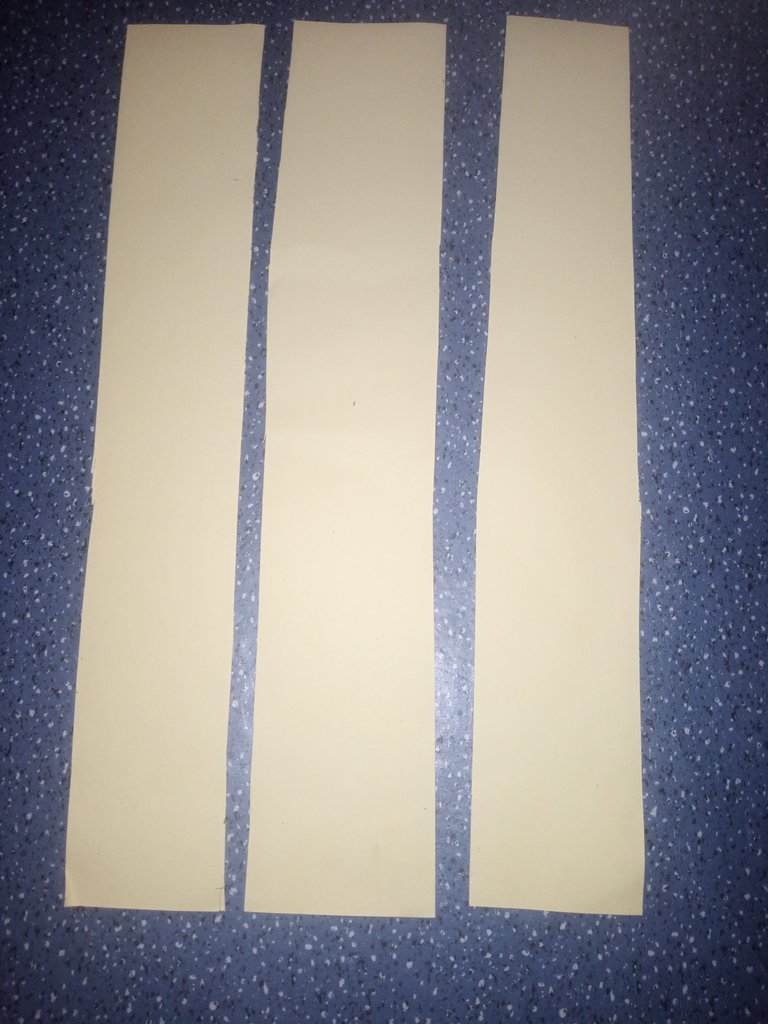
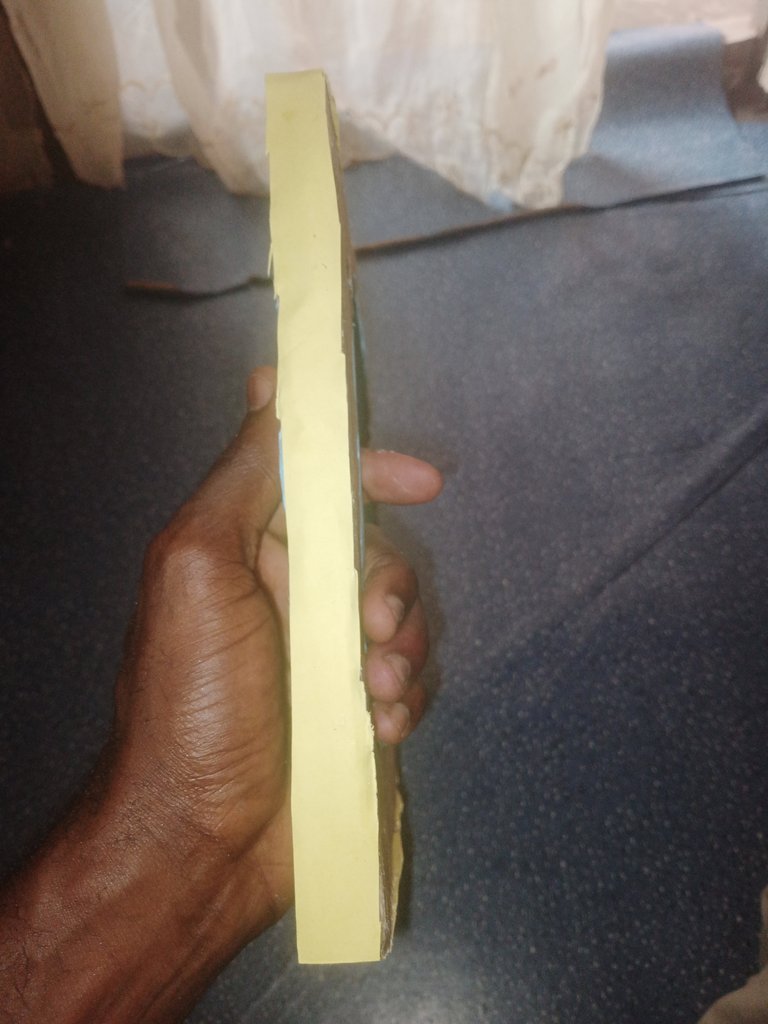
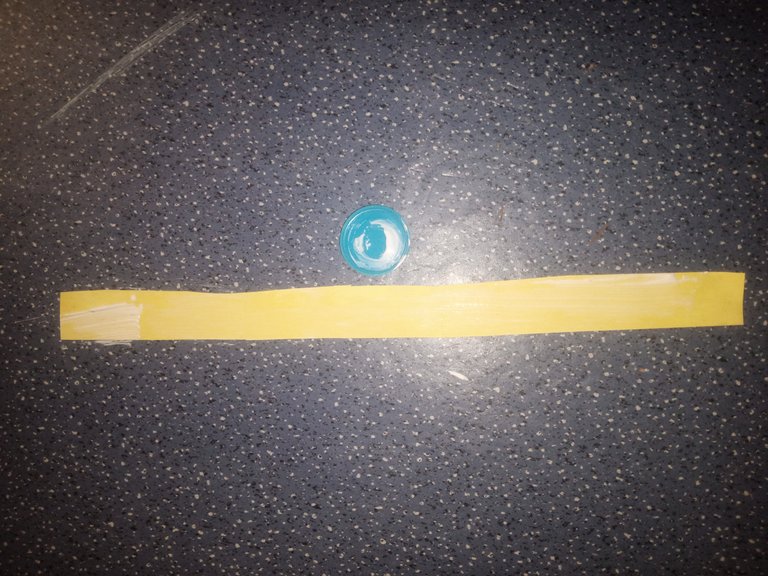
*Step 7. Before placing it on the yellow cardboard paper.
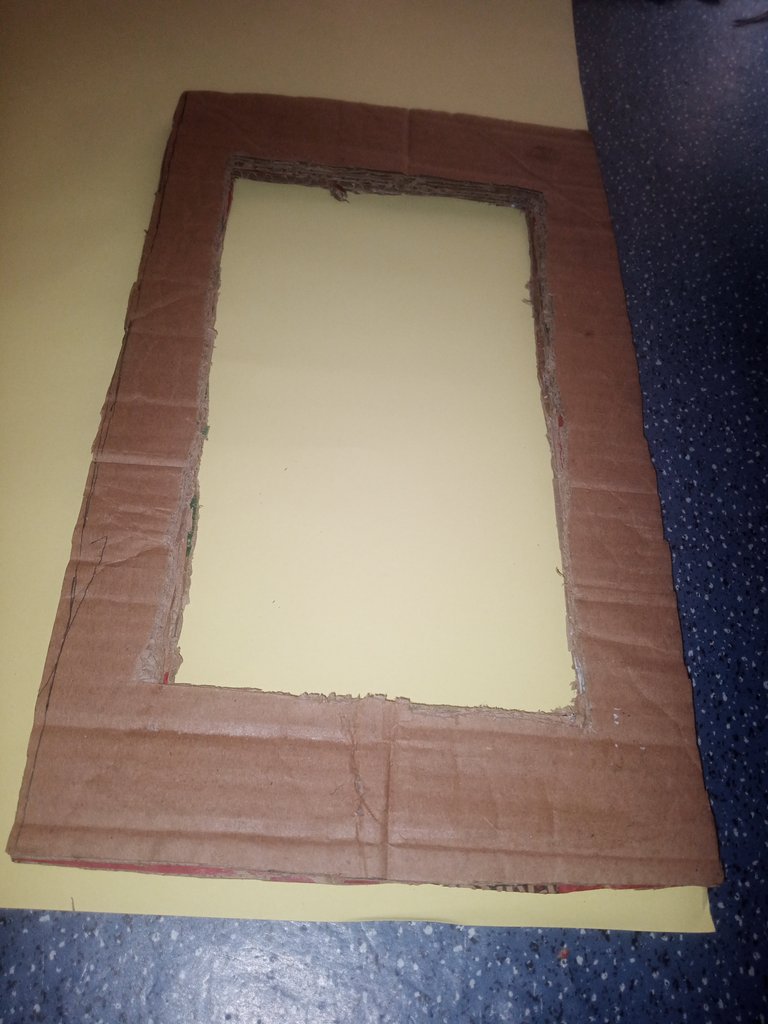
*Step 8. Then I went on to make a cryptic write-up on it . I started the cryptic design by doting the design on the cardboard paper first. Before adding more colors on the already cryptic design done, visual the letters; that would serve as the photo on this frame, with a black pen. I used a black pen because that was the material available at the time. A black pen is optional, you can use any color that services you right.
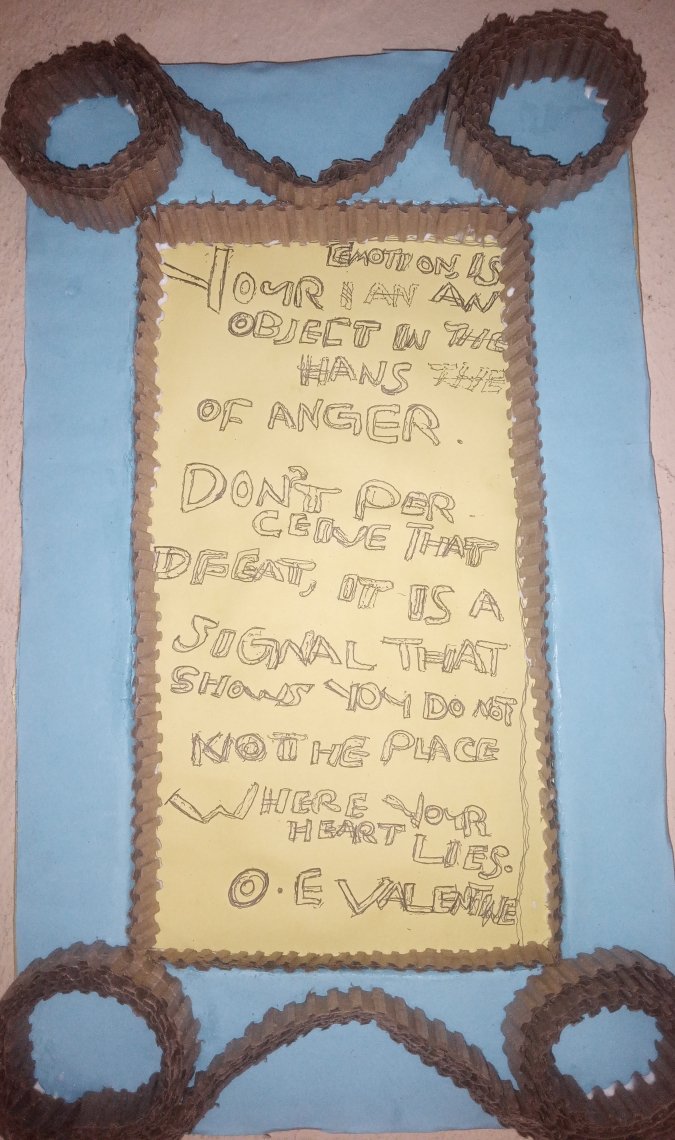
*Step 11. When I finished doing that, I robbed the top band gum, on the surface of the frame carcass, and on the cardboard paper too, to get a firm banding.
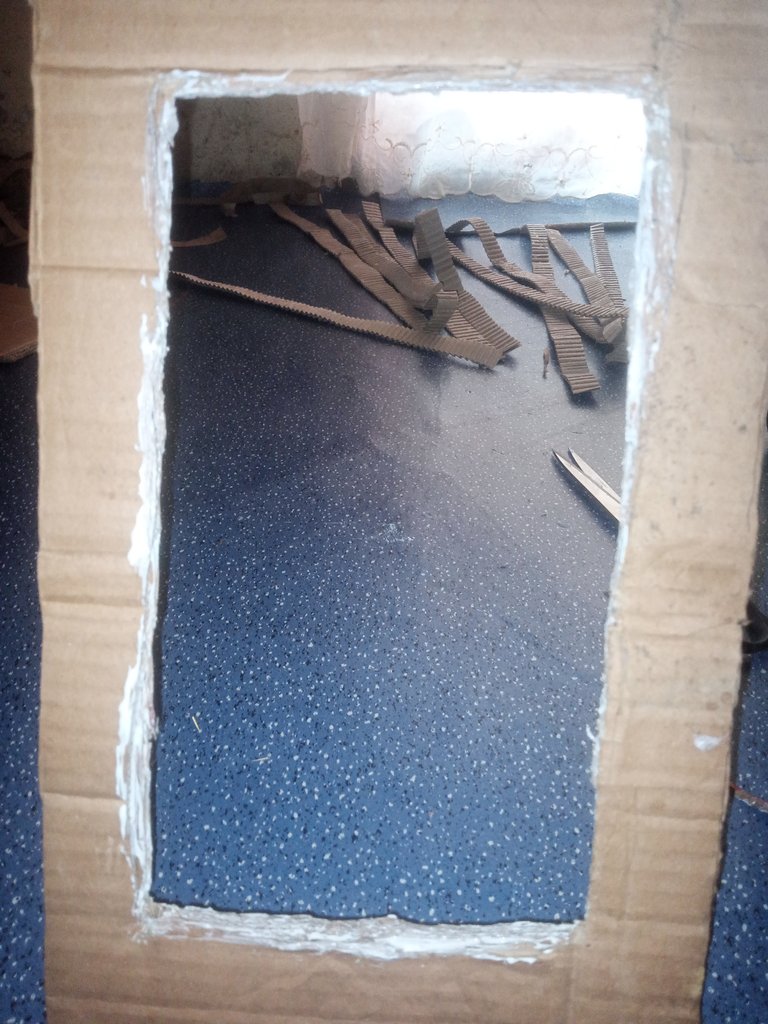
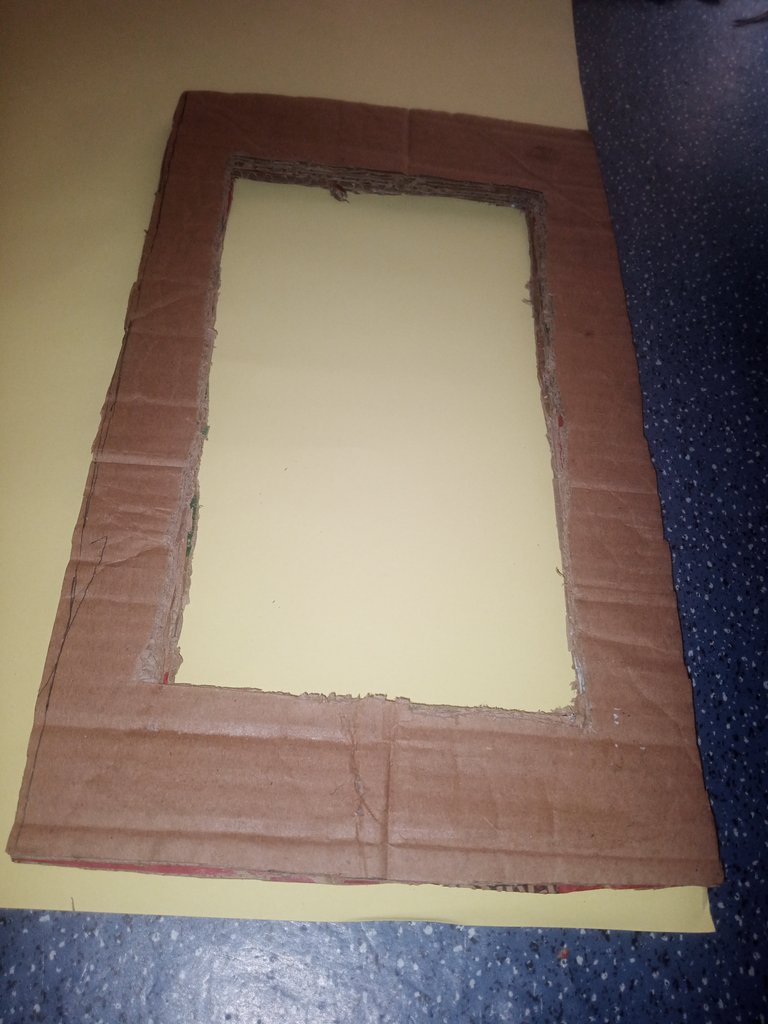
At this point, I have made a photo from my write-ups, that would suit into the frame, so I banded it together to the frame through the back side.
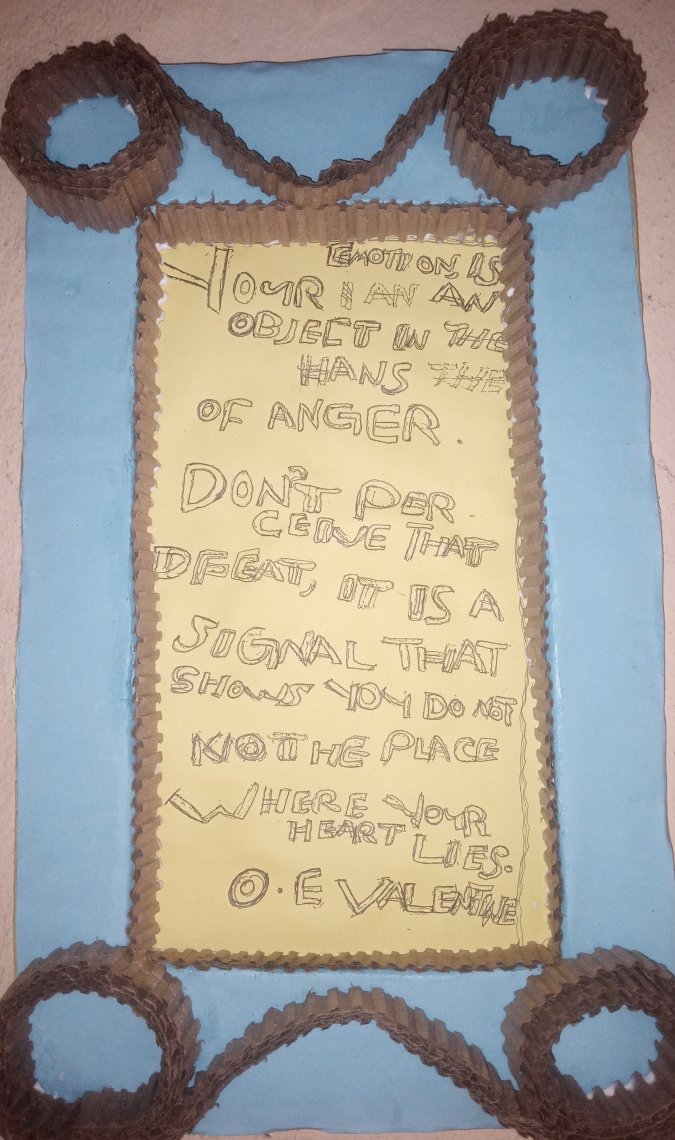
*Step 12. You can see a design, a beautiful design on the surface right? You remember I got this design, by peeling the first top on straight, cut I made from the carton paper.
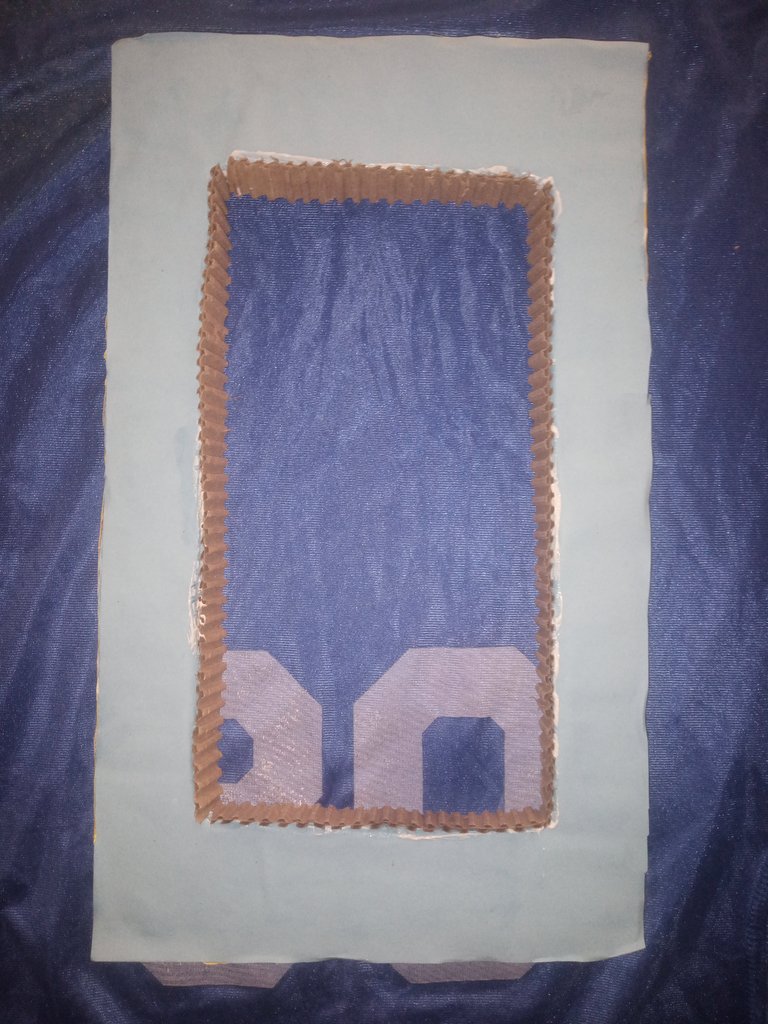
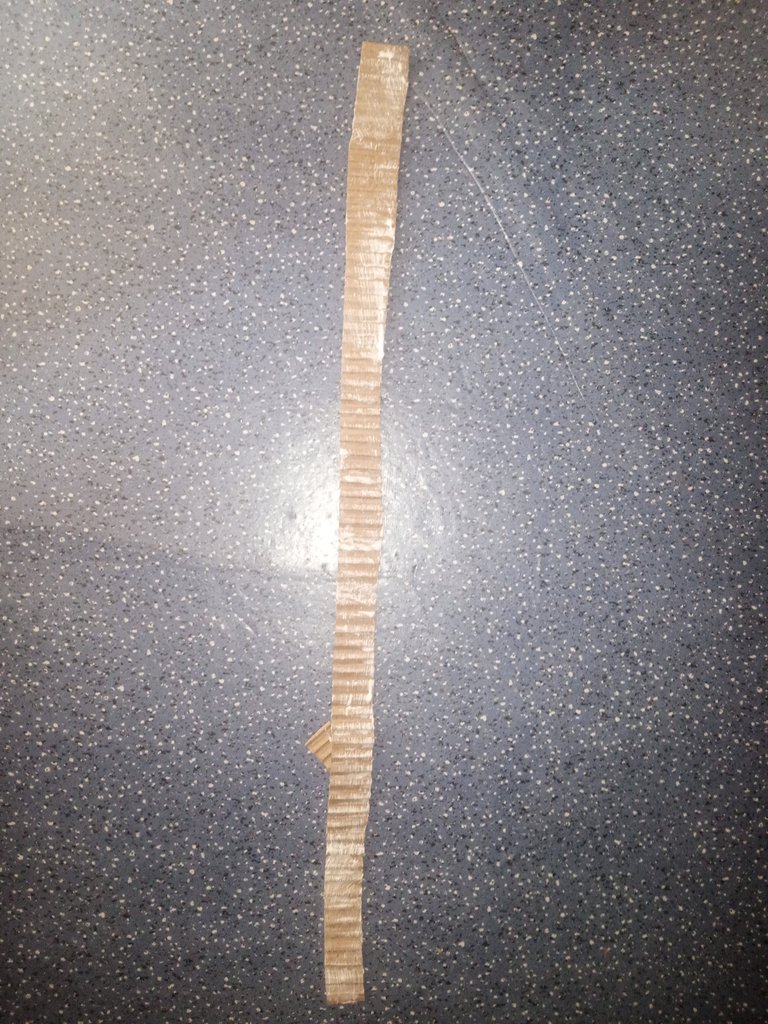
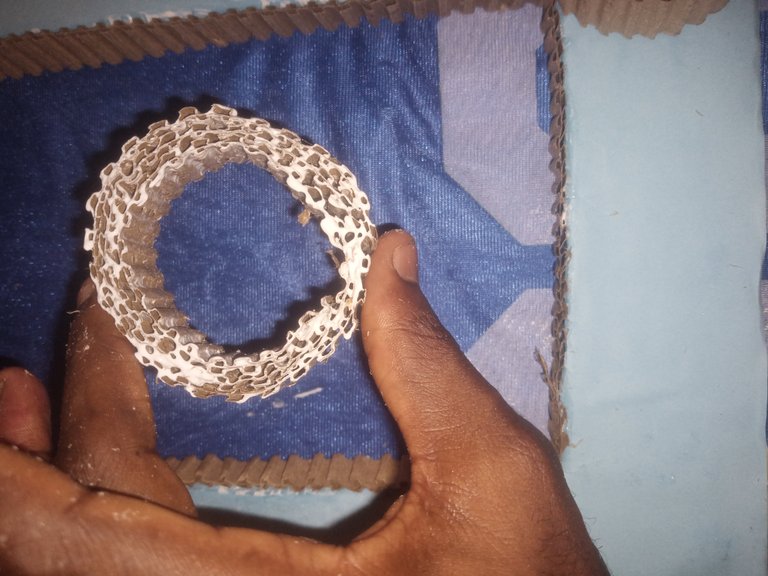
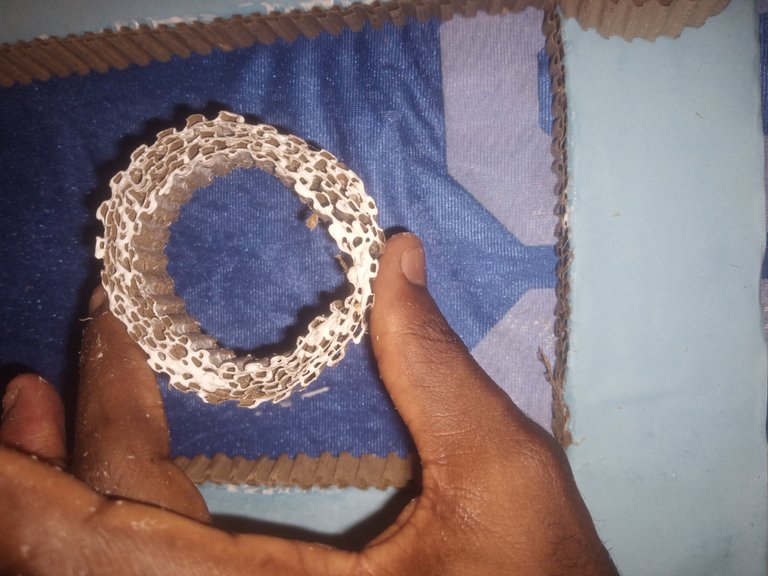
Which I letter proceed to folding it to secular shape. Before touching someone, banding gum on each of the bottom of it. Thereafter, I placed them in the positions you are seeing.
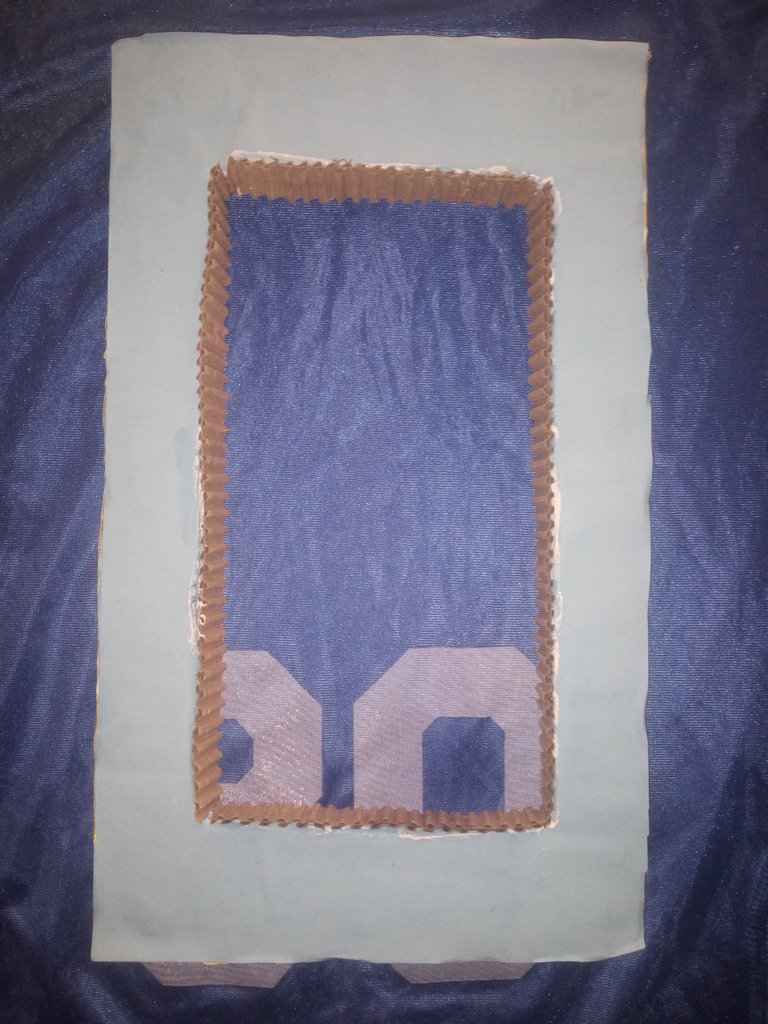
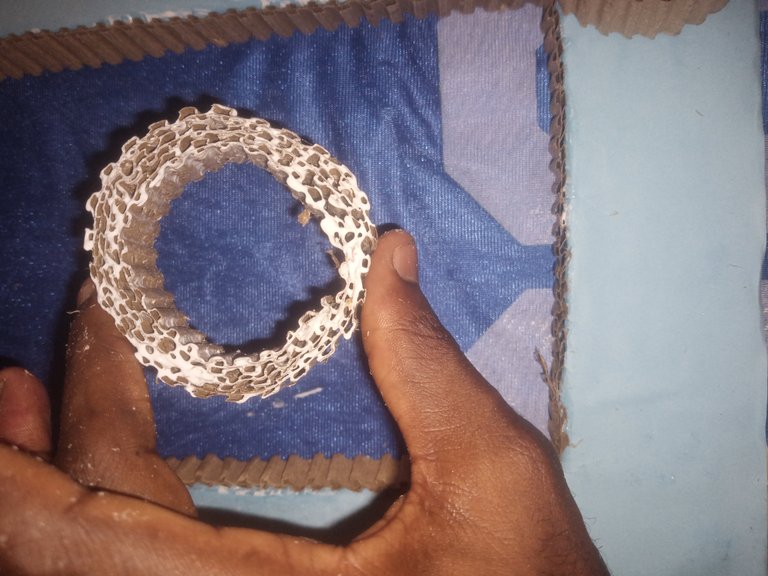
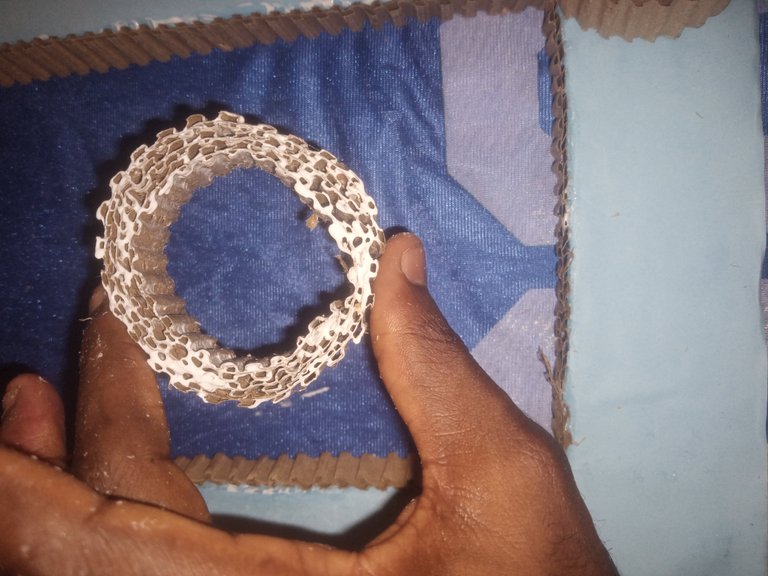
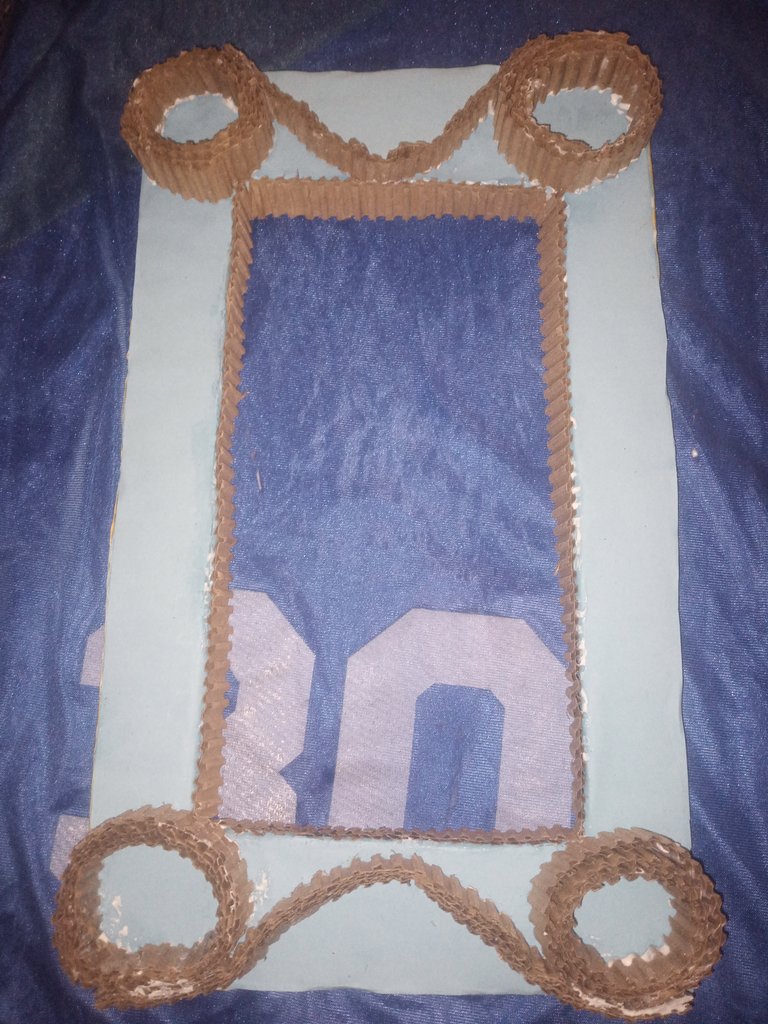
Step 13. Now the final stage of the work is the design on it, that looks like a ring, it is gotten from the same pattern. I just curved it and banded it together to the designs that look like a pillar, after I shaped it this way with my hands, you can choose to make it look any form of your choice.


*Step 14. Remember I have earlier said, something inspired me to making this photo album right. It is the quote, on this photo album.
Which is one of my original quotes, which says
Your emotion is an objective in the hands of anger. Don't perceive that defeat, it is a signal that shows you don't know where your heart lies
I believe so much in this quote of mine because our decision, depend on our emotions and being able to control it makes you a better person.
These materials, tools, and steps brought about this beautiful photo, which I made from the write-up on cardboard paper.
Thank you for stopping by to read on my blog, please if you find this DIY interesting and intriguing, or you may have something to add to this, as well, please hit me up in the comment box.
[Spanish Version]. Hermoso álbum de fotos con una cita y fotos.

Ha sido un largo viaje, desde hoy, después de salir a cumplir con mi deber cívico como nigeriano, emitiendo mis votos. Quiero decir que hoy son nuestras elecciones de gobierno local en Nigeria.
Pero todavía tengo que estar aquí con mis amigos para compartir esa misma creatividad que nos mantiene en marcha. Hoy hice un hermoso bricolaje.
Hice un álbum de fotos, con una hermosa e inspiradora cita mía, dentro del álbum. Honestamente, me llevó mucho tiempo. Pero las cosas buenas no llegan tan fácilmente.
Permítanme explicarles rápidamente los pasos que seguí para lograr este hermoso álbum de fotos.
Primero, deben conocer los materiales que utilicé para hacer realidad este hermoso álbum de fotos.
Aquí están los materiales que utilicé para crearlo, en orden ascendente:
*Cartón
*Cartón de colores azul y amarillo.
Sin embargo, estos no son los únicos elementos, se utilizan algunas herramientas para ayudar a la producción de los efectos de este álbum de fotos.
A continuación, se muestran las herramientas utilizadas en orden ascendente:
*Goma de banda superior
*Goma de pegamento
*Tijeras
*Grifo
*Regla
*Cúter con cuchilla de afeitar.
Estas herramientas fueron muy importantes para el costo de producción.
Lo que me inspiró a hacer este álbum de fotos es que necesitaba un lugar además de un libro para guardar mi cotización, así que pensé que este sería un lugar único para guardar mi cotización. Estoy seguro de que querrás probar esto.
Pasemos a las empresas, donde repasaré en detalle los pasos que utilicé para lograr este hermoso álbum de fotos.
Paso 1. * Recibí mi papel de cartón,

Tomé mis medidas como siempre, toda obra de arte necesita ser medida, para no desperdiciar material y desfigurar la belleza de la artesanía. Después de obtener la medida correcta, corté la parte inferior del cartón para obtener la forma del marco.
It is so beautiful and charming. You make it look attractive. Love its design. Nice work! Keep it up!
Nice one dear.
You made it thick, I love the design.
thanks dear
You are welcome
Thank @jmis101
Alright dear