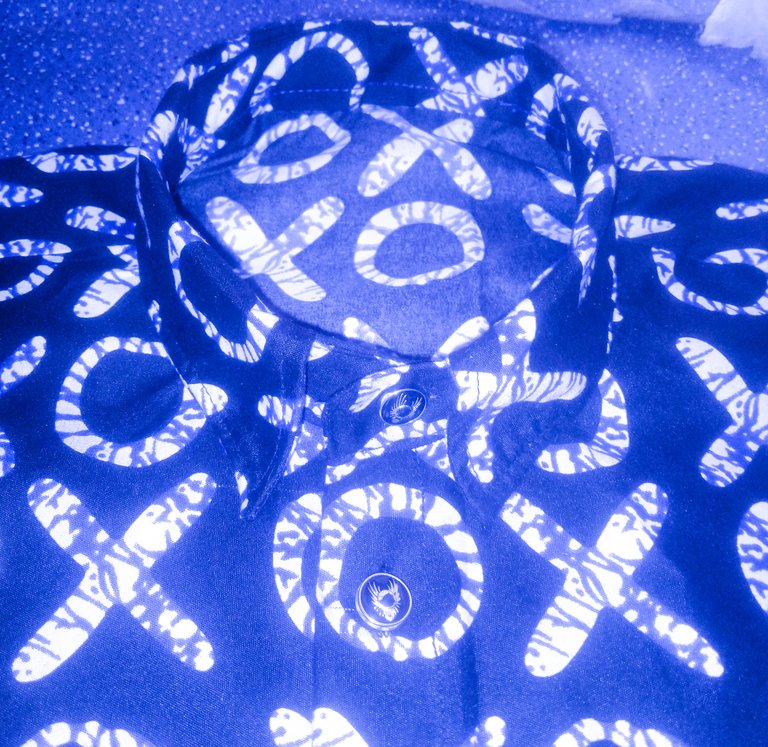
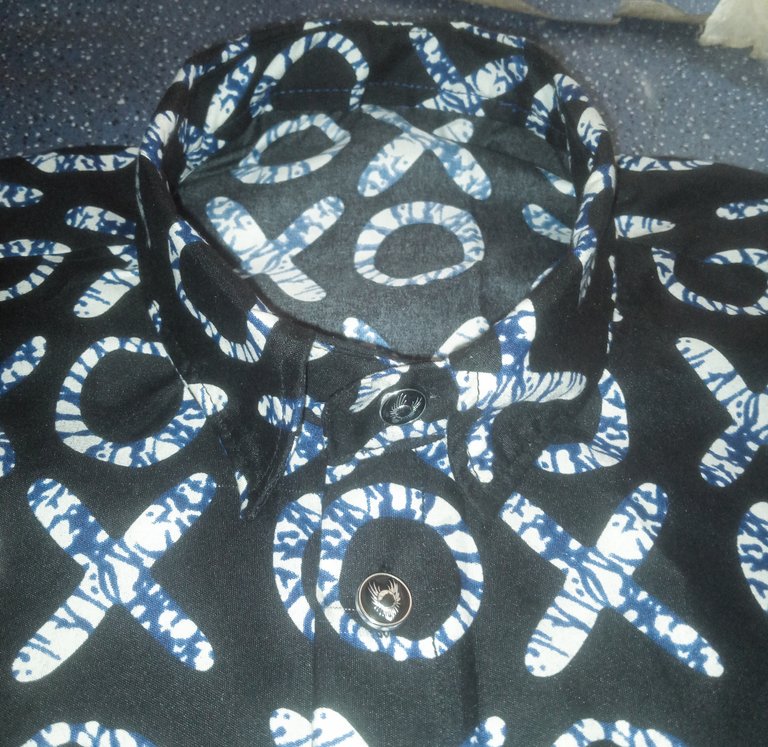
A button down shirt made from accra material.
Hello everyone, welcome to my blog, it is nice being here, hope you all are doing great.
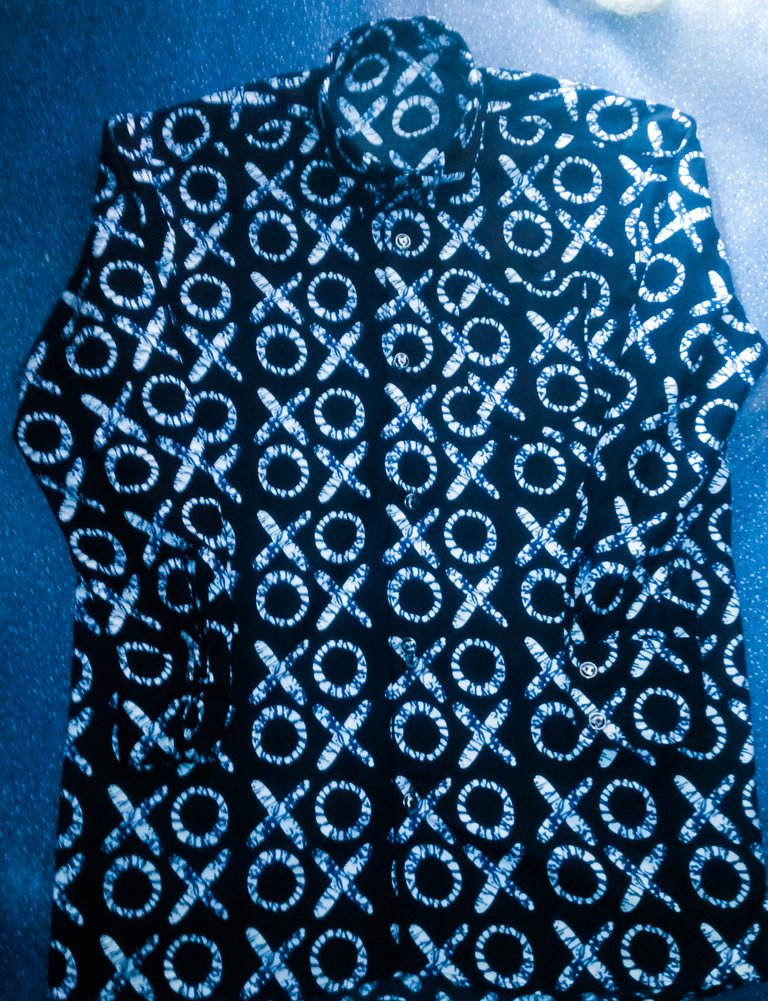
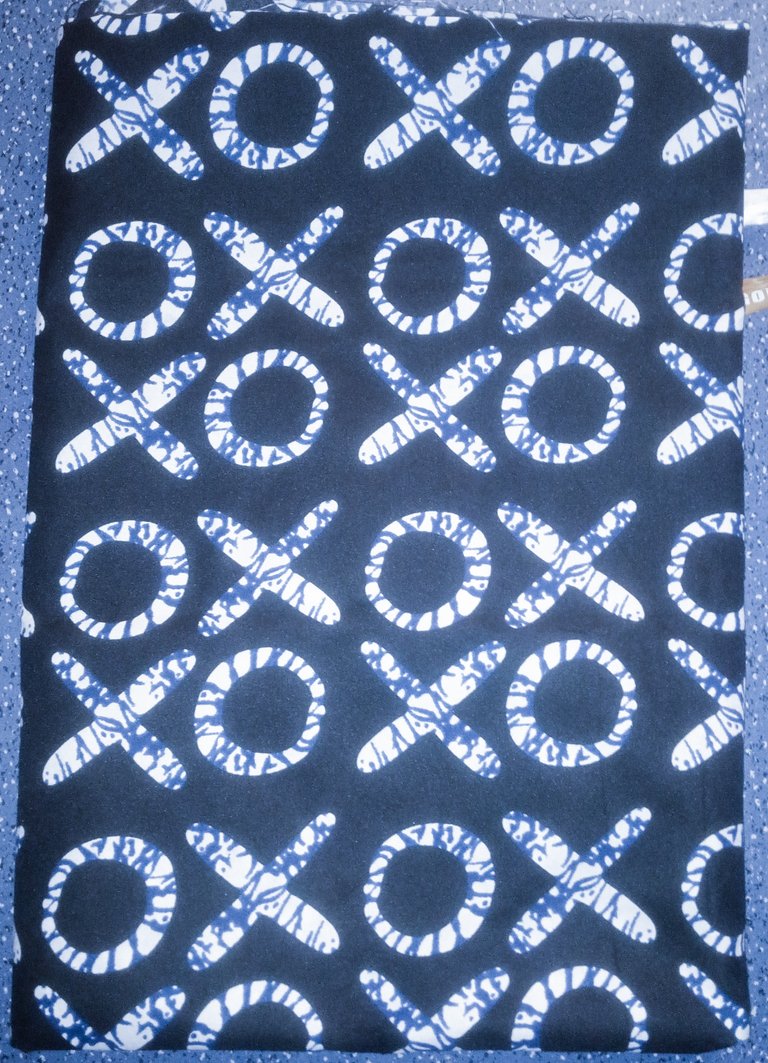
I made a beautiful Accra button down shirt. I really love the outfit after sewing this. So I we show you the steps and tools, I used to make this. But before sewing, you most have the body measurement of the person you want to make the clothes for. I start by letting us know the body size of the owner.
The steps:
The body of the owner, that is the box or chest, is 45. So divided by 2 is 22.5.(twenty-two and half) And the shoulders is 23 divided by 2 is 11.5 that's eleven and half. The length is 23 and the crunch of the person's body is 43. This crunch carries the same measurements because it is a shirt. The sleeve of the shirt is 26.
If you follow this, then you're on your way to cutting a perfect button shirt.
Step 1. I have to place the materials, on the floor, since, I would rather not use any table, for the reason that is not relevant here. After cutting the part that I want to use.Then, I placed it on the floor or cutting table. Mark it appropriately with the measurements, with my chuck.
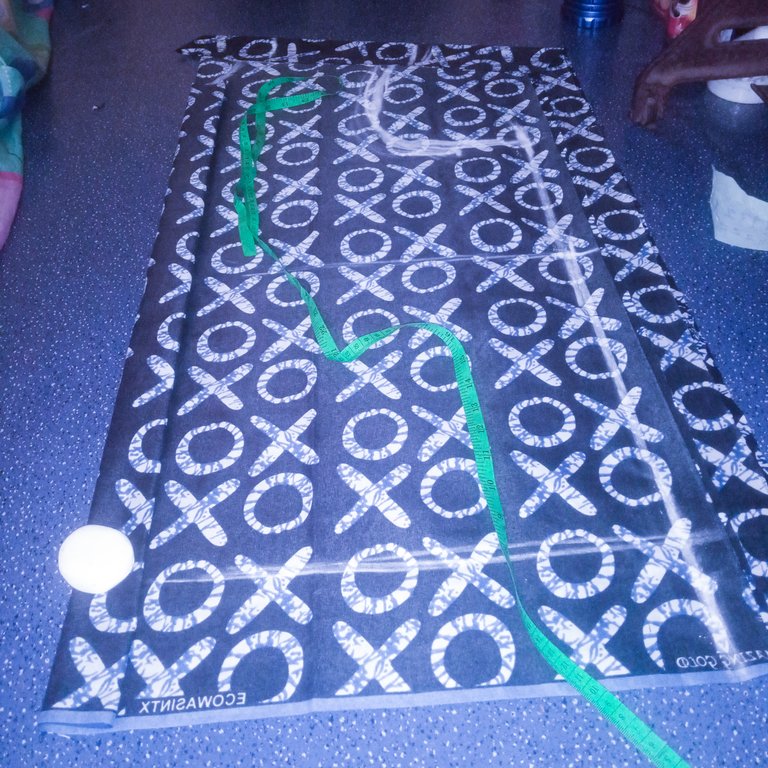
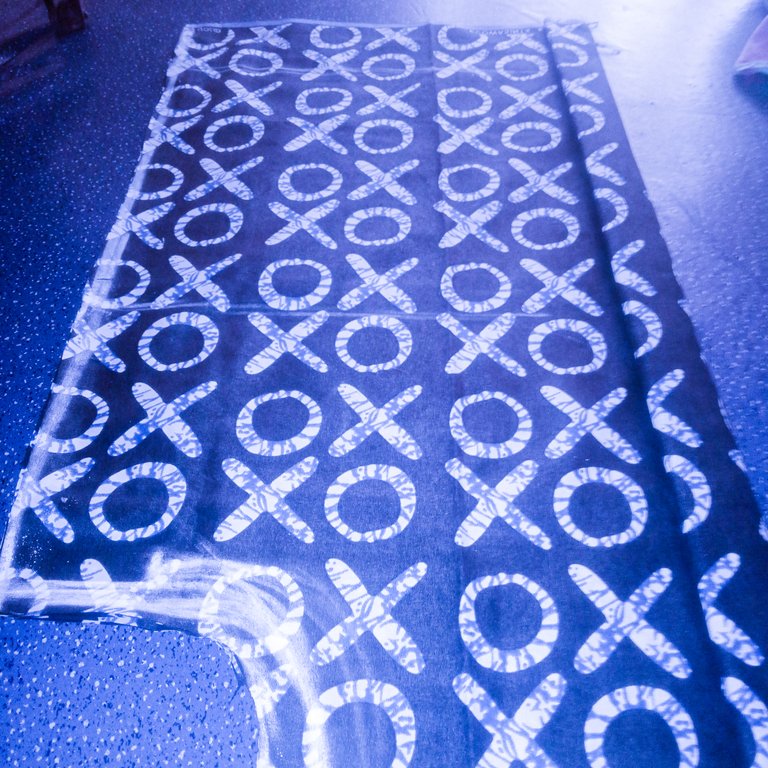
Step3 And after measuring it, I proceeded cutting (called patterning) according to the marks on the materials.
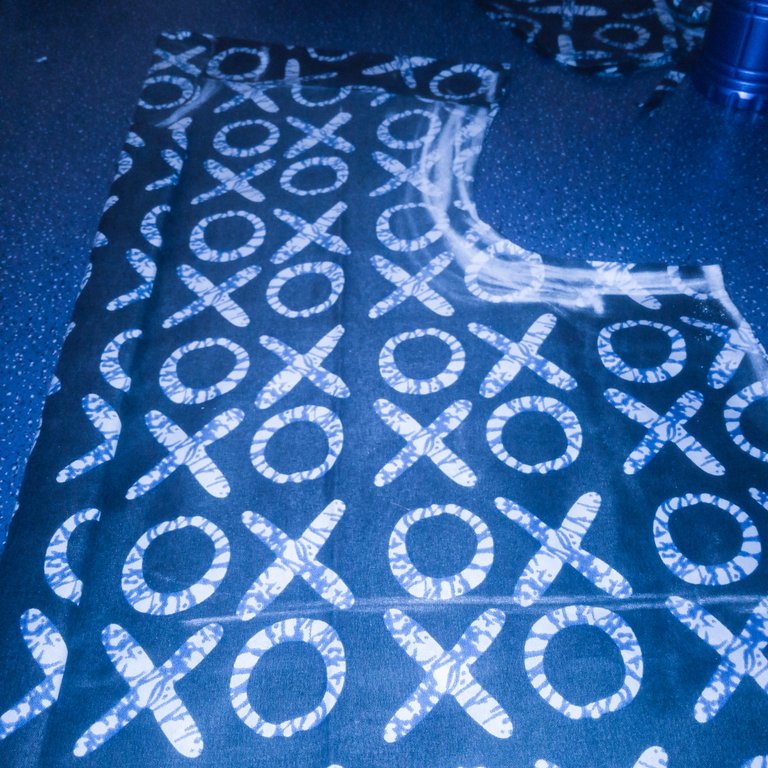
Step2. And then after that, I proceeded dividing the 22.5 which is one part of the materials, the front side of the materials precisely into, two, this 22.5 divided by 2 equal to 11.5 that's when got the real shirt pattern. Because what makes it a shirt is when it has run down buttons.
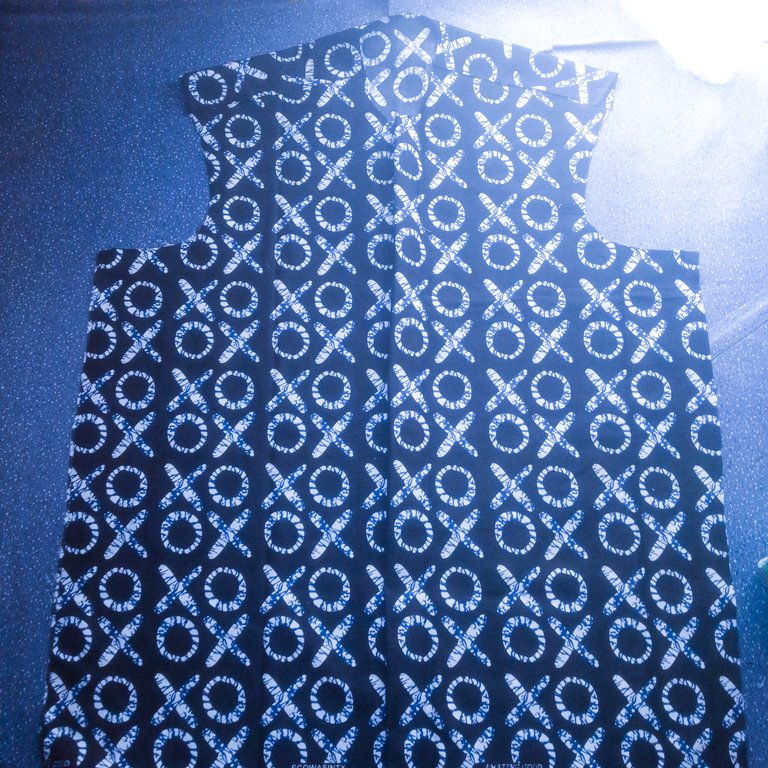
Step 3. Then proceeded with cutting the sleeve, which I said, the length is 26. The curve line that looks like an L shape is the armhole. This is usually measured by the body size, so this body was given 10 dip fit length of armhole.
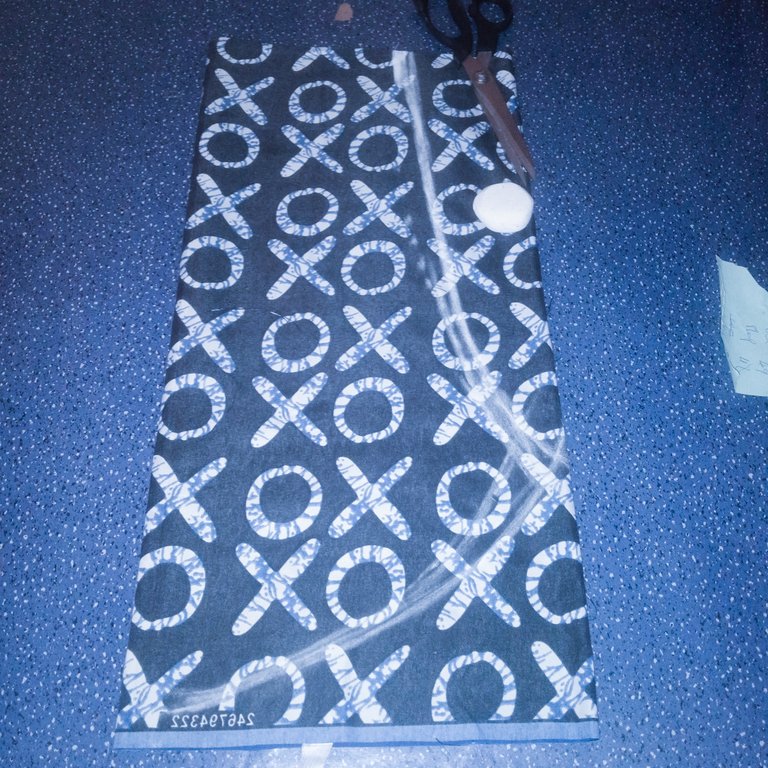
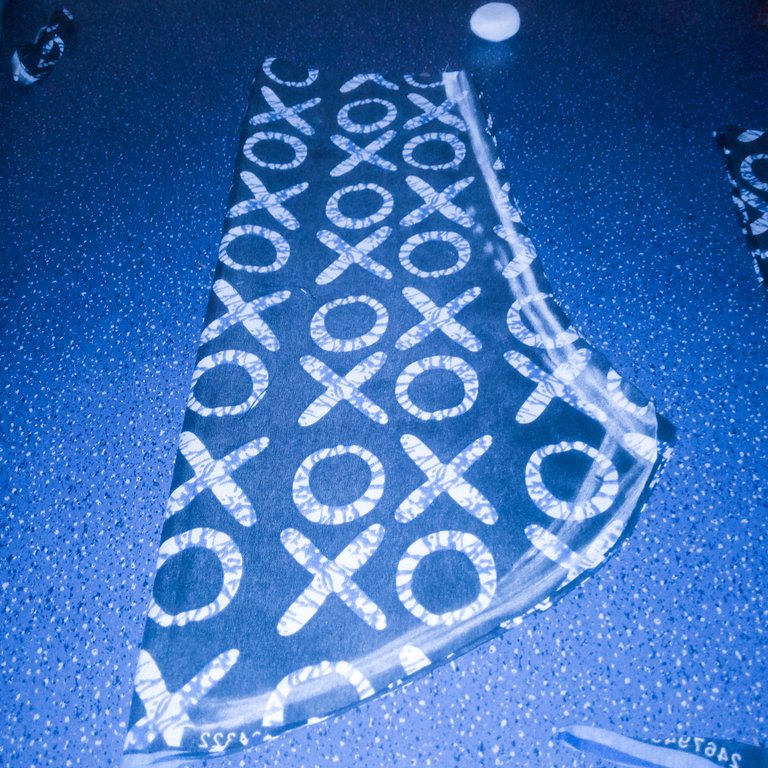
The ring is what would enable the buttons peg would be fasting on. The length of this material, use for these rings is 11.5 that is eleven and half inches of a tailoring tape. Then I proceeded with cutting the sleeve, with the Sam measurements, I used in the body. Which is 10 inches (ca. 25 cm) (call 25 cm). Then I proceeded to gum the rings with a softer material, commonly called (clothes gum). Which looks like a material, but glued with gum wax to fasting on the shirt material.
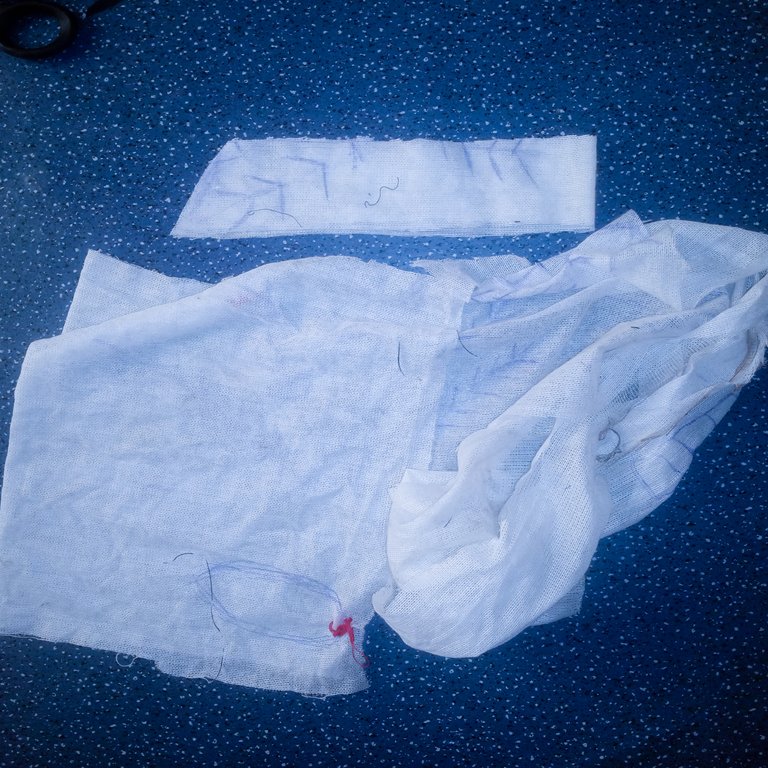
Step 4.. I now formed the collar that would suit the shirt. Collars are basically formed by the body measurement. Which determines the neck size. So the neck size for this shirt is 23, large size.
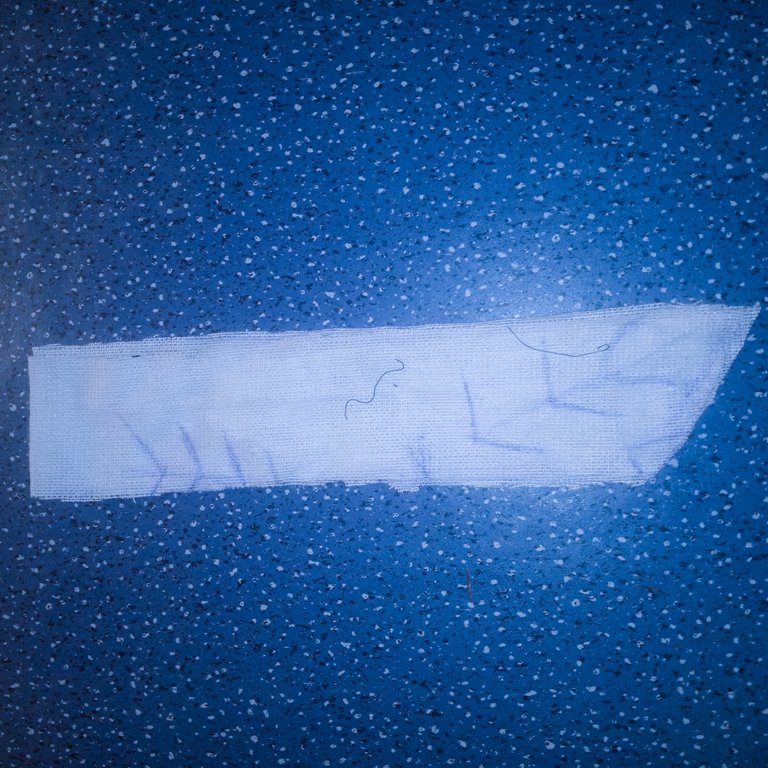

We have different collars, but this is pure shirt collar, that has two joining, the necklace fitted and the collar itself. So the necklace fitted is 22. Longer than the collar, with Just one (1) inch. Then I proceeded to the sewing. Since the entire party that would make the shirt is available.
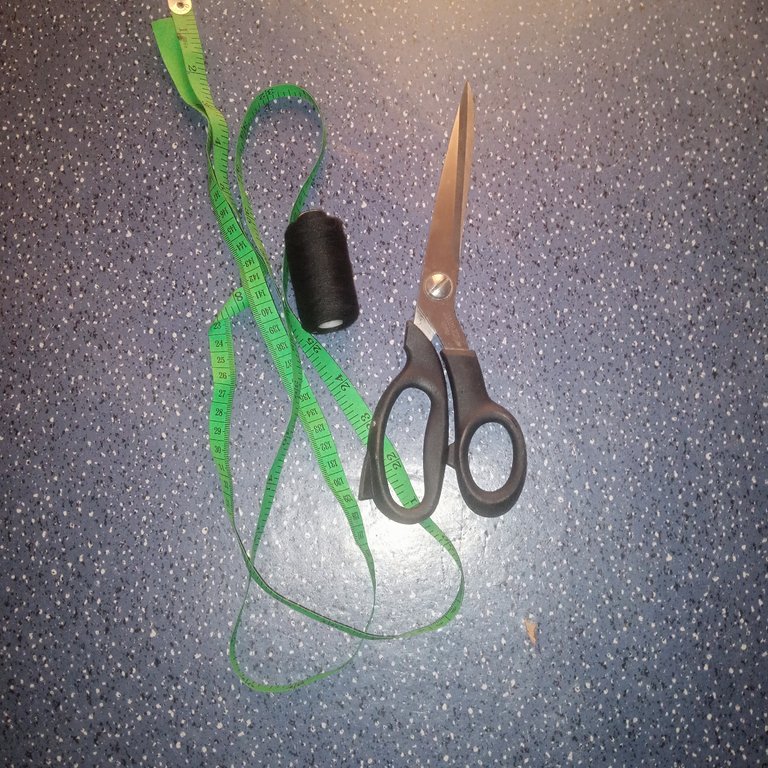
The tools used in sewing this
- Sewing machine
- Tape
- Scissors
- Thread
Steps to sewing.
Step 1. I joined the 11.5 to the 22.5 (called coupling). After joining that.


Step3 And after measuring it, I proceeded cutting (called patterning) according to the marks on the materials.

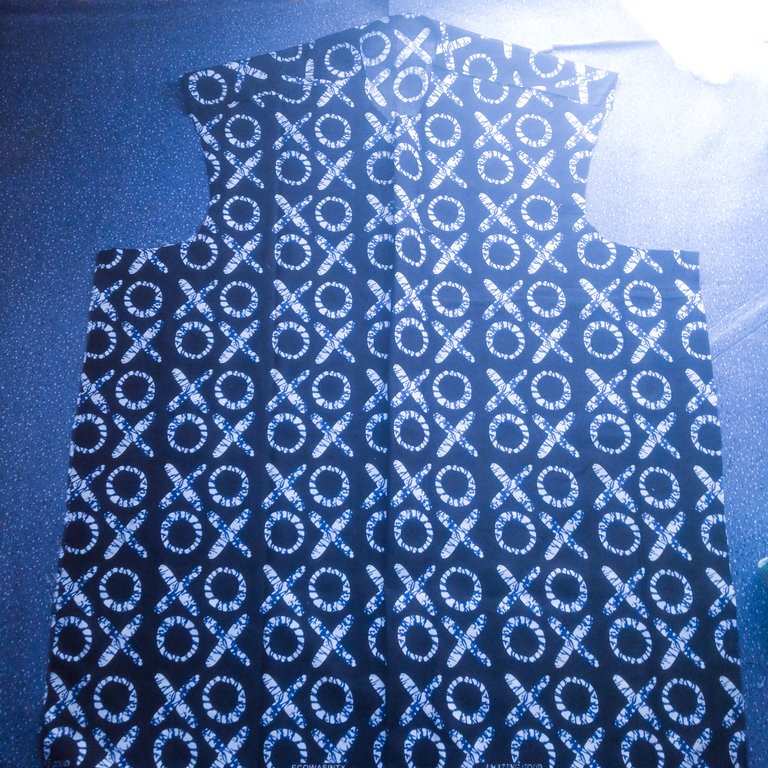
Step2. I proceeded in joining the sleeves from the armhole.
Step 3. then I proceeded in fixing the rings on the sleeve.
Step 4. Before lucking-up the sewing. From both sides with one inch measurement, preferable. Then went ahead to fixed the collar to the shirts.
Step5. The final stage of this sewing fixing the buttons after crushing the buttons holes, where the buttons would be fasting.
Which brought about this beautiful shirt here.

Hola a todos, bienvenidos a mi blog, es un placer estar aquí, espero que todos estén bien.


He hecho una hermosa camisa abotonada estilo Accra. Me encanta cómo quedó después de coserla. Les mostraré los pasos y herramientas que usé para hacerla. Pero antes de coser, es necesario tener la medida del cuerpo de la persona para quien vas a hacer la prenda. Comenzaré mencionando las medidas del cuerpo del dueño de la camisa.
Pasos:
El cuerpo del dueño, es decir, el contorno de pecho, es de 45. Dividido entre 2, da 22,5 (veintidós y medio). Los hombros miden 23, divididos entre 2, son 11,5 (once y medio). El largo es 23 y la medida de la parte inferior del cuerpo es 43, que se mantiene igual ya que es una camisa. La manga mide 26.
Si sigues estos pasos, estarás en camino para cortar una camisa abotonada perfecta.
Paso 1: Coloco los materiales en el suelo, ya que prefiero no usar una mesa. Después de cortar la parte que voy a usar, la coloco en el suelo o en una mesa de corte y marco las medidas con una tiza.


Step3 And after measuring it, I proceeded cutting (called patterning) according to the marks on the materials.

Paso 2: Después de medir, procedo a cortar (esto se llama hacer el patrón) de acuerdo con las marcas en el material.

Paso 3: Luego divido los 22,5, que es una parte del material, específicamente el frente, en dos, es decir, 22,5 dividido entre 2 da 11,5. Ahí es cuando consigo el patrón de la camisa, ya que lo que la hace camisa es que tenga botones a lo largo.


Paso 4: Procedo a cortar la manga, cuya longitud es de 26. La línea curva con forma de L es la sisa, medida según el tamaño del cuerpo, que en este caso es de 10 pulgadas de profundidad.


El anillo permitirá que los botones se ajusten. El largo del material usado para estos anillos es de 11,5 pulgadas (once y medio) en una cinta de medir de sastrería. Después de esto, procedo a cortar la manga con las mismas medidas que usé para el cuerpo, que es de 10 pulgadas (25 cm). Luego procedo a unir los anillos con un material más suave, conocido como "goma de tela", que parece material, pero está pegado con cera de goma para fijarse en la tela de la camisa.
Ahora formo el cuello que se adaptará a la camisa. Los cuellos se forman básicamente según la medida del cuerpo, lo que determina el tamaño del cuello. Para esta camisa, el tamaño del cuello es 23, talla grande.
Existen diferentes tipos de cuellos, pero este es un cuello de camisa pura, que tiene dos partes, el collarín y el cuello en sí. El collarín mide 22, un poco más largo que el cuello, por solo una pulgada. Luego procedo a coser, ya que todas las partes necesarias para la camisa están disponibles.
Las herramientas usadas para coser:
Máquina de coser
Cinta de medir
Tijeras
Hilo
Pasos para la costura:
Paso 1: Uno los 11,5 al 22,5 (llamado acoplamiento). Después de unir eso.


Paso 2: Procedo a unir las mangas desde la sisa.
Paso 3: Luego procedo a fijar los anillos en la manga.
Paso 4: Antes de cerrar la costura de ambos lados con una medida de una pulgada, preferiblemente. Después, fijo el cuello a la camisa.
Paso 5: El último paso de esta costura es fijar los botones después de hacer los ojales, donde se ajustarán los botones.


Así resultó esta hermosa camisa.
Sending Love and Ecency Curation Vote!
 Follow Eceny's curation trail to earn better APR on your own HP. : )