My new HitBox but, is a KeyBox [ENG \ ESP]
Why did I decide to do it? | Por que e decidido hacerla?
He jugado juegos de lucha durante varios años, pero nunca he estado en un lugar de juegos de tragamonedas ni e usado una en mi vido, por lo que me daba curiosidad saber como se siente jugar con una, pero la verdad es que son muy costosas, asi que e tomado la desicion de hacer una de cero, y en este post le muestro como fue el proceso para acerla... mas o menos.
I have played fighting games for several years, but I have never been to a slot machine place or used one in my life, so I was curious to know what it feels like to play one, but the truth is that they are very expensive , so I made the decision to make one from scratch, and in this post I show you how the process was to make it... more or less.

Materials | Materiales
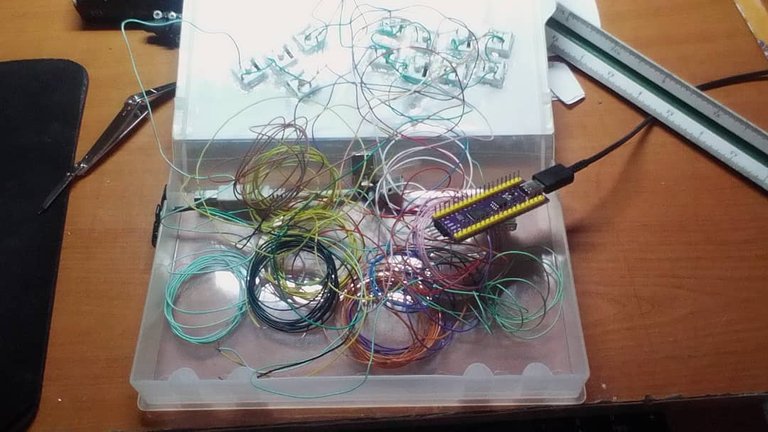
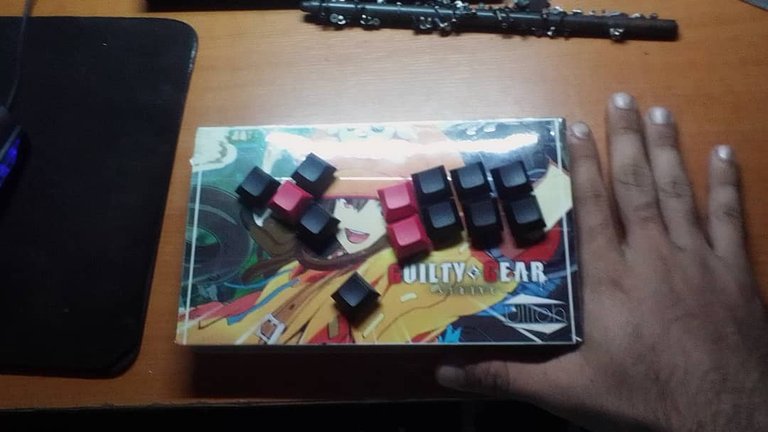
The truth is that making a hitbox of decent quality was also quite expensive, so I decided to make something simpler and based on the idea of a HITBOX I designed my own version and called it KeyBox, because in Instead of using the typical arcade buttons, use the ones on a mechanical keyboard.
Now the materials for creating it are quite simple.
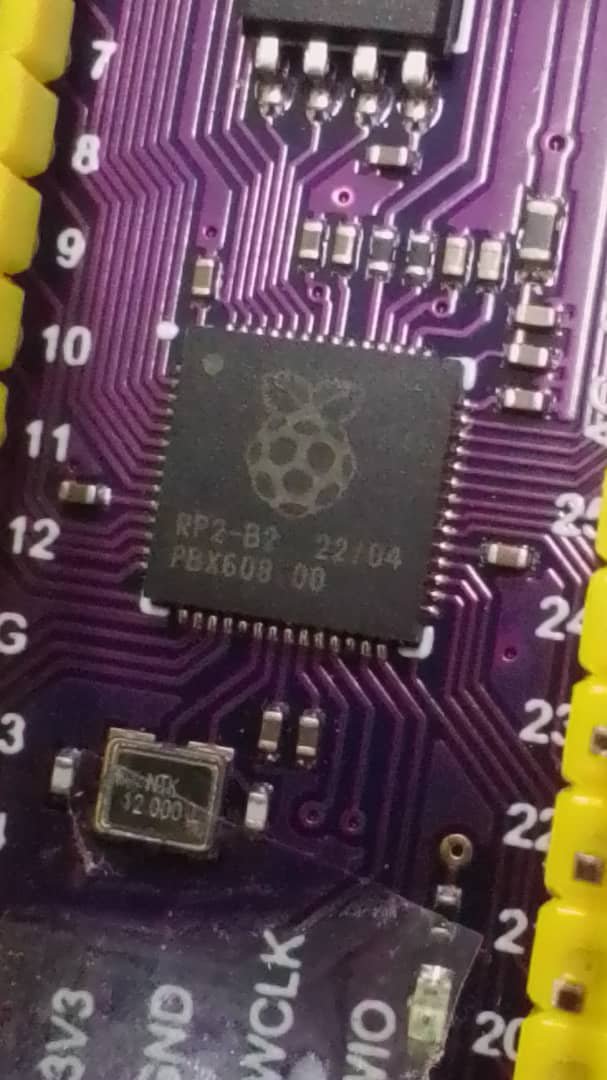
- 1 Raspberry pi pico.
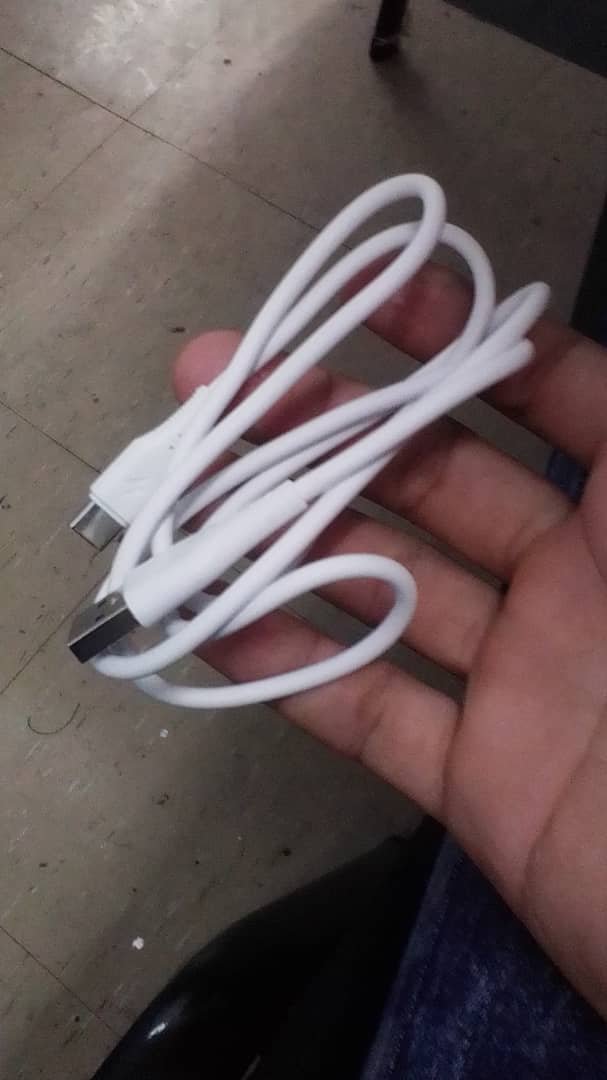
- a USB B 2.0 connector.
- many cables.
- A box. (it can be anything, even a shoe).
- And the switches and Keycaps.
Those are the main materials I used in the manufacture of the control.
- a USB B 2.0 connector.
- many cables.
- A box. (it can be anything, even a shoe).
- And the switches and Keycaps.
Those are the main materials I used in the manufacture of the control.
La verdad el hacer una hitbox y que fuera de una calida decente tambien era algo bastante costoso asi que e decidido hacer algo mas simple y basandome en la idea de una HITBOX e dise;ado mi propia version y la e llamado KeyBox esto por que en ves de usar los tipicos botones de arcade usa unos de un teclado mecanico.
Ahora los materiales para la creación de la misma son bastantes simple.
- 1 Raspberry pi pico.
- un conector USB B 2.0.
- muchos cables.
- Una caja. (puede ser de lo que sea incluso una de zapatos).
- Y los shwitches y Keycaps.
esos son los materiales principales que use en la fabricación del control.
- un conector USB B 2.0.
- muchos cables.
- Una caja. (puede ser de lo que sea incluso una de zapatos).
- Y los shwitches y Keycaps.
esos son los materiales principales que use en la fabricación del control.
Frabrication Process | Proceso de fabricación
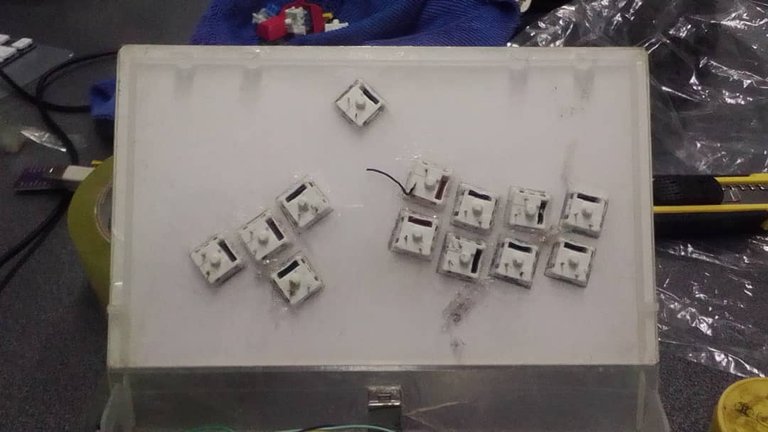
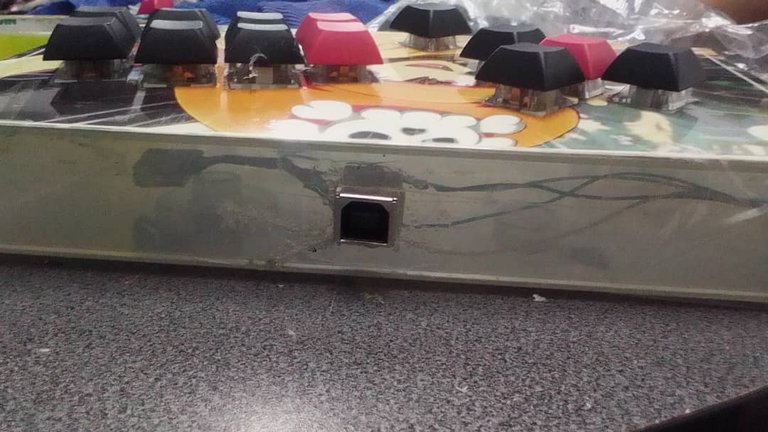
First I had to open the holes in the box, this point is really important because at the same time I saw how the button template would look, which after all had to be as comfortable as possible, by the way the box is an old VHS case that I found myself in the trash XD.
After that I placed the buttons to see how they looked and I adjusted them and once they were as good as possible I sealed the buttons with silicone so they wouldn't move if they were coming off.
After that I placed the buttons to see how they looked and I adjusted them and once they were as good as possible I sealed the buttons with silicone so they wouldn't move if they were coming off.
Primero tuve que abrir los agujeros en la caja, este punto es realmente importante porque al mismo tiempo vi como quedaria la plantila de los botones que despues de todo tenia que ser lo mas comoda posible, por cierto la caja es un viejo estuche de un VHS que me encontre en la basura XD.
Despues de esos coloque los botones para ver como quedabab y lo fui ajustando y una vez que quedo lo mejor posible selle los botones con silicon para que no se movieran si se estuvieran saliendo.
Despues de esos coloque los botones para ver como quedabab y lo fui ajustando y una vez que quedo lo mejor posible selle los botones con silicon para que no se movieran si se estuvieran saliendo.
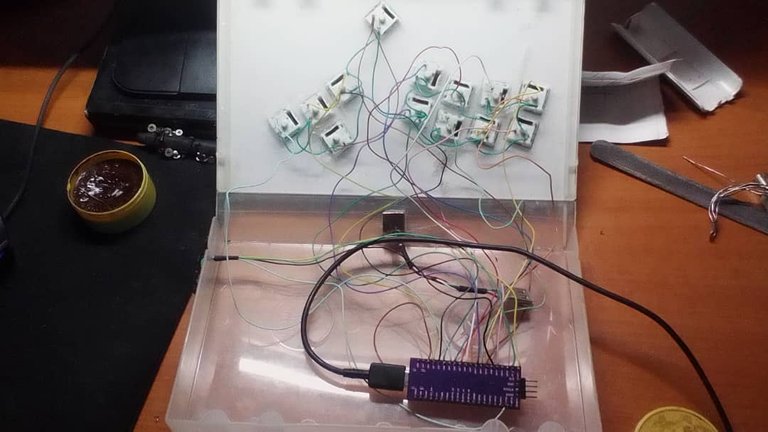
Second, since the buttons were ready, it was time to connect it to the controller with the cables. Finally, there were a total of 16 buttons because the work was just beginning. Now I will explain the process a little for those who know a little about electronics, these buttons have negative and positive so I joined all the negatives into a single cable and the positives each with a different color to be able to identify each one and I based myself a little on the control scheme of the PS4 controller :),
Segundo, ya que los botones estuvieron listos tocaba conectarlo al controlador con los cables final fuero un total de 16 botones porque el trabajo apenas empezaba, ahora explicare un poco el proceso para los que saben un poco de electronica, estos botones tiene negativo y positivo así que uni todos los negativos en un solo cable y los positivos cada uno con un color diferente para poder identificar cada uno y me base un poco en el esque de colores de el control de PS4 : ),
then I soldered them to the controller | despues los solde al controlador
the final? | El fina?
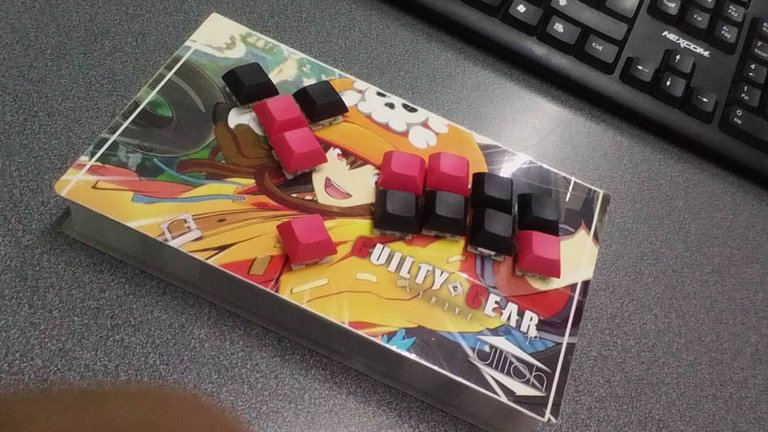
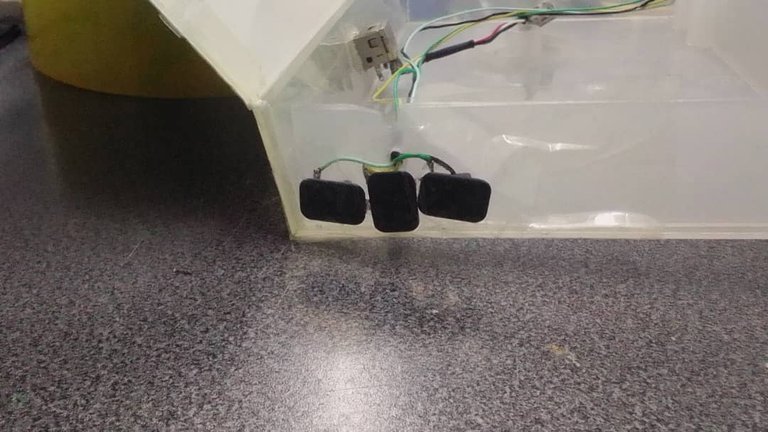
When I was finishing assembling it I realized that I was missing the start, select and home buttons, so I took some that I had at home and used them, and as it is for me I didn't give them much importance, XD.
Then I configured the Pi Pico, connected it and everything worked, the truth is that it was a great satisfaction to see that it finally worked and the truth is that it took longer than I expected to get used to using it but now I can't stop playing with it. ..
Ya cuando estaba terminando de armarlo me di cuenta de que me faltaban los botones de start, select y home, así que tome unos que tenia por casa y los use, y como es para mi no les di mucha importancia, XD.
luego configure el Pi Pico lo conecte y todo funcionaba, la verdad es que fue una satisfacción muy grande ver que por fin funcionaba y la verdad es que tarde mas de lo que esperaba es acostumbrarme en usarlo pero ahora no puedo parar de jugar con el...
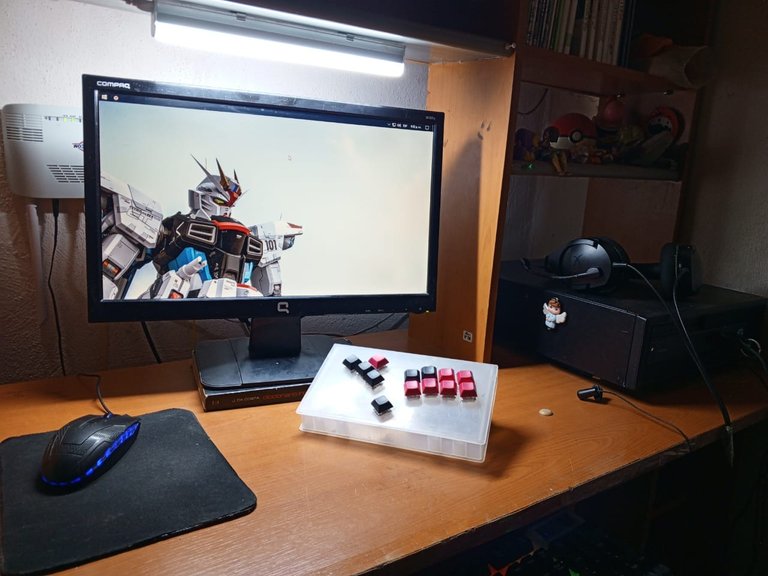
The controller works on PS5, PC and Switch.
And it was a very fun project to do, if anyone is interested, don't hesitate to contact me...
That was all from me, I hope you liked it and see you in the next post,
THANK YOU FOR READING!!!!
El control funciona el PS5, PC y Switch.
Y fue un proyecto muy divertido de hacer si alguien esta interesado no dude en contactarse con migo...
Eso fue todo de mi parte espero que les haya gustado y no vemos en un proximo post,
GRACIAS POR LEER!!!!
All images are my property. | Todas la imagenes son de mi propiedad.
0
0
0.000
I always appreciate something built from scratch. Well done! Also, I hope you can be more active on Hive from now on. Engagement is key on this platform.
I also hope to be more active...it's just that there are times when there isn't time for everything :).
thanks for your support.
a la vertale, quedo bien genial montado en esa caja jeje
si.. la verdad eso de que la encontre en la basura le da un toque mas original
Congratulations @ullioh! You have completed the following achievement on the Hive blockchain And have been rewarded with New badge(s)
Your next target is to reach 600 upvotes.
You can view your badges on your board and compare yourself to others in the Ranking
If you no longer want to receive notifications, reply to this comment with the word
STOPCheck out our last posts:
Qué increíble de verdad que esto es lo más geek que he visto el día de hoy me gustó muchísimo tu trabajo y tu ingenio.
Gracias amigo... espero poder mostrar muchos mas proyectos que tengo en mente.
Increíble lo que podemos hacer hoy en día.
si.. solo se necesita algo de imaginación.